White Bean and Artichoke Dip and BlogHer Food Recap
I came away from BlogHer Food with a head full of ideas and a renewed appetite for simple, shareable recipes. This White Bean and Artichoke Dip is exactly the kind of dish I find myself reaching for after a day of panels, demos, and catching up with friends over coffee. It’s unfussy, fast, and built from pantry-friendly cans that never disappoint when the gathering is impromptu.
The conference reminded me why I love recipes that crowd-please with minimal fuss. At BlogHer Food I talked to people who wanted flavor first and complexity second — dishes that fit into busy lives. This dip does that: a few good moves in the food processor and you have something that travels well, pairs with nearly anything, and gets better after a short rest.
Below you’ll find the ingredient list (as written from my kitchen notes), a straight-through method I use every time, and practical tips from my BlogHer conversations — things that make this dip feel elevated without adding steps or obscure pantry items.
Ingredients at a Glance

- 2 cloves garlic — provides aromatic bite; adjust for raw-sharpness or roast for mellow sweetness.
- 2 15 ounce cans white beans (drained and rinsed) — the creamy base; rinsing removes excess sodium and can thin bean flavor.
- 1 15 ounce can artichoke hearts (drained) — adds tang and texture; drained so the dip doesn’t get watery.
- 3 tablespoons fresh lemon juice — brightens the whole dip and balances the beans.
- 1 teaspoon red pepper flakes — brings heat and spark; start here and add more if you like it spicy.
- 1 tablespoon chopped fresh rosemary — herbal note; chop finely so it disperses through the dip.
- Salt and pepper — to taste; salt amplifies all flavors, pepper adds a finishing note.
Make White Bean and Artichoke Dip: A Simple Method
- Peel the garlic cloves and roughly chop them. Drain and rinse the white beans. Drain the artichoke hearts.
- Place the garlic, drained and rinsed white beans, drained artichoke hearts, fresh lemon juice, red pepper flakes, and chopped fresh rosemary into the bowl of a food processor.
- Pulse and/or blend until the mixture reaches your desired texture, stopping occasionally to scrape down the sides with a spatula. For a chunkier dip pulse briefly; for a smoother dip blend longer.
- Taste and season with salt and pepper to your preference, then pulse briefly to incorporate.
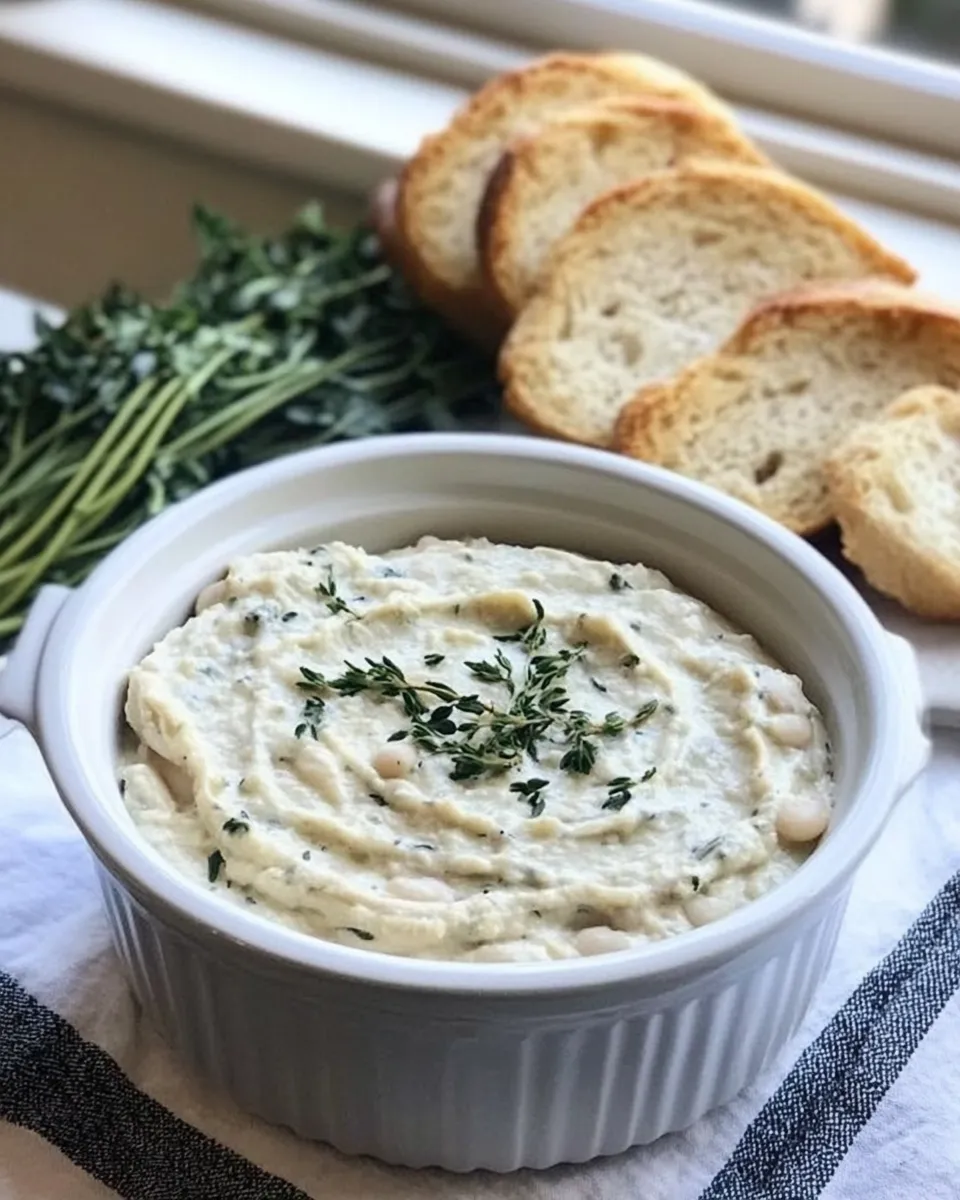
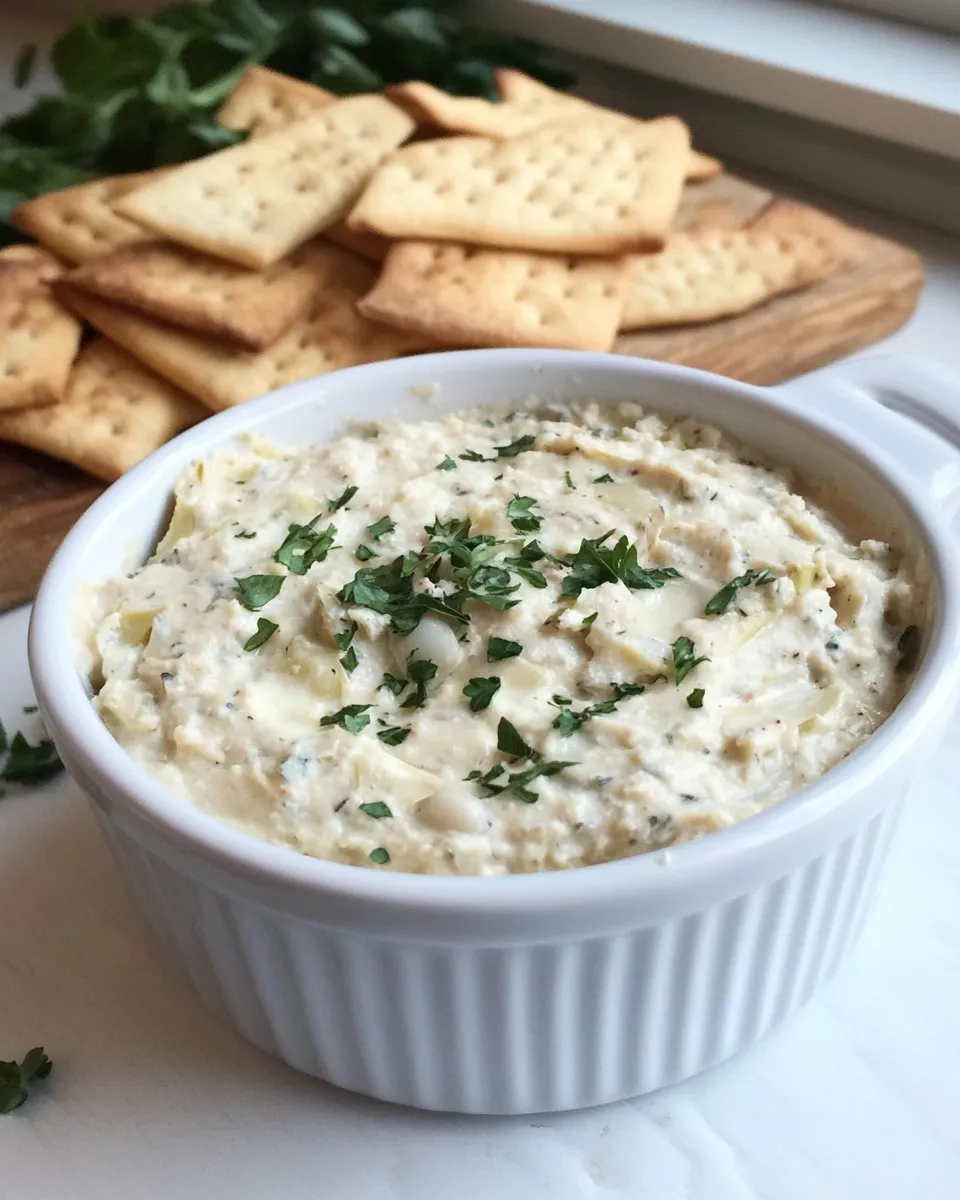
- Transfer the dip to a serving bowl, stir, and serve with bread, crackers, vegetables, or chips.
- Optional serving idea: this dip also makes a great spread—try adding it to sandwiches.
Why Cooks Rave About It
This dip hits the sweet spot between comfort and bright, lively flavor. White beans give it a creamy, substantial mouthfeel without dairy. Artichokes introduce a mellow acidity and a slight tang that keeps the mixture from tasting flat. Lemon juice brightens every bite, while the red pepper flakes and rosemary provide layers of character.
Cooks praise recipes like this for how forgiving they are. You can tweak texture and seasoning on the fly. It’s fast to assemble, easy to transport, and broad in its pairings. From a hostess perspective, it’s a low-stress crowd-pleaser. From a weeknight perspective, it’s a flavorful protein-rich spread on toast or a quick sandwich upgrade.
Flavor-Forward Alternatives

If you want to push this dip in different directions without adding new, unusual ingredients, tweak how you use the ones on your counter:
- Roasted garlic instead of raw: Roast the garlic cloves until soft before blending for a sweeter, caramelized profile.
- Boost the lemon: Add a touch of lemon zest along with the juice for extra brightness without changing quantity.
- More texture: Blend most of the beans smooth and fold in chopped artichoke hearts for a chunkier contrast.
- Amp the heat: Increase the red pepper flakes gradually—stir and taste rather than adding the full amount at once.
- Herb emphasis: Finely chop the rosemary so it melds, or use slightly less if you prefer only a hint of piney herb flavor.
Must-Have Equipment
- Food processor — essential for getting the right texture quickly and evenly.
- Spatula — useful for scraping down sides and transferring the dip cleanly.
- Can opener — obvious but necessary for working with canned beans and artichokes.
- Measuring spoons — for consistent lemon juice, red pepper flakes, and rosemary.
- Serving bowl and dippers (bread/crackers/veggies) — arrange these before guests arrive for easy serving.
Don’t Do This
- Don’t skip rinsing the beans: The rinse removes excess packing liquid and sodium; skipping it can leave the dip bland or overly salty.
- Don’t overblend if you want texture: Pulse instead of running the processor continuously to retain some body.
- Don’t add all the salt at once: Salt amplifies flavors; add a little, taste, then adjust. It’s harder to fix an oversalted dip than an undersalted one.
- Avoid watery artichokes: Be sure to drain the artichoke hearts well; excess moisture thins the dip and dilutes flavor.
- Don’t serve it straight from the processor bowl: Transfer to a serving bowl and stir for the best texture and presentation.
Dietary Swaps & Alternatives
This recipe is naturally vegetarian and packs plenty of plant-based protein. To keep it aligned with specific needs, use the same ingredient set differently:
- Lower-sodium option: Choose low-sodium canned beans and a no-salt-added artichoke option (if available), then season to taste.
- Garlic sensitivity: Reduce raw garlic to one small clove or roast the garlic until soft to cut sharpness.
- Oil-free: The recipe doesn’t require added oil. If you normally add oil to dips, skip it here; the beans provide body.
- Allergy-friendly serving: Serve with naturally gluten-free dippers like vegetables if avoiding gluten; the dip itself is naturally free of common allergens when made as written.
Insider Tips
Texture and Timing
Pulse first, then blend. That’s my go-to: a few short pulses to combine, then longer runs if you want creamier. Stop and scrape at least once — that prevents pockets of unblended beans or rosemary clumps.
Taste and Adjust
After the initial blend, taste for salt and acidity. If it needs lift, a squeeze more lemon juice brightens without changing the base. If it tastes flat, a pinch more salt will open up the other flavors.
Serve slightly chilled or at room temperature. Too cold mutes flavors, too warm can make the dip loose; aim for just-off-cool so flavors sing and texture sits nicely on the spoon.
Make Ahead Like a Pro
This dip is forgiving and actually benefits from a short rest. If you’re prepping for a party, make it up to 24 hours ahead. Store covered in the refrigerator; the flavors will meld and the texture will slightly firm as it chills.
When ready to serve, let it sit at room temperature for 20–30 minutes so the lemon and herbs open up. Give it a quick stir and taste for seasoning — cold can mute salt and acid, so adjust if needed.
Popular Questions
- Can I use dried beans instead of canned? Yes. If using cooked dried beans, use the same weight/volume once cooked and drained. The dip will be slightly different in texture but still excellent. If you use homemade beans, be mindful of any added salt during their cooking.
- How long will leftovers last? Stored in an airtight container, this dip will keep 3–4 days in the refrigerator.
- Can this be frozen? I don’t recommend freezing this particular dip. The texture can become grainy and watery on thawing because of the beans and lemon.
- Is the rosemary necessary? It adds an herbal note, but if you’re not a fan you can reduce or omit it. The dip will still be tasty thanks to the beans, artichokes, and lemon.
- What are the best dippers? Bread and crackers are classic, but vegetables like sliced cucumber, bell pepper, and carrot are fresh and satisfying.
In Closing
At BlogHer Food I heard the same request over and over: give me recipes I can rely on when life is full. This White Bean and Artichoke Dip does that. It’s quick, flexible, and built on pantry items with a handful of fresh touches. Make it in the morning, bring it to a meeting, or spread it on dinner toast — it plays well in any context.
If you try it after a long day or at your next get-together, I’d love to hear which small tweak made it yours. Share a note about whether you roasted the garlic, increased the heat, or served it on something unexpected. That’s the kind of food-story I came home from BlogHer Food eager to keep writing about.

White Bean and Artichoke Dip and BlogHer Food Recap
Ingredients
Ingredients
- 2 clovesgarlic
- 215 ounce cans white beans drained and rinsed
- 115 ounce can artichoke hearts drained
- 3 tablespoonsfresh lemon juice
- 1 teaspoonred pepper flakes
- 1 tablespoonchopped fresh rosemary
- Salt and pepperto taste
Instructions
Instructions
- Peel the garlic cloves and roughly chop them. Drain and rinse the white beans. Drain the artichoke hearts.
- Place the garlic, drained and rinsed white beans, drained artichoke hearts, fresh lemon juice, red pepper flakes, and chopped fresh rosemary into the bowl of a food processor.
- Pulse and/or blend until the mixture reaches your desired texture, stopping occasionally to scrape down the sides with a spatula. For a chunkier dip pulse briefly; for a smoother dip blend longer.
- Taste and season with salt and pepper to your preference, then pulse briefly to incorporate.
- Transfer the dip to a serving bowl, stir, and serve with bread, crackers, vegetables, or chips.
- Optional serving idea: this dip also makes a great spread—try adding it to sandwiches.
Equipment
- Food Processor
- Spatula
- Serving Bowl