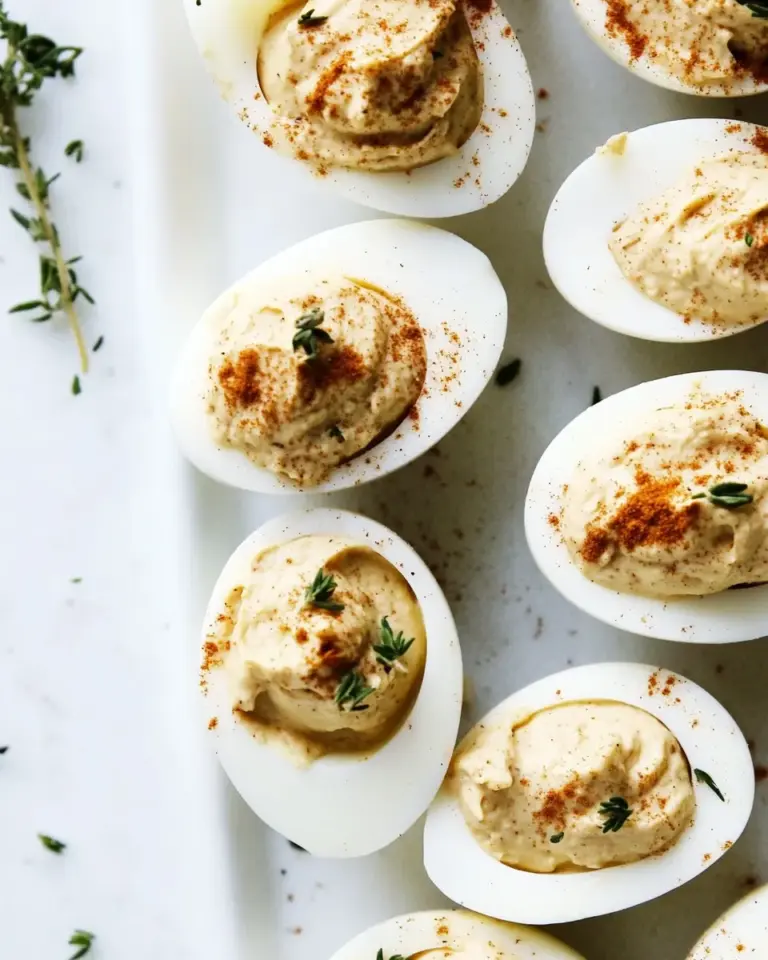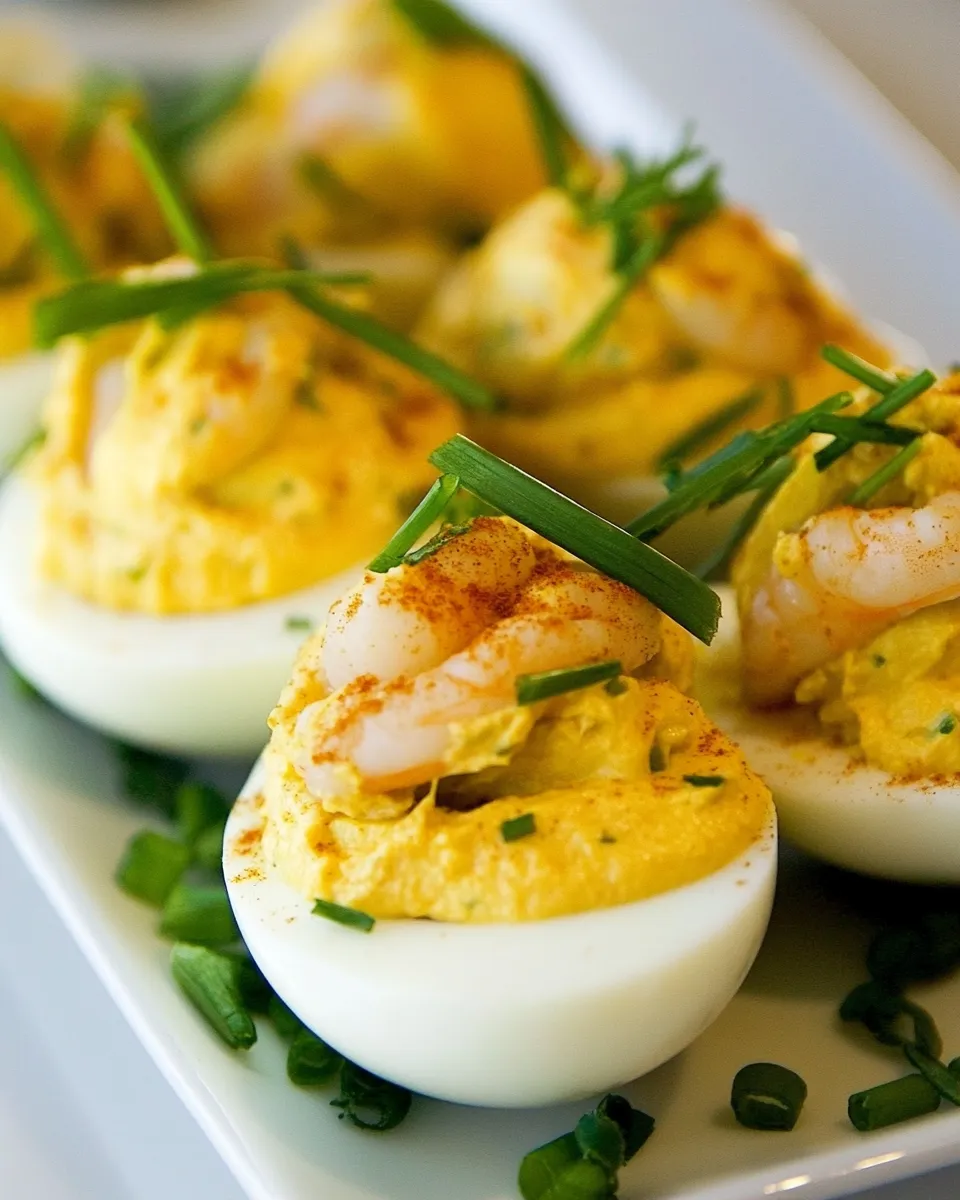
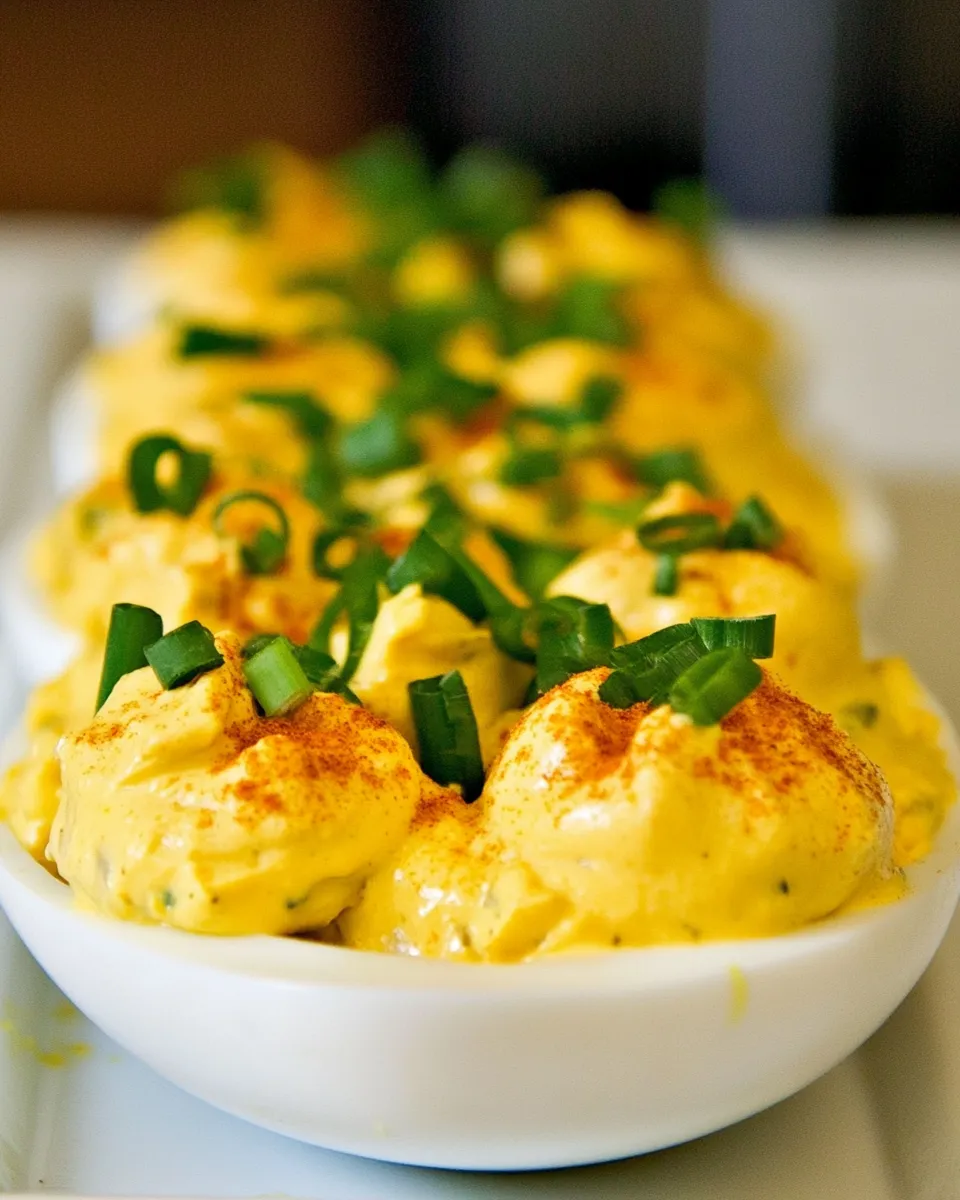
Shrimp Deviled Eggs
I love recipes that feel a little fancy but are actually straightforward. These shrimp deviled eggs do exactly that — they dress up a classic party snack with just a few small additions that lift the flavor without complicating the process. Think creamy, tangy yolk filling with a clean hit of wasabi and little bits of tender shrimp for texture and umami.
This recipe is practical for weeknight entertaining or for a simple weekend appetizer. The technique focuses on two things: reliably cooked eggs that peel cleanly, and a filling you can easily adjust for heat by tasting the mayo-wasabi mixture as you go. I’ll point out where to save time and how to manage the shrimp without overworking the filling.
Below you’ll find exactly what I use, a step-by-step action section to follow while you cook, and notes for storage, substitutions that stick to the original components, and troubleshooting tips I’ve learned through trial and error. No unnecessary fuss — just a dependable, delicious recipe you can repeat.
What We’re Using

Here I list the core components and why each one matters. These are simple flavors that work together: eggs for the creamy base, wasabi for a bright heat, shrimp for texture, and green onion for freshness. Keep the quantities listed in the Ingredients section — they’re tuned to balance the filling so it holds its shape when piped.
Ingredients
- 6 eggs (use eggs at least a week old if possible) — older eggs peel more easily after boiling, which matters a lot for neat halves.
- 2 tsp. wasabi paste, use more or less to taste (I used 2 tsp. wasabi powder mixed with 4 tsp. water) — provides the signature heat; mix into mayo gradually and taste as you go.
- 1/2 cup small frozen shrimp, thawed — adds texture and a briny note; finely chopped so the filling remains smooth.
- 4 green onions, green end thinly sliced (save white ends for another use) — green ends brighten and dress the eggs; mince about 2 tablespoons into the filling.
- 3 T mayo — binds the yolks and wasabi into a spreadable, pipeable filling.
- pinch of salt — brings everything into balance; add more only if needed after tasting.
Shrimp Deviled Eggs — Do This Next
- Remove eggs from the refrigerator and let them come closer to room temperature by sitting them in warm (not hot) tap water for 5 minutes.
- Place the 6 eggs in a single layer in a saucepan and cover with cold water by about 1 inch. Bring the water to a rolling boil over medium-high heat. As soon as it reaches a boil, remove the pan from the heat, cover, and let the eggs sit in the hot water for 10 minutes.
- Meanwhile, prepare an ice bath (bowl of cold water with ice). When the 10 minutes are up, transfer the eggs to the ice bath and cool until completely cold, about 5 minutes. This stops cooking and makes peeling easier.
- While the eggs are cooling, prepare the green onions: use only the green ends of the 4 green onions. Thinly slice the green ends; finely mince about 2 tablespoons of those sliced green onions for the filling and reserve the remaining thin slices for garnish. Set the reserved garnish slices aside.
- Ensure the 1/2 cup small frozen shrimp are fully thawed. If still partially frozen, run them under cold water or microwave briefly on low in 5–10 second bursts until thawed. Pat the shrimp dry with paper towel, then finely chop them.
- If you are using wasabi powder instead of paste, rehydrate now by mixing 2 tsp. wasabi powder with about 4 tsp. water to make a paste. In a small bowl, put the 3 T mayo and add the 2 tsp. wasabi paste in small increments, tasting as you go; stop when the mayo-wasabi reaches your desired heat level.
- Peel the cooled eggs and cut each egg in half lengthwise. Remove all yolks and put the yolks into a medium bowl. If any egg white halves are badly mangled during peeling, set those aside or discard.
- Mash the egg yolks with a fork until crumbly. Add the mayo-wasabi mixture, the finely minced green onion (about 2 T), the chopped shrimp, and a pinch of salt. Stir or mash until the filling is well combined and relatively smooth.
- Transfer the yolk mixture to a piping bag or a small plastic bag with one corner snipped off, or use a small spoon. Pipe or spoon the mixture into the egg white halves, dividing it evenly among the halves.
- Garnish each filled egg with the reserved thinly sliced green onion. Serve immediately or chill until ready to serve.
What Sets This Recipe Apart
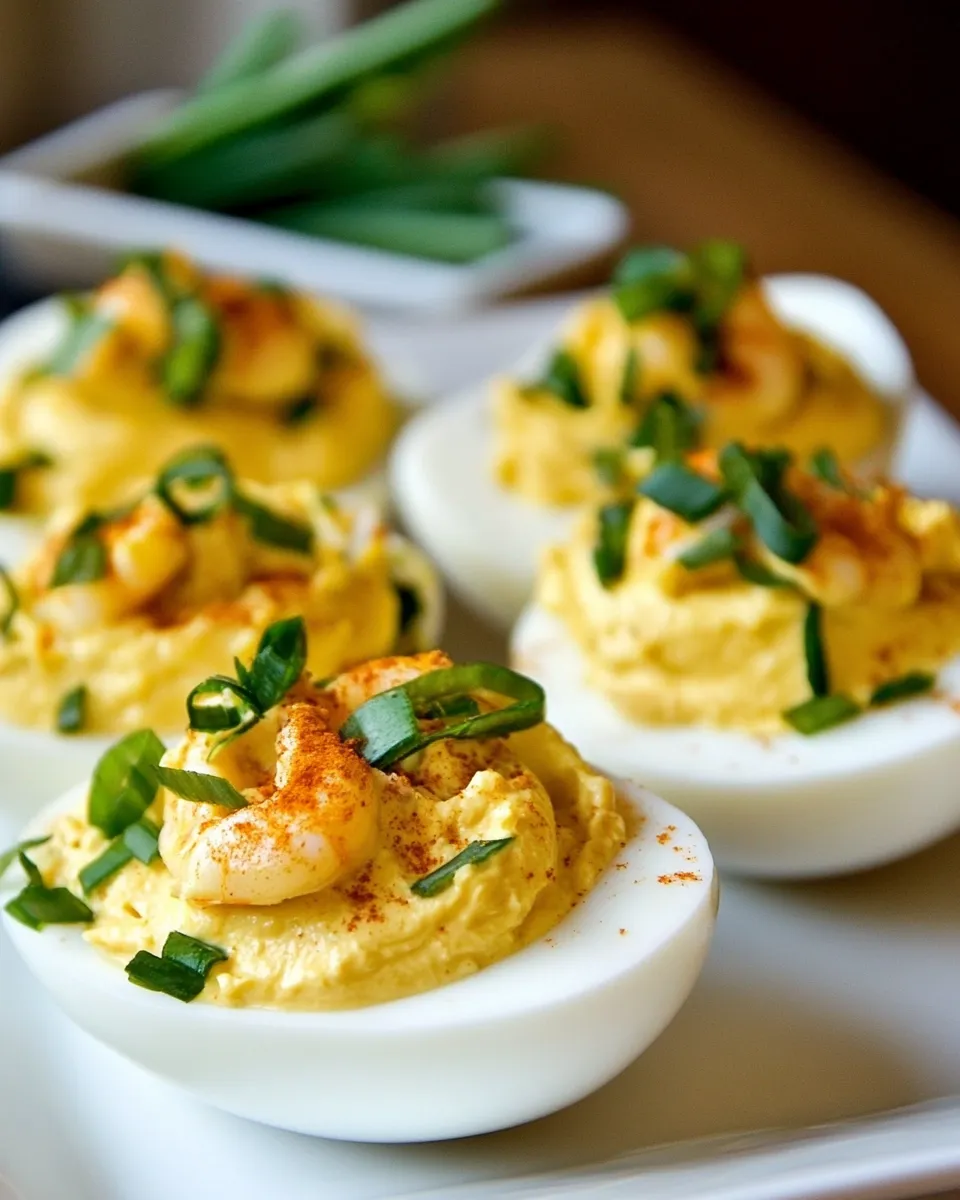
The shrimp addition is subtle — it doesn’t overpower the deviled egg’s creaminess but adds chew and a savory lift. Wasabi replaces the usual mustard, delivering a sharper, cleaner heat that pairs especially well with seafood. The green onion keeps the flavor bright and prevents the filling from feeling too rich.
Execution matters: older eggs that peel easily and a quick ice bath are small steps that make a big difference in presentation. The texture of the filling is also intentional — relatively smooth so it pipes nicely, but with tiny shrimp pieces for bite. That balance is what makes this feel special without being fussy.
Budget & Availability Swaps
If small frozen shrimp are expensive or hard to find, reduce the quantity slightly and focus on chopping them finer so a little goes a long way. You can also use pre-cooked peel-and-eat shrimp cut into small pieces — the key is small, fully cooked shrimp that won’t release liquid into the filling.
For the wasabi, the recipe accommodates either paste or powder rehydrated into a paste. If you have a milder palette, start with less wasabi than listed and add more after mixing the mayo. If you need to cut cost but keep texture, use the same amount of egg yolk and mayo mixture and simply decrease the shrimp to taste.
Equipment at a Glance
- Medium saucepan — for boiling the eggs in a single layer.
- Mixing bowl — to mash yolks and mix the filling.
- Small bowl or cup — for rehydrating wasabi powder if using.
- Piping bag or small plastic bag — for filling the eggs neatly, optional but recommended.
- Knife and cutting board — for chopping shrimp and slicing green onion.
- Slotted spoon or tongs — to move eggs to the ice bath without cracking.
Troubles You Can Avoid
Overcooked yolks and green rings
Removing the pan from heat and letting the eggs sit in hot water, followed by an ice bath, prevents the sulphur-grey ring around yolks and keeps a tender texture. Timing matters — follow the exact 10 minutes and cool fully.
Difficulty peeling
Use eggs that are at least a week old and run them in warm tap water for 5 minutes before boiling. That helps the membrane separate from the shell and makes peeling far cleaner. The ice bath after cooking also helps shrink the interior slightly for easier removal.
Filling too spicy or too mild
Add the wasabi paste to the mayo in small increments and taste as you go. Wasabi builds quickly, so less is more until you know how hot it will be for your guests.
Fresh Seasonal Changes
In spring and summer, the green end of scallions (green onions) feels bright and crisp; reserve the white ends for other uses in the kitchen. If you have very fresh herbs available, a tiny snip of chive or dill could work, but keep the amount minimal so the shrimp and wasabi still shine.
In colder months, rely on the richness of the egg yolks and a slightly bolder wasabi level to warm the palate. The basic balance stays the same: eggs, mayo, wasabi, shrimp, and green onion — adjust only by intensity rather than adding heavy, competing flavors.
Recipe Notes & Chef’s Commentary
Timing and texture are the two areas I focus on when making these. The shrimp should be fully thawed and patted dry so they don’t introduce extra moisture. Chop them finely; large chunks make the filling hard to pipe and change the mouthfeel.
When combining the yolks with mayo and wasabi, mash to a relatively smooth consistency but avoid over-working so the filling doesn’t become pasty. Taste before you fill: a pinch of salt can do wonders, but add gradually.
If you have egg halves that don’t look tidy after peeling, use them for a quick chopped-egg salad or discard — presentation matters for an appetizer, but nothing should go to waste if you can repurpose it.
How to Store & Reheat
Store filled eggs in a single layer in an airtight container in the refrigerator for up to 24 hours for best texture and safety. If you need to prep ahead, you can make the yolk-shrimp filling and store it separate from the whites for up to 48 hours; fill the whites no more than a few hours before serving so they look fresh.
Do not reheat deviled eggs. If you have leftover eggs with filling, keep them chilled and consume within 24 hours. The mayo-based filling is safe in the fridge but loses texture over time.
Quick Q&A
- Can I make these a day ahead? Yes — make the filling and store separately from the whites, then fill up to a few hours before serving. Fully filled eggs are best within 24 hours.
- What if I only have fresh shrimp? Cook and cool them first, then chop finely and use; make sure they’re dry so the filling doesn’t loosen.
- How spicy will these be? Wasabi brings a clean heat. Start with less than the amount listed if you’re unsure and add to taste while mixing with mayo.
- Can I skip the shrimp? Yes — omitting shrimp gives you a straight wasabi deviled egg which is still flavorful. The shrimp add texture and a seafood note, but the filling stands well on its own.
Final Thoughts
Shrimp Deviled Eggs are a small upgrade that makes a big impression. With a few thoughtful steps — older eggs for easy peeling, an ice bath to stop cooking, finely chopped shrimp, and careful wasabi incorporation — you get a balanced appetizer that’s both familiar and a little unexpected. They travel well to potlucks if kept chilled, and they look elegant on any cocktail tray.
Make them once to get the timing right, then you’ll find this recipe becomes a go-to when you want something quick, flavorful, and slightly elevated. Happy cooking — and enjoy the bright, savory bites.

Shrimp Deviled Eggs
Ingredients
Ingredients
- 6 eggs use eggs at least a week old if possible
- 2 tsp. wasabi paste use more or less to taste (I used 2 tsp. wasabi powder mixed with 4 tsp. water)
- 1/2 cup small frozen shrimp thawed
- 4 green onions green end thinly sliced (save white ends for another use)
- 3 T mayo
- pinch of salt
Instructions
Instructions
- Remove eggs from the refrigerator and let them come closer to room temperature by sitting them in warm (not hot) tap water for 5 minutes.
- Place the 6 eggs in a single layer in a saucepan and cover with cold water by about 1 inch. Bring the water to a rolling boil over medium-high heat. As soon as it reaches a boil, remove the pan from the heat, cover, and let the eggs sit in the hot water for 10 minutes.
- Meanwhile, prepare an ice bath (bowl of cold water with ice). When the 10 minutes are up, transfer the eggs to the ice bath and cool until completely cold, about 5 minutes. This stops cooking and makes peeling easier.
- While the eggs are cooling, prepare the green onions: use only the green ends of the 4 green onions. Thinly slice the green ends; finely mince about 2 tablespoons of those sliced green onions for the filling and reserve the remaining thin slices for garnish. Set the reserved garnish slices aside.
- Ensure the 1/2 cup small frozen shrimp are fully thawed. If still partially frozen, run them under cold water or microwave briefly on low in 5–10 second bursts until thawed. Pat the shrimp dry with paper towel, then finely chop them.
- If you are using wasabi powder instead of paste, rehydrate now by mixing 2 tsp. wasabi powder with about 4 tsp. water to make a paste. In a small bowl, put the 3 T mayo and add the 2 tsp. wasabi paste in small increments, tasting as you go; stop when the mayo-wasabi reaches your desired heat level.
- Peel the cooled eggs and cut each egg in half lengthwise. Remove all yolks and put the yolks into a medium bowl. If any egg white halves are badly mangled during peeling, set those aside or discard.
- Mash the egg yolks with a fork until crumbly. Add the mayo-wasabi mixture, the finely minced green onion (about 2 T), the chopped shrimp, and a pinch of salt. Stir or mash until the filling is well combined and relatively smooth.
- Transfer the yolk mixture to a piping bag or a small plastic bag with one corner snipped off, or use a small spoon. Pipe or spoon the mixture into the egg white halves, dividing it evenly among the halves.
- Garnish each filled egg with the reserved thinly sliced green onion. Serve immediately or chill until ready to serve.
Equipment
- Saucepan
- Mixing Bowl
- bowl (for ice bath)
- piping bag or plastic bag
- Knife