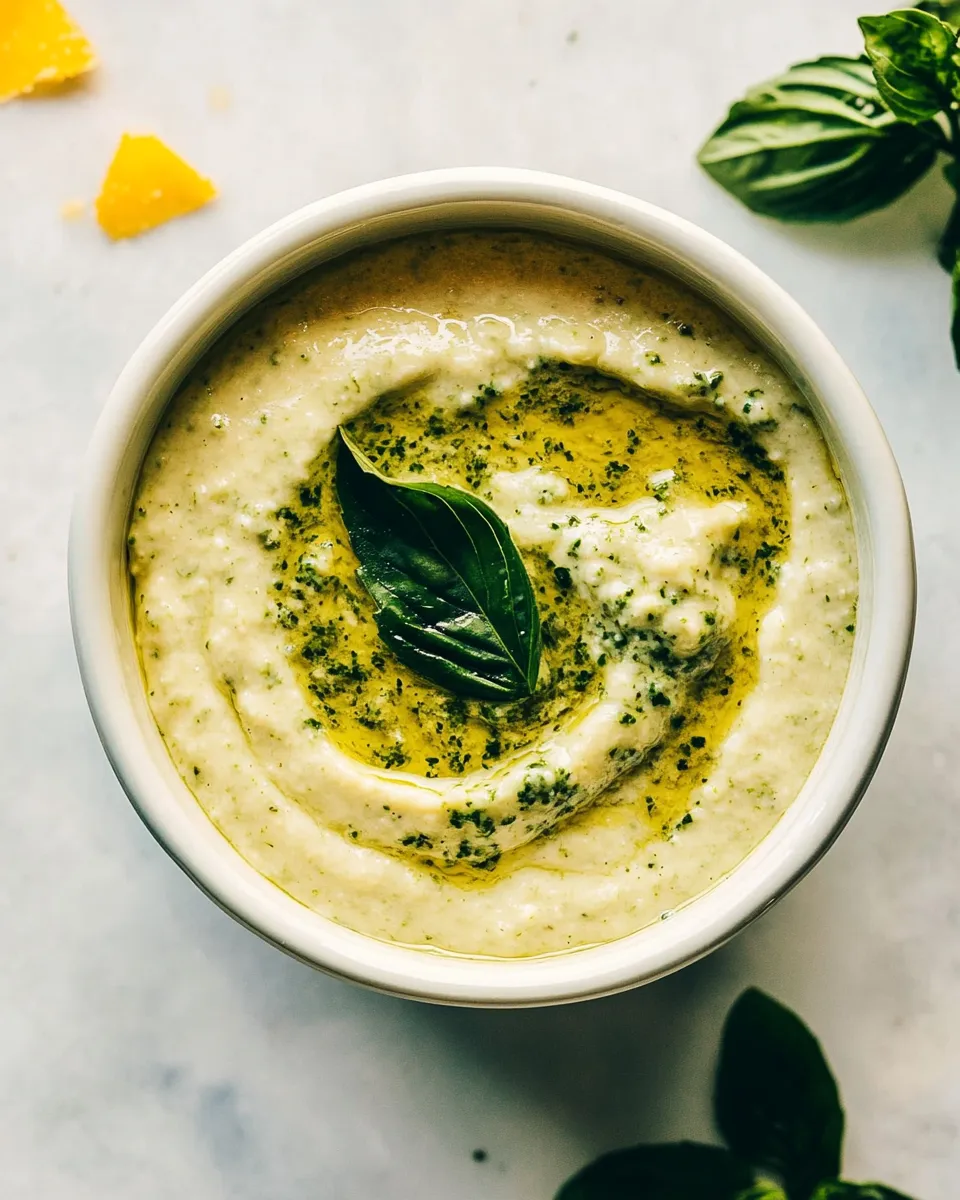
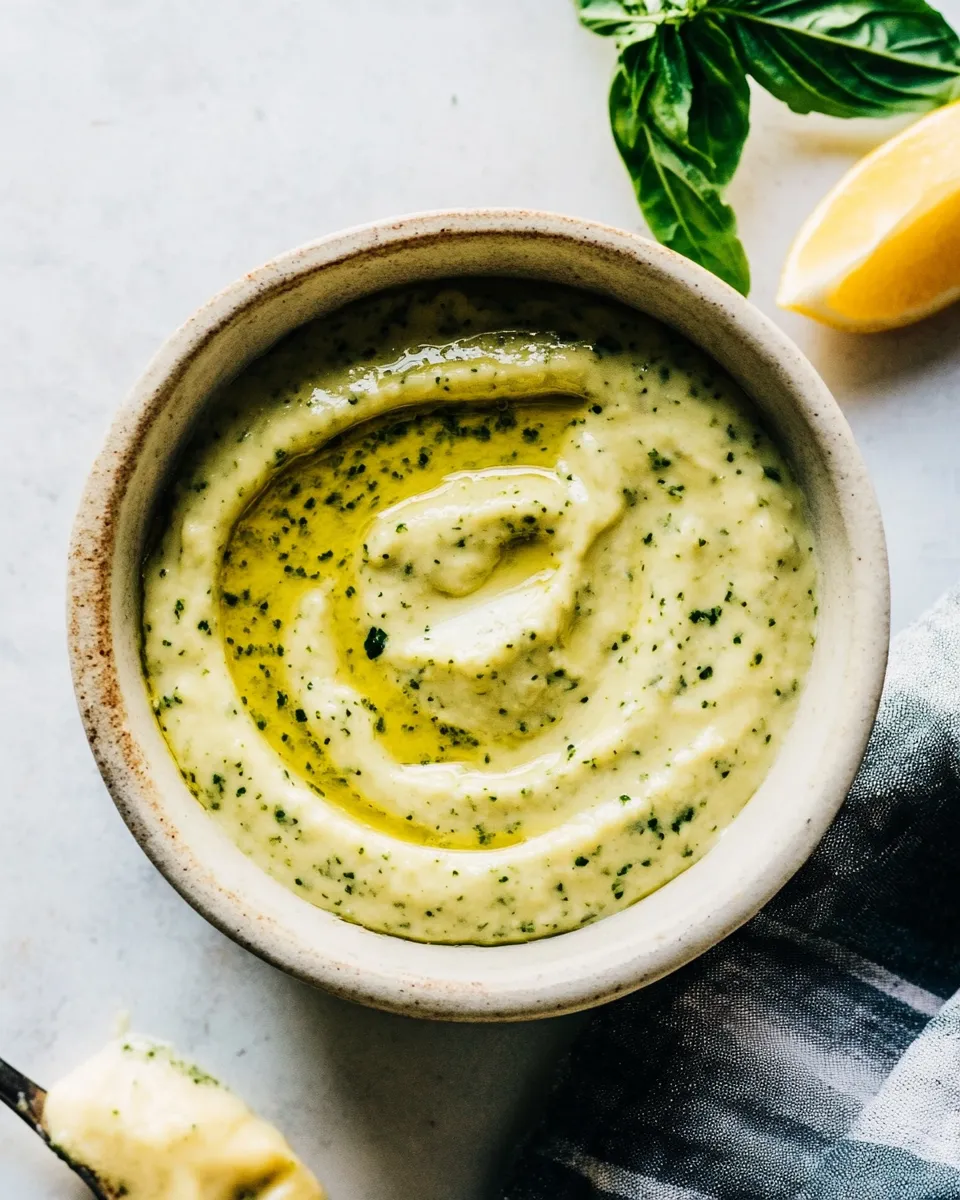
Pesto Aioli Recipe
If you’ve ever wanted a quick, bright sauce that lifts sandwiches, roasted veggies, and grilled proteins, this pesto aioli is a tiny kitchen shortcut with big flavor. It takes just a few pantry staples and a good-quality pesto, and it comes together in minutes. The result is a silky, herby spread that feels homemade even when you start with store-bought mayo.
I make this aioli when I need something fresh and ready to go — a last-minute dip for fries, a sandwich spread that feels special, or a spoonful stirred into warm pasta for a creamy hit. The garlic is grated so it dissolves into the sauce, and lemon keeps the richness bright. You can dial the pesto up or down depending on how dominant you want the basil to be.
Below you’ll find the exact ingredients and the step-by-step method I follow every time. There are also practical tips for swapping ingredients, the gear that helps, storage notes, and serving ideas so this jar of pesto aioli gets used fast and well.
What Goes Into Pesto Aioli

Ingredients
- 1 cup store-bought mayonnaise* — the creamy base; use a full-fat mayo for the best texture.
- 3 tablespoons prepared pesto (or homemade!), plus more to taste — the flavor driver; adds herb, nut, and cheese notes.
- 1 tablespoon fresh lemon juice — brightens and balances the richness.
- 1 garlic clove, finely grated — gives a sharp garlic presence without chunks.
- Kosher salt — to taste; enhances all the flavors and rounds the profile.
Pesto Aioli: How It’s Done
- Peel the garlic clove and finely grate it.
- In a medium bowl, add the mayonnaise, prepared pesto, lemon juice, and the grated garlic.
- Whisk vigorously until the mixture is smooth and evenly combined.
- Taste and season with kosher salt as needed; add more pesto, a little at a time, if you want a stronger pesto flavor, and whisk to incorporate.
- Transfer the aioli to an airtight container or jar and refrigerate. Store in the fridge for up to 2 weeks.
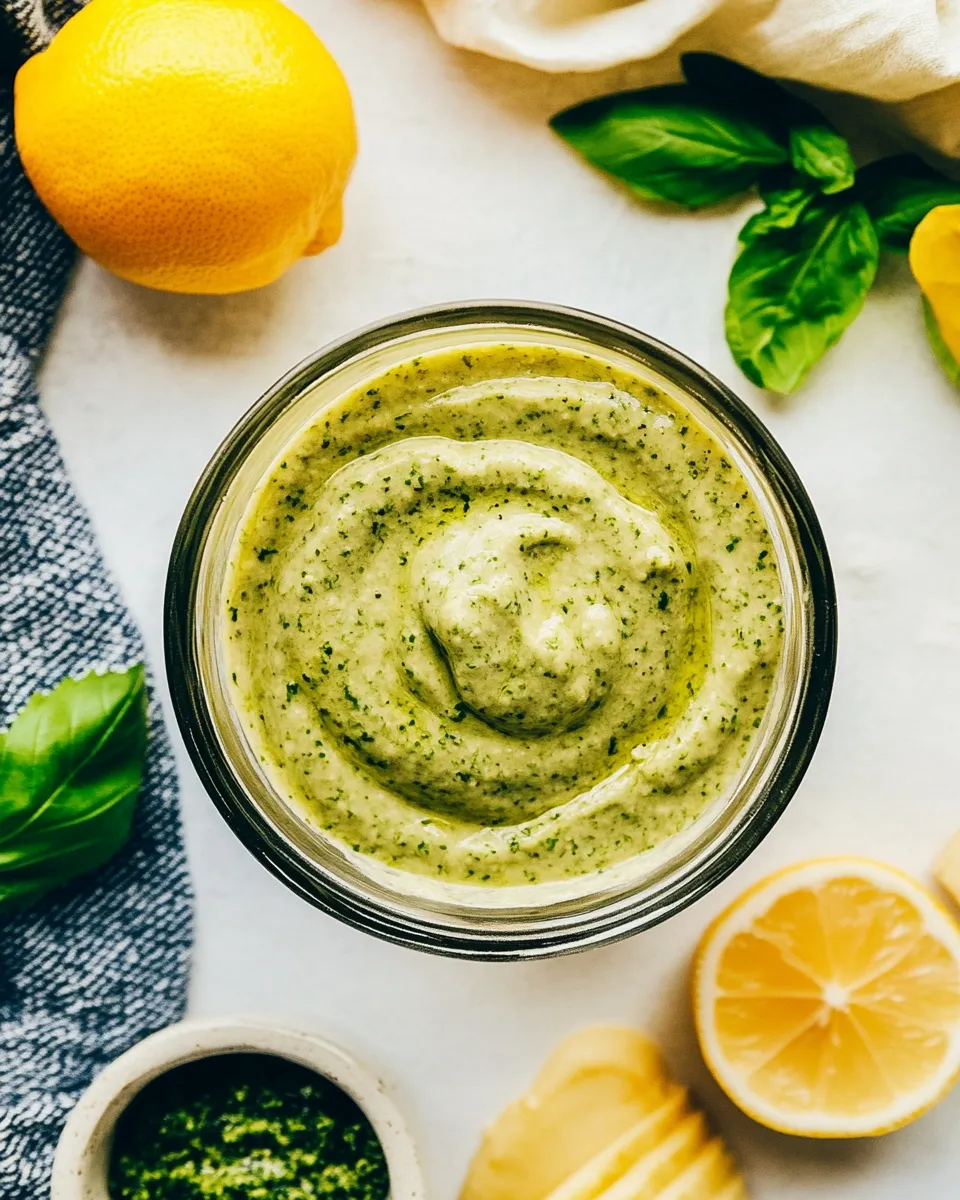
Why It’s Crowd-Pleasing
This aioli hits familiar favorites: creaminess from the mayo, bold herbal notes from the pesto, brightness from lemon, and a clean garlic finish. Its texture is versatile — thick enough to spread on a burger, thin enough to dollop on roasted vegetables. People like it because it elevates ordinary things quickly.
It’s also forgiving. The pesto brings complexity without demanding many ingredients or time. If someone is hesitant about bold flavors, you can start with less pesto and add more. If they love basil and garlic, you can lean in. That adaptability makes it a reliable crowd-pleaser at casual gatherings and busy weeknight meals alike.
Easy Ingredient Swaps
- Mayonnaise — swap for a light mayo or yogurt-mayo mix to cut richness; note texture will be a bit thinner and tangier.
- Pesto — use a sun-dried tomato pesto for a deeper, sweeter profile, or an arugula-based pesto for peppery notes.
- Lemon juice — replace with a splash of white wine vinegar if you don’t have lemon; start small and taste.
- Garlic — if raw garlic is too sharp, mince and let it sit in lemon juice for 5–10 minutes to mellow before adding.
- Salt — use fine sea salt sparingly; kosher salt measures differently so season to taste.
Gear Checklist
- Medium mixing bowl — enough room to whisk without splatter.
- Whisk — a small balloon whisk helps emulsify and smooth the aioli quickly.
- Microplane or fine grater — for grating the garlic so it melts into the sauce.
- Measuring spoons and cup — for accuracy on first try; you can eyeball later.
- Airtight jar or container — for storage; keeps the aioli fresh and portable.
Steer Clear of These
- Too much garlic — freshly grated garlic is potent; add it gradually if you’re unsure. Overpowering garlic masks the pesto.
- Low-quality pesto — it will show. If your store-bought pesto tastes flat, add a splash more lemon or a pinch of salt to compensate, or make a quick batch at home.
- Thin mayo — using a very low-fat or watery mayo can make the aioli loose and less satisfying. If you must, reduce the lemon slightly.
- Leaving it unrefrigerated — the aioli contains mayonnaise and fresh lemon; keep it chilled and discard if left out more than a couple of hours at room temperature.
Seasonal Serving Ideas
- Spring — toss with new potato salad, add a spoonful to asparagus drizzles, or use it on a radish and cucumber open-faced sandwich.
- Summer — serve with grilled corn (brush the aioli on hot corn), use as a burger spread, or alongside a platter of fresh tomatoes and mozzarella.
- Fall — pair with roasted root vegetables, smear on turkey or chicken sandwiches, or use as a dip for sweet potato fries.
- Winter — stir a bit into warm pasta with roasted squash, dollop on roasted Brussels sprouts, or use to perk up leftover roasted meats.
Cook’s Commentary
I rely on this aioli precisely because it’s fast and forgiving. The method is intentionally simple: grate garlic finely so you don’t get a raw bite that surprises guests, and whisk until perfectly smooth. Taste as you go. Start conservative with pesto and salt — you can always add more pesto, but you can’t take it away.
When I make it for guests, I often transfer it to a little ramekin and garnish with a tiny drizzle of olive oil or a few pine nuts for texture. It makes a humble dipping sauce look considered. And when I have homemade pesto on hand, the aioli becomes genuinely special — richer, fresher, and more aromatic.
Refrigerate, Freeze, Reheat
- Refrigerate — keep in an airtight container in the refrigerator for up to 2 weeks as stated in the recipe steps. Label it with the made-on date.
- Freeze — I don’t recommend freezing mayo-based aiolis; the texture can separate and turn grainy once thawed. If you must, freeze in small portions and expect some textural change.
- Reheat — this aioli is best served cold or at room temperature. If you want it slightly warm, fold a tablespoon into hot food right before serving so you don’t cook the mayo directly.
Your Questions, Answered
- Can I use homemade mayonnaise? — Yes. Homemade mayo will work exactly the same and often improves the texture and flavor. Use it in the 1 cup measure called for.
- How much pesto should I add? — The recipe lists 3 tablespoons to start. Add more a little at a time until you reach the intensity you want. Taste after each addition.
- Is this safe for guests with garlic sensitivity? — The garlic is raw and potent. Consider reducing to half a clove or grating and letting it rest in lemon for a few minutes to mellow the sharpness.
- Can I make this vegan? — Substitute a vegan mayonnaise. The other ingredients are already plant-based, so the swap is straightforward.
- What if the aioli tastes flat? — Add a squeeze more lemon, a pinch of kosher salt, or a touch more pesto. Small adjustments make a big difference.
Bring It to the Table
Keep a jar of this pesto aioli in your fridge and you’ll find yourself reaching for it almost daily. Spread it on sandwiches, dollop on roasted vegetables, or serve it as a casual dip. A little goes a long way, so start with a modest amount and add more where you want the basil to sing.
When you serve it, think about small garnishes — a twist of lemon zest, a few pine nuts, or a tiny drizzle of good olive oil gives the jar a polished presentation. It’s an easy, practical condiment that elevates simple food without drama. Make a batch, taste it, tweak it, and then enjoy how quickly it becomes your go-to sauce.
Pesto Aioli Recipe
Ingredients
Ingredients
- 1 cupstore-bought mayonnaise*
- 3 tablespoonsprepared pesto or homemade!, plus more to taste
- 1 tablespoonfresh lemon juice
- 1 garlic clove finely grated
- Kosher salt
Instructions
Instructions
- Peel the garlic clove and finely grate it.
- In a medium bowl, add the mayonnaise, prepared pesto, lemon juice, and the grated garlic.
- Whisk vigorously until the mixture is smooth and evenly combined.
- Taste and season with kosher salt as needed; add more pesto, a little at a time, if you want a stronger pesto flavor, and whisk to incorporate.
- Transfer the aioli to an airtight container or jar and refrigerate. Store in the fridge for up to 2 weeks.
Equipment
- Medium Bowl
- Whisk
- Grater
- Airtight container
Notes
*If you'd like to use homemade mayo instead, try my recipe for
Homemade Olive Oil Mayonnaise
.