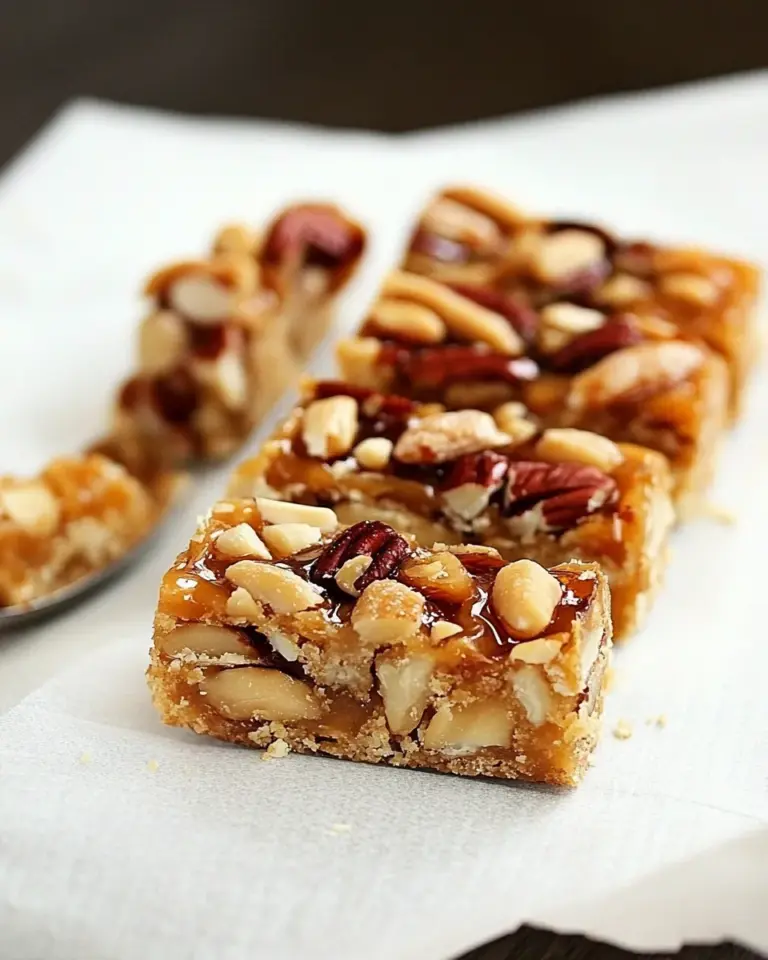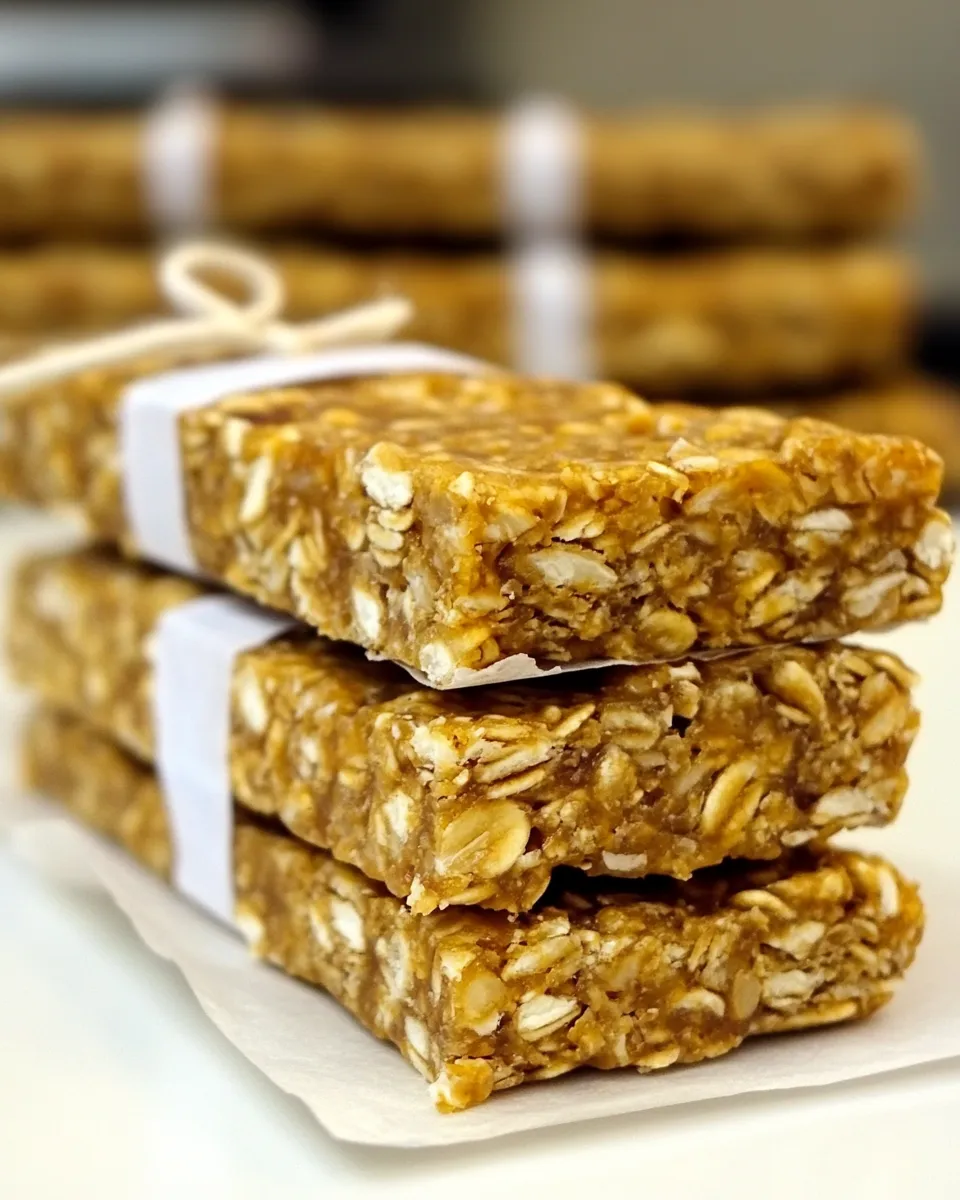
Homemade Clif Bars (No-Bake!)
I make a batch of these Homemade Clif Bars whenever I want a dependable snack that travels well, fuels a long walk, or just replaces the emergency store-bought bar in my bag. They come together without an oven, rely on a few pantry staples, and hit that comforting balance of chew, crunch, and chocolate. No complicated steps. No obscure ingredients.
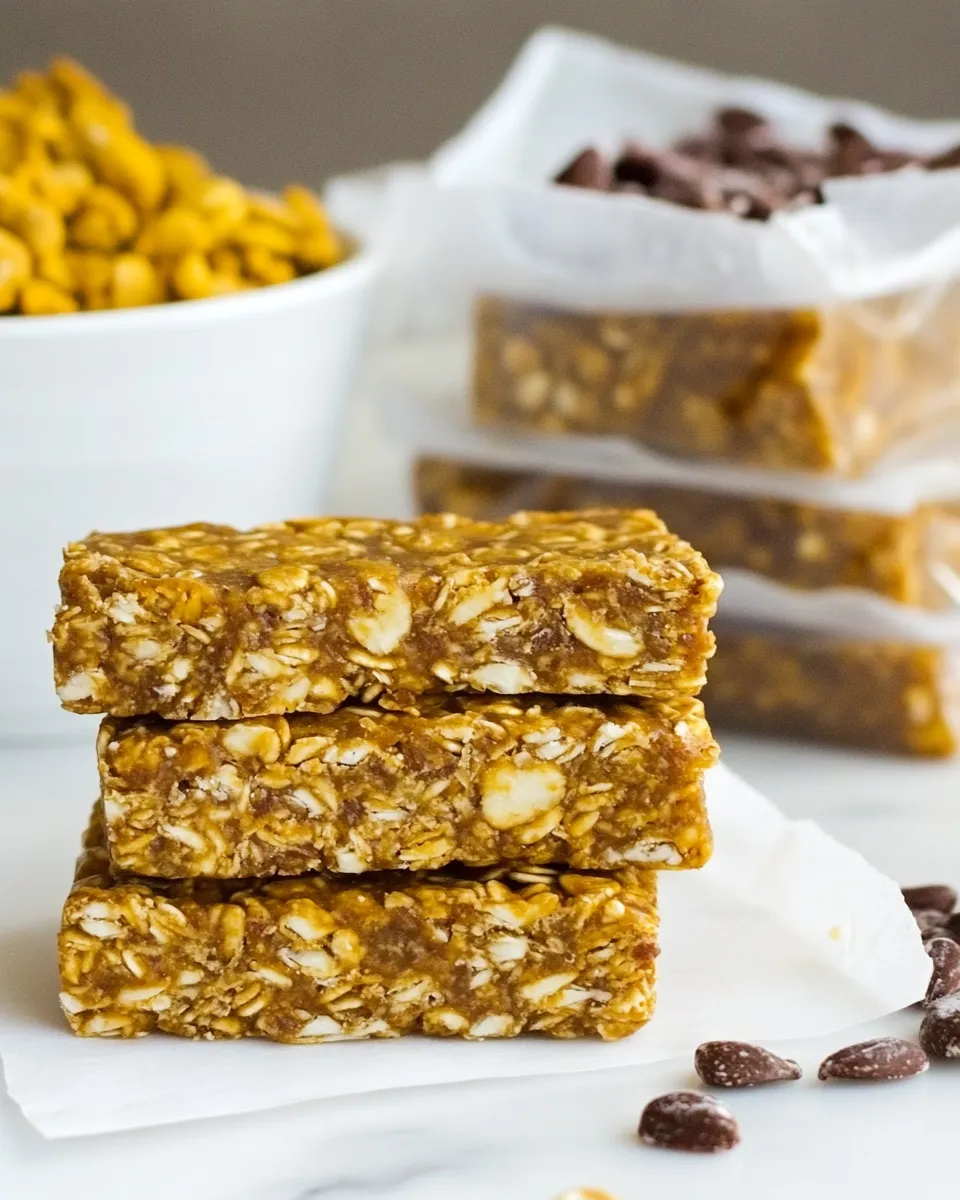
This recipe is straightforward: dates act as the natural sweetener and binder, peanut butter and brown rice syrup bind and add richness, crisp rice cereal and oats give texture, and a handful of mini chocolate chips keeps things fun. Press, chill, cut, wrap. Done. If you like to meal-prep, these stack and keep in the fridge, ready for mornings or mid-afternoon energy dips.
If you’re tentative about making bars at home, this one rewards attention to small details: processing the dates until they’re a smooth paste, warming the peanut butter mixture just until it’s smooth, and pressing the mixture firmly into the pan. Follow those three things and you’ll get neat, hold-together bars every time.
Ingredients at a Glance

- 1 cup (147 g) dates, pitted — act as the primary sweetener and sticky binder; soft dates make this easiest.
- 1¼ cups (23.33 g) crisp rice cereal — adds light crunch and prevents the bars from being too dense.
- 1 cup (81 g) quick-cooking oats — gives chew and whole-grain structure; helps absorb moisture.
- ¼ cup (36.5 g) coarsely chopped peanuts — provides nuttiness and texture; coarse chop keeps little crunch pockets.
- 2 tablespoons ground flaxseed — helps bind and gives a tiny boost of fiber; mixes in invisibly.
- ½ teaspoon (0.5 teaspoon) ground cinnamon — brightens the overall flavor without being overpowering.
- Pinch salt — balances the sweetness and enhances the peanut flavor.
- ½ cup (129 g) peanut butter — adds fat, richness, and an adhesive quality when warmed.
- ⅓ cup (113.67 ml) brown rice syrup — smooth, sticky sweetener that helps the bars hold together (keeps texture chewier than liquid syrups).
- 1 teaspoon vanilla extract — rounds and deepens the flavor of the peanut butter and dates.
- ¼ cup (45 g) mini semisweet chocolate chips — optional pockets of chocolate; stir in gently so they don’t melt.
From Start to Finish: Homemade Clif Bars (No-Bake!)
- Spray an 8×8-inch pan with non-stick cooking spray and set aside.
- Place the 1 cup (147 g) pitted dates in a food processor and pulse until they form a sticky, finely chopped paste.
- In a large bowl, combine the processed dates with 1¼ cups (23.33 g) crisp rice cereal, 1 cup (81 g) quick-cooking oats, ¼ cup (36.5 g) coarsely chopped peanuts, 2 tablespoons ground flaxseed, ½ teaspoon (0.5 teaspoon) ground cinnamon, and a pinch of salt. Stir until the dry ingredients are evenly distributed.
- In a small saucepan over medium heat, combine ½ cup (129 g) peanut butter and ⅓ cup (113.67 ml) brown rice syrup. Stir constantly until the mixture is melted and smooth. Remove from heat and stir in 1 teaspoon vanilla extract.
- Pour the warm peanut butter–syrup mixture over the date and oat mixture. Stir thoroughly until the dry mixture is evenly coated and begins to stick together.
- Gently fold in ¼ cup (45 g) mini semisweet chocolate chips, distributing them evenly without melting.
- Transfer the mixture to the prepared pan. Press firmly and evenly into the pan to compact the mixture (use the back of a spatula or clean hands) so the bars hold together.
- Let the mixture cool and set until firm, at least 1 hour (you can refrigerate to speed setting).
- Remove from the pan, cut into bars, wrap individually in plastic wrap, and store in the refrigerator.
Why It Works Every Time
This recipe is built on three simple functions: binder, bulk, and texture. The dates are both sweetener and glue; when processed they become a tacky paste that helps everything adhere. Peanut butter and brown rice syrup add fat and additional stickiness when warmed; the combination is crucial because one binder alone often makes bars either too dry or too greasy.
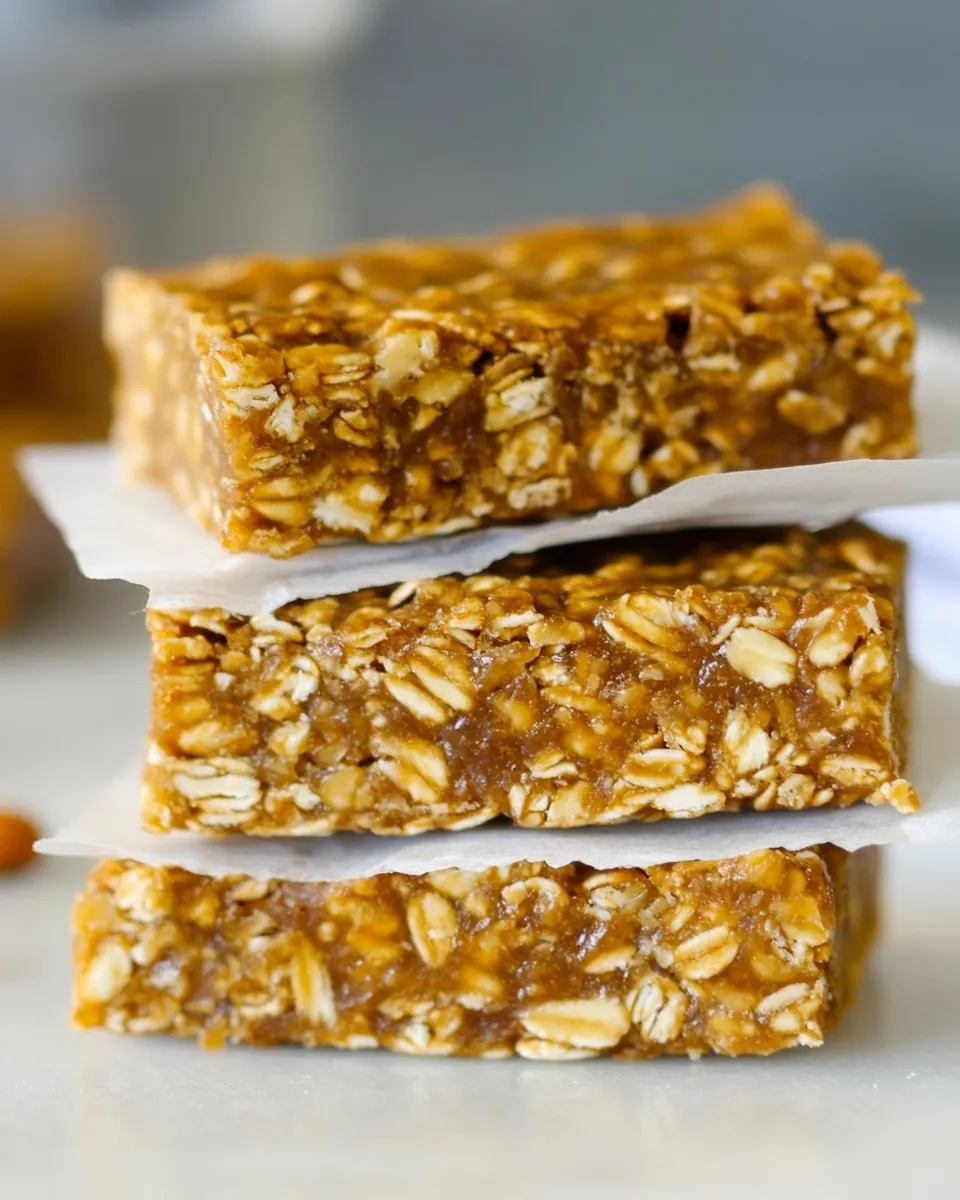
Crisp rice cereal gives the airy crunch that mimics commercial bars, while quick oats supply chew and structural body. The oats and rice cereal together create that familiar Clif-like bite: not crumbly, not gummy. Ground flaxseed is a small but important touch — it absorbs some moisture and gives a subtle cohesiveness without changing flavor.
Temperature matters. Warming the peanut butter and syrup makes the mixture fluid enough to coat all dry ingredients evenly; if it’s too cool the bars won’t bind. Pressing firmly into the pan forces out air pockets and compacts the mixture so the bars hold their shape. Finally, chilling gives the fats and syrups time to solidify and lock everything in place.
Easy Ingredient Swaps
You can adapt the texture using only what’s already in this recipe:
– Use a bit more quick-cooking oats in place of some crisp rice cereal if you prefer a chewier, less crisp bar. Increasing oats by a couple tablespoons will make the bar denser but still hold together.
– If you’d like fewer visible nuts, reduce the ¼ cup coarsely chopped peanuts and let the chop be finer; flavor remains but crunch is subtler.
– Skip the mini semisweet chocolate chips entirely for a plain energy bar — they’re included for a chocolate hit, not structural necessity.
– If your dates are very dry and the mixture feels crumbly, add a teaspoon or two more brown rice syrup (use sparingly) to help bring it together; if they’re extra sticky, you may not need to press as hard.
These swaps only use ingredients listed in the recipe and let you tailor chew vs. crunch without changing technique.
Must-Have Equipment
- Food processor — for turning the dates into a sticky paste; you can’t get the same texture by chopping by hand.
- Small saucepan — for warming the peanut butter and brown rice syrup together until smooth.
- Large mixing bowl — to combine the processed dates with dry ingredients comfortably.
- 8×8-inch pan — the recipe is sized for this pan for consistent thickness and setting.
- Spatula or wooden spoon — for mixing and pressing the mixture into the pan.
- Measuring cups and spoons or a kitchen scale — the recipe gives both measurements; a scale improves consistency.
- Plastic wrap — for individually wrapping the finished bars if you want single-serve portability.
Slip-Ups to Skip
– Don’t under-process the dates. If they’re still chunky, the bars won’t bind well. You want a sticky, paste-like consistency.
– Don’t overheat the peanut butter and brown rice syrup. Stir constantly and remove once smooth. Too hot can change texture and flavor.
– Don’t skimp on pressing. Lightly filling the pan leads to bars that fall apart. Press hard and evenly to compact the mixture.
– Don’t cut the bars while they’re warm. They need at least an hour to set; cutting too early makes them mushy and crumbly.
– Don’t fold the chips in while the peanut butter mixture is piping hot. Fold them in after you’ve removed the pan from heat and stirred in vanilla so they keep their shape.
Variations by Season
Winter: Keep the bars in the refrigerator and enjoy them cold — the peanut butter firms up and feels more substantial. If you’re making these for a holiday snack box, include the mini chocolate chips to make them feel a little more festive.
Spring/Summer: For warmer months, chill the bars fully before packing them for a picnic. Without any change to the recipe, the bars will hold in a cool bag for a few hours. Omit the chocolate chips if you’re worried about melting and you want a cleaner, fruitier bite from the dates.
Travel/Outdoor: Press bars a bit thinner to get more compact squares that slip into pockets and packs with less shifting. Be sure to wrap each bar tightly in plastic wrap and keep them chilled until you leave.
All seasons: The base recipe is resilient — small adjustments to the oats vs. crisp rice cereal ratio will alter chew without changing the core method, so you can tune texture to preference year-round.
Little Things that Matter
– Date texture: Soft, pliable dates blend more easily. If yours are a little firm, soak them in warm water for 10 minutes, drain well, then process.
– Pressing technique: Use the back of a spatula or the flat bottom of a glass to press firmly and evenly. Work from the center outward to eliminate air pockets.
– Measuring rice cereal: It’s easy to compact this when measuring; spoon it lightly into the cup for accurate volume.
– Chocolate chips: Stir them in gently and off-heat to keep their shape and avoid streaks.
– Salt: A single pinch balances the sweetness. Don’t skip it unless you’re on a sodium-restricted diet; it makes flavors pop.
Shelf Life & Storage
Wrap bars individually in plastic wrap as instructed and store them in the refrigerator. Properly chilled, they keep nicely for about 1–2 weeks. If you want longer storage, freeze wrapped bars for up to 3 months; thaw in the refrigerator or at room temperature for 30–60 minutes before eating. Room temperature storage is fine for short outings, but keep them cool in hot weather to prevent excessive softening or melting of the chocolate chips.
Quick Q&A
Q: My mixture is dry and won’t stick. What did I do wrong?
A: Likely the dates weren’t processed enough, or your peanut butter–syrup mix was too cool. Process the dates until sticky and warm the peanut butter mixture just until smooth, then stir thoroughly so everything is evenly coated.
Q: The bars are too soft after cutting.
A: Let them chill longer. If you cut them immediately after pressing, the fats and syrup haven’t set. Refrigerate at least an hour before cutting.
Q: Can I skip the peanuts or chocolate?
A: Yes. Removing the peanuts reduces crunch; removing the chips takes away the chocolate pockets. Both are optional and will not break the structure of the bar.
Q: How do I make them less sweet?
A: Reduce the amount of mini chocolate chips or slightly reduce the brown rice syrup by small increments. Be cautious — syrup reduction affects binding.
Let’s Eat
Cut into the size you like, wrap the bars, and tuck them into the fridge or freezer for grab-and-go energy. These Homemade Clif Bars (No-Bake!) are practical, portable, and forgiving. They travel well in backpacks, sit comfortably next to a morning coffee, and offer honest, homemade fuel without fuss. Make a double batch when you have a moment — they store easily and make your week feel organized.
Homemade Clif Bars (No-Bake!)
Ingredients
Ingredients
- 1 cup 147 gdates, pitted
- 1 1/4 cups 23.33 gcrisp rice cereal
- 1 cup 81 gquick-cooking oats
- 1/4 cup 36.5 gcoarsely chopped peanuts
- 2 tablespoonsground flaxseed
- 1/2 teaspoon 0.5 teaspoonground cinnamon
- Pinchsalt
- 1/2 cup 129 gpeanut butter
- 1/3 cup 113.67 mlbrown rice syrup
- 1 teaspoonvanilla extract
- 1/4 cup 45 gmini semisweet chocolate chips
Instructions
Instructions
- Spray an 8x8-inch pan with non-stick cooking spray and set aside.
- Place the 1 cup (147 g) pitted dates in a food processor and pulse until they form a sticky, finely chopped paste.
- In a large bowl, combine the processed dates with 1¼ cups (23.33 g) crisp rice cereal, 1 cup (81 g) quick-cooking oats, ¼ cup (36.5 g) coarsely chopped peanuts, 2 tablespoons ground flaxseed, ½ teaspoon (0.5 teaspoon) ground cinnamon, and a pinch of salt. Stir until the dry ingredients are evenly distributed.
- In a small saucepan over medium heat, combine ½ cup (129 g) peanut butter and ⅓ cup (113.67 ml) brown rice syrup. Stir constantly until the mixture is melted and smooth. Remove from heat and stir in 1 teaspoon vanilla extract.
- Pour the warm peanut butter–syrup mixture over the date and oat mixture. Stir thoroughly until the dry mixture is evenly coated and begins to stick together.
- Gently fold in ¼ cup (45 g) mini semisweet chocolate chips, distributing them evenly without melting.
- Transfer the mixture to the prepared pan. Press firmly and evenly into the pan to compact the mixture (use the back of a spatula or clean hands) so the bars hold together.
- Let the mixture cool and set until firm, at least 1 hour (you can refrigerate to speed setting).
- Remove from the pan, cut into bars, wrap individually in plastic wrap, and store in the refrigerator.
Equipment
- 8x8-inch Pan
- Food Processor
- Large Bowl
- Small Saucepan
- Spatula
Notes
Nutritional values are based on one serving