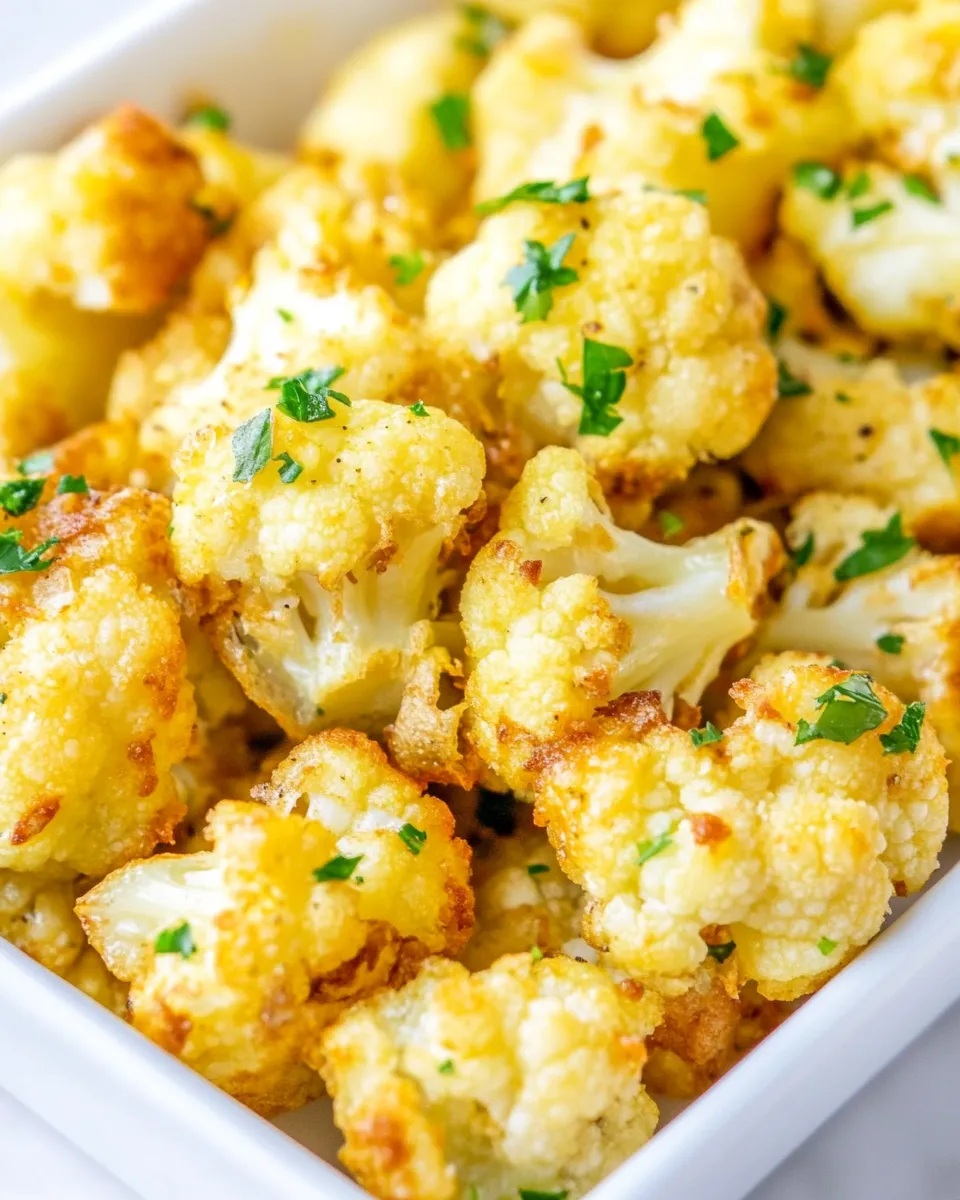
Fried Cauliflower Recipe
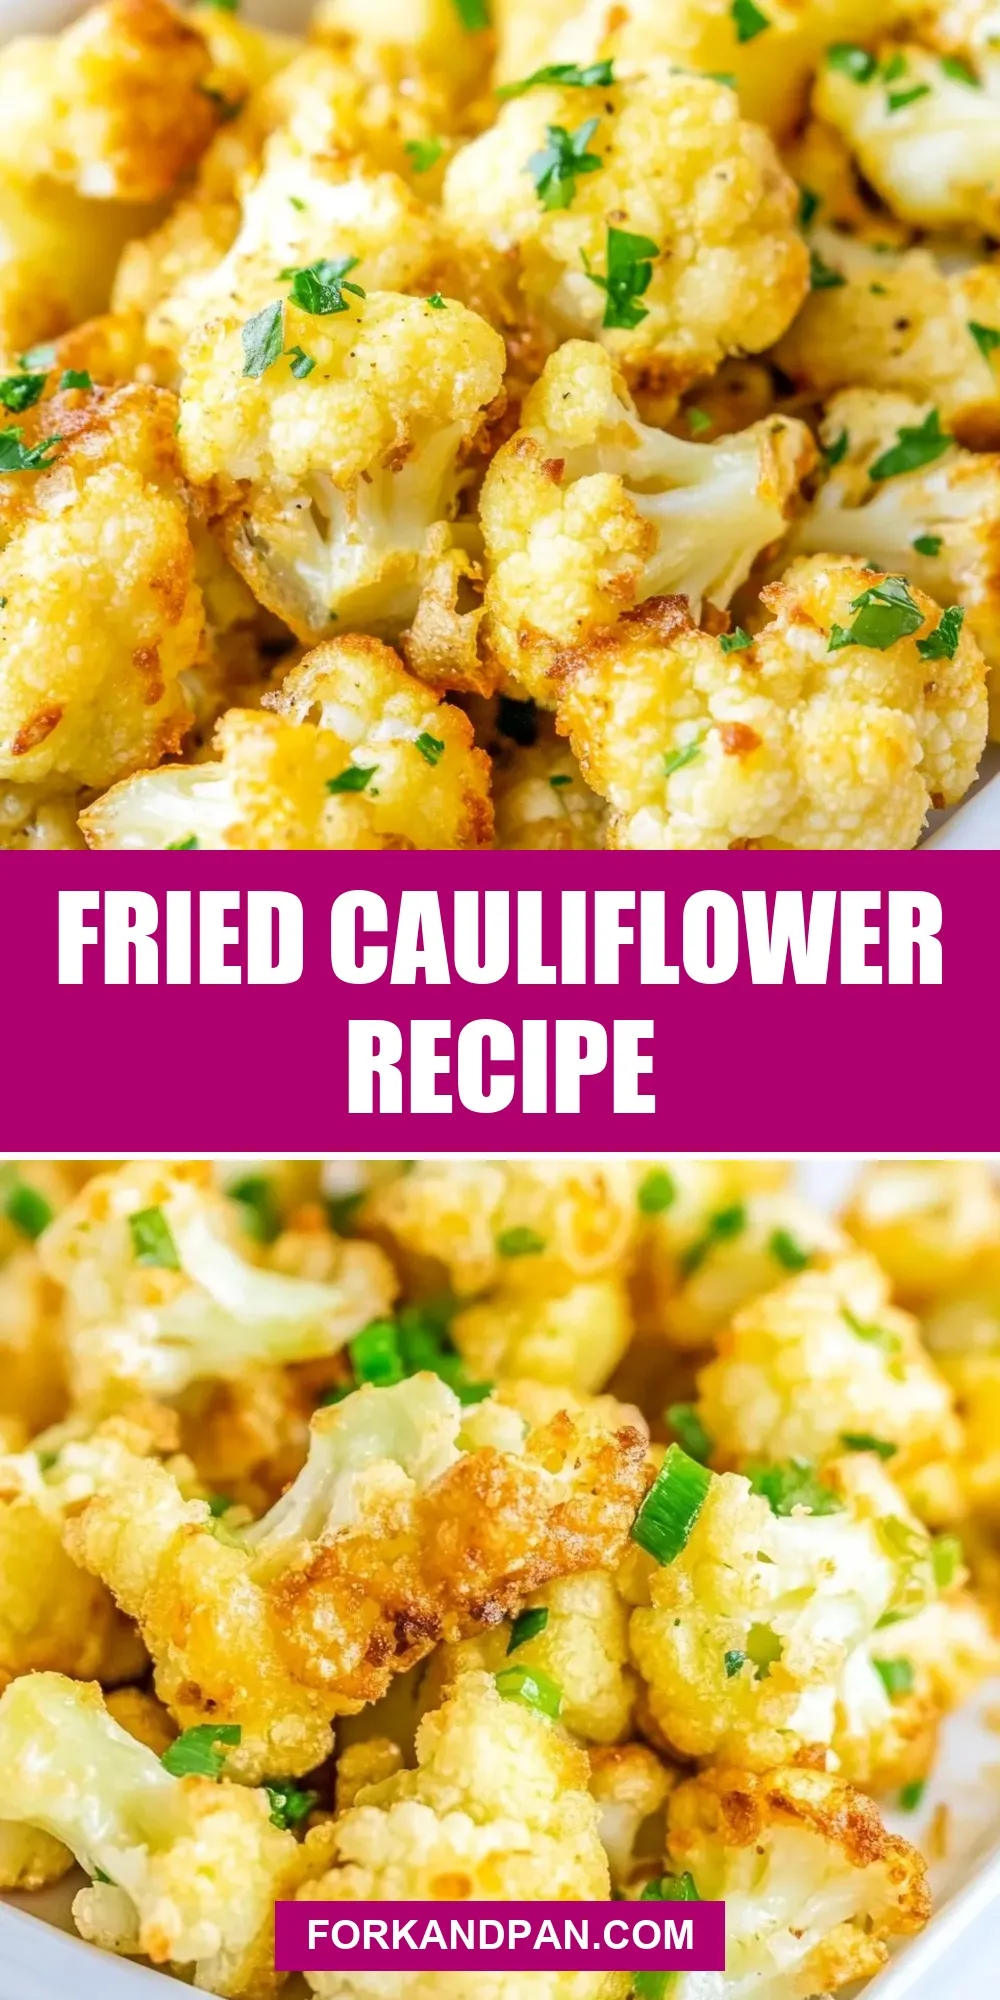
When I want something that feels indulgent but is actually just a humble vegetable dressed for a night out, fried cauliflower is my go-to. It arrives at the table golden, a little crisp at the edges and tender inside. There’s comfort in that contrast — the way a simple floret transforms with a light coating and a quick turn in hot oil.
This version is straightforward: a brief blanch to take the raw edge off, a flour dredge, an egg dip, and a pan-fry that gives you color without long hands-on time. It’s not fussy and it respects the ingredient — you can taste cauliflower, not just batter. It also scales: make it for one, or double up for guests.
I’ll walk you through what goes into the dish, the exact steps to follow, and the small adjustments that save a batch from sogginess or over-browning. Expect practical tips, sensible substitutions for texture, and the tools that make the process easier. No fluff — just a reliable method you can trust.
What Goes Into Fried Cauliflower

- 1 small cauliflower head — broken into medium-small florets so they cook evenly and fit comfortably in the pan.
- 3 eggs — whisked to give the flour something to cling to and to create a thin, golden coating.
- ½ cup flour — for dredging; it creates a light crust when combined with the egg wash.
- ⅓ tsp. salt — mixed into the eggs to season through the coating.
- ¼ tsp. pepper — for a touch of background heat; adjust if you prefer more or less.
- 4 tbsp. vegetable oil — for frying; neutral oil with a high smoke point keeps the coating crisp without off-flavors.
Fried Cauliflower: How It’s Done
- Break the 1 small cauliflower head into medium-small florets.
- Bring a pot of water to a boil. Add the cauliflower florets and cook 7–9 minutes, until just tender. Drain well and pat dry.
- Put ½ cup flour in a small bowl (for dredging).
- In a separate bowl, whisk 3 eggs with ⅓ tsp. salt and ¼ tsp. pepper.
- Working with a few florets at a time, dredge each piece in the flour, shaking off excess, then dip it into the egg mixture, letting excess egg drip off.
- Heat 4 tbsp. vegetable oil in a large non-stick skillet over medium heat.
- Fry the coated cauliflower in the hot oil in a single layer (work in batches if needed) for about 3–4 minutes per side, turning once, until golden brown on both sides.
- Transfer fried cauliflower to a paper-towel-lined plate to drain. Repeat with remaining florets if you cooked in batches.
- Serve warm. If desired, drizzle with garlic sauce (recipe not included).
Why It’s My Go-To
There are recipes that require planning and recipes that fit into whatever time you have. Fried cauliflower sits in the second group. It’s quick, forgiving, and it hits the comfort-food notes without much effort. The little blanch before frying is the single most important step — it guarantees tender interiors so you don’t end up with raw centers or an aggressively charred exterior while you wait for the inside to cook.
This method also keeps things flexible. You can treat the finished florets as an appetizer with a dipping sauce or pile them on a plate alongside a simple grain salad for a light dinner. The coating is thin, so the vegetable’s flavor still shines through; you get texture and presence, not just more batter.
Texture-Safe Substitutions

If you want the same textural play with a different vegetable, choose ones that behave like cauliflower when blanched: broccoli florets work well because they have a similar interior density and cook time. For a softer result, try thicker slices of celeriac or even large mushrooms — adjust blanching time so they’re tender before frying.
If you need a gluten-free option, swap the flour for a 1:1 gluten-free flour blend that’s intended for frying. For a lighter exterior, try a coarser rice flour for crunch. For a vegan alternative to the egg wash, use aquafaba (the liquid from canned chickpeas). Whisk it until slightly frothy and use it the same way as the eggs; it helps the flour stick and forms a crisp coating when fried.
Appliances & Accessories

You don’t need fancy gear to get this right, but these items make the process smoother:
- Large non-stick skillet — the recipe calls for one specifically; it helps prevent sticking and allows for even browning.
- Slotted spoon or spatula — useful for turning florets and lifting them out of the oil without carrying excess oil to the plate.
- Paper towels — for draining fried pieces; they absorb oil so you retain that crispness.
- Colander or mesh strainer — for draining blanched cauliflower thoroughly and helping it dry before dredging.
- Two medium bowls — one for flour, one for the egg wash; keeping them separate speeds the assembly process.
Missteps & Fixes
Soggy exterior: If your coating is limp after frying, the usual culprit is moisture. Make sure the florets are patted very dry after blanching. Drain them well and let them sit briefly so surface moisture evaporates. Also, don’t overcrowd the pan — too many pieces lower oil temperature and steam the coating instead of crisping it.
Burned outside, raw inside: That means the heat is too high for the size of the florets. Lower the flame and cook a little longer per side; you want a steady medium heat that browns evenly. Using medium-small florets, as the recipe specifies, helps avoid this problem.
Coating slides off: Shake off excess flour before dipping in the egg and let excess egg drip back into the bowl. If pieces are dripping wet with egg, the coating won’t set properly. Also, ensure the oil is hot enough (it should sizzle when you add a piece) so the coating seals quickly.
Dietary Customizations
Gluten-free: Use a certified gluten-free flour blend for dredging. Rice flour or a light blend works well.
Vegan: Replace the eggs with aquafaba (the liquid from canned chickpeas) or a commercial egg replacer. Aquafaba whips slightly and gives a clingy surface similar to beaten eggs; use it in the same volume the recipe requires for eggs.
Lower oil option: Pan-frying is already economical with oil, but if you want to cut oil further, try shallow roasting coated florets on a hot baking sheet at 425°F for 20–25 minutes, flipping once. You’ll lose a little of the direct fry texture but keep good caramelization.
Behind-the-Scenes Notes
The brief boil (blanch) does more than speed up cooking. It pre-gels the surface starches just enough so the flour and egg form a thin, cohesive crust rather than a heavy batter. That crust gives color and crunch without hiding the cauliflower’s texture.
Choosing medium-small florets is intentional: they hit the sweet spot for a 3–4 minute fry per side. Larger pieces would need longer, risking over-browned exteriors. Smaller pieces can dry out or be overly crisp. If your cauliflower head is uneven, trim larger florets so they match the smaller ones for consistent cooking.
Storing Tips & Timelines
Refrigerator: Store leftover fried cauliflower in a single layer in an airtight container for up to 3 days. If you stack pieces, separate layers with paper towels to avoid trapping steam.
Freezer: You can freeze fried cauliflower, though texture will soften on reheating. Freeze in a single layer on a sheet tray until solid, then transfer to a zipper bag for up to 1 month. Reheat from frozen for best results rather than thawing first.
Reheating: For crispness, reheat in a 400°F oven or a cast-iron skillet on medium heat until warmed through and the coating crisps up again. Microwaving will warm them but won’t restore texture.
Helpful Q&A
Q: Can I skip the blanching step? A: You can, but the interior may be firmer and take longer to cook. Blanching shortens overall cooking time and ensures the florets are tender when the crust is golden.
Q: How do I know the oil is hot enough? A: Drop a small pinch of flour into the oil — it should sizzle immediately but not smoke. If the oil smokes, reduce heat. If nothing happens, give it another minute.
Q: Can I double the recipe in one skillet? A: Work in batches. Overcrowding reduces oil temperature and leads to steaming rather than frying. Keep cooked batches warm on a sheet in a low oven if serving all at once.
Ready, Set, Cook
Fried cauliflower is a reliable, quick way to make a vegetable feel celebratory. Follow the simple steps here: blanch, dry, dredge, egg-wash, and fry on medium heat — and you’ll get consistent golden results. Keep an eye on oil temperature, avoid overcrowding, and pat those florets dry. Serve warm with a lemon wedge, a drizzle of garlic sauce, or a favorite dip. It’s simple, satisfying, and easy to adapt to what you have on hand.
If you make it, try one small change the first time — maybe a squeeze of lemon at the end or a sprinkle of flaky salt — and you’ll see how tiny adjustments make it your own. Happy cooking.

Fried Cauliflower Recipe
Ingredients
Ingredients
- 1 small cauliflower head
- 3 eggs
- 1/2 cupflourfor dredging
- 1/3 tsp.salt
- 1/4 tsp.pepper
- 4 tbsp.vegetable oilfor frying
Instructions
Instructions
- Break the 1 small cauliflower head into medium-small florets.
- Bring a pot of water to a boil. Add the cauliflower florets and cook 7–9 minutes, until just tender. Drain well and pat dry.
- Put ½ cup flour in a small bowl (for dredging).
- In a separate bowl, whisk 3 eggs with ⅓ tsp. salt and ¼ tsp. pepper.
- Working with a few florets at a time, dredge each piece in the flour, shaking off excess, then dip it into the egg mixture, letting excess egg drip off.
- Heat 4 tbsp. vegetable oil in a large non-stick skillet over medium heat.
- Fry the coated cauliflower in the hot oil in a single layer (work in batches if needed) for about 3–4 minutes per side, turning once, until golden brown on both sides.
- Transfer fried cauliflower to a paper-towel-lined plate to drain. Repeat with remaining florets if you cooked in batches.
- Serve warm. If desired, drizzle with garlic sauce (recipe not included).
Equipment
- Pot
- Colander
- Small Bowl
- Mixing Bowl
- Large non-stick skillet
- Paper Towels
- Plate
Notes
Garlic Sauce Recipe
To make the garlic sauce, mix 1 tbsp. of minced garlic, 1 tbsp. of chopped parsley, 1 tbsp. of lemon juice, and 2 tbsp. of olive oil together.