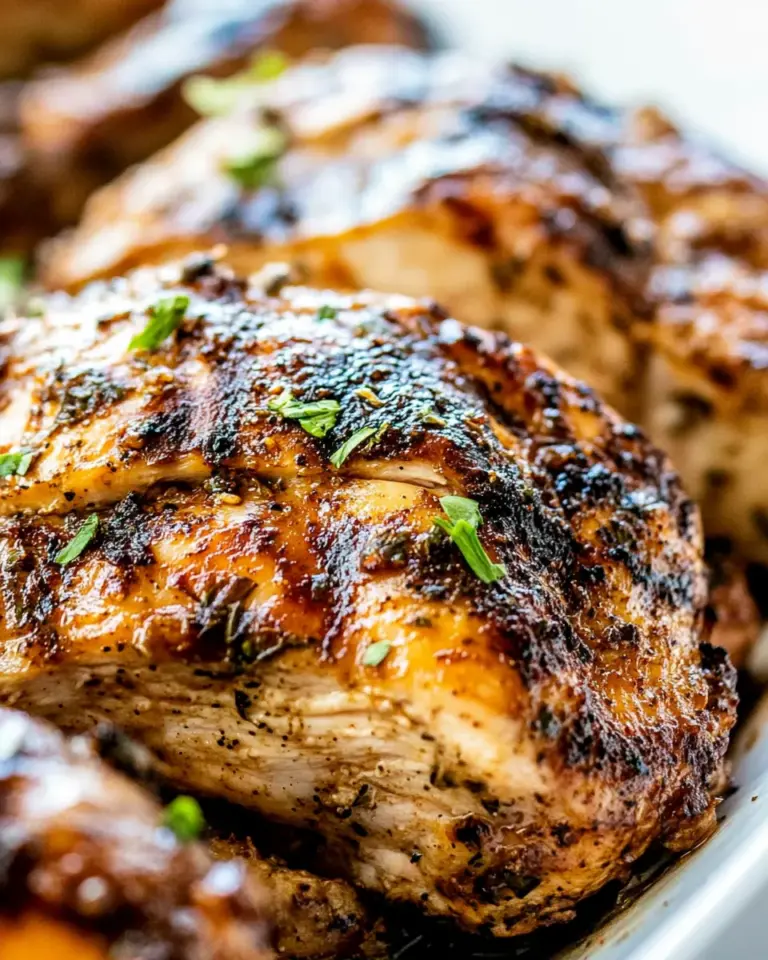
Crispy Skin Skillet Chicken Thighs
This is a straight-forward, weeknight-friendly recipe for bone-in, skin-on chicken thighs with reliably crackling skin and juicy meat. No oven tricks, no flour dredge—just seasoning, a hot skillet, and patience. If you want restaurant-style crispy skin from one pan, this is the method I reach for when I need a fast, satisfying meal.
You’ll find clear instructions and practical tips below: what each ingredient does, the small choices that make the skin blister and brown, and how to avoid common pitfalls. I kept the technique simple so you can replicate it each week with confidence.
There are sections for substitutions, storage, and troubleshooting so you can adapt this to what’s in your kitchen. Read the steps once, then follow them in order—the results reward a little attention.
Ingredient Rundown

Ingredients
- 5–6 chicken thighs — bone-in, skin-on; the skin crisps and the bone keeps the meat juicy.
- 1 teaspoon salt — or to taste; draws moisture out of the skin so it browns better.
- 1/2 tsp each garlic powder, onion powder, Italian seasoning, smoked paprika, black pepper — combined into a single spice mix for balanced savory flavor and color.
- 1 teaspoon avocado oil — for searing; high smoke point and neutral flavor that helps the skin crisp without burning.
Crispy Skin Skillet Chicken Thighs in Steps
- Pat the 5–6 chicken thighs dry with paper towels. In a small bowl whisk together 1 teaspoon salt and 1/2 teaspoon each garlic powder, onion powder, Italian seasoning, smoked paprika, and black pepper. Season both sides of the chicken with the spice mix.
- Heat 1 teaspoon avocado oil in a large heavy-duty cast iron skillet over medium-high heat until the oil is shimmering.
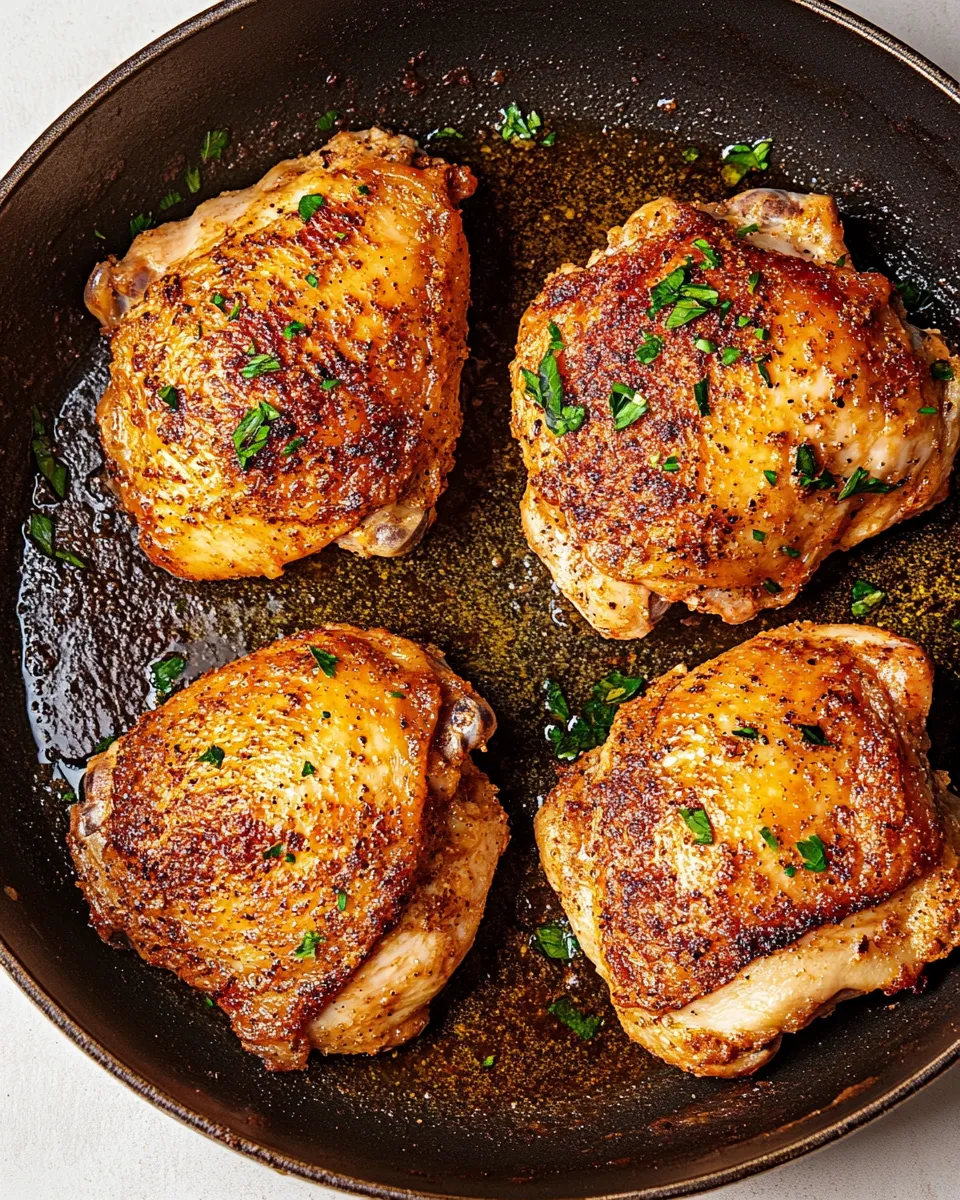
- Arrange the chicken thighs in the skillet skin-side down in a single layer without overcrowding (work in batches if needed). Sear undisturbed for 5 minutes.
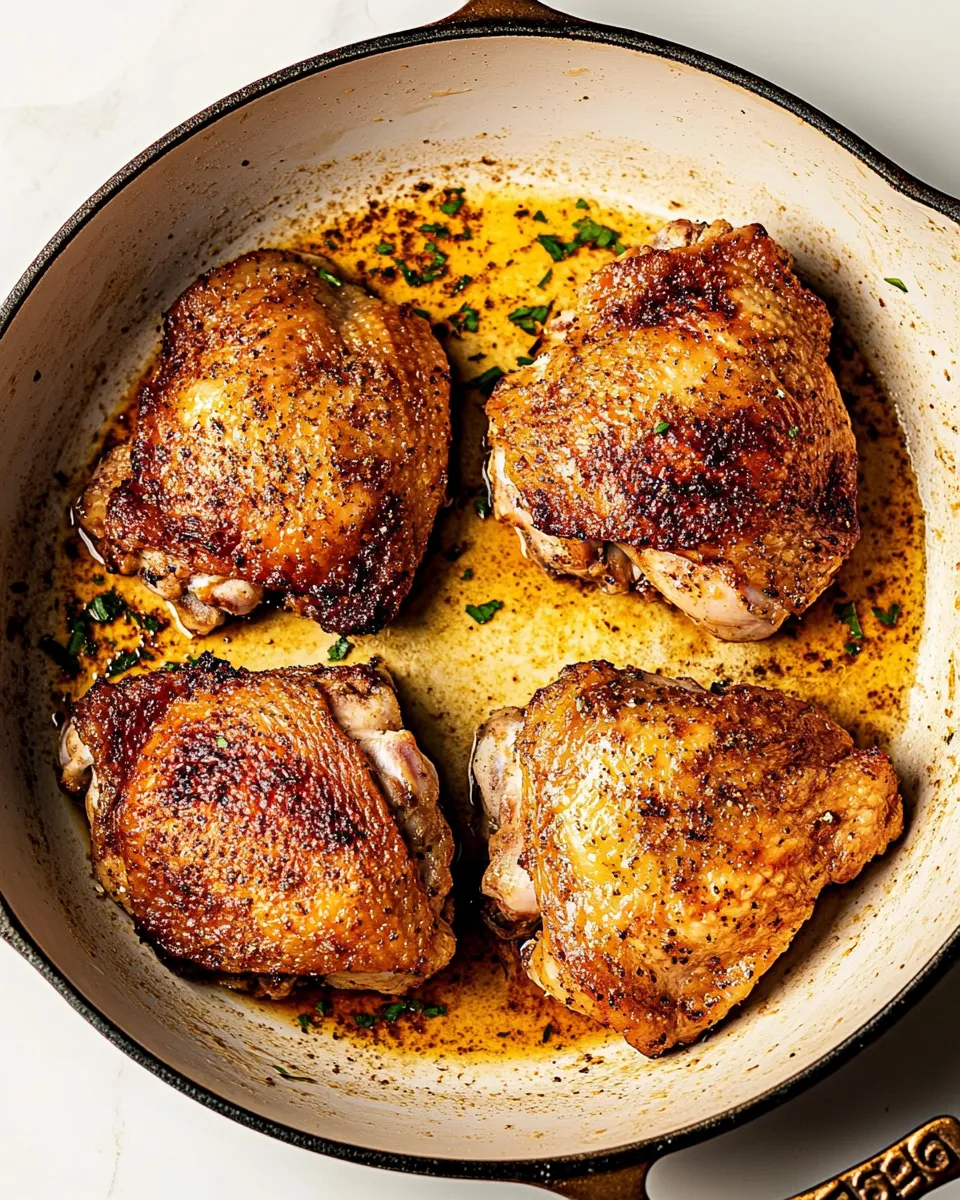
- Reduce the heat to medium and continue cooking the thighs skin-side down, undisturbed, for 20 minutes or until the skin is golden brown and crispy.
- Flip the thighs and cook the other side for 10 minutes or until an instant-read thermometer inserted into the thickest part (not touching bone) reads 170°F.
- Remove the thighs from the skillet and let rest a few minutes before serving.
Why You’ll Keep Making It
This recipe delivers the two things you want from a pan-seared chicken thigh: reliably crispy skin and juicy meat. There’s no breading, no flour, no oven finish—just a method that uses time and steady heat to render fat and concentrate flavor. It’s fast to prep and forgiving once the skillet is hot.
You can pair these thighs with vegetables tossed into the same pan, a simple salad, or grain bowls. They rehearse well too; crisp them briefly in a hot skillet or under a broiler to revive the skin if you’ve refrigerated leftovers.
Healthier Substitutions

- Reduce salt: Cut the 1 teaspoon salt by half initially and finish with a pinch at the table if needed.
- Fatter trimmed: Remove some visible fat from the thigh edge if you want less rendered fat on the plate, but keep the skin for crispness.
- Oil swap: If you prefer another neutral oil, light olive oil works but watch temperature; avocado oil is suggested for its higher smoke point.
- Spice mix: Reduce or omit smoked paprika for a milder flavor, or swap Italian seasoning for dried thyme if that’s what you have on hand.
Prep & Cook Tools
- Large heavy-duty cast iron skillet — the recipe calls for one; it retains heat and promotes even browning.
- Paper towels — for patting chicken dry.
- Small bowl and whisk or fork — to combine the dry seasonings.
- Instant-read thermometer — to check the internal temperature at 170°F for doneness.
- Tongs or spatula — to place and flip the thighs without piercing the skin.
Avoid These Mistakes
- Don’t skip drying the skin. Moisture means steam; steam prevents crisping. Pat the thighs thoroughly before seasoning.
- Do not overcrowd the pan. If thighs touch or are crowded, they’ll steam instead of sear. Work in batches if necessary.
- Resist moving the thighs early. Sear undisturbed for the times listed. Lifting or shifting the thighs will tear the skin and slow browning.
- Avoid too-high heat once searing starts. After the initial 5-minute sear, the heat is lowered to medium so the fat renders slowly and skin crisps without burning.
- Don’t rely solely on time for doneness. Use an instant-read thermometer and check the thickest part away from the bone for 170°F.
In-Season Swaps
While the core ingredients are fixed, you can serve these thighs alongside seasonal produce to keep meals fresh. In spring, wilted spinach or a peas-and-lemon pasta are light companions. In summer, quick tomato-cucumber salads or grilled corn add brightness. Root vegetables roasted alongside the skillet-finished thighs make a cozy fall or winter plate.
Chef’s Rationale
The technique emphasizes a long, undisturbed period with the skin-side down at a reduced temperature after an initial sear. That’s intentional: the first five minutes get the pan hot and start Maillard browning; the next 20 minutes render fat and crisp the skin without burning. Lowering the heat after the sear keeps the outside from charring while the fat beneath the skin melts away, which gives you that glossy, crackly finish.
Bone-in thighs stay juicier than boneless because the bone slows heat penetration, and the skin insulates and traps juices. The simple spice mix layers flavor without masking the chicken: salt for seasoning and extraction of surface moisture, garlic and onion powders for savory depth, Italian seasoning for herbs, smoked paprika for subtle smoke and color, and black pepper for bite.
Shelf Life & Storage
Store cooled leftovers in an airtight container in the refrigerator for 3–4 days. To re-crisp, place thighs on a wire rack set over a baking sheet and broil briefly or heat in a skillet over medium-high heat until the skin bubbles and crisps. Avoid microwaving if you care about texture—the microwave makes the skin soggy.
For longer storage, freeze cooked thighs in a sealed container or heavy freezer bag for up to 3 months. Thaw overnight in the refrigerator and reheat in a skillet or oven to refresh the skin.
Top Questions & Answers
- Can I use boneless thighs? Yes, but cooking times will be shorter and the texture differs; boneless thighs brown faster and can dry out if overcooked. Keep a closer eye on internal temperature.
- Why 170°F instead of 165°F? The recipe’s guidance to 170°F accounts for the bone-in cut; checking away from the bone avoids under-reading. If you prefer USDA minimum, you can remove at 165°F, but note carryover will raise the temp slightly while resting.
- My skin burned before it crisped—what happened? Likely the heat was too high during the long rendering step. After the initial sear, reduce the heat to medium and let the fat render slowly so the skin crisps rather than burns.
- Can I add aromatics to the pan? You can, but adding wet ingredients or vegetables too early will lower the pan temperature and introduce steam. Add quick-cooking veggies toward the end or finish them in a separate pan.
- Is a non-stick skillet okay? A heavy skillet is important. Non-stick pans don’t always brown as well as cast iron or stainless steel; if you use one, make sure it’s rated for higher heat and that you manage the temperature carefully.
Next Steps
Make this on a night when you need a reliable, simple dinner. Read the steps once, measure the spices into a small bowl, and have your paper towels and thermometer handy. If you want to turn this into a one-pan meal, sear the thighs and transfer them to a plate, then sauté sturdier vegetables (carrots, potatoes, onions) in the same skillet in a bit more oil until nearly tender; return the thighs to the pan skin-side up and finish in a 400°F oven for 15–20 minutes until the internal temp reaches 170°F.
Bookmark this recipe. It’s one of those dependable methods you’ll use repeatedly: minimal ingredients, maximum payoff. When you master the timing and heat of your skillet, the results are predictably delicious.

Crispy Skin Skillet Chicken Thighs
Ingredients
Ingredients
- 5-6 Chicken thighs Bone in, skin on
- 1 teaspoonsalt or to taste
- 1/2 tspEACH garlic powder onion powder, italian seasoning, smoked paprika, black pepper
- 1 teaspoonavocado oil
Instructions
Instructions
- Pat the 5–6 chicken thighs dry with paper towels. In a small bowl whisk together 1 teaspoon salt and 1/2 teaspoon each garlic powder, onion powder, Italian seasoning, smoked paprika, and black pepper. Season both sides of the chicken with the spice mix.
- Heat 1 teaspoon avocado oil in a large heavy-duty cast iron skillet over medium-high heat until the oil is shimmering.
- Arrange the chicken thighs in the skillet skin-side down in a single layer without overcrowding (work in batches if needed). Sear undisturbed for 5 minutes.
- Reduce the heat to medium and continue cooking the thighs skin-side down, undisturbed, for 20 minutes or until the skin is golden brown and crispy.
- Flip the thighs and cook the other side for 10 minutes or until an instant-read thermometer inserted into the thickest part (not touching bone) reads 170°F.
- Remove the thighs from the skillet and let rest a few minutes before serving.
Equipment
- Equipment
- Cast iron pan
Notes
To
bake
in the oven, after searing for 5 minutes, transfer to a 425F preheated oven and bake uncovered an additional 15 minutes skin side down then flip and bake another 10-15 minutes.