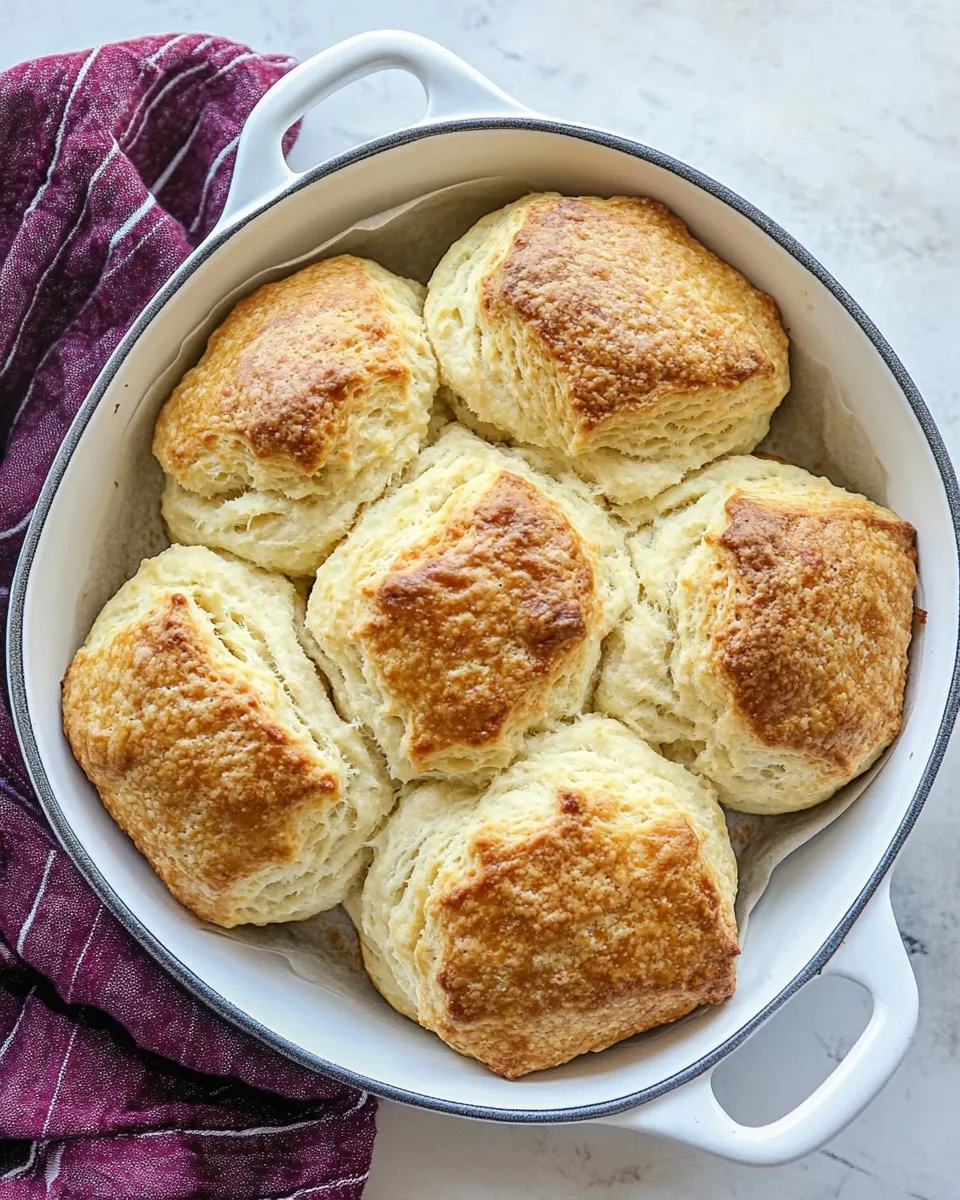
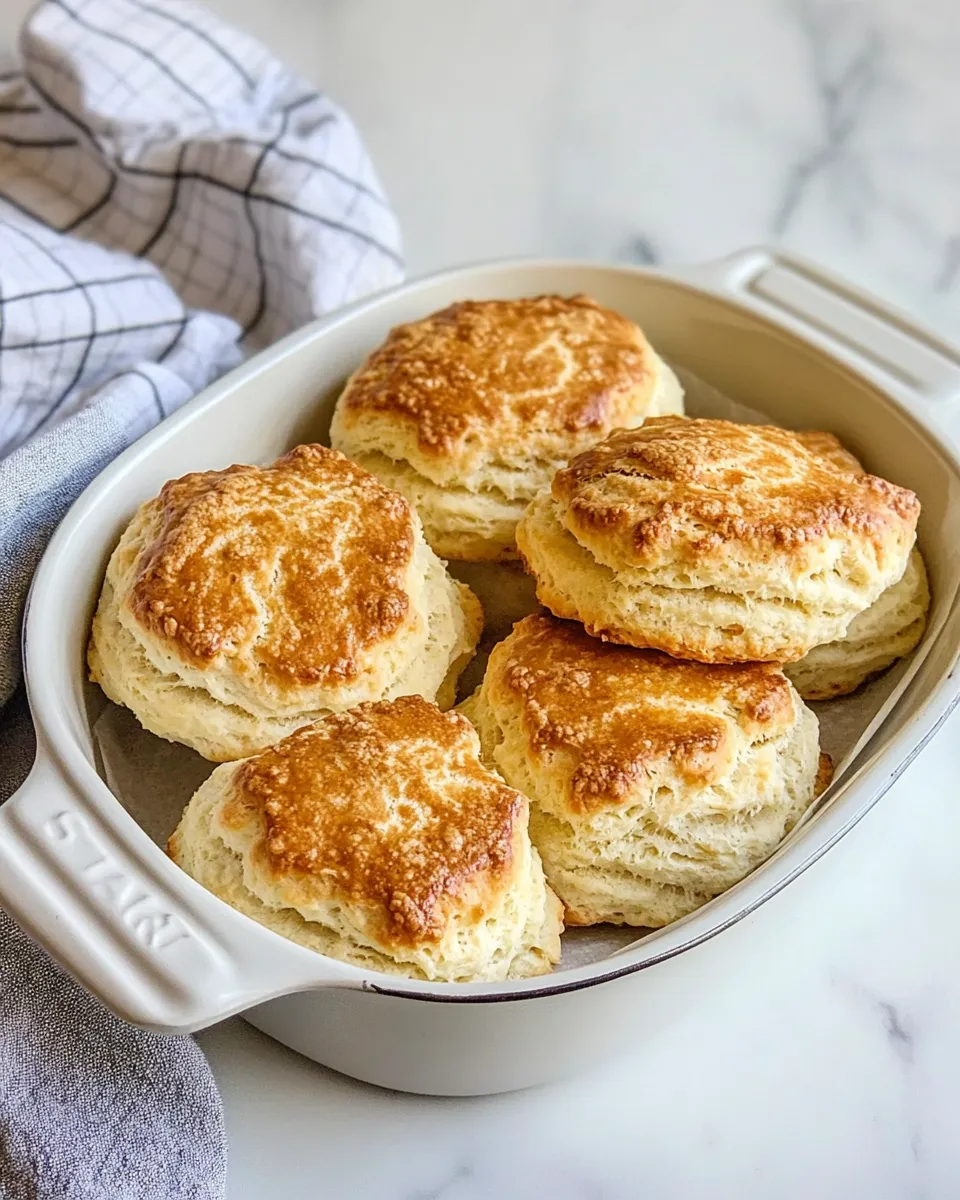
Cathead Biscuits
These biscuits are the kind that make a house smell like something worth waking up for. Big, tender, and buttery, Cathead Biscuits are a Southern staple that come together quickly and stand up to jam, gravy, or a pat of butter. They’re forgiving, straightforward, and excellent when you want warm bread with minimal fuss.
I lean on this recipe when guests pop by or when a weeknight needs something comforting without drama. The technique is simple: keep everything cold, handle the dough as little as possible, and bake until the tops are golden. Follow the steps as written and you’ll have eight generous biscuits that pull apart perfectly.
Below you’ll find precise ingredients, the tested method, equipment I use, common mistakes to avoid, and storage tips so your batch lasts without losing character.
What Goes In

Ingredients
- 4 1/2 cups all-purpose flour, well-sifted — Gives structure; sifting prevents lumps and ensures even mixing.
- 1/4 cup granulated sugar — Adds a subtle sweetness and helps with browning.
- 2 tablespoons baking powder — Main leavening agent; fresh baking powder gives the best rise.
- 2 1/2 teaspoons sea salt — Balances flavor; measure carefully to avoid over-salting.
- 1 teaspoon baking soda — Works with the buttermilk for extra lift and tender crumb.
- 1/2 cup butter, divided (half cold, half melted) — Cold butter creates flaky layers; melted butter on top adds flavor and color.
- 1/3 cup butter-flavored vegetable shortening, cold — Helps create tender, delicate crumbs and keeps biscuits tall.
- 2 cups buttermilk, cold — Adds acidity to activate baking soda and contributes to a soft, tangy crumb.
Cathead Biscuits, Made Easy
- Preheat the oven to 450°F (232°C). Grease a 12-inch deep-dish cast-iron skillet and set it aside.
- Sift the 4 1/2 cups all-purpose flour. Place the sifted flour, 1/4 cup granulated sugar, 2 tablespoons baking powder, 1 teaspoon baking soda, and 2 1/2 teaspoons sea salt in a food processor. Pulse 3–5 times to combine the dry ingredients.
- Cut the 1/3 cup cold butter-flavored vegetable shortening and the 1/4 cup cold butter (half of the 1/2 cup butter) into small pieces if needed. Add them to the food processor. Pulse in 8–12 short bursts, until the mixture resembles coarse pebbles and the fats are evenly distributed. Work quickly so the fats stay cold.
- With the processor running in short pulses, add the 2 cups cold buttermilk a little at a time (pouring slowly or in 2–3 additions). Pulse just until the dough comes together and looks wet but even—do not overmix. Stop pulsing when there are no large dry patches of flour.
- Dump the dough onto a lightly floured work surface. Gently press and pat the dough into an even 2-inch-thick disk. Handle the dough as little as possible.
- Using a 3-inch biscuit cutter or a drinking glass, cut out 8 biscuits. If needed, cut 7 biscuits first, then gather the scraps, press gently to 2 inches thick again, and cut the final biscuit. Avoid twisting the cutter when cutting.
- Arrange the biscuits in the prepared skillet so they sit next to each other. Brush the tops of the biscuits with the remaining 1/4 cup melted butter (the other half of the 1/2 cup butter).
- Place the skillet on the center oven rack (move racks as needed to allow at least 1–2 inches of clearance above the skillet). Bake 30–35 minutes, until the tops are golden and the biscuits have risen at least 1 inch above the rim of the skillet.
- Remove the skillet from the oven. Use a spatula or a knife to separate the biscuits, then lift them out of the pan. Serve warm.
Why It’s My Go-To
These biscuits are reliable. The combination of cold butter and shortening yields a tender interior with distinct layers, while the buttermilk keeps them soft and slightly tangy. I reach for this recipe when I want a lot of biscuit with minimal effort—no laminating, no fussing with dough temperature beyond keeping fats cold.
They bake in one skillet, which means less cleanup and better browning from the cast iron. The finished texture is forgiving: a crisp, buttery top, tall rise, and a soft crumb inside that soaks up gravy or jam without falling apart.
International Equivalents
Biscuits, scones, and soda breads share kinship across cuisines. In the UK and Ireland, scones are closest: they often use similar ingredients but are typically sweeter and denser. In Australia, damper is a rustic bread historically cooked in coals; it’s coarser but served similarly with butter.
If you’re looking to adapt flavors: add herbs for a Mediterranean twist (rosemary or thyme), swap in cultured dairy from other regions (like kefir instead of buttermilk), or top with cheeses for a savory variant—the technique holds up across these swaps.
Equipment & Tools
- 12-inch deep-dish cast-iron skillet — For even heat and a golden crust.
- Food processor — Speeds mixing and keeps fats cold by using short pulses.
- 3-inch biscuit cutter or drinking glass — For consistent biscuit size.
- Sifter — Ensures flour and leaveners are lump-free.
- Pastry brush — To apply the melted butter on top for shine and flavor.
- Lightly floured work surface — For shaping without sticking.
Avoid These Mistakes
Cold fats and overworking
Mistake: letting your butter or shortening warm up. Warm fats will blend too smoothly into the flour and remove the pockets that create flakiness. Keep them cold and pulse quickly in the processor.
Overmixing the dough
Mistake: pulsing until the dough is uniform and smooth. The dough should look wet but not fully homogenized. Stop when there are no big dry patches. Overmixing develops gluten and gives dense biscuits.
Twisting the cutter
Mistake: twisting the cutter when cutting rounds. Twisting seals the edges and prevents rise. Press straight down and lift straight up with a clean motion.
Wrong baking placement or temperature
Mistake: putting the skillet too close to the top of the oven. The recipe calls for center rack placement with 1–2 inches of clearance above the skillet so the biscuits can rise without burning on top.
Seasonal Spins
Spring: fold in fresh chopped chives or dill and serve with a light herb butter for bright flavors that pair with a chilled salad.
Summer: stir in a small handful of grated cheddar and a pinch of cayenne for a picnic-ready biscuit that holds up to tomato jam.
Autumn: add a teaspoon of ground sage and swap half the sugar for a tablespoon of maple syrup brushed on top after baking for a cozy take with roasted veggies or sausage gravy.
Winter: mix in a tablespoon of honey and top with a sprinkle of flaky sea salt. Serve alongside stews or braises to sop up rich sauces.
Chef’s Rationale

I choose a blend of butter and butter-flavored shortening because it balances flavor and structure. Butter contributes the unmistakable flavor and browning; shortening helps maintain height and tenderness because it doesn’t melt as quickly. The two together give you both taste and lift.
Sifting the flour and pulsing the dry ingredients in the food processor ensures even distribution of baking powder and soda, which means an even rise. Adding buttermilk cold and in pulses keeps the fats from warming, maintaining those little pockets that steam and lift the biscuit.
Storing Tips & Timelines
Room temperature: Store cooled biscuits in an airtight container for up to 24 hours. Reheat in a 300°F oven for 8–10 minutes to refresh the crust.
Refrigerator: Keep in an airtight container for up to 3 days. Rewarm gently in a low oven or microwave briefly (about 12–15 seconds) and then finish in a hot skillet or oven to regain some crispness.
Freezer: Wrap each biscuit individually in plastic wrap, then place them in a freezer bag for up to 2 months. Reheat from frozen in a 350°F oven for 12–15 minutes, or thaw overnight and warm through at 300°F for 8–10 minutes.
Questions People Ask
Can I make these without a food processor?
Yes. Use a large bowl and a pastry cutter or two knives to cut the cold butter and shortening into the dry ingredients until you have coarse pebbles. The texture should match what the processor would produce.
What if I don’t have buttermilk?
You can make a quick substitute by adding 1 tablespoon of lemon juice or white vinegar to a cup of milk and letting it sit for 5–10 minutes. Use cold as the recipe directs.
Why does the recipe call for melted butter after arranging the biscuits?
Brushing the tops with melted butter gives flavor, promotes browning, and adds a glossy finish. The melted butter on top is the finishing touch that makes them feel indulgent.
Can I make smaller biscuits?
Yes. Reduce the cutter size and the baking time slightly. Check them early—smaller biscuits will bake faster and may need only 20–25 minutes, depending on your oven and size.
The Takeaway
Cathead Biscuits are an approachable, dependable recipe for anyone who wants a bakery-quality biscuit at home. Keep fats cold, handle the dough minimally, and bake in a hot cast-iron skillet for the best result. Follow the ingredient list and steps here and you’ll have eight large, tender biscuits that pull apart cleanly, brown beautifully, and taste like something worth sharing.

Cathead Biscuits
Ingredients
Ingredients
- 4 1/2 cupsall-purpose flour well-sifted
- 1/4 cupgranulated sugar
- 2 tablespoonsbaking powder
- 2 1/2 teaspoonssea salt
- 1 teaspoonbaking soda
- 1/2 cupbutter divided (half cold, half melted)
- 1/3 cupbutter-flavored vegetable shortening cold
- 2 cupsbuttermilk cold
Instructions
Instructions
- Preheat the oven to 450°F (232°C). Grease a 12-inch deep-dish cast-iron skillet and set it aside.
- Sift the 4 1/2 cups all-purpose flour. Place the sifted flour, 1/4 cup granulated sugar, 2 tablespoons baking powder, 1 teaspoon baking soda, and 2 1/2 teaspoons sea salt in a food processor. Pulse 3–5 times to combine the dry ingredients.
- Cut the 1/3 cup cold butter-flavored vegetable shortening and the 1/4 cup cold butter (half of the 1/2 cup butter) into small pieces if needed. Add them to the food processor. Pulse in 8–12 short bursts, until the mixture resembles coarse pebbles and the fats are evenly distributed. Work quickly so the fats stay cold.
- With the processor running in short pulses, add the 2 cups cold buttermilk a little at a time (pouring slowly or in 2–3 additions). Pulse just until the dough comes together and looks wet but even—do not overmix. Stop pulsing when there are no large dry patches of flour.
- Dump the dough onto a lightly floured work surface. Gently press and pat the dough into an even 2-inch-thick disk. Handle the dough as little as possible.
- Using a 3-inch biscuit cutter or a drinking glass, cut out 8 biscuits. If needed, cut 7 biscuits first, then gather the scraps, press gently to 2 inches thick again, and cut the final biscuit. Avoid twisting the cutter when cutting.
- Arrange the biscuits in the prepared skillet so they sit next to each other. Brush the tops of the biscuits with the remaining 1/4 cup melted butter (the other half of the 1/2 cup butter).
- Place the skillet on the center oven rack (move racks as needed to allow at least 1–2 inches of clearance above the skillet). Bake 30–35 minutes, until the tops are golden and the biscuits have risen at least 1 inch above the rim of the skillet.
- Remove the skillet from the oven. Use a spatula or a knife to separate the biscuits, then lift them out of the pan. Serve warm.
Equipment
- 12-inch deep-dish cast-iron skillet
- Food Processor
- 3-inch biscuit cutter or drinking glass
- Oven
- Spatula
- Knife
Notes
Biscuits have the best texture when: A. the dough is cold as it goes in the oven, B. hasn’t been over mixed, and C. the flour is well-sifted.
Use cold ingredients and work fast!
Do not over-mix the dough in the food processor or when cutting. If possible, cut all the biscuits out without re-gathering the dough. To ensure the dough is cold, you can prep the biscuits then place in the refrigerator to chill before baking.