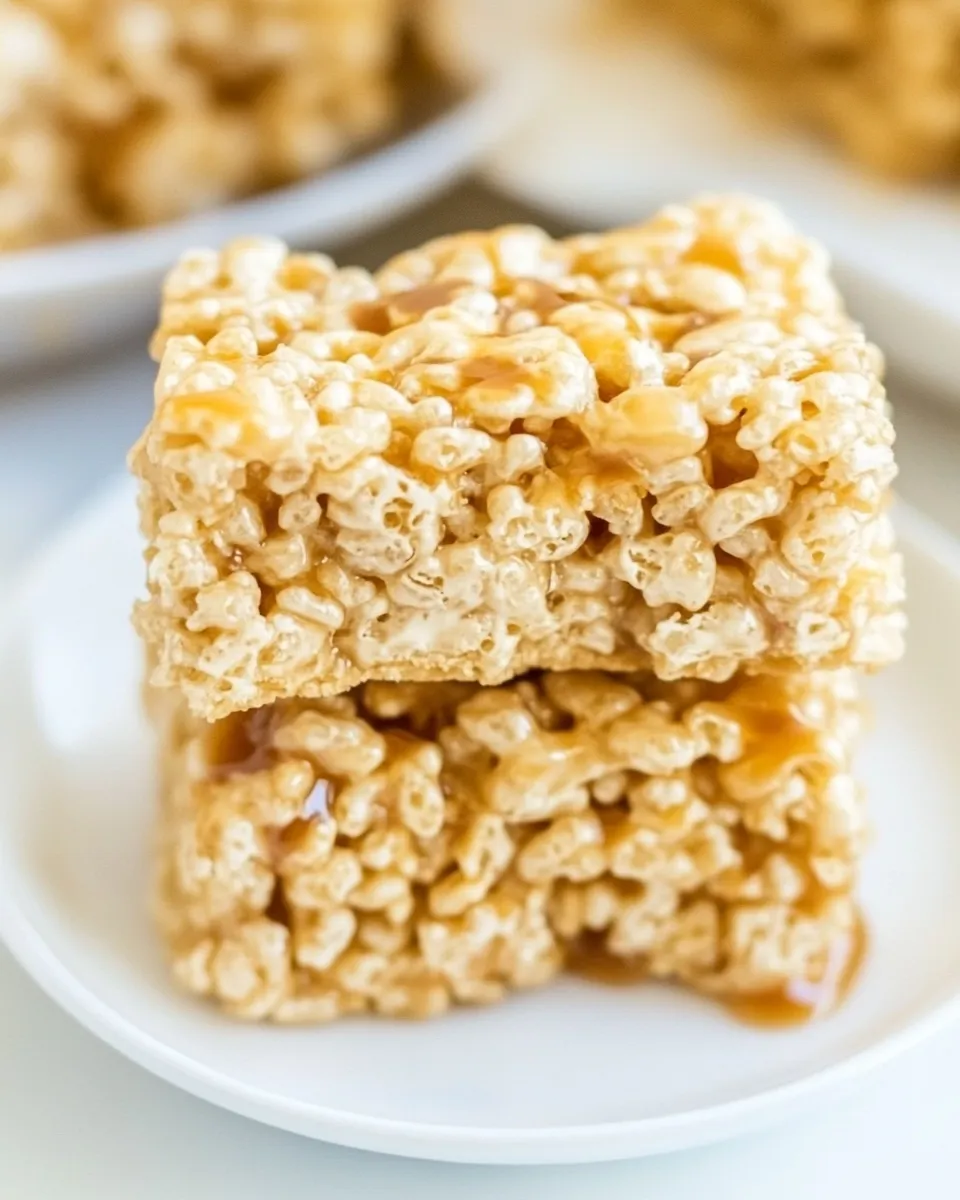
Salted Caramel Rice Krispie Treats
I love recipes that feel indulgent without asking for a long commitment, and these Salted Caramel Rice Krispie Treats do exactly that. They’re the kind of thing you can pull together in under 30 minutes, serve at a casual gathering, and still have people asking for the recipe. The salted caramel turns a simple childhood favorite into something more grown-up and addictive.
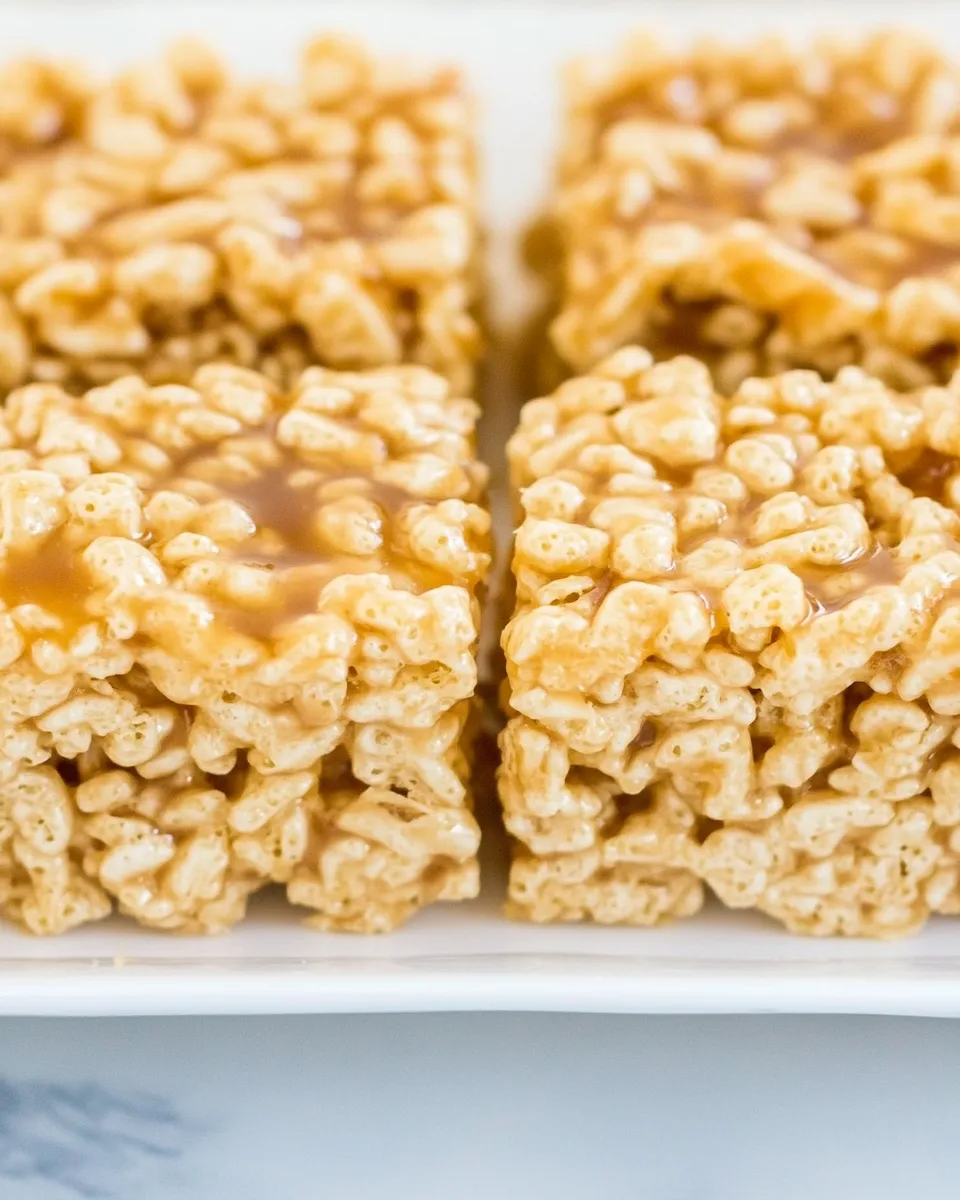
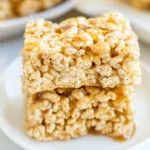
The texture is what makes them stand out: glossy, chewy pockets of marshmallow and caramel hugging crisp cereal, with a whisper of flaky salt on top. They travel well, they’re easy to scale, and they have a way of disappearing fast—so plan accordingly.
Below I’ll walk you through the exact ingredients, step-by-step directions, practical equipment notes, common pitfalls, and a few sensible variations so your batch comes out reliably excellent every time.
Gather These Ingredients

Ingredients
- 6 tablespoons salted butter — melts with the marshmallows and adds richness and saltiness to balance the caramel.
- 16 ounces mini marshmallows — (1 large bag) — the main binder; mini marshmallows melt more evenly than large ones.
- 8 ounces soft caramel candies — add deep caramel flavor and chew; soft caramels melt smoothly into the marshmallow base.
- 1 teaspoon vanilla extract — brightens the whole mixture and rounds the sweetness.
- 7 cups Rice Krispies cereal — the crunchy backbone of the bars; measure by gently filling the cup, not packing.
- 1/8 teaspoon flakey salt — or more to taste — finishing salt that contrasts the sweetness and highlights the caramel.
Stepwise Method: Salted Caramel Rice Krispie Treats
- Spray an 8×8-inch baking dish with cooking spray or line it with parchment paper; set aside.
- In a large pot over medium heat, melt 6 tablespoons salted butter.
- Add 16 ounces mini marshmallows to the melted butter, reduce heat to low, and stir constantly until the marshmallows are completely melted and smooth.
- Add 8 ounces soft caramel candies to the melted marshmallow mixture and stir over low heat until the caramels are fully melted and evenly combined.
- Remove the pot from heat and stir in 1 teaspoon vanilla extract until incorporated.
- Immediately add 7 cups Rice Krispies cereal and gently fold with a spatula until the cereal is evenly coated with the marshmallow–caramel mixture.
- Transfer the mixture to the prepared 8×8 dish. Using greased hands or a greased spatula (spray your hands or tool with cooking spray to prevent sticking), press the mixture firmly and evenly into the dish.
- Sprinkle 1/8 teaspoon flaky salt evenly over the top, or more to taste.
- Let the bars set at room temperature for 1 hour, or chill in the refrigerator for 20–30 minutes to speed setting.
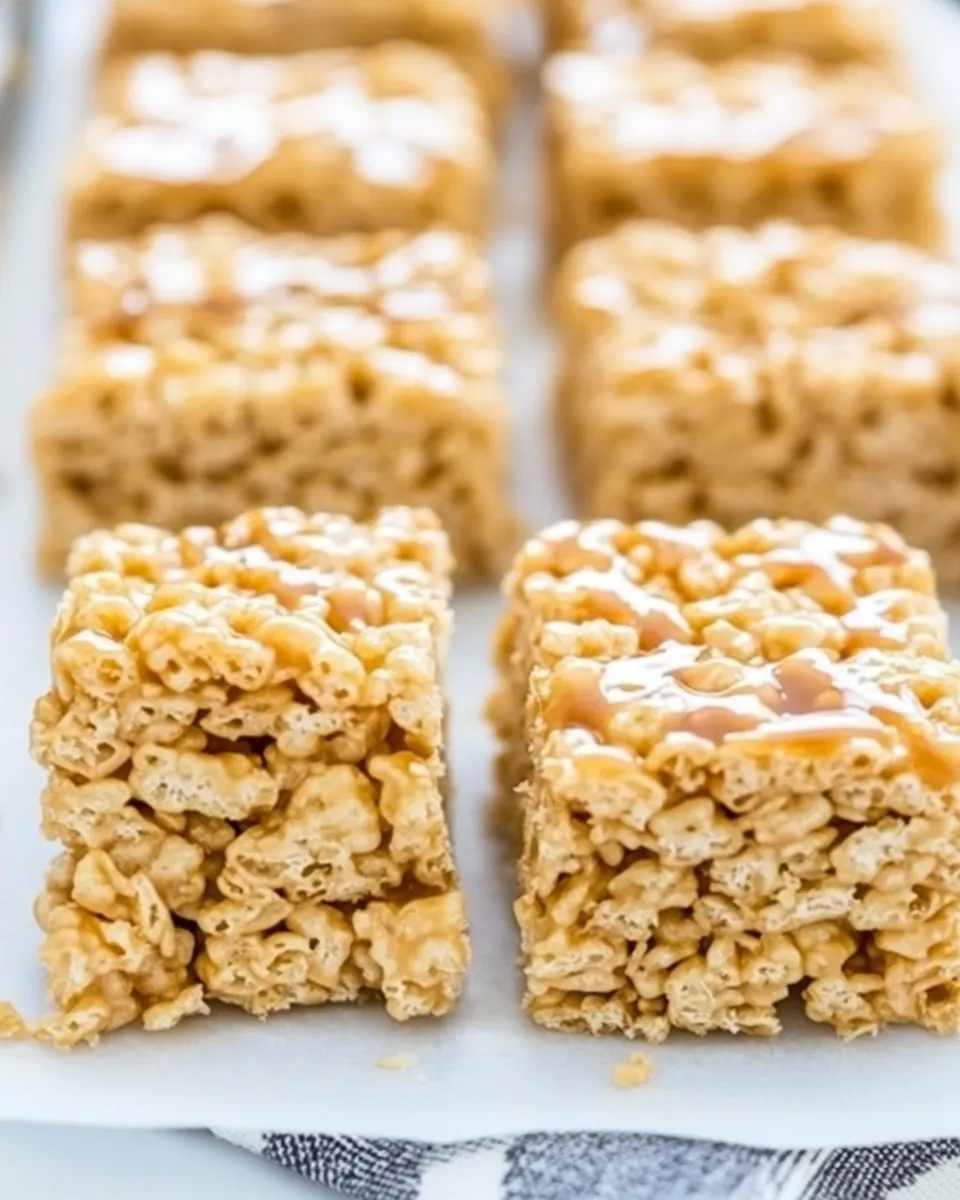
- Cut into 12 squares (or 9 larger squares) and serve.
Why Salted Caramel Rice Krispie Treats is Worth Your Time
These treats are fast, economical, and have wide appeal. You start with pantry staples and end up with something that feels special—caramel and flaky salt elevate the classic rice krispie to a dessert worthy of parties, lunchboxes, or a late-night snack. There’s a satisfying contrast between the crisp cereal and the chewy caramel-marshmallow matrix that keeps the bite interesting.
They’re also forgiving. The method is straightforward, so even if you’re not confident with temperature work or candy-making, this recipe gives a big win with low risk. The most technical piece is melting the caramels without scorching; with gentle heat and constant stirring, it’s easy to manage.
Finally, the salted finish matters. That tiny sprinkle of flaky salt plays off the sweetness and prevents the bars from feeling cloying. It’s a simple trick that makes the treat taste intentional rather than overly sugary.
Ingredient Flex Options
Here are practical swaps and small tweaks that keep the spirit of the recipe while accommodating what you have on hand.
- Butter — If you only have unsalted butter, use it and add a tiny pinch (1/8 teaspoon) of fine salt to the melted butter to mimic the salted butter’s balance.
- Marshmallows — If you have large marshmallows instead of mini, use the same weight (16 ounces) and tear them into smaller pieces so they melt evenly.
- Caramels — Soft caramel candies are easiest. If using firmer pieces, increase stirring time over low heat and consider cutting them into smaller chunks to speed melting.
- Vanilla — Pure vanilla extract is best. If you only have imitation, it will work in a pinch but the flavor won’t be as rounded.
- Cereal — Any plain puffed rice cereal can substitute, but stick with a neutral, unsweetened variety to let the caramel shine.
- Salt — Use flaky finishing salt for texture. If you only have fine sea salt, use a touch less and sprinkle evenly to avoid oversalting.
Setup & Equipment
Gathering the right tools before you start saves time and prevents little crises mid-recipe.
- Large heavy-bottomed pot — for even heat when melting butter, marshmallows, and caramels.
- Heatproof spatula — flexible and sturdy for folding cereal in without breaking it down too much.
- 8×8-inch baking dish — lined with parchment or greased, this gives the bars neat edges and easy removal.
- Measuring spoons and cups — accurate amounts matter for the texture.
- Cooking spray — for greasing hands or tools and preventing sticking while pressing the mixture into the dish.
- Knife and cutting board — for portioning once set.
Steer Clear of These
Small mistakes are easy to avoid and make a big difference in the final texture and appearance.
- Do not turn the heat up too high. High heat can scorch marshmallows and caramels quickly, leaving a burnt taste. Keep marshmallow melting at low heat after initial melting of butter.
- Avoid aggressive stirring once the cereal is added. Fold gently to keep the cereal airy and prevent it from becoming dense.
- Don’t skip greasing your hands or spatula when pressing the mixture into the pan—sticky mess and lost product are the result.
- Don’t oversalt. Flaky salt should be a finish, not a dominant flavor. Start with 1/8 teaspoon and add a touch more only if you know your audience enjoys salty-sweet contrasts.
Warm & Cool Weather Spins
Temperature affects texture. In hot weather the bars can become softer and stickier; in cold weather they set faster and can be firmer. Here’s how to adapt.
- Warm weather: Chill the baking dish before pressing the mixture in to help speed setting, and store finished bars in the refrigerator to keep their shape and prevent stickiness. Serve at room temperature for the best chew.
- Cool weather: If your kitchen is cold, the mixture can firm up while you’re working. Work a little faster, and if the caramels begin to thicken, briefly return the pot to the lowest heat for a few seconds to loosen before folding in cereal.
- Transport: For hot days, pack with an ice pack. For cool temps, keep at room temp so the bars aren’t too hard to bite.
Little Things that Matter
Attention to a few details will elevate a good batch to a great one.
- Use a heavy-bottomed pot to avoid hot spots that scorch the marshmallow-caramel mix.
- When pressing the mixture into the pan, don’t compress so hard that the bars become rock-like. Firm, even pressure is ideal—use greased hands or a greased spatula to smooth the surface.
- Sprinkle the flaky salt while the top is still warm so it adheres slightly yet remains textured.
- Cut with a sharp knife after chilling slightly; clean the blade between cuts for clean squares.
Cooling, Storing & Rewarming
Proper cooling and storage maintain texture and flavor.
- Cooling: Let bars set at room temperature for 1 hour, or refrigerate 20–30 minutes to speed setting. Refrigeration firms them up quickly but can make them slightly chewier.
- Short-term storage: Store in an airtight container at room temperature for up to 3 days. Add parchment between layers to prevent sticking.
- Longer storage: Refrigerate for up to 1 week. Bring to room temperature before serving for the best chew, or briefly microwave a single bar for 8–10 seconds to soften.
- Freezing: Wrap individual squares tightly in plastic wrap and place in a freezer-safe bag for up to 1 month. Thaw overnight in the refrigerator or at room temperature for a few hours before serving.
Common Qs About Salted Caramel Rice Krispie Treats
Below are answers to the questions I get most often when people try this recipe.
Can I use regular-size marshmallows instead of mini?
Yes—use the same weight (16 ounces) and tear or cut the large marshmallows into smaller pieces so they melt evenly. The end result will be the same, but it takes a little longer to melt large marshmallows.
What if my caramels clump or seize while melting?
Keep heat low and stir constantly. If they seize, remove from heat and continue stirring; if needed, add a touch of butter (a teaspoon at a time) to smooth the mixture. Preventive measure: cut caramels into small pieces before adding so they melt uniformly.
Can I make these gluten-free?
Yes, substitute a certified gluten-free puffed rice cereal instead of Rice Krispies. Everything else in the recipe is gluten-free, but always check labels on marshmallows and caramels to confirm.
How do I get clean, neat squares?
Chill the pan briefly (20–30 minutes) so the bars set fully, use a sharp knife warmed under hot water and wiped dry between cuts, and cut with a single decisive pull rather than a saw motion.
Can I add mix-ins like nuts or chocolate chips?
Yes—fold in a small handful (1/2 cup) of chopped nuts or mini chips with the cereal, but be mindful that mix-ins add weight and can change the binding ratio. Keep them modest so the bars still hold together.
Final Thoughts
Salted Caramel Rice Krispie Treats are the kind of recipe you’ll reach for whenever you want something quick, crowd-pleasing, and a little bit special. The technique is simple, the ingredients are familiar, and the payoff is excellent. Keep the steps in order, pay attention to gentle heat, and don’t skip the flaky salt—it’s the final touch that turns sweet into sublime.
Make a batch, share them, and note what small tweak you’ll try next time (a sprinkle of toasted nuts, or a drizzle of melted chocolate). They’re forgiving and adaptable—exactly what a good weekday dessert should be.
Salted Caramel Rice Krispie Treats
Ingredients
Ingredients
- 6 tablespoonssalted butter
- 16 ouncesmini marshmallows (1 large bag)
- 8 ouncessoft caramel candies
- 1 teaspoonvanilla extract
- 7 cupsRice Krispies cereal
- 1/8 teaspoonflakey salt or more to taste
Instructions
Instructions
- Spray an 8×8-inch baking dish with cooking spray or line it with parchment paper; set aside.
- In a large pot over medium heat, melt 6 tablespoons salted butter.
- Add 16 ounces mini marshmallows to the melted butter, reduce heat to low, and stir constantly until the marshmallows are completely melted and smooth.
- Add 8 ounces soft caramel candies to the melted marshmallow mixture and stir over low heat until the caramels are fully melted and evenly combined.
- Remove the pot from heat and stir in 1 teaspoon vanilla extract until incorporated.
- Immediately add 7 cups Rice Krispies cereal and gently fold with a spatula until the cereal is evenly coated with the marshmallow–caramel mixture.
- Transfer the mixture to the prepared 8×8 dish. Using greased hands or a greased spatula (spray your hands or tool with cooking spray to prevent sticking), press the mixture firmly and evenly into the dish.
- Sprinkle 1/8 teaspoon flaky salt evenly over the top, or more to taste.
- Let the bars set at room temperature for 1 hour, or chill in the refrigerator for 20–30 minutes to speed setting.
- Cut into 12 squares (or 9 larger squares) and serve.
Equipment
- 8x8-inch Baking Dish
- Large Pot
- Spatula
- Measuring Cups
- Measuring Spoons
- Cooking Spray
- Parchment Paper
Notes
Marshmallows– Regular size marshmallows will work, too, but they’ll take longer to melt. Just keep stirring, low and slow.
How to Store:To save leftovers, place in an airtight container and store:
in the refrigerator for up to a week
on the counter for 3-4 days
How to Scale:This recipe can easily be doubled if you are feeding a crowd or halved for smaller portions. If you double the recipe, use a 9×13 pan which will yield a couple dozen thick Rice Krispie treats.