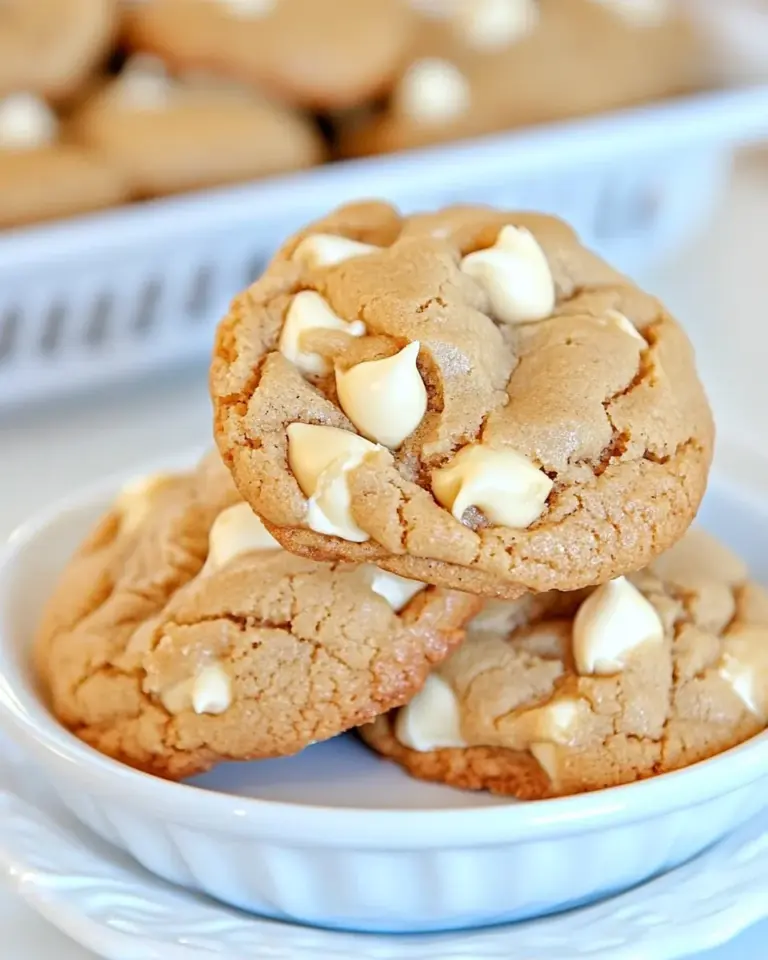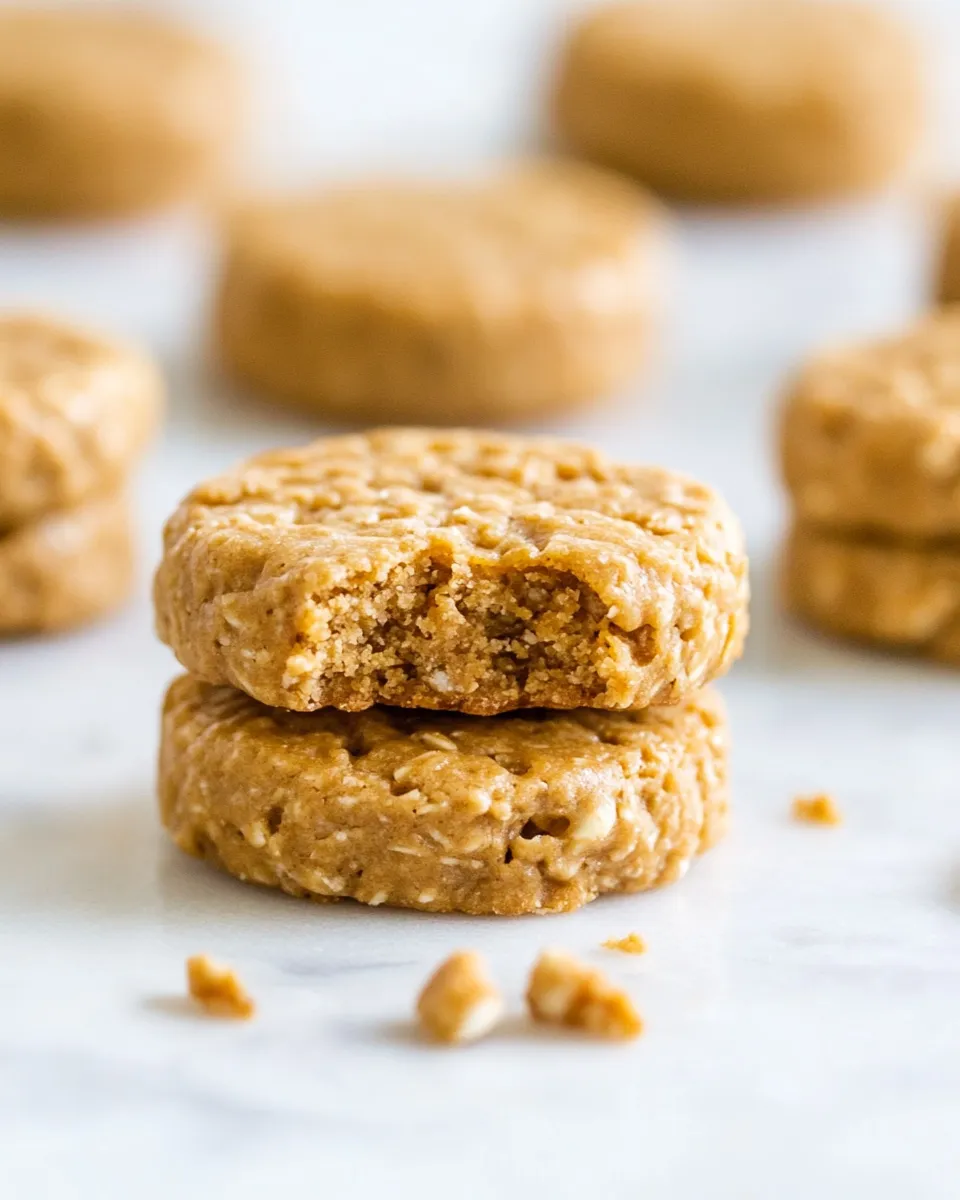
Peanut Butter No Bake Cookies
I make a batch of these Peanut Butter No Bake Cookies whenever the house needs an instant fix—no oven preheat, no timers, just a saucepan and a rimmed baking sheet. They land somewhere between candy and cookie: sweet, fudgy, and studded with oats for chew. They come together quickly, and you’ll appreciate how forgiving the technique is once you understand the one critical moment—when the sugar mixture hits the right temperature.
This recipe is practical. It uses pantry staples and a simple rhythm: heat, combine, scoop, chill. I’ll walk you through the steps exactly as written so you get the same result the first time. I’ll also share what to watch for, what tools make the job easier, and small tweaks that keep the cookies consistent every time.
No fluff, just usable guidance. Read the ingredient notes, follow the stovetop timing, and don’t rush the cooling. These cookies are ideal for a last-minute dessert, an after-school snack, or a potluck contribution that disappears fast.
Ingredients at a Glance

- 8 tablespoons (113 g) unsalted butter — provides fat and helps the sugar dissolve; use unsalted to control salt level.
- 1 ½ cups (300 g) granulated sugar — the sweetener and main structure for the candy base; stir continuously to avoid scorching.
- ½ cup (120 ml) whole milk — thins the sugar mixture so it reaches the right temperature and texture.
- 1 cup (250 g) creamy peanut butter — use a regular processed variety, not natural — gives these cookies their signature peanut flavor and fudgy body.
- 1 tablespoon (15 ml) pure vanilla extract — brightens the flavor; add immediately off the heat to preserve aroma.
- 3 cups (250 g) old-fashioned oats — the chew and bulk; quick oats also work if that’s what you have on hand.
How to Prepare (Peanut Butter No Bake Cookies)
- Line a baking sheet with parchment paper or a silicone mat; set aside.
- In a medium saucepan combine 8 tablespoons (113 g) unsalted butter, 1 ½ cups (300 g) granulated sugar, and ½ cup (120 ml) whole milk. Stir continuously over medium heat until the butter has fully melted and the mixture comes to a full rolling boil.
- Once boiling, continue to cook while stirring for 1 to 1½ minutes, or until a candy thermometer reads 220–225°F (104–107°C). (If you don’t have a thermometer, time 1–1½ minutes after the mixture reaches a full boil.) Take care—the mixture will be very hot.
- Remove the pan from the heat. Immediately add 1 cup (250 g) creamy peanut butter (regular processed, not natural) and 1 tablespoon (15 ml) pure vanilla extract. Stir until the mixture is smooth and fully combined.
- Add 3 cups (250 g) old-fashioned oats (quick oats may be used) and stir until all the oats are evenly coated.
- Working quickly before the mixture begins to set, drop the mixture by 1-tablespoon portions onto the prepared baking sheet using a cookie scoop or spoon. If desired, gently flatten the tops with your fingers.
- Chill the cookies in the refrigerator for about 30 minutes, or until firm and set.
Why This Recipe Works

These cookies rely on a simple candy stage to create structure. Heating butter, sugar, and milk to a full rolling boil then continuing to cook for a short, timed period concentrates the sugar and gives the mixture the right body to set when cooled. The target temperature—220–225°F (104–107°C)—is the window where the sugar mixture will create a firm, fudgy texture instead of staying runny or turning grainy.
Adding the peanut butter and vanilla off the heat preserves aroma and prevents the peanut oil from separating. The oats absorb the sweet, hot mixture and provide chew and bulk without additional flour or eggs. The result is a dense, set cookie that slices cleanly into single-serving scoops after chilling.
No-Store Runs Needed
This is a true pantry-friendly recipe. Most kitchens already have butter, sugar, milk, peanut butter, vanilla, and oats. If you keep those basics on hand, you can make these cookies without any extra shopping. The recipe tolerates quick oats, so if you only have those, you’re still fine.
Plan to have parchment or a silicone mat and a spoon or cookie scoop. If you don’t have a thermometer, timing the 1–1½ minutes after a full rolling boil is a reliable fallback. No special chocolate or garnish is required—these cookies stand alone.
Gear Up: What to Grab

- Medium saucepan — even heat distribution keeps the sugar from scorching.
- Spoon or spatula — for stirring; use a heatproof one with a comfortable grip.
- Candy thermometer (optional but helpful) — confirms 220–225°F (104–107°C) precisely.
- Cookie scoop or tablespoon — for portioning consistent cookies quickly.
- Baking sheet lined with parchment paper or a silicone mat — prevents sticking and makes cleanup easier.
- Refrigerator space — you’ll need a flat surface to chill the sheet for about 30 minutes.
Pitfalls & How to Prevent Them
- Sugar burns or scorches: Stir continuously while heating and keep the heat at medium. A scorched batch tastes bitter and can’t be fixed.
- Mixture doesn’t set: The most common cause is undercooking the sugar stage. Make sure the mixture reaches a full rolling boil and then continue for 1–1½ minutes, or use a candy thermometer to hit 220–225°F (104–107°C).
- Grainy or grain-separated texture: Over-stirring after adding peanut butter or adding it too early can cause separation. Remove from heat before adding peanut butter and vanilla, then stir just until smooth.
- Cookies spread or fall apart: Scoop and chill quickly. If the mixture cools too much before scooping, it can set in the pan and be hard to portion; if you wait too long to chill, cookies may not firm up properly.
- Peanut oil separation (greasy surface): Use the recommended regular processed creamy peanut butter rather than a natural, runnier style, and mix quickly after removing from heat.
Tailor It to Your Diet
As written, this recipe uses whole milk and butter, so it’s not dairy-free or vegan. It also specifies regular processed creamy peanut butter (not natural) because of its stability—natural styles can separate and affect texture. The oats should be certified gluten-free if you need a gluten-free result; otherwise, standard old-fashioned oats work perfectly.
For portion control, make smaller scoops—1 teaspoon portions instead of 1 tablespoon will yield many bite-size cookies suitable for a calorie-conscious snack tray. If you need softer cookies, scoop them slightly larger and chill just until set rather than to a rock-hard finish; they’ll still hold shape but stay tender.
Pro Perspective
Watch the boil. Professionals treat the rolling boil and the subsequent 1–1½-minute window as sacrosanct. That short period creates the right final texture every time. If you’re unsure, use the candy thermometer—220–225°F (104–107°C) is the sweet spot. Too low and the cookies won’t set properly; too high and you’ll risk a drier, harder finish.
Another tip: prep everything before you heat the pan. Have your oats measured, vanilla measured, cookie scoop ready, and the lined sheet waiting. Once the sugar reaches a full boil, you’ll need to move quickly. A calm, organized workflow avoids scrambling with hot syrup and sticky utensils.
Storage Pro Tips
Store these cookies in an airtight container in the refrigerator for up to one week. If your kitchen is warm, refrigeration keeps them firm and prevents the peanut oil from softening the exterior. For longer storage, you can freeze the cookies in a single layer on a sheet, then transfer them to a freezer-safe container or bag; they’ll keep well for up to 2 months. Thaw in the refrigerator or at room temperature for 15–30 minutes before serving.
When stacking cookies in a container, separate layers with parchment to prevent sticking. If they firm up too much straight from the fridge, let them sit at room temperature for a few minutes to soften slightly before serving.
Peanut Butter No Bake Cookies Q&A
Can I use natural peanut butter? The recipe specifies regular processed creamy peanut butter, not natural. Natural peanut butter tends to separate and can make the texture oily or prevent proper setting. If you try natural, expect variable results.
Do I need a candy thermometer? It helps, but you can also rely on the 1–1½-minute timing after the mixture reaches a full rolling boil. A thermometer removes guesswork and is worth having if you make candy or preserves often.
Can I make them ahead? Yes. Cookies store well in the refrigerator for a week and freeze for a couple of months. Chill fully before packing to avoid condensation and stickiness.
What if my mixture becomes grainy? Graininess usually means the sugar crystallized during cooling or stirring. It’s difficult to fix mid-process; start over and be sure to stir continuously and keep the heat even during boiling.
Will quick oats change the texture? Quick oats will work and make a slightly softer, more homogenous cookie. Old-fashioned oats give more chew and body.
Bring It Home
These Peanut Butter No Bake Cookies are a reliable go-to when you want a quick, satisfying treat without an oven. Follow the steps exactly for the sugar stage, use the specified peanut butter, and work quickly at the end. Prep, a steady hand at the stovetop, and a few minutes of chilling turn a handful of pantry staples into a cookie that disappears fast.
Make a batch tonight. Scoop, chill, serve. They store, travel, and please crowds—simple, efficient, and just right when you want a sweet, nutty bite.

Peanut Butter No Bake Cookies
Ingredients
Ingredients
- ?8 tablespoons 113 gunsalted butter
- ?1 1/2 cups 300 ggranulated sugar
- ?1/2 cup 120 mlwhole milk
- ?1 cup 250 gcreamy peanut butteruse a regular processed variety, not natural
- ?1 tablespoon 15 mlpure vanilla extract
- ?3 cups 250 gold-fashioned oatsquick oats also work
Instructions
Instructions
- Line a baking sheet with parchment paper or a silicone mat; set aside.
- In a medium saucepan combine 8 tablespoons (113 g) unsalted butter, 1 ½ cups (300 g) granulated sugar, and ½ cup (120 ml) whole milk. Stir continuously over medium heat until the butter has fully melted and the mixture comes to a full rolling boil.
- Once boiling, continue to cook while stirring for 1 to 1½ minutes, or until a candy thermometer reads 220–225°F (104–107°C). (If you don’t have a thermometer, time 1–1½ minutes after the mixture reaches a full boil.) Take care—the mixture will be very hot.
- Remove the pan from the heat. Immediately add 1 cup (250 g) creamy peanut butter (regular processed, not natural) and 1 tablespoon (15 ml) pure vanilla extract. Stir until the mixture is smooth and fully combined.
- Add 3 cups (250 g) old-fashioned oats (quick oats may be used) and stir until all the oats are evenly coated.
- Working quickly before the mixture begins to set, drop the mixture by 1-tablespoon portions onto the prepared baking sheet using a cookie scoop or spoon. If desired, gently flatten the tops with your fingers.
- Chill the cookies in the refrigerator for about 30 minutes, or until firm and set.
Equipment
- 3-quart (2.8 L) saucepan
- Spatula
- Candy thermometer(recommended)
- Cookie scoop (1 tablespoon size)
- Baking Sheet
- Parchment Paper or Silicone Mat
Notes
Oats:Old-fashioned oats give these cookies a chewier texture, while quick oats create a softer, more uniform cookie.
Setting Tip:Bring the mixture to the correct temperature (220–225°F / 104–107°C) to ensure that the cookies set properly and do not remain sticky.
Storage:Store cookies in an airtight container at room temperature for up to 7 days.
Freezing:Freeze on a baking sheet until solid, then transfer to a freezer-safe container. Freeze for up to 3 months.
Gluten-Free:To make these gluten-free, use certified gluten-free oats.