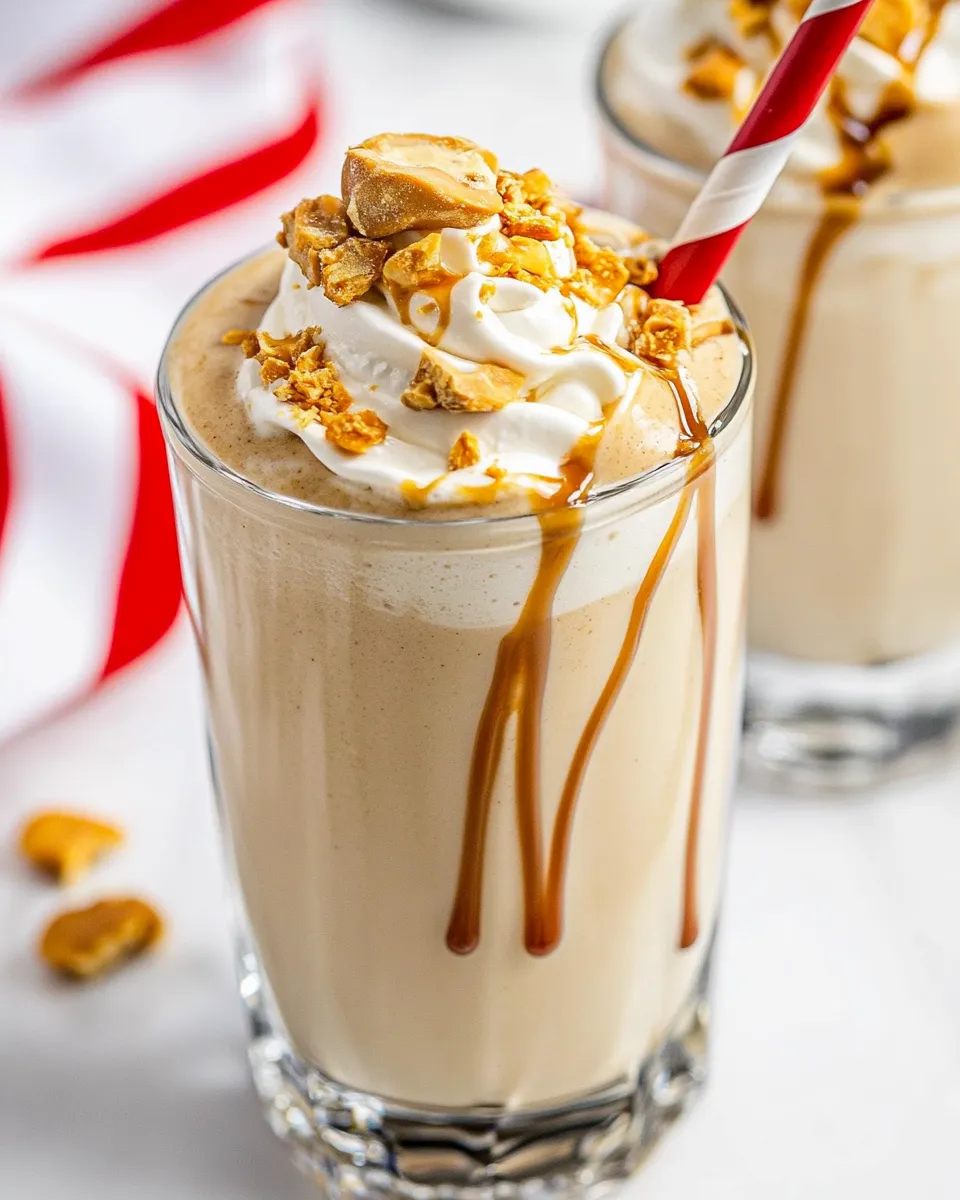
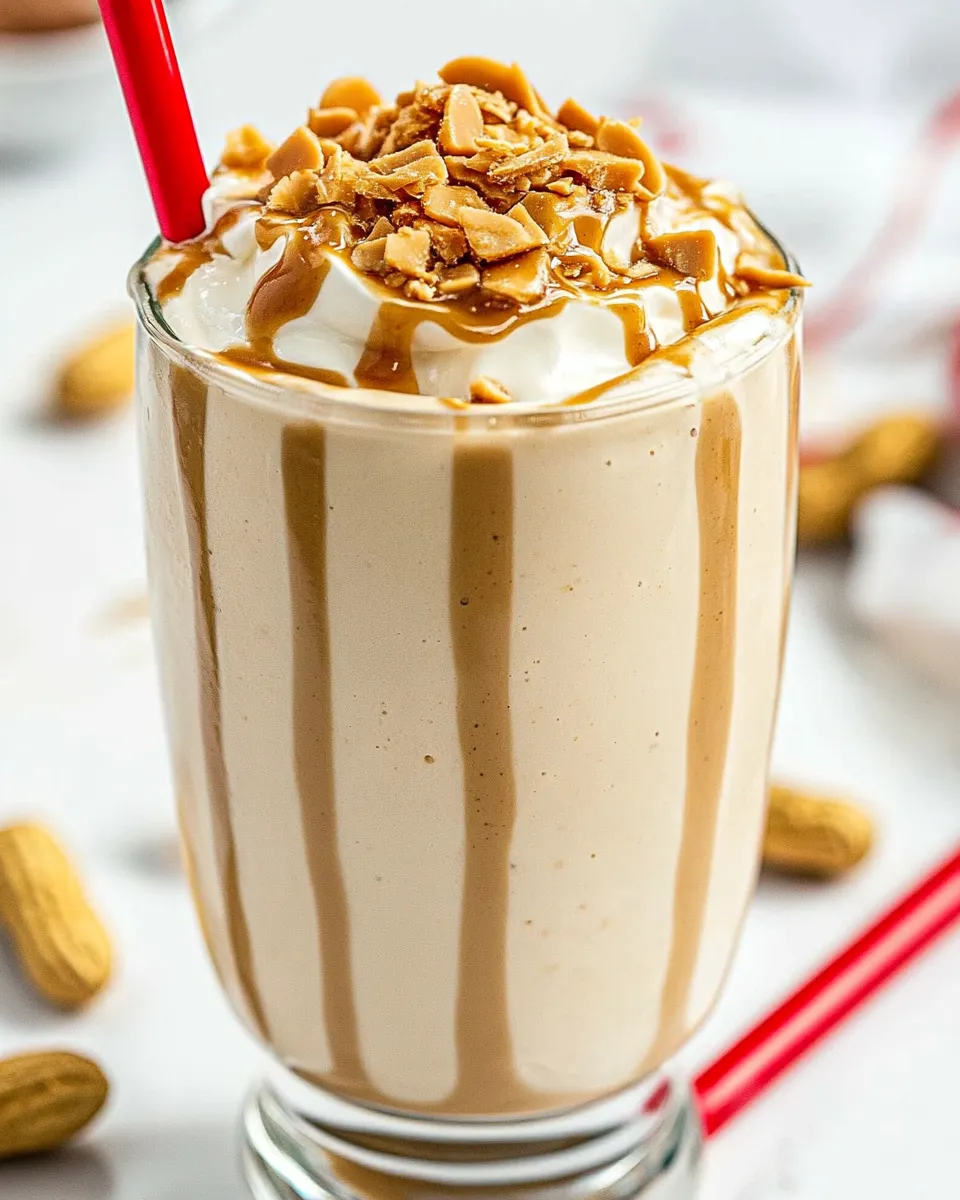
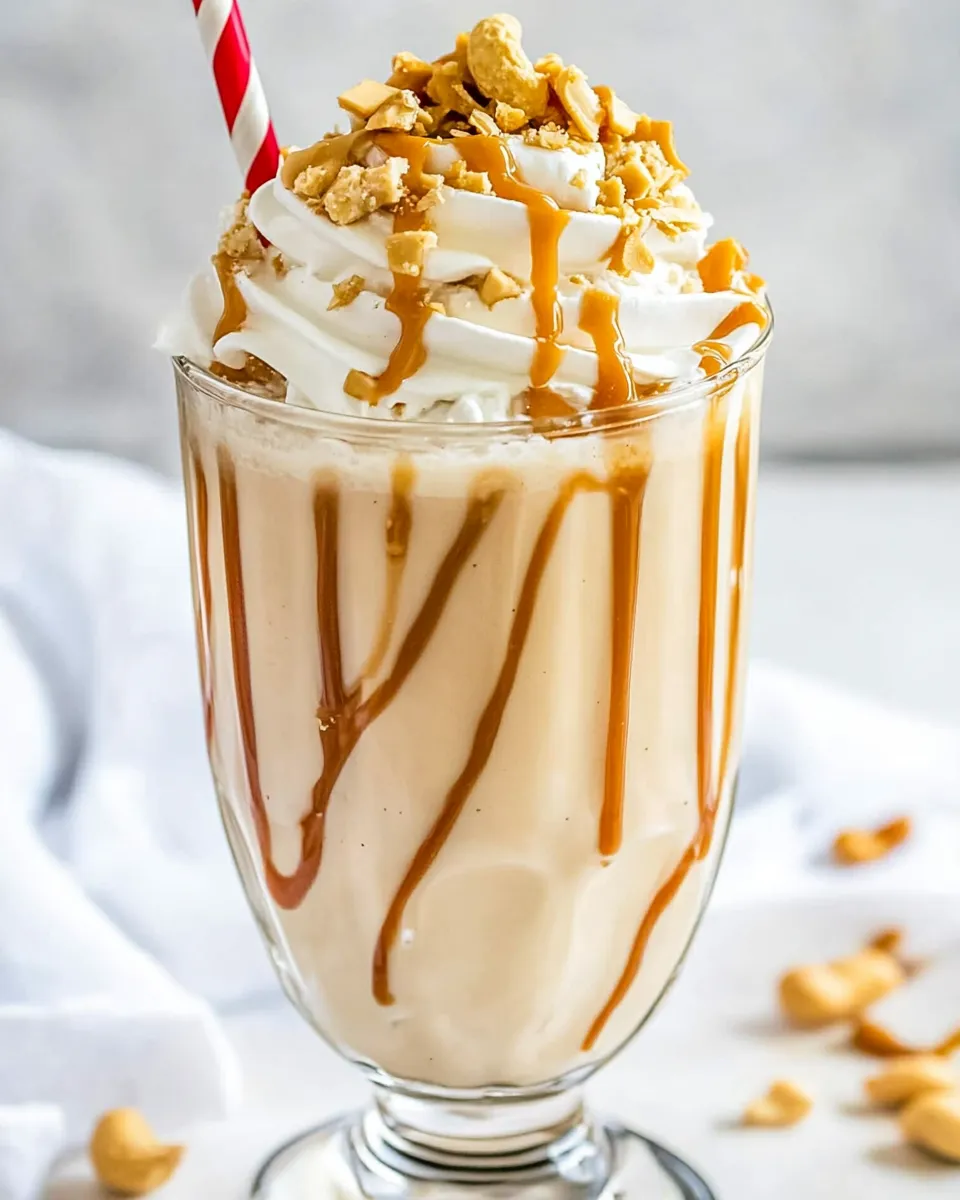
Peanut Butter Milkshake
I love a good peanut butter milkshake because it’s comforting, quick, and honestly hard to mess up. This one is straightforward: three pantry-friendly ingredients, a blender, and a tall glass. If you’re in a hurry or just craving something sweet with a savory edge, this shake delivers in minutes.
My aim here is practical: clear steps, useful tips, and a few smart swaps so you can tailor it to what you have on hand. I’ll also walk through common mistakes and how to avoid them — little adjustments make a big difference in texture and flavor.
Whether this is a nostalgic treat from childhood, an after-dinner indulgence, or a quick pick-me-up on a busy afternoon, you’ll know exactly what to do and why. Let’s get the blender humming.
What Goes Into Peanut Butter Milkshake

Ingredients
- 2c. vanilla ice cream — base: provides the creamy body, sweetness, and cold temperature that make the shake feel indulgent.
- ¼c. milk — thins the shake to a drinkable consistency; use more if you prefer a looser shake.
- ¼c. peanut butter — primary flavor and richness; creamy will blend smoother, crunchy adds texture.
- Whipped topping — for garnish; adds a light, airy contrast to the dense shake.
- Chopped peanuts — for garnish; contributes crunch and visual interest.
Make Peanut Butter Milkshake: A Simple Method
- Add 2 cups vanilla ice cream, 1/4 cup milk, and 1/4 cup peanut butter to a blender.
- Secure the lid and blend on medium–high until the mixture is smooth and evenly combined, about 20–45 seconds; stop and scrape down the sides once if needed, then blend again until smooth.
- Pour the milkshake into a tall glass.
- Garnish with whipped topping and sprinkle chopped peanuts on top. Serve immediately.
What Sets This Recipe Apart
This version stands out because it’s intentionally short and reliable. You don’t need obscure ingredients or precise techniques: the ratios are balanced to give a thick, spoonable shake that’s still sip-friendly. The peanut butter quantity is high enough to be unmistakable but not so much that it overwhelms the vanilla base or clogs the blender.
Texture is the real difference-maker here. Using two cups of ice cream keeps the shake dense and cold; a quarter cup of milk is just enough to make it pourable without turning it into a malt. If you like a truly silky finish, let the ice cream sit on the counter for 2–3 minutes before blending to soften slightly. For a chunkier, more rustic result, use crunchy peanut butter and skip the scraping step.
Ingredient Swaps & Substitutions
Need to swap something? Here are practical, tested alternatives that preserve texture and flavor.
- Ice cream: If you’re out of vanilla, plain sweet cream or even a mild caramel ice cream will work. Using chocolate will shift the profile to a peanut butter–chocolate shake — delicious, but different.
- Milk: Any milk works. Whole milk gives the creamiest result. For a lighter shake, use low-fat milk, or swap in oat milk or almond milk for a dairy-free option.
- Peanut butter: Natural peanut butter will make separation more likely; stir it well first. Almond or cashew butter can substitute if avoiding peanuts, but flavor will change.
- Garnish: Swap chopped peanuts for crushed pretzels, granola, or mini chocolate chips if you want contrast or a sweeter finish.
What You’ll Need (Gear)
Minimal gear makes this a perfect quick recipe.
- Sturdy blender — a high-speed blender yields the smoothest result but a standard countertop blender is fine.
- Measuring cups — for accurate ratios so texture stays consistent.
- Tall glass or milkshake cup — for the full diner experience.
- Spoon or spatula — to scrape the blender if the peanut butter clings to the sides.
Avoid These Traps
Few things will ruin a milkshake faster than poor texture or clumpy blending. Here’s what to watch for and how to fix it.
- Too thick to blend: If the blender stalls, stop, push the ingredients toward the blades with a spatula, then add a splash more milk (1–2 tablespoons) and resume. Don’t force the blender to run when overloaded.
- Runny shake: If you add too much milk, the shake becomes thin. Rescue it with a few extra spoonfuls of ice cream or refrigerate the blended mixture for 5–10 minutes to firm up before serving.
- Grainy peanut butter: Some natural peanut butters can be grainy. Stir well before measuring. If the texture still shows, blend a little longer and allow the shake to sit for 30 seconds to let the fats re-emulsify.
- Garnish sogginess: Add whipped topping and chopped peanuts just before serving. Toppings will sink or weep if left too long.
Nutrition-Minded Tweaks
If you want to lighten the shake without losing all the pleasure, small swaps help a lot.
- Use light ice cream or frozen yogurt in place of full-fat ice cream to reduce calories. The shake will be slightly less rich but still satisfying.
- Substitute reduced-fat milk or unsweetened plant milk to lower fat and sugar. Oat milk gives extra body if you want a creamy mouthfeel.
- Reduce the portion of peanut butter to 2 tablespoons (about half the original) to cut fat while retaining nutty flavor. Add a pinch of salt if the peanut butter is lightly salted to keep the flavor balanced.
- Consider blending in a small handful of ice cubes or frozen banana for volume with fewer calories, though these alter texture and temperature.
Behind the Recipe
Peanut butter and ice cream is a long-standing, simple pairing. The concept is obvious, but getting the ratio right matters. I developed this version for days when I wanted something more substantial than a snack but less involved than baking — something you can make between meetings or after a quick workout without planning ahead.
Two cups of ice cream delivers a shake that’s spoonable but still pourable. The quarter-cup milk prevents it from being a frozen block. A quarter cup of peanut butter is enough to make peanut flavor front and center without overpowering the vanilla. These proportions are forgiving, so you can easily scale them, but they also produce a consistent result every time.
Store, Freeze & Reheat
Milkshakes are best fresh. That said, you can store leftovers briefly, but expect changes.
- Refrigeration: Store in a sealed container in the refrigerator for up to 24 hours. It will separate and become thinner; whisk or re-blend before serving.
- Freezing: Pour the shake into a freezer-safe container and freeze for up to 2 weeks. Thaw in the refrigerator until scoopable, then blend with a splash of milk to restore texture.
- Reheating: Not recommended. Heat will ruin the milkshake’s appeal. If you want a warm peanut drink, consider making a peanut butter hot cocoa instead.
Popular Questions
- Can I use natural peanut butter? Yes. Stir it well before measuring. Natural peanut butter can separate and may need a bit more blending; you might add a tablespoon of milk if blending becomes difficult.
- Is there a vegan version? Replace vanilla ice cream with a dairy-free vanilla ice cream and use plant milk (oat or soy work well). Confirm your peanut butter and whipped topping are vegan.
- How do I make it thicker or thinner? For a thicker shake, add more ice cream in 1/4-cup increments. For a thinner shake, add milk tablespoon by tablespoon until you reach the desired consistency.
- Can I blend this without a blender? A blender is strongly recommended. A food processor could work, but you’ll lose a bit of aeration. Mashing with a whisk or fork won’t produce a smooth, drinkable texture.
Bring It to the Table
Serve this Peanut Butter Milkshake in a tall glass with a wide straw and a long spoon. Garnish generously with whipped topping and a sprinkle of chopped peanuts for crunch. For a diner-style presentation, drizzle a little peanut butter inside the glass before pouring in the shake; it looks and tastes great.
Pair it with salty snacks — kettle chips or pretzels cut through the richness — or serve as a dessert after something light. It also makes a fun base for boozy variations: a shot of coffee liqueur or bourbon complements the nutty sweetness if you’re serving adults.
Make one for yourself, or double the recipe to share. It’s fast, forgiving, and reliably delicious — the kind of recipe you’ll return to again and again when you want a quick, comforting treat.

Peanut Butter Milkshake
Ingredients
Ingredients
- 2 c.vanilla ice cream
- 1/4 c.milk
- 1/4 c.peanut butter
- Whipped toppingfor garnish
- Chopped peanutsfor garnish
Instructions
Instructions
- Add 2 cups vanilla ice cream, 1/4 cup milk, and 1/4 cup peanut butter to a blender.
- Secure the lid and blend on medium–high until the mixture is smooth and evenly combined, about 20–45 seconds; stop and scrape down the sides once if needed, then blend again until smooth.
- Pour the milkshake into a tall glass.
- Garnish with whipped topping and sprinkle chopped peanuts on top. Serve immediately.
Equipment
- Blender