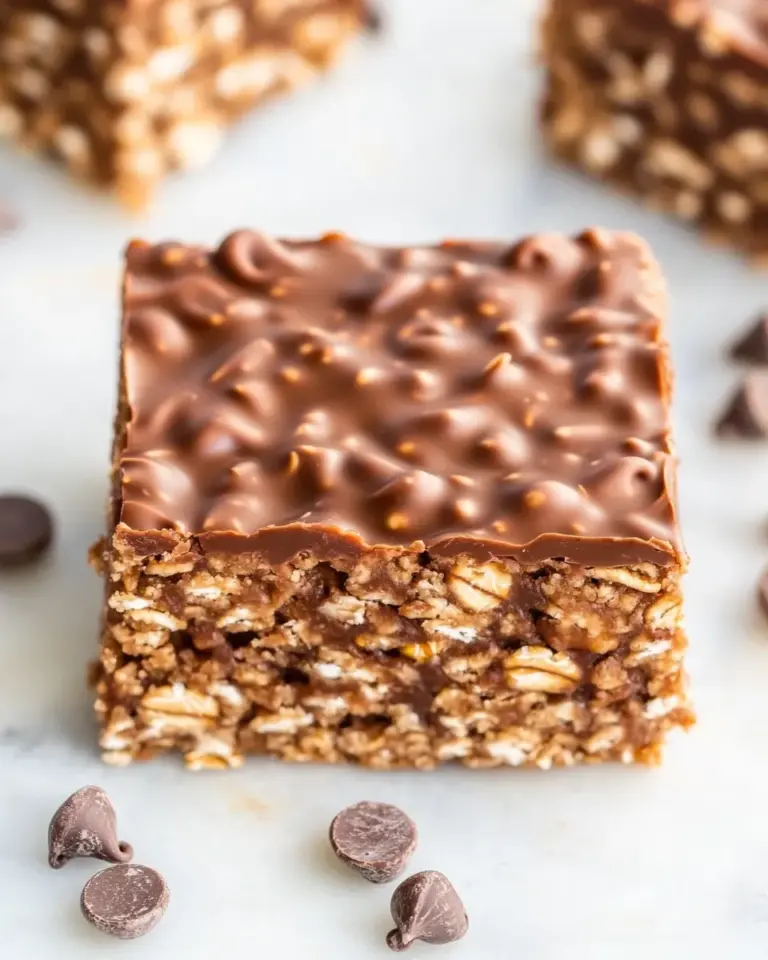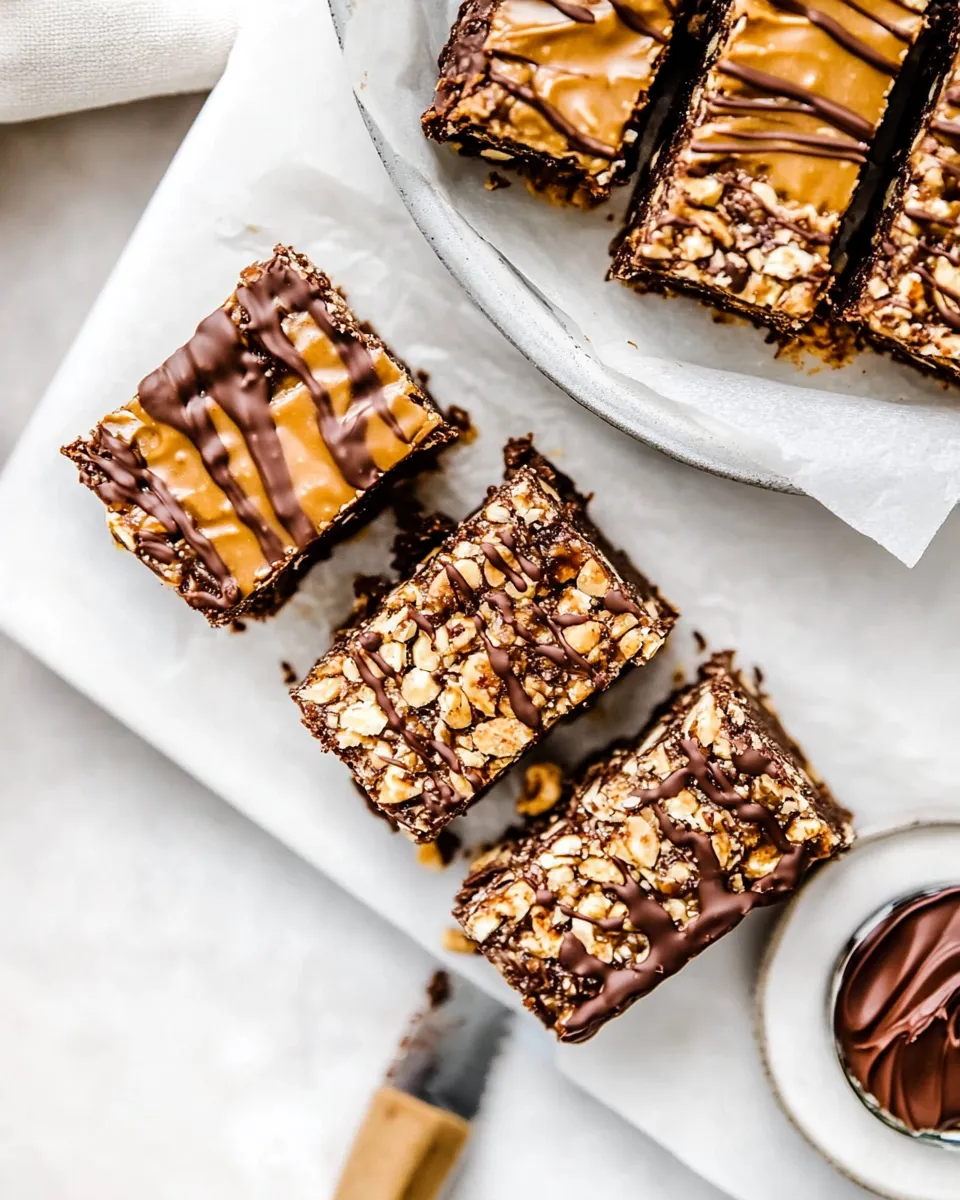
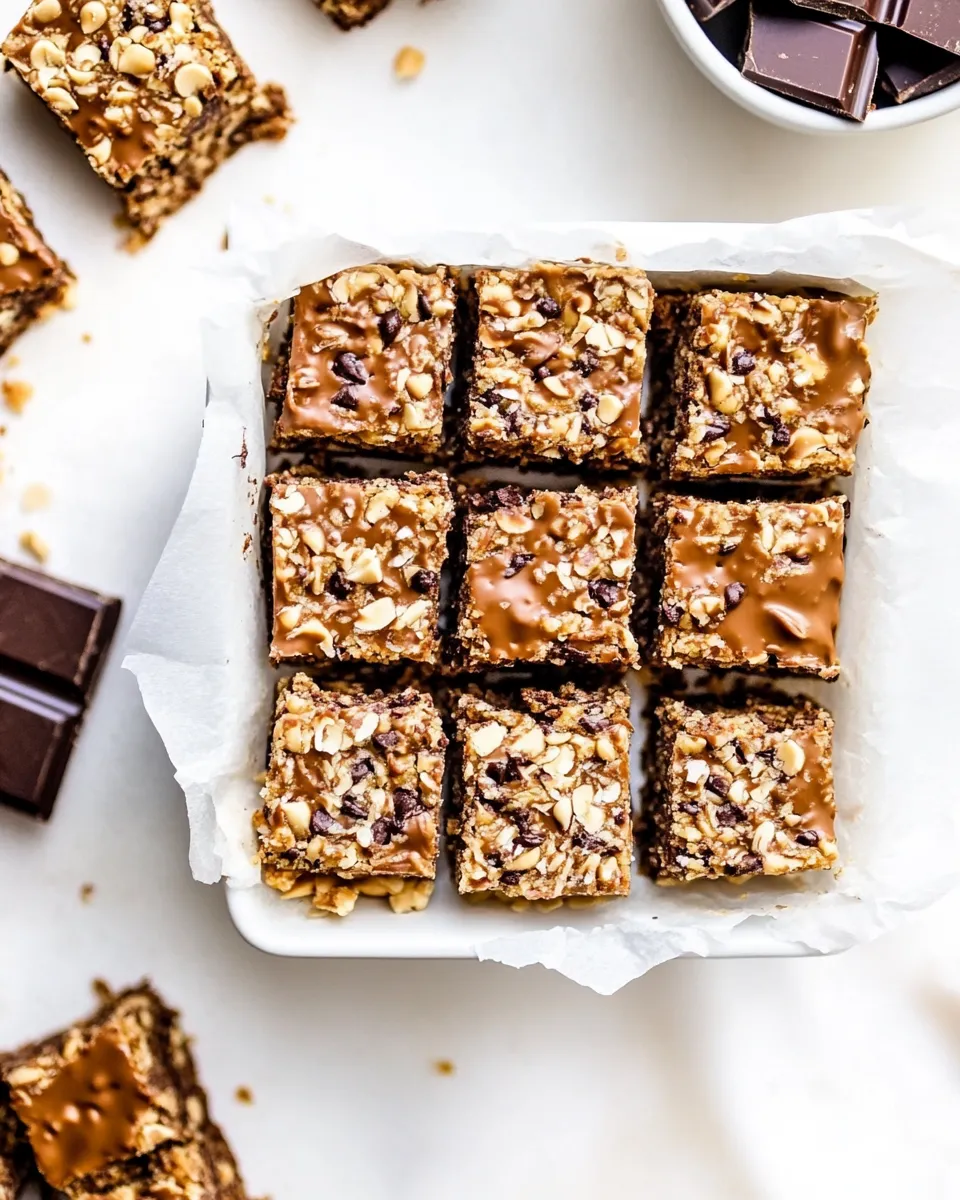
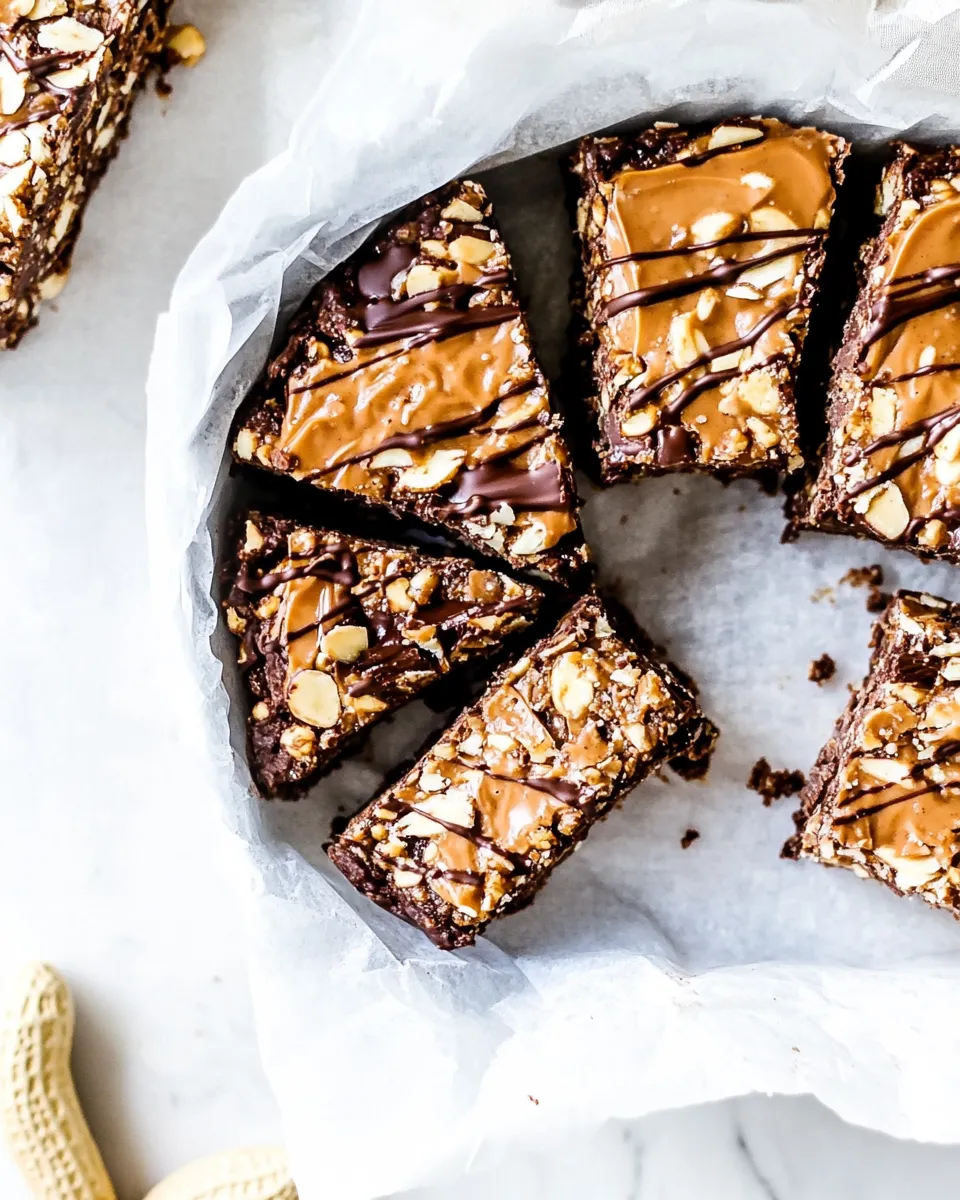
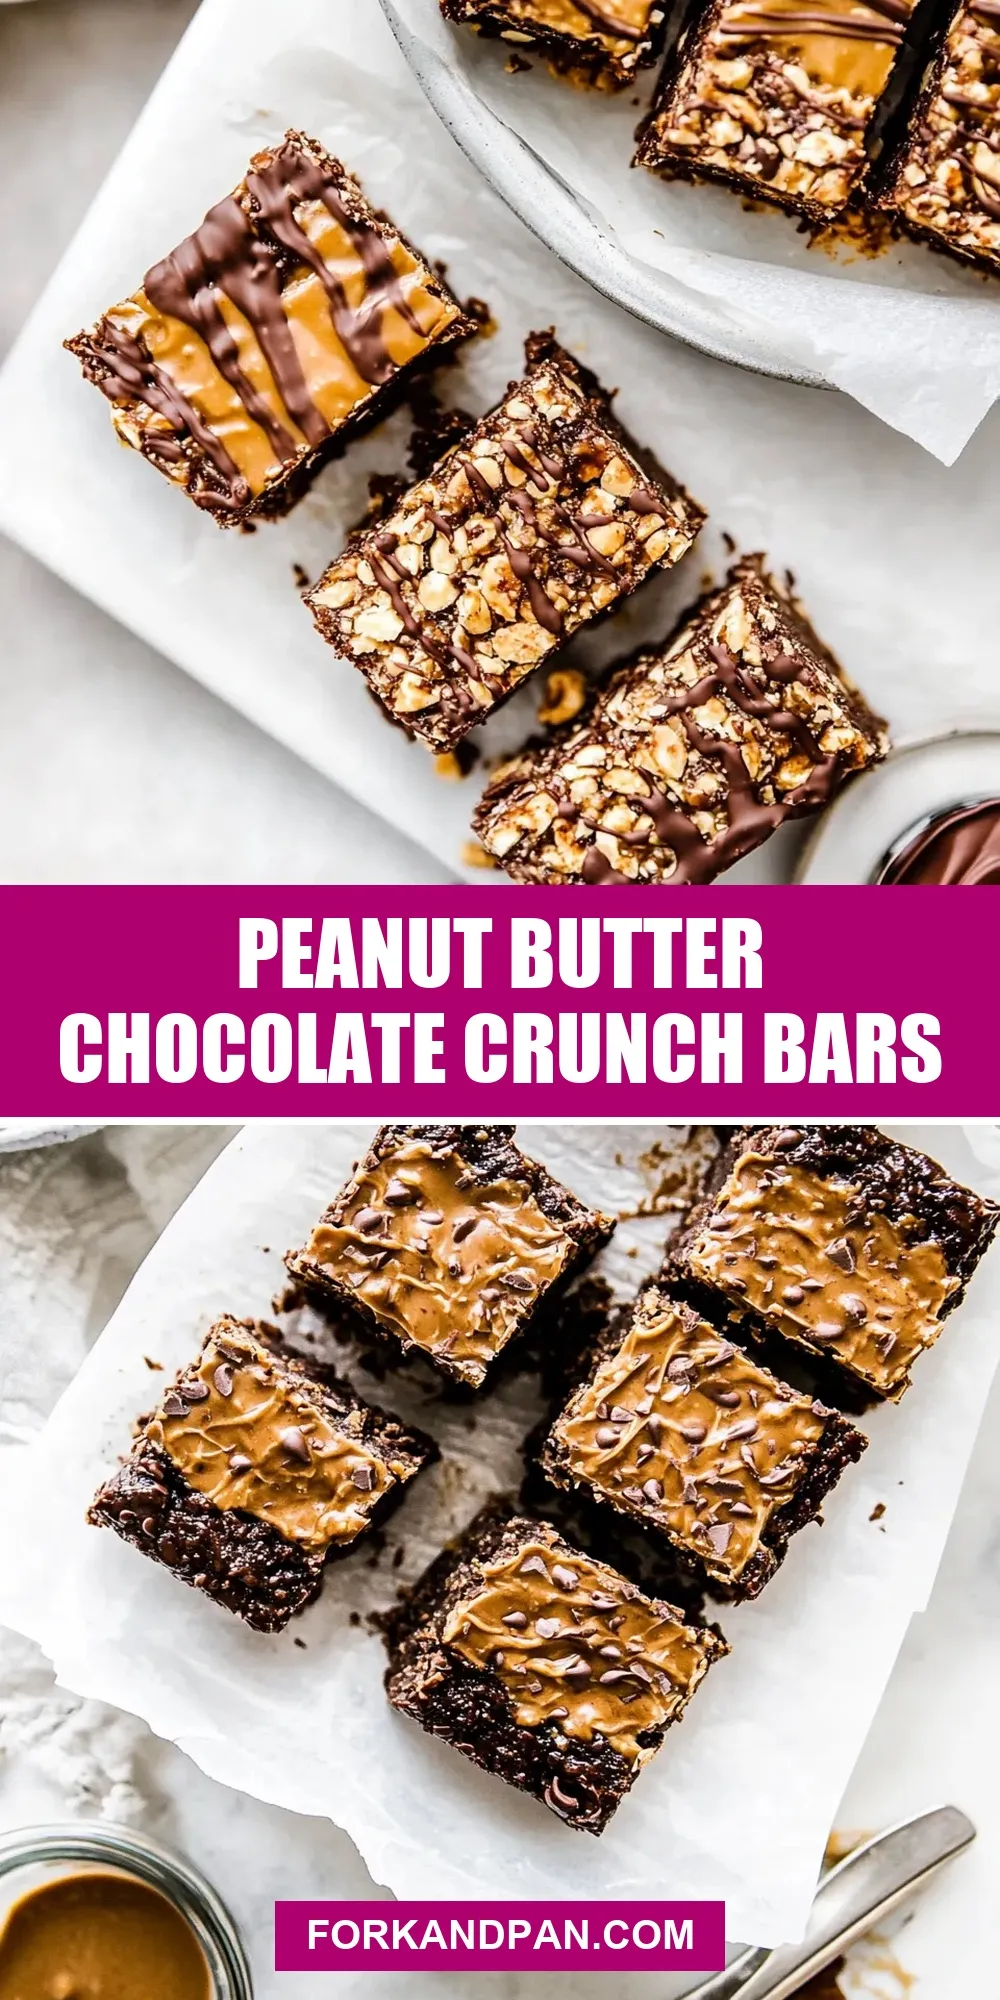
Peanut Butter Chocolate Crunch Bars
These Peanut Butter Chocolate Crunch Bars are my go-to no-bake treat when I need something that feels indulgent but comes together in a flash. They balance silky melted chocolate, creamy peanut butter, and the satisfying crackle of crisp rice cereal. No baking required, no fuss, just a couple of bowls, a pan and fifteen minutes in the freezer.
I make them whenever I want something portable to share at a potluck or to stash in the freezer for an afternoon pick-me-up. They keep their crunch surprisingly well and the flaky sea salt sprinkled on top turns a simple sweet into something that feels gourmet. You can make them exactly as written in under half an hour.
Below you’ll find a clear ingredient checklist with notes, step-by-step directions pulled directly from the recipe, troubleshooting, storage advice, and a few insider tips I’ve learned from repeating this recipe dozens of times. If you prefer straightforward guidance with small, practical adjustments, this post is for you.
Ingredient Checklist

- 1 cup chocolate chips — provides the chocolate base and structure once melted; use semi-sweet or milk depending on how sweet you want the bars.
- 2 teaspoons coconut oil — thins the chocolate for a glossy, spreadable coating and helps it set with a good snap.
- 1/3 cup creamy peanut butter — adds creaminess, flavor depth, and helps bind the cereal to the chocolate.
- 1 teaspoon pure vanilla extract — brightens the chocolate-peanut butter flavor; a small addition goes a long way.
- 2 cups crisp rice cereal — gives the bars their signature crunch; use plain crisp rice cereal, not sweetened clusters.
- 1/4 teaspoon flaky sea salt, plus more for sprinkling — enhances flavor contrast; the extra sprinkle on top makes the bars taste richer.
Directions: Peanut Butter Chocolate Crunch Bars
- Line a 9×5-inch loaf pan with parchment paper, leaving an overhang on two sides to lift the bars; if you don’t have a loaf pan, use an 8×8-inch pan.
- Place 1 cup chocolate chips and 2 teaspoons coconut oil in a large microwave-safe bowl.
- Microwave in 30-second intervals, stirring between each interval, until the chocolate and oil are fully melted and smooth.
- Stir in 1/3 cup creamy peanut butter, 1 teaspoon pure vanilla extract, and 1/4 teaspoon flaky sea salt until the mixture is smooth and uniform.
- Gently fold in 2 cups crisp rice cereal until the cereal is evenly coated with the chocolate-peanut butter mixture.
- Transfer the mixture to the prepared pan and press it into an even layer using a spatula or the bottom of a measuring cup.
- Sprinkle additional flaky sea salt over the top, to taste.
- Freeze the pan for 15 minutes to set the bars.
- Lift the set mixture from the pan using the parchment overhang and use a sharp knife to cut into bars.
Why It’s My Go-To
There are a few practical reasons these bars live on my recipe list. First, they require almost no active cook time. The most hands-on work is stirring and pressing into the pan. Second, they use pantry staples—chocolate chips, peanut butter, cereal—that I often have on hand, so I can make them spontaneously.
They deliver textural contrast: smooth chocolate-peanut butter coating with a crisp, airy crunch from the rice cereal. The flaky sea salt on top is a small detail that elevates the overall flavor and makes them feel like a special treat. Finally, they’re extremely adaptable for different tastes and events—double the batch for a crowd or cut smaller pieces for a dessert platter.
International Equivalents
If you live outside the U.S., the ingredients are widely available but names can differ. “Crisp rice cereal” may be labeled as puffed rice or rice crispies. Chocolate chips sometimes come as “baking chips” or “drop chocolate.” Look for coconut oil in the cooking oils aisle or natural foods section.
When measuring, use your country’s standard measuring tools. If you rely on weight, one cup of chocolate chips typically converts close to the typical package sizes sold locally—use a standard cup measure if you have one. For vanilla, “pure vanilla extract” is the same product worldwide, though brands vary in strength; stick to the teaspoon amount called for.
Before You Start: Equipment
Gather these simple items before you begin. Lining up equipment first keeps the process smooth and prevents over-melting the chocolate while you search for tools.
Must-haves
- Microwave-safe bowl — for melting chocolate and coconut oil.
- 9×5-inch loaf pan (or 8×8-inch pan) — with parchment overhang for easy removal.
- Spatula or the bottom of a measuring cup — for pressing the mixture evenly.
- Sharp knife — to cut clean bars after freezing.
Mistakes That Ruin Peanut Butter Chocolate Crunch Bars
There are a few common missteps that can sabotage these bars. Watch for them and you’ll avoid disappointment.
- Overheating the chocolate. Heating too long without stirring can burn chocolate, making it grainy and bitter. Use 30-second intervals and stir well between each.
- Using crunchy peanut butter. The recipe calls for creamy peanut butter; crunchy will add uneven texture and can prevent the bars from compacting smoothly.
- Pressing too hard or not enough. If you press unevenly you get rocky bits and loose cereal; if you press too hard you can squeeze out too much binding fat and the bars will be dense. Aim for firm, even pressure.
- Skipping the salt. That optional sprinkle on top is crucial to balance sweetness—skip it and the bars can taste flat.
- Not letting the bars set long enough. Cutting the bars before they’re firm will result in ragged pieces and a mess. Fifteen minutes in the freezer is the minimum.
Seasonal Adaptations
This recipe is a great canvas for slight seasonal shifts without changing the core technique.
- Winter gatherings: Use dark chocolate chips for a richer, less sweet finish and sprinkle a tiny pinch of cinnamon into the melted chocolate for warmth.
- Spring and summer: Add a few finely chopped dried strawberries or a thin layer of melted white chocolate swirled on top for a brighter look. Keep the bars chilled until serving in hot weather.
- Holiday gifts: Press the mixture into a larger pan and cut into smaller bite-size squares. Wrap individually in parchment for a quick edible gift.
Insider Tips
I make these a few times a month, so here are short, actionable tips that save time and improve the result.
- Warm the peanut butter slightly if it’s very stiff; a few seconds in the microwave makes it blend smoothly with the melted chocolate.
- Stir the chocolate mixture until completely glossy—no streaks. That glossy stage indicates the fats are well emulsified and the finish will be smooth.
- Use the bottom of a measuring cup wrapped in parchment or plastic wrap to press the mixture evenly without making marks from your palm.
- For cleaner cuts, wipe the knife between slices or run it under hot water and dry it before slicing.
Shelf Life & Storage
Store the bars in an airtight container. Keep them chilled if your home is warm—the coconut oil and chocolate soften at room temperature.
- Room temperature: If your kitchen stays cool, the bars will hold for a few days in an airtight container.
- Refrigerator: Store up to two weeks; bring to room temperature briefly before serving for best texture.
- Freezer: Freeze for up to three months. Layer parchment between pieces to prevent sticking and thaw in the refrigerator or at room temperature for 10–20 minutes before serving.
Troubleshooting Q&A
Short Q&A for the most likely problems you’ll run into.
Q: My chocolate looks grainy after melting. What happened?
A: It was probably overheated or water got into the bowl. Reheat gently in short bursts and stir. If water touched the chocolate, start over—grainy chocolate is usually unfixable.
Q: The bars are too sticky at room temperature.
A: The chocolate-coconut oil mix may not have fully set, or your kitchen is warm. Store in the fridge or freezer to firm them up, then serve slightly chilled.
Q: Pieces fall apart when I cut them.
A: Make sure the pan was frozen for the full 15 minutes. Use a sharp knife and press straight down; wipe the blade clean between cuts for neater slices.
Q: The cereal got soggy after a few days.
A: This can happen if moisture gets into the storage container. Keep bars separated from humid air and use an airtight container. For long-term storage, freeze them.
Ready to Cook?
When you’re ready, line your pan, melt the chocolate with coconut oil in short bursts, and follow the steps in order. The whole process is focused and fast: mix, press, freeze, cut. Keep your tools handy and resist the urge to shortcut the setting time.
These Peanut Butter Chocolate Crunch Bars are one of those easy wins: minimal ingredients, quick turnaround, and a crowd-pleasing result. Make a double batch when you have time and keep a stash in the freezer—you’ll thank yourself on busy afternoons.
Peanut Butter Chocolate Crunch Bars
Ingredients
Ingredients
- 1 cupchocolate chips
- 2 teaspoonscoconut oil
- 1/3 cupcreamy peanut butter
- 1 teaspoonpure vanilla extract
- 2 cupscrisp rice cereal
- 1/4 teaspoonflaky sea salt plus more for sprinkling
Instructions
Instructions
- Line a 9×5-inch loaf pan with parchment paper, leaving an overhang on two sides to lift the bars; if you don't have a loaf pan, use an 8×8-inch pan.
- Place 1 cup chocolate chips and 2 teaspoons coconut oil in a large microwave-safe bowl.
- Microwave in 30-second intervals, stirring between each interval, until the chocolate and oil are fully melted and smooth.
- Stir in 1/3 cup creamy peanut butter, 1 teaspoon pure vanilla extract, and 1/4 teaspoon flaky sea salt until the mixture is smooth and uniform.
- Gently fold in 2 cups crisp rice cereal until the cereal is evenly coated with the chocolate-peanut butter mixture.
- Transfer the mixture to the prepared pan and press it into an even layer using a spatula or the bottom of a measuring cup.
- Sprinkle additional flaky sea salt over the top, to taste.
- Freeze the pan for 15 minutes to set the bars.
- Lift the set mixture from the pan using the parchment overhang and use a sharp knife to cut into bars.
Equipment
- 9x5-inch loaf pan or 8x8-inch pan
- Parchment Paper
- large microwave-safe bowl
- Spatula
- Measuring cup
- Sharp Knife
Notes
How to store
: Store bars in an airtight container in the refrigerator for up to 2 weeks or in the freezer for up to 1 month.