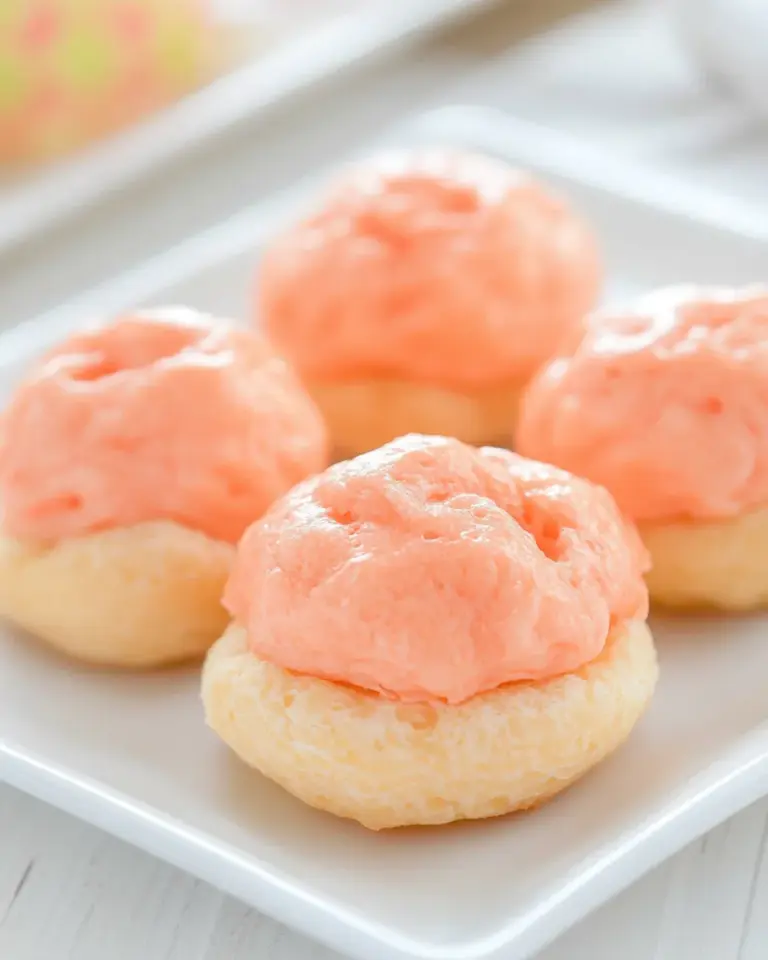
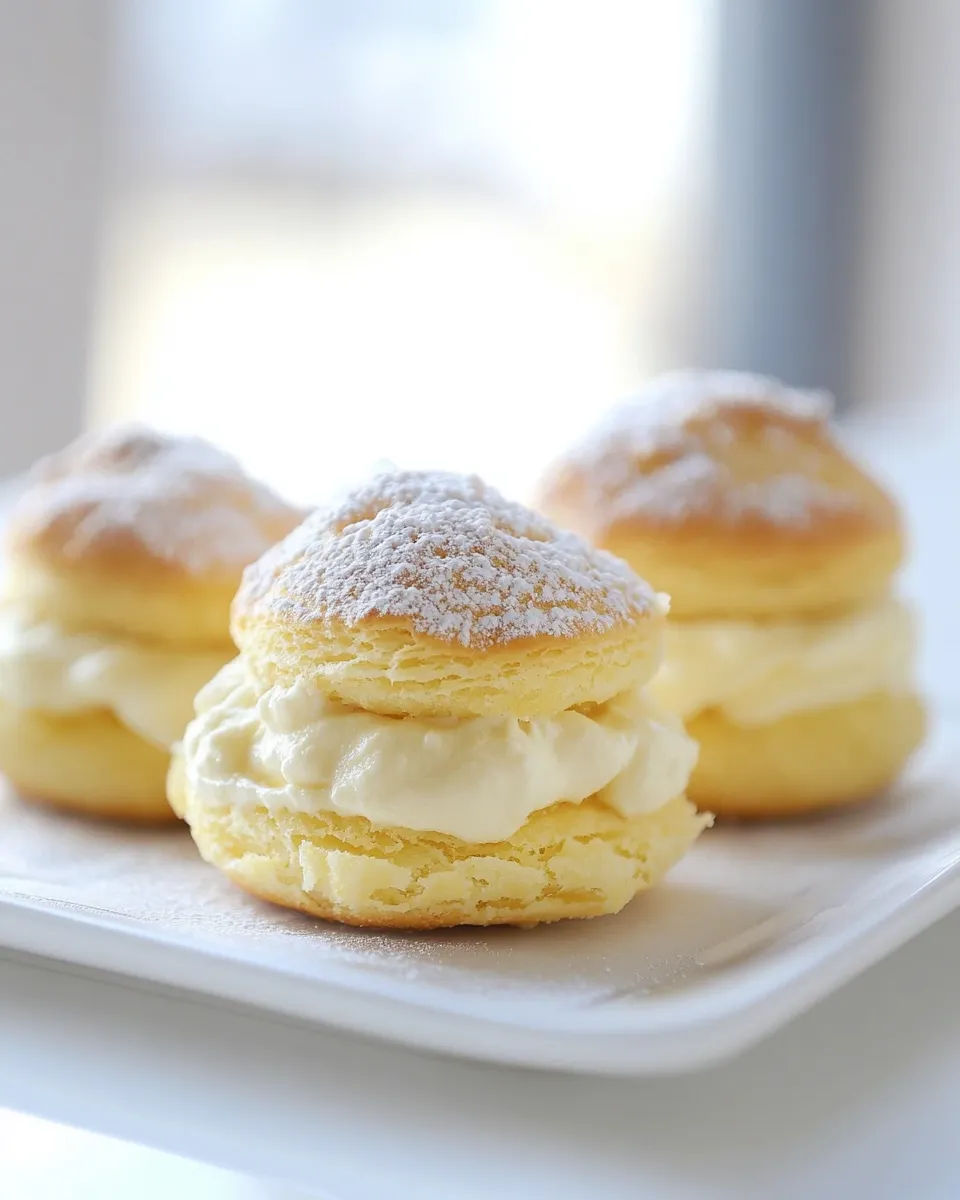
Lemon Cream Puffs
These Lemon Cream Puffs are a simple celebration of bright citrus and light pastry. They’re built from classic choux — crisp shells that puff and hollow out in the oven — and a lemon-tinged cream that’s silky without being heavy. The result feels fancy but is straightforward enough for an afternoon bake.
I test this version when I want something that travels well and serves a crowd: the shells hold up, the filling stays stable, and the lemon flavor comes through without being cloying. I’ll show you the exact steps, one reliable sequence so the texture and timing stay consistent.
No fussy techniques. You’ll learn the small habits that make choux predictable — how the dough should look, how to shape the mounds, and the oven trick that keeps them tall and dry inside. Follow the steps, and you’ll get consistent cream puffs that look like you spent hours on them.
What You’ll Need

Most of the work happens at the stovetop and in the mixer, then the oven does the rest. You’ll need basic pantry staples and a few tools to shape and finish the puffs neatly. Read through the ingredients and the method before you begin; timing and room-temperature eggs make a difference.
Ingredients
- 1 cup water — provides the steam that makes the puffs rise; use room-temperature water for predictable boiling.
- 1/2 cup butter — fat for richness and structure in the dough; use unsalted if you want to control salt.
- 1/4 teaspoon salt — balances the sweetness and strengthens the dough slightly.
- 1 1/4 cups all-purpose flour — the structure builder; measure by spooning into the cup and leveling for accuracy.
- 4 large eggs — the leavening and binder; add one at a time and fully incorporate each.
- 3.4 oz instant lemon pudding 1 box — the concentrated lemon flavor for the filling; mix with milk per directions below.
- 1 1/2 cups heavy cream — whipped to give the filling lift and creaminess; keep the bowl chilled for best volume.
- 1 cup milk — used to hydrate the instant pudding into a lemon base.
- 1 teaspoon vanilla — rounds the lemon and sweet cream flavors; vanilla adds depth.
- zest of 1 lemon — fresh brightness and texture in the filling; zest, don’t juice, for oils and aroma.
- 2 tablespoons sugar — stabilizes the whipped cream and adds balance to the tart pudding.
- powdered sugar for garnish — a final pretty dusting; sift lightly just before serving to avoid sogginess.
Cook Lemon Cream Puffs Like This
- Preheat oven to 425°F. Line two lightly colored baking sheets with parchment paper and set aside.
- In a medium saucepan, combine 1 cup water, 1/2 cup butter, and 1/4 teaspoon salt. Heat over medium until the butter melts, then increase heat to high and bring to a rolling boil.
- Remove the pan from the heat and add 1 1/4 cups all-purpose flour all at once. Stir vigorously until the flour is fully incorporated.
- Return the pan to medium heat and cook, stirring constantly, until the mixture smooths out and pulls away from the sides of the pan and follows the spoon (about 30 seconds). Remove from heat and let cool 5–10 minutes, until warm but not hot.
- Transfer the dough to a bowl or the bowl of a stand mixer. Beat in 4 large eggs one at a time, fully incorporating each egg before adding the next. After the last egg, beat for at least 2 minutes until the batter is smooth and glossy.
- Using a generously filled tablespoon scoop, drop 3– to 4-tablespoon mounds of batter onto the prepared baking sheets, spacing mounds about 3 inches apart.
- Bake at 425°F for 15 minutes. Without opening the oven door, reduce the temperature to 350°F and bake an additional 25 minutes, until the pastries are a medium golden brown.
- Remove the baking sheets from the oven. Make a small slit in the top of each puff and return the sheets to the oven for 5 minutes to allow steam to escape and dry the interiors. Transfer puffs to a rack to cool.
- When cool enough to handle, split each puff in half horizontally to make top and bottom pieces.
- To make the lemon filling: in a medium bowl, whisk the 3.4 oz box instant lemon pudding with 1 cup milk until smooth and slightly thickened.
- In a separate chilled bowl, whip 1 1/2 cups heavy cream with 2 tablespoons sugar and 1 teaspoon vanilla until soft-to-medium peaks form.
- Gently fold the pudding mixture into the whipped cream until uniform. Stir in the zest of 1 lemon.
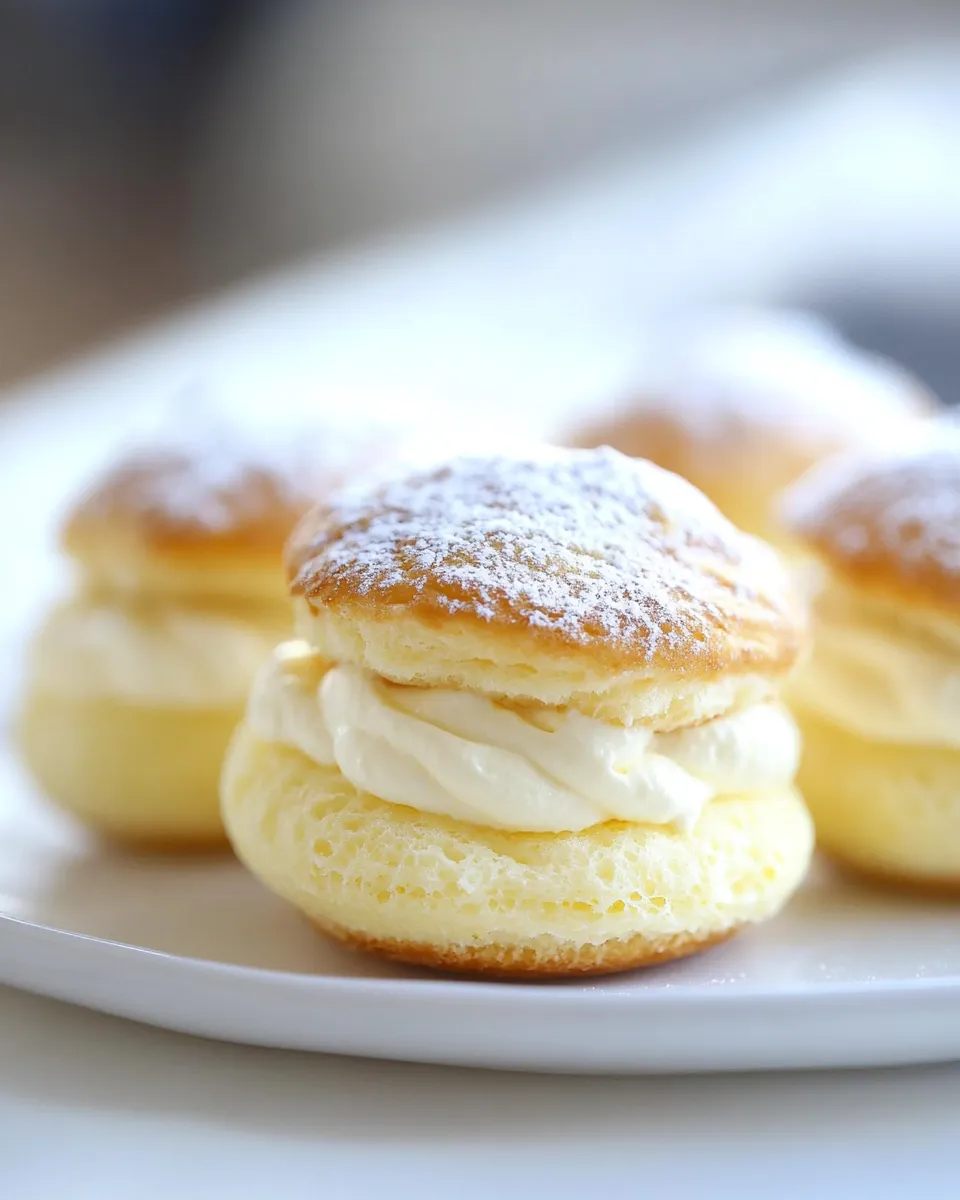
- Fill each cream puff bottom generously with the lemon cream, replace the tops, and dust with powdered sugar. Refrigerate filled cream puffs until ready to serve.
Why This Recipe is a Keeper
This recipe balances convenience and quality. The choux shells are crisp and hollow — exactly what you want for filled pastries — because of the two-stage oven method and the final steaming-out step. The lemon filling uses instant pudding to cut down on hands-on cooking time but pairs it with whipped cream so the texture is airy and fresh.
It’s forgiving. The method tolerates small timing differences in mixing and baking and still produces good results. The components can be made in stages: bake shells one day, prepare filling the next, and assemble before serving. That flexibility makes it practical for gatherings and reduce-day-of stress.
Allergy-Friendly Substitutes
If you need to accommodate allergies, here are safe swaps and notes on how they affect the outcome.
- Dairy-free — replace butter with a firm, high-quality plant-based spread. Use canned full-fat coconut milk chilled and whipped, or a compatible non-dairy whipping cream, in place of heavy cream; note the coconut flavor may be noticeable.
- Egg-free — traditional choux requires eggs for structure and rise; an egg-free choux is very different. If eggs are a strict no-go, consider using small pâte à choux alternatives like cream horn shells from a specialty mix or buying pre-made puff pastry shells.
- Gluten-free — gluten-free choux is tricky because all-purpose flour gives structure. If you must, test a tested gluten-free flour blend that’s recommended for choux; expect some textural differences and slightly different hydration.
- Low-sugar — you can reduce the added sugar in the whipped cream, and use a sugar-free instant lemon pudding if available; the lemon zest will help preserve bright flavor.
Appliances & Accessories
Use tools that make the process repeatable:
- Stand mixer or hand mixer — speeds up egg incorporation and gives a smooth, glossy batter.
- Medium saucepan — for making the pâte à choux base; choose heavy-bottomed to prevent scorching.
- Baking sheets lined with parchment — ensure even browning and easy release; lightweight or dark pans can brown faster, so parchment helps regulate color.
- Tablespoon scoop or spoon — for uniform mounds; consistent sizes bake evenly.
- Cooling rack — essential to cool the puffs thoroughly and avoid soggy bottoms.
- Chilled mixing bowl — for whipping cream; cold metal bowls help the cream reach stable peaks.
Frequent Missteps to Avoid
These are the common mistakes that ruin texture or appearance, and how to prevent them.
- Adding eggs too quickly — that leads to a runny batter. Add one egg at a time and fully incorporate so the dough emulsifies properly.
- Skipping the cooling step before eggs — if the dough is too hot, the eggs will scramble. Let it cool 5–10 minutes until warm, not hot.
- Opening the oven during the initial high-heat bake — this can cause the puffs to collapse. Trust the timer and only open when instructed.
- Underbaking or not drying the interiors — will leave soggy insides. Make the small slit and return to the oven for the extra 5 minutes to evaporate interior moisture.
- Filling too early — filled puffs can become soggy if left in the fridge too long. Fill shortly before serving or within a few hours and keep chilled.
Spring–Summer–Fall–Winter Ideas
These puffs adapt by swapping garnish, additions, or pairing — small changes suit each season.
- Spring — add a thin layer of lemon curd below the cream for extra brightness; garnish with edible flowers for visual appeal.
- Summer — serve with fresh berries on the side or folded into the filling for natural sweetness and color contrast.
- Fall — fold a pinch of ground cardamom into the whipped cream for warmth; swap lemon zest for orange if you want a deeper citrus note.
- Winter — dust with a heavier coating of powdered sugar and serve with hot tea or coffee; consider a drizzle of warm vanilla sauce for a comforting finish.
Chef’s Rationale
I keep the egg addition and the two-temperature bake intact because they’re the decisions that control rise and dryness. Adding eggs one at a time ensures the dough reaches the right elasticity; the initial hot blast at 425°F gives lift, and the lower temperature finishes the bake without burning. The brief steam-release step is small but essential — it dries the interior so the filling won’t turn it soggy.
For the filling, using instant lemon pudding speeds the process and guarantees stable lemon flavor, while folding it into lightly sweetened whipped cream gives the texture we want: airy yet substantial. The lemon zest at the end adds fresh citrus oil and aroma that instant mixes alone can’t provide.
How to Store & Reheat
Unfilled shells: store in an airtight container at room temperature for up to 2 days. They’ll retain crispness if kept dry and away from humidity. For longer storage, freeze cooled shells in a single layer on a sheet pan, then transfer to a freezer bag; reheat from frozen in a 350°F oven for 6–8 minutes to refresh.
Filled cream puffs: assemble shortly before serving when possible. Once filled, keep them refrigerated and consume within 24–48 hours. If you must transport filled puffs, pack them in a single layer in a shallow container and keep chilled.
Quick Questions
- Can I make the shells ahead? — Yes. Bake and cool them, then store airtight up to 2 days or freeze for longer.
- Can I use fresh lemon curd instead of instant pudding? — Yes; if you do, reduce the milk and adjust sweetness. Fresh curd will be tangier and thicker, so fold with whipped cream to lighten it.
- Why does my dough sometimes not puff? — Usually because the dough was too wet, eggs were added improperly, or the oven temperature wasn’t hot enough. Follow the egg-incorporation step and the oven timing precisely.
- Is powdered sugar necessary? — No, but it makes them look finished. You can skip it or replace with a light lemon glaze if you prefer.
In Closing
Lemon Cream Puffs are one of those treats that look upscale but are achievable with practice and attention to a few key moments: the texture of the choux after you beat in the eggs, the initial high-heat bake, and drying the interior. The lemon filling makes them feel fresh and summery, and the recipe scales well for a party or a quiet weekend bake.
Read the steps through once, set out your ingredients, and move through the stages deliberately. You’ll get consistent shells and a bright, airy lemon cream that sings against the crisp pastry. Enjoy — and don’t be surprised if these become a repeated request at your table.

Lemon Cream Puffs
Ingredients
Ingredients
- 1 cupwater
- 1/2 cupbutter
- 1/4 teaspoonsalt
- 1 1/4 cupsall purpose flour
- 4 largeeggs
- 3.4 ozinstant lemon pudding1 box
- 1 1/2 cupsheavy cream
- 1 cupmilk
- 1 teaspoonvanilla
- zest of 1 lemon
- 2 tablespoonssugar
- powdered sugarfor garnish
Instructions
Instructions
- Preheat oven to 425°F. Line two lightly colored baking sheets with parchment paper and set aside.
- In a medium saucepan, combine 1 cup water, 1/2 cup butter, and 1/4 teaspoon salt. Heat over medium until the butter melts, then increase heat to high and bring to a rolling boil.
- Remove the pan from the heat and add 1 1/4 cups all-purpose flour all at once. Stir vigorously until the flour is fully incorporated.
- Return the pan to medium heat and cook, stirring constantly, until the mixture smooths out and pulls away from the sides of the pan and follows the spoon (about 30 seconds). Remove from heat and let cool 5–10 minutes, until warm but not hot.
- Transfer the dough to a bowl or the bowl of a stand mixer. Beat in 4 large eggs one at a time, fully incorporating each egg before adding the next. After the last egg, beat for at least 2 minutes until the batter is smooth and glossy.
- Using a generously filled tablespoon scoop, drop 3– to 4-tablespoon mounds of batter onto the prepared baking sheets, spacing mounds about 3 inches apart.
- Bake at 425°F for 15 minutes. Without opening the oven door, reduce the temperature to 350°F and bake an additional 25 minutes, until the pastries are a medium golden brown.
- Remove the baking sheets from the oven. Make a small slit in the top of each puff and return the sheets to the oven for 5 minutes to allow steam to escape and dry the interiors. Transfer puffs to a rack to cool.
- When cool enough to handle, split each puff in half horizontally to make top and bottom pieces.
- To make the lemon filling: in a medium bowl, whisk the 3.4 oz box instant lemon pudding with 1 cup milk until smooth and slightly thickened.
- In a separate chilled bowl, whip 1 1/2 cups heavy cream with 2 tablespoons sugar and 1 teaspoon vanilla until soft-to-medium peaks form.
- Gently fold the pudding mixture into the whipped cream until uniform. Stir in the zest of 1 lemon.
- Fill each cream puff bottom generously with the lemon cream, replace the tops, and dust with powdered sugar. Refrigerate filled cream puffs until ready to serve.
Equipment
- Oven
- Saucepan
- Mixing Bowl
- Stand mixer or hand mixer
- Baking Sheets
- Parchment Paper
- Whisk
- Spoon