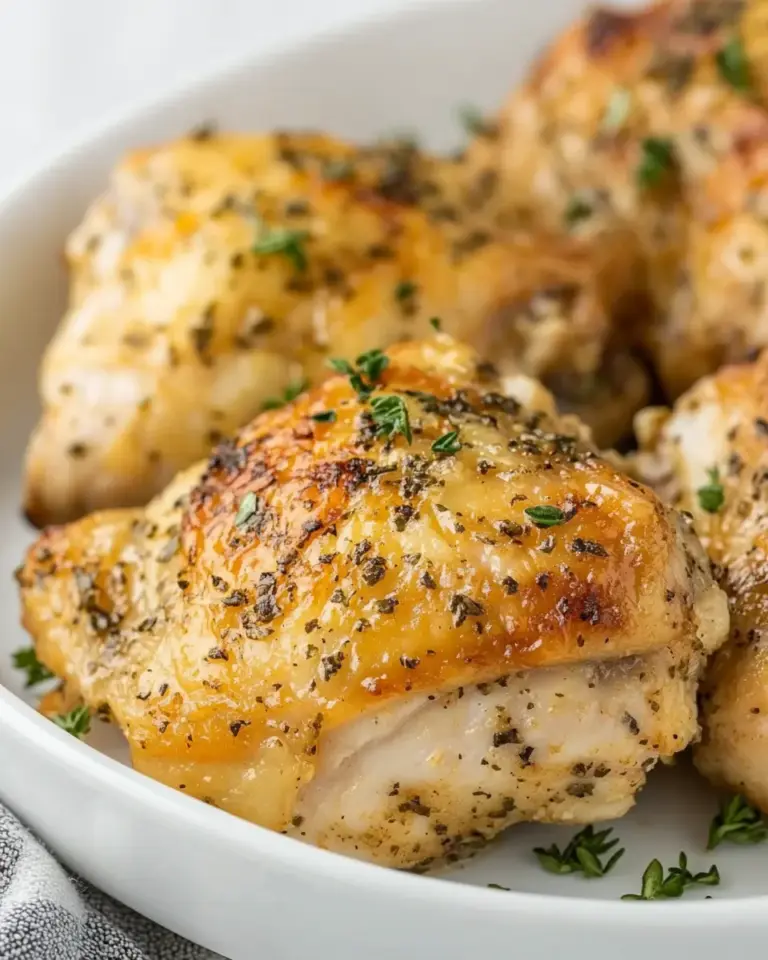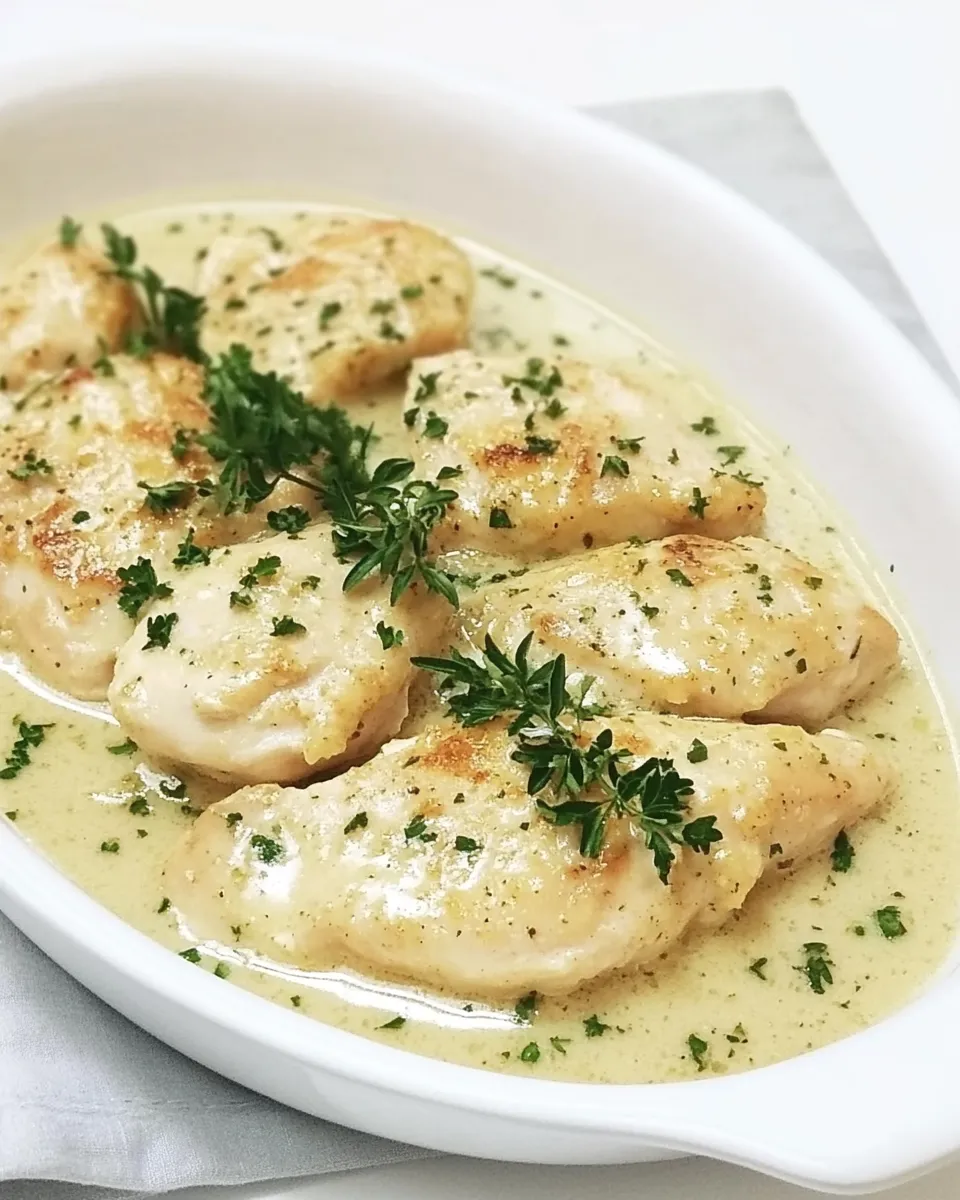
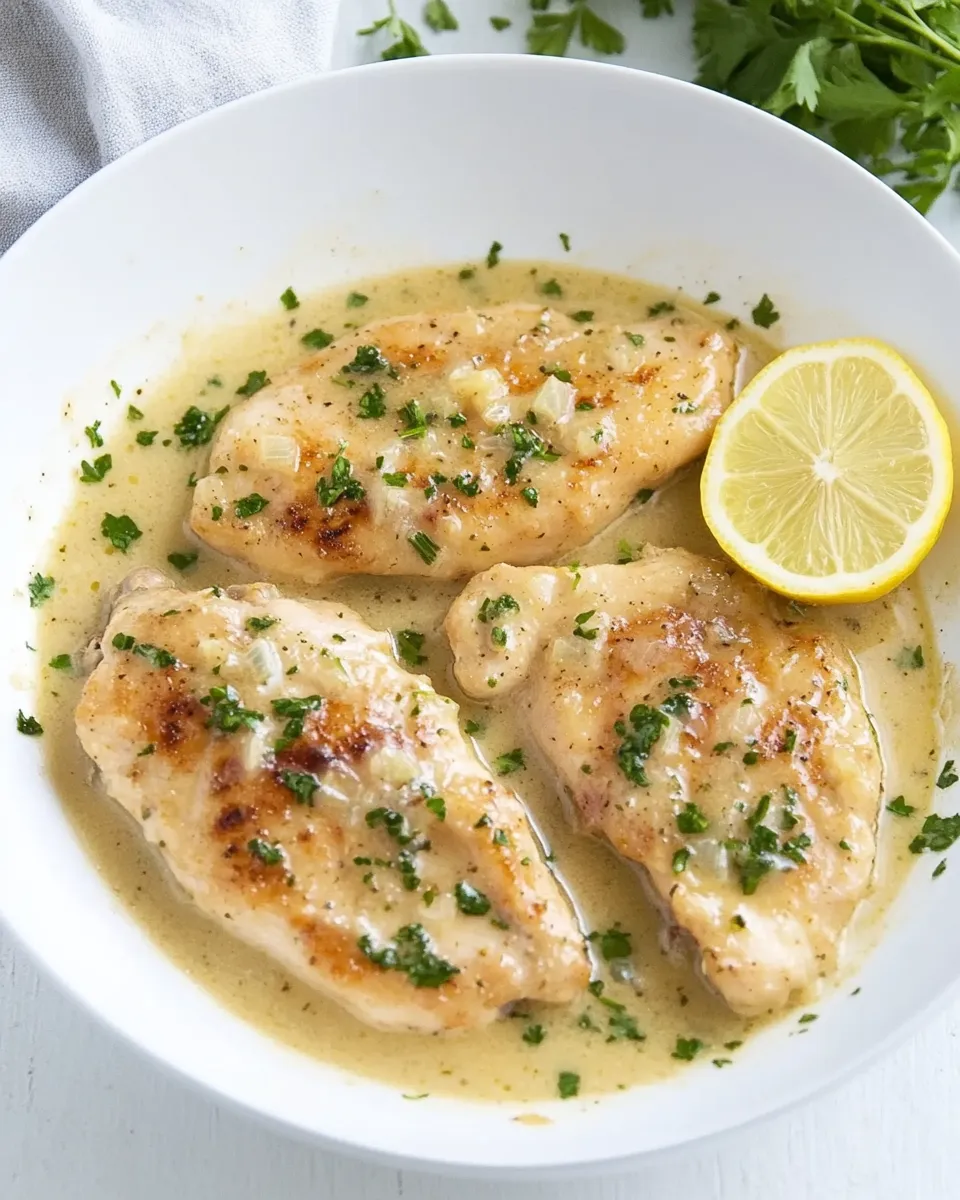
Lemon Butter Chicken Recipe
I fell in love with this Lemon Butter Chicken the first time I needed a weeknight dinner that felt special without requiring a full evening in the kitchen. It’s bright, buttery, and forgiving — everything I look for when I want one pan, minimal fuss, and reliable flavor. The sauce comes together fast, and the pan fond you get from browning the cutlets gives the dish a surprisingly deep taste for so little effort.
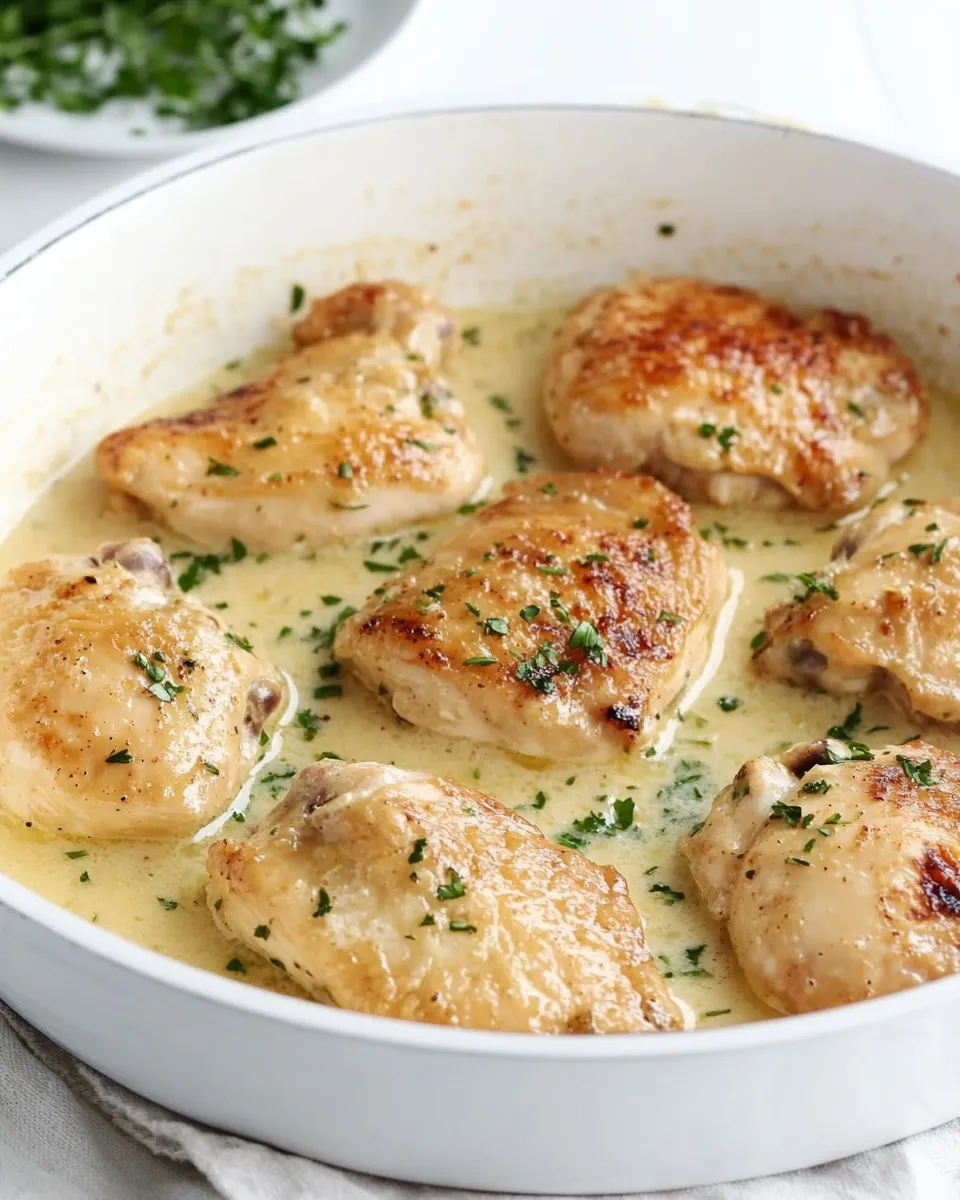
What I appreciate most is how practical the method is: thin the breasts so they cook evenly, dust briefly in seasoned flour, brown them well, then build the sauce right in the same pan. You end up with glossy, lemony butter sauce that clings to the chicken and a finished dish that looks restaurant-ready. This recipe is the kind I make when friends drop by or when I want a comforting solo dinner that still feels elevated.
Below I’ll walk you through the exact ingredients and steps, plus sensible swaps, tools that make the job easier, and mistakes to avoid. Read it once, then keep the steps close — you’ll be making this on repeat.
Ingredient Checklist

Ingredients
- 2 chicken breasts, 12 to 14 ounces each — split into thinner cutlets so they cook quickly and evenly.
- ½ cup all-purpose flour — for a light dredge that browns and thickens the sauce slightly.
- 4 tablespoons olive oil — used for browning; high-smoke point oil keeps the pan from burning.
- 4 thinly sliced garlic cloves — fragrant base for the sauce; slice thin so it releases flavor quickly.
- 1 ½ cups chicken stock — the body of the pan sauce; reduces to concentrate flavor.
- 4 tablespoons unsalted butter — stirred in at the end for richness and a glossy finish.
- juice of 1 lemon, about 3 to 4 tablespoons — brightens and balances the butter and stock.
- coarse salt and freshly cracked pepper to taste — used in the flour and to finish; season as you go.
- minced fresh parsley for garnish, optional — adds a fresh note and color when you like.
Method: Lemon Butter Chicken
- Slice each chicken breast in half widthwise to make four thinner cutlets.
- Whisk the ½ cup all-purpose flour with coarse salt and freshly cracked pepper in a shallow bowl.
- Season both sides of each chicken cutlet with additional coarse salt and freshly cracked pepper to taste.
- Pour the 4 tablespoons olive oil into a large nonstick frying pan and heat over medium until the oil shimmers, about 1–2 minutes.
- Working in batches so you do not crowd the pan, dredge each cutlet in the seasoned flour, pressing lightly and then shaking off any excess.
- Add the floured cutlets to the hot pan and cook 3–4 minutes per side, until browned and almost cooked through. Transfer cooked cutlets to a plate and keep warm.
- Reduce the heat to low and add the 4 thinly sliced garlic cloves to the pan; cook, stirring, 1–2 minutes until fragrant (do not let the garlic brown).
- Increase heat to high, pour in the 1 ½ cups chicken stock, and scrape the bottom of the pan to loosen browned bits. Cook 4–5 minutes, until the stock has reduced by about half.
- Reduce heat to low and stir in the juice of 1 lemon (about 3–4 tablespoons) and the 4 tablespoons unsalted butter; stir until the butter is melted and the sauce is smooth. Taste and add salt and pepper if needed.
- Return the chicken to the pan and spoon sauce over the cutlets; cook 2–4 minutes more until the chicken is cooked through and heated through and the sauce coats the chicken.
- Serve the chicken with the pan sauce spooned over each piece and garnish with minced fresh parsley if desired.
Why You’ll Keep Making It
This recipe hits the sweet spot between speed and flavor. The technique of thinning the breasts and browning them gives you a caramelized exterior with tender meat inside. The pan sauce is an example of how simple ingredients — stock, lemon, and butter — transform those brown bits into something glossy and complex.
It’s forgiving. If the sauce reduces a touch too far, a splash more stock rehabs it quickly. If your chicken runs a minute longer, it still benefits from the sauce. That ease, along with a short ingredient list and a single pan, makes it a repeatable favorite for busy nights or casual entertaining.
Substitutions by Category
- Protein — Use similar-sized boneless poultry pieces if you prefer darker meat; adjust cooking time accordingly.
- Flour — For a different coating texture, opt for a coarser dusting or a lighter starch; be mindful of how it browns.
- Fat for browning — Any neutral oil high enough in smoke point works for searing; the goal is a steady medium heat without burning.
- Stock — A well-flavored broth gives the best sauce base; use a richer stock if you want more depth without extra steps.
- Finish — The butter and lemon are essential to the sauce profile; if you must change one, adjust the balance carefully so the sauce stays silky and bright.
Appliances & Accessories
A wide, heavy-bottomed skillet makes browning predictable and provides enough surface area to sear without crowding. Nonstick is specifically called for here — it helps when you reduce the sauce and scrape up the fond without sticking. If you use a stainless pan, watch heat closely and deglaze with the stock at the right temperature to loosen browned bits.
Other small helpers: a shallow bowl for the flour makes dredging quick and even. Tongs are my go-to for turning cutlets without tearing. A sharp knife for slicing the breasts thin keeps portions uniform so everything cooks at the same pace.
Avoid These Traps
Don’t skip thinning the breasts. Thick pieces take longer to cook and dry out on the outside before the center reaches a safe temperature. Slice them in half widthwise for even, fast cooking.
Watch the garlic. Cook it only until fragrant — if it browns, it becomes bitter and will throw off the sauce. Add it on low and increase heat only after you’ve given it a minute or two to release aroma.
Don’t crowd the pan when searing. Crowding causes steam and prevents a good brown crust. Work in batches and keep cooked cutlets warm while you finish the sauce.
Holiday-Friendly Variations
For a holiday table, plate the cutlets neatly and spoon the sauce over each piece so every guest gets the glossy finish. If you’re serving a crowd, keep extra sauce warm in a small saucepan and refresh the pan briefly with a splash of stock if it thickens too much when resting.
Consider scaling components rather than changing technique: multiple pans or working in shifts ensures you preserve the pan fond for a strong sauce. Presentation matters here — a sprinkle of minced fresh parsley or a lemon wedge at the plate elevates the look with almost no extra work.
Insider Tips
Temperature control
Heat is everything. Start the oil over medium so it heats evenly; a shimmering oil tells you it’s ready. After browning, lowering the heat for the garlic prevents bitterness. Then crank the heat briefly when you add the stock to properly reduce and concentrate flavor.
Texture tricks
Shake off excess flour after dredging. Too much flour makes the coating gummy and may thicken the sauce overly fast. A light, even dusting is what you want — enough to create a delicate crust and help the sauce cling.
Finishing the sauce
Always add the butter off the highest heat and stir gently so the sauce emulsifies and becomes glossy. Taste and adjust seasoning after the butter melts; it can mute saltiness, so a final seasoning check is important.
Freezer-Friendly Notes
This dish is best fresh, but you can freeze portions for convenience. Cool the chicken and sauce completely, package in airtight containers, and freeze flat. Thaw overnight in the fridge and reheat gently in a skillet over low heat, adding a splash of stock or water if the sauce seems tight. Reheat slowly so the chicken warms through without drying out.
For best texture, avoid freezing the chicken immediately after browning but before finishing the sauce; finishing the sauce and then freezing helps preserve the final texture and flavor.
FAQ
Can I use bone-in chicken? Bone-in takes longer and won’t work with the quick sear timings here. If you prefer bone-in pieces, expect a significantly longer cooking time and adjust the method.
How tart will the lemon be? The juice of one lemon gives a bright but balanced acidity once combined with the butter and reduced stock. Taste after adding the butter and adjust with a touch more stock if it’s too sharp.
Can I make this dairy-free? If you omit the butter, the sauce will lose its glossy richness. You can finish with a small amount of a neutral oil for sheen, but the flavor profile will change.
What’s the best way to keep the chicken warm between batches? Transfer cooked cutlets to a plate and tent loosely with foil. Keep in a low oven (about 200°F / 95°C) if you need to hold them while finishing the sauce for longer than a few minutes.
Before You Go
Make the Lemon Butter Chicken once exactly as written. Watch the browning, mind the garlic, and finish with butter and lemon. It’s a short list of steps that yields a dish with depth far beyond the effort required. Keep the technique in your back pocket: thin cutlets, seasoned flour, a quick pan sauce — and you’ll have one more reliable, weeknight-worthy recipe that feels a little bit special.
When you make it, take a minute to notice the pan fond you scraped up and how it turns into the sauce. That transformation is kitchen magic you can reproduce over and over. Enjoy.

Lemon Butter Chicken Recipe
Ingredients
Ingredients
- 2 chicken breasts 12 to 14 ounces each
- 1/2 cupall-purpose flour
- 4 tablespoonsolive oil
- 4 thinly sliced garlic cloves
- 1 1/2 cupschicken stock
- 4 tablespoonsunsalted butter
- juice of 1 lemon about 3 to 4 tablespoons
- coarse salt and freshly cracked pepper to taste
- minced fresh parsley for garnish optional
Instructions
Instructions
- Slice each chicken breast in half widthwise to make four thinner cutlets.
- Whisk the ½ cup all-purpose flour with coarse salt and freshly cracked pepper in a shallow bowl.
- Season both sides of each chicken cutlet with additional coarse salt and freshly cracked pepper to taste.
- Pour the 4 tablespoons olive oil into a large nonstick frying pan and heat over medium until the oil shimmers, about 1–2 minutes.
- Working in batches so you do not crowd the pan, dredge each cutlet in the seasoned flour, pressing lightly and then shaking off any excess.
- Add the floured cutlets to the hot pan and cook 3–4 minutes per side, until browned and almost cooked through. Transfer cooked cutlets to a plate and keep warm.
- Reduce the heat to low and add the 4 thinly sliced garlic cloves to the pan; cook, stirring, 1–2 minutes until fragrant (do not let the garlic brown).
- Increase heat to high, pour in the 1 ½ cups chicken stock, and scrape the bottom of the pan to loosen browned bits. Cook 4–5 minutes, until the stock has reduced by about half.
- Reduce heat to low and stir in the juice of 1 lemon (about 3–4 tablespoons) and the 4 tablespoons unsalted butter; stir until the butter is melted and the sauce is smooth. Taste and add salt and pepper if needed.
- Return the chicken to the pan and spoon sauce over the cutlets; cook 2–4 minutes more until the chicken is cooked through and heated through and the sauce coats the chicken.
- Serve the chicken with the pan sauce spooned over each piece and garnish with minced fresh parsley if desired.
Equipment
- large nonstick frying pan
- Shallow Bowl
- Plate
Notes
Make-Ahead:
You can make this recipe up to 30 minutes ahead. Just keep warm in the sauce over low heat before serving.
How to Store:
Cover and keep in the refrigerator for up to 4 days. It will freeze covered for up to 3 months. Thaw in the refrigerator for 1 day before reheating.
How to Reheat
: Add the desired amount of lemon butter chicken to a saucepan and a few tablespoons of water. Cook over low to medium heat until hot, about 6-8 minutes.
If using
garlic granules or powder, there is no need to cook it. Once you add the chicken stock, simply whisk it into the pan.
Optionally lightly
pound each sliced chicken breast with a mallet and set aside.