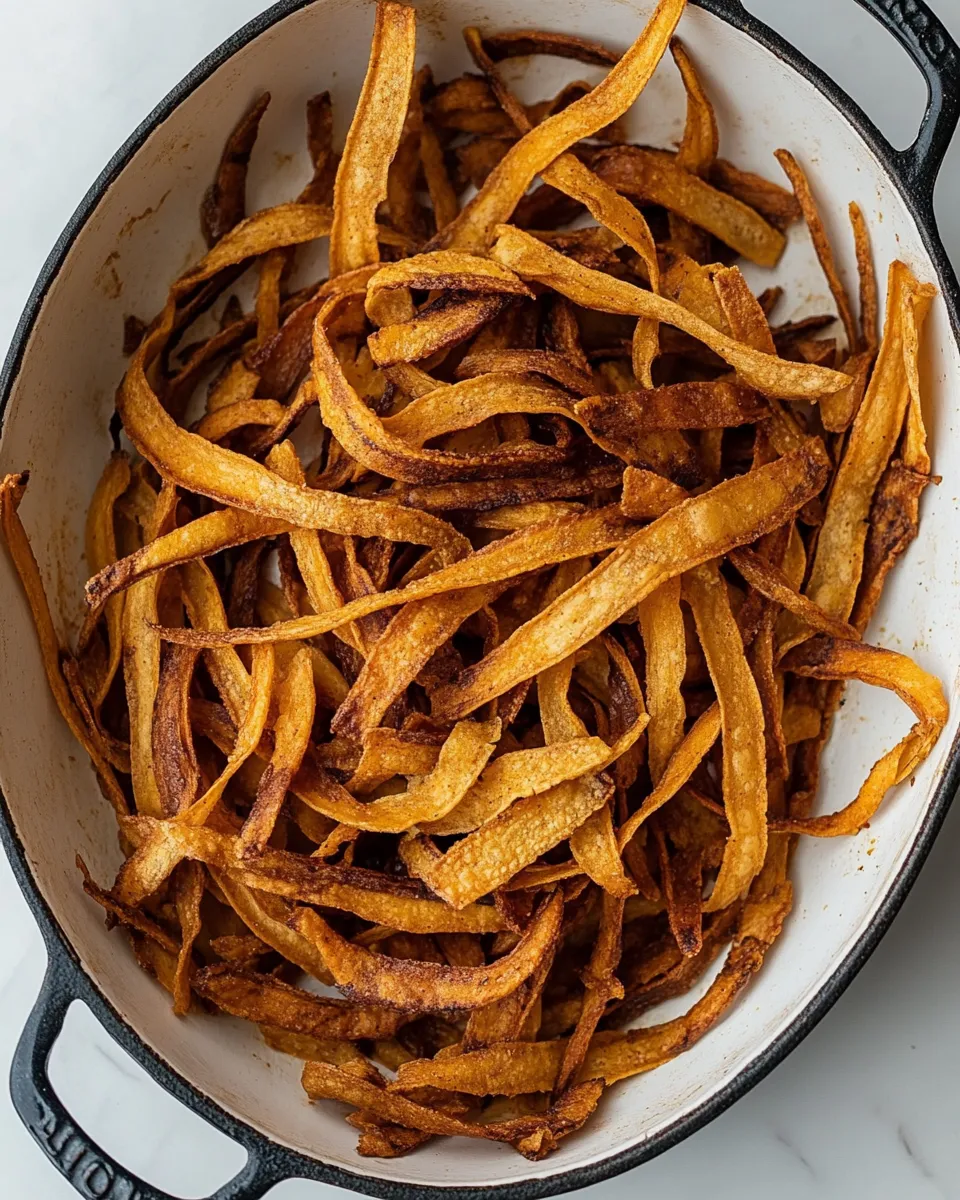
How to Make Crispy Tortilla Strips
Crunch is everything. Whether you’re finishing a bowl of soup, topping a salad, or adding a little crunch to tacos, homemade crispy tortilla strips beat store-bought every time. They’re fast, require just three things, and you control the salt and oil. That matters when you want a lighter finish or a bolder seasoned crunch.
These strips are forgiving. The basic technique takes minutes and works on a stovetop or in the oven. I’ll walk you through the exact steps, point out the small mistakes that turn crisp into soggy, and share ways to use them beyond the obvious. You’ll want to keep the ingredients on hand.
Follow the simple source-of-truth method below and you’ll have consistent results. Short ingredient list, straightforward equipment, and a few practical tips are all you need to get perfect, golden strips every time.
The Essentials

What you need to know up front: this recipe uses 4 small corn tortillas, 1 tablespoon of olive oil, and a pinch of salt. You cut the tortillas into thin strips, separate them, and either fry them briefly in oil on the stovetop or bake them at 400°F until crisp.
Timing is quick—3–4 minutes on the stovetop per batch or about 10 minutes in the oven with a flip halfway through. Pay attention during cooking. The strips go from pale to golden quickly, and once they’re out of the pan or oven they crisp further as they cool.
Use these strips to add texture: sprinkled on soups like tortilla soup or black bean, tossed into salads, layered in tostadas, or used as a crunchy garnish on bowls. They’re versatile and store well for short periods if you need to prep ahead.
Ingredients
- 4 small corn tortillas — the base: corn tortillas crisp up quickly and hold shape; small size gives shorter strips that crisp evenly.
- 1 tbsp olive oil — for browning and crisping; a light coat helps even toasting whether you pan-fry or bake.
- Pinch of salt — finishing salt boosts flavor; add it right after cooking so it sticks to warm strips.
Crispy Tortilla Strips: How It’s Done
- Stack the 4 small corn tortillas and cut them into thin strips about 1/4-inch wide.
- Separate the strips so they are loose and not stuck together.
- Choose a cooking method: stovetop or oven.
- Stovetop: Heat a skillet over medium-high heat. Add 1 tbsp olive oil and swirl to coat the pan. Add the tortilla strips in a single layer (cook in batches if needed). Cook, stirring or tossing frequently, until golden and crisp, about 3–4 minutes. Transfer to a plate to cool briefly and sprinkle with a pinch of salt.
- Oven: Preheat the oven to 400°F. In a bowl, toss the tortilla strips with 1 tbsp olive oil until evenly coated. Spread the strips in a single layer on a baking sheet. Bake about 10 minutes, stirring or flipping once halfway through, until golden and crisp. Remove from the oven and sprinkle with a pinch of salt.
Why Cooks Rave About It
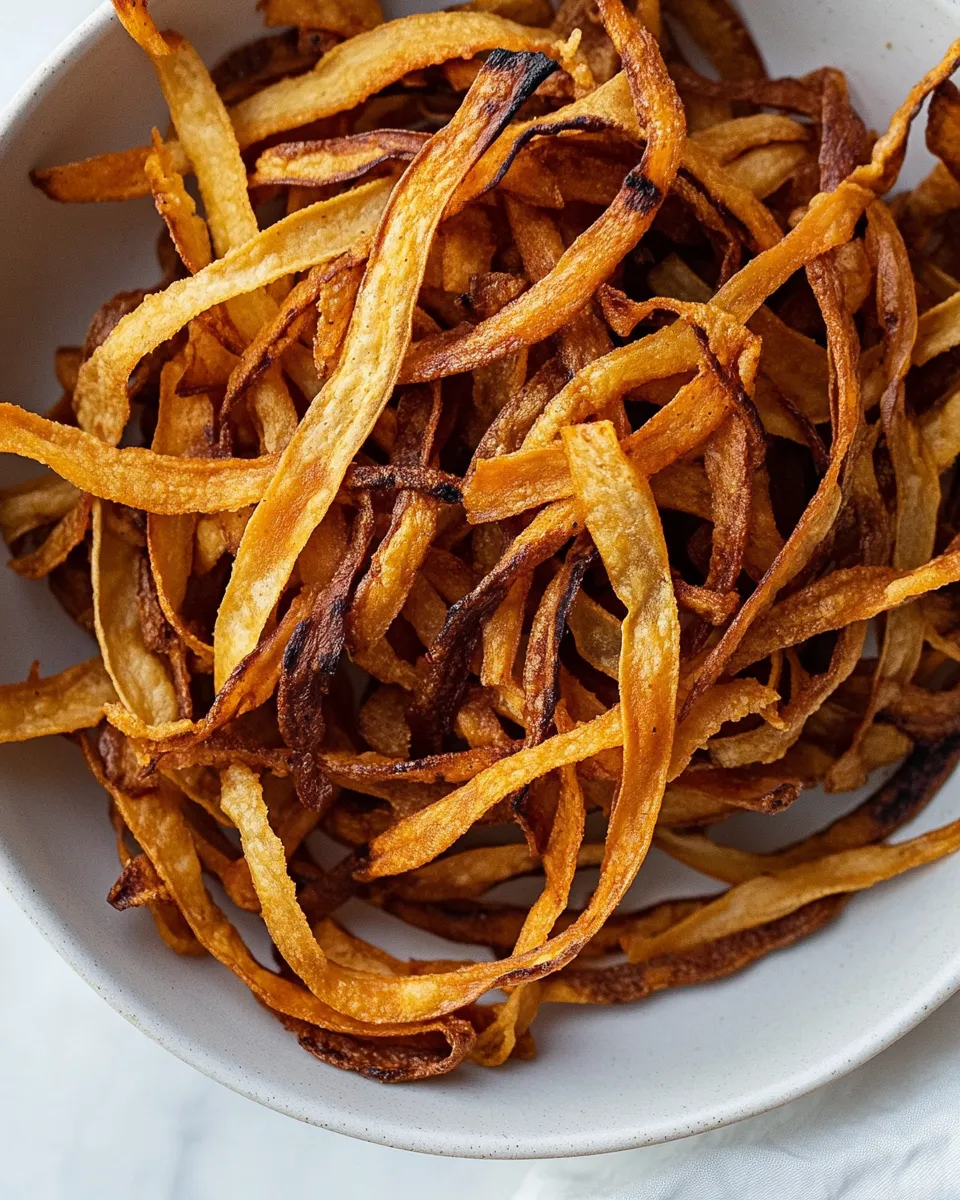
There’s something almost magical about turning humble tortillas into crisp garnish. The flavor intensifies as they brown; corn develops a toasty note that elevates a simple bowl of soup or a plain salad. Texture matters in a dish—crunch contrasts with creaminess and keeps each bite interesting.
Homemade strips let you control the oil and salt. You can make them as light or as golden as you like. Also, they’re fast. A few minutes of hands-on time gives you a fresh, crunchy element that store-bought alternatives can’t match in aroma or texture.
Ingredient Flex Options
Stick to the provided ingredients for the core recipe. If you want to vary the flavor without adding new base ingredients, try these approach ideas while keeping the three items the source of truth:
- Cut thickness: slightly thicker strips stay chewier, thinner ones crisp faster.
- Toss with oil evenly: in the oven method, make sure strips are lightly coated but not dripping. Too much oil makes them greasy; too little leads to uneven browning.
- Finish salt placement: sprinkling immediately after cooking helps the salt adhere to the hot surface.
Equipment at a Glance
You don’t need fancy gear. Choose tools that help you work quickly and safely:
- Sharp knife or pizza cutter — for clean, even strips.
- Skillet (stovetop method) — preferably nonstick or well-seasoned cast iron for even browning.
- Baking sheet (oven method) — use a rimmed sheet to keep strips contained when you stir them.
- Mixing bowl — to toss strips with oil for the oven method.
- Tongs or a spatula — to stir or flip strips without breaking them.
Mistakes That Ruin Crispy Tortilla Strips
Several small missteps turn crisp into limp. Watch for these common pitfalls:
- Overcrowding the pan. If you pile strips on top of each other, they steam instead of crisping. Cook in batches so each piece touches the pan.
- Too much oil. A tablespoon is enough; excess oil makes strips soggy and greasy rather than crisp and golden.
- Not separating the strips. If strips stick together before cooking, they’ll clump and won’t brown properly.
- Letting them sit in a wet environment. Steam and humidity undo crisping. Cool them on a plate in a single layer and avoid covering until fully cool.
- Waiting too long to salt. Add the pinch of salt while strips are warm so it adheres; salting cold strips wastes flavor adhesion.
Seasonal Spins
This basic method adapts well to seasonal cooking. While staying with the three core ingredients, you can alter when and how you use the strips through the year:
- Summer: use them as a crunchy topper on chilled black bean salads or corn-and-tomato bowls.
- Fall: add to pumpkin or roasted squash soups for texture contrast.
- Winter: they’re excellent over hearty stews or braises where a crisp finish is refreshing in each bite.
- Spring: toss them into fresh-veggie salads for a quick crunch that doesn’t overpower lighter flavors.
Method to the Madness
Pick stove or oven based on how hands-on you want to be and how many strips you need:
Stovetop — fast and tactile
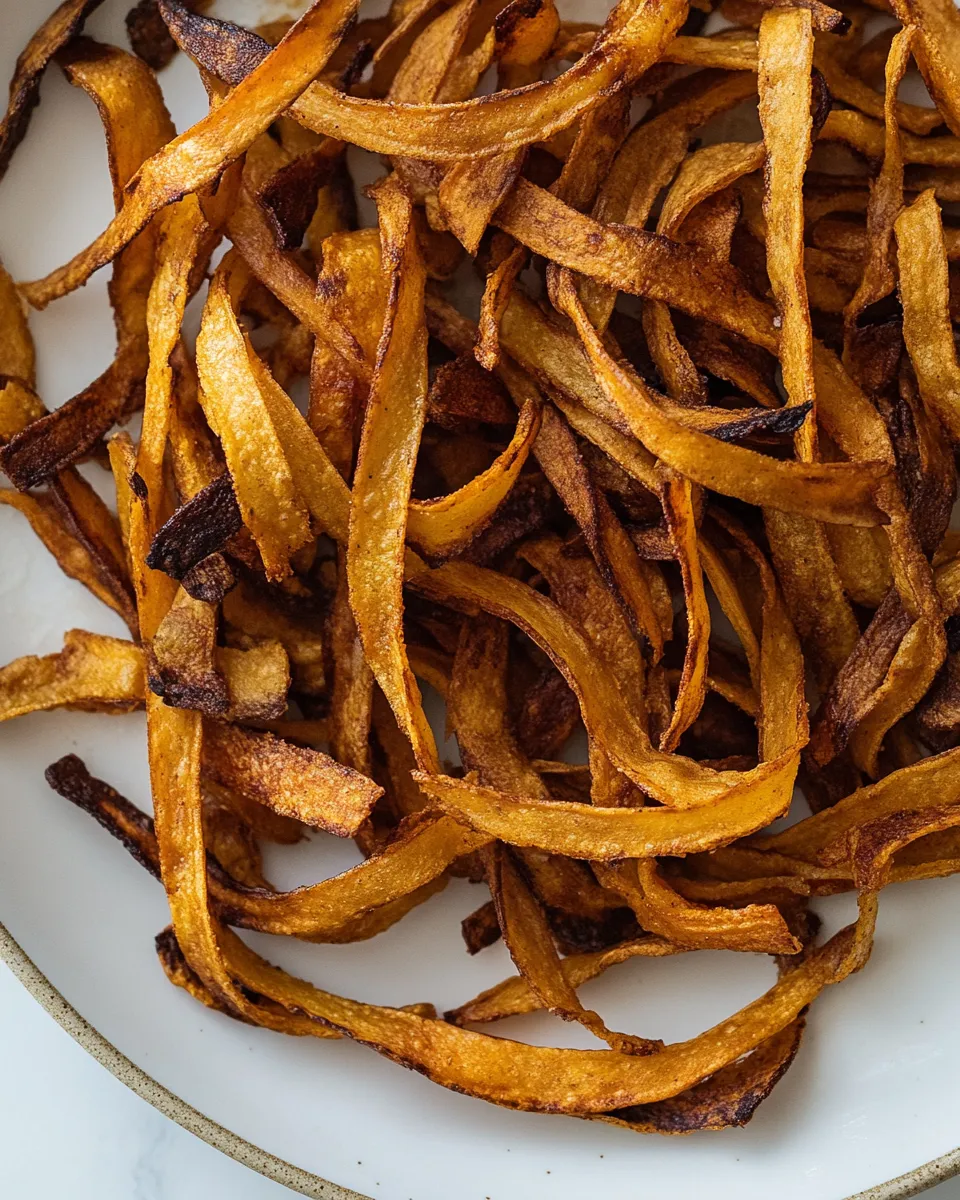
The stovetop gives immediate visual feedback. You can control browning by moving the strips in the pan. Swirl the oil to coat, add a single layer, and keep the strips moving. They should sizzle but not smoke. When pieces reach a light golden-brown, act quickly—carryover heat will deepen the color after they leave the pan.
Oven — hands-off and even
The oven is great when you’re making a larger amount or using the oven for other components. Toss strips with the tablespoon of oil so each piece has a light sheen, then spread them out. Stirring once halfway through ensures even color. Because the oven heats more uniformly, the risk of a few scorched pieces is lower, but watch the total time. Ten minutes is a guideline—oven temperatures vary.
Whether stovetop or oven, remove strips as soon as they’re golden and transfer to a plate to cool. The residual heat finishes the crisping. Then salt immediately.
Cooling, Storing & Rewarming
Cooling correctly preserves crispness. Spread strips in a single layer on a plate or a cooling rack so air circulates. Do not cover while hot; trapped steam creates sogginess.
Short-term storage: once fully cool, store strips in an airtight container at room temperature. They keep their best texture for a day or two. After that they tend to soften as ambient humidity affects them.
Reheating: if strips soften, revive them briefly. Bake them on a sheet at 350°F for 3–5 minutes or heat them in a dry skillet over medium for a minute or two, watching closely. That quick heat drive-off of moisture restores some crunch without needing extra oil.
Reader Questions
Q: Can I use flour tortillas instead of corn?
A: You can, but the texture and browning will differ. Flour tortillas tend to brown faster and may crisp differently; cut and watch them closely if you swap.
Q: What if my strips come out oily?
A: That usually means too much oil or inadequate draining between batches. Reduce oil slightly or blot briefly with a paper towel after cooking. For oven method, toss so strips are only lightly coated.
Q: Can I season them with anything beyond salt?
A: The method keeps ingredients unchanged, but once you’ve got the basic technique you can experiment. Right after cooking, while the strips are still warm, sprinkle your preferred seasoning so it sticks. Classic additions include chili powder, cumin, garlic powder, or a little lime zest—added sparingly so you don’t mask the toasted corn flavor.
Let’s Eat
Use Crispy Tortilla Strips as you would croutons: sprinkle them over soups, salads, and bowls. They add contrast to smooth and creamy textures and deliver a satisfying crunch in every bite.
Make a batch while you cook dinner. They come together quickly and elevate the plate. Keep the method in your back pocket: stack, cut, separate, choose stovetop or oven, and crisp until golden. A small pinch of salt finishes the job—and you’re ready to serve.

How to Make Crispy Tortilla Strips
Ingredients
Ingredients
- 4 small corn tortillas
- 1 tbspolive oil
- Pinchof salt
Instructions
Instructions
- Stack the 4 small corn tortillas and cut them into thin strips about 1/4-inch wide.
- Separate the strips so they are loose and not stuck together.
- Choose a cooking method: stovetop or oven.
- Stovetop: Heat a skillet over medium-high heat. Add 1 tbsp olive oil and swirl to coat the pan. Add the tortilla strips in a single layer (cook in batches if needed). Cook, stirring or tossing frequently, until golden and crisp, about 3–4 minutes. Transfer to a plate to cool briefly and sprinkle with a pinch of salt.
- Oven: Preheat the oven to 400°F. In a bowl, toss the tortilla strips with 1 tbsp olive oil until evenly coated. Spread the strips in a single layer on a baking sheet. Bake about 10 minutes, stirring or flipping once halfway through, until golden and crisp. Remove from the oven and sprinkle with a pinch of salt.
Equipment
- Equipment
- Cast iron pan