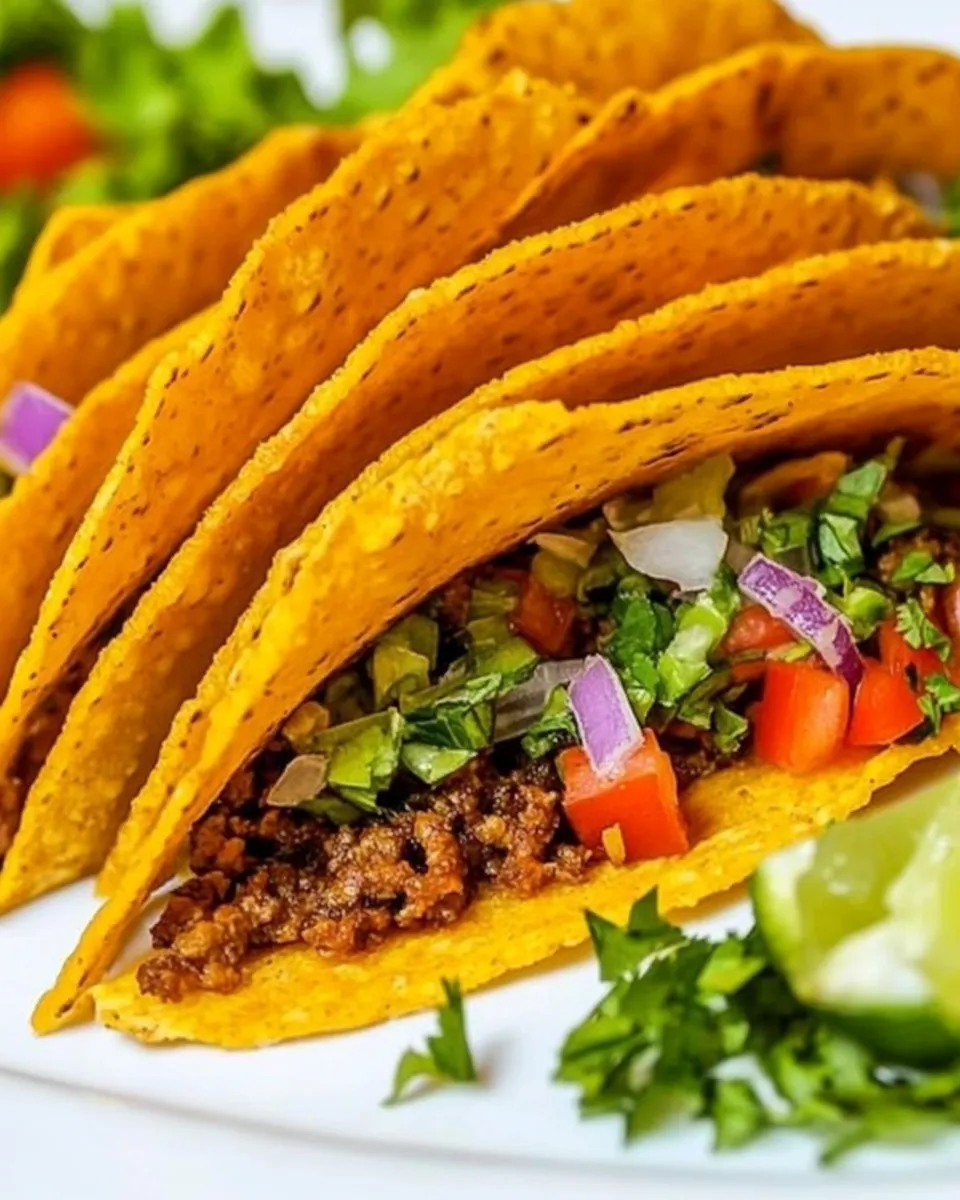
How to Make Crispy Cheese Taco Shells
I fell in love with these crispy cheese taco shells the first time I folded molten cheddar over the neck of a rolling pin and watched it snap into shape. They are impossibly simple, display-ready, and deliver concentrated savory crunch in every bite. If you’re short on time but want a statement taco, this is it: one ingredient, a hot oven, and a little shaping patience.
This method strips taco shells down to the essentials—no frying, no corn tortillas needed, and no complicated batter. The result is a crunchy, cheesy shell that holds fillings well and adds a salty, toasty hit to every forkful. It’s one of those small kitchen wins that elevates weeknight tacos and makes entertaining feel effortless.
Below you’ll find the exact ingredient listing, the step-by-step bake-and-shape instructions to get perfect shells, troubleshooting tips, equipment recommendations, and storage advice. Read through once, gather your single ingredient, and you’ll be shaping shells in under 10 minutes.
Ingredient List

- 1 cup shredded cheese — try cheddar, colby jack, or a Mexican blend.
Cook Crispy Cheese Taco Shells Like This
- Preheat the oven to 400°F (200°C) and place a rack in the center position.
- Line a baking sheet with parchment paper.
- Divide the 1 cup shredded cheese into four equal portions (1/4 cup each). Place each portion on the prepared parchment, spaced at least 2 inches apart. Gently press each portion down with the back of a spoon or a measuring cup to form a thin, even circle.
- Bake on the center rack until the cheese is bubbly and the edges are lightly browned, about 6–8 minutes. Watch closely so it does not burn.
- Remove the baking sheet from the oven and let the cheese circles cool on the parchment for 1–2 minutes so they firm up slightly but are still pliable. Use caution: they will be very hot.
- Using a thin spatula or your hands (with oven mitts), carefully lift one cheese circle off the parchment and immediately drape it over a curved surface (for example, a rolling pin, bottle, or the edge of a heatproof bowl) to form a taco shape. Repeat with the remaining circles.
- Let the shaped cheese shells cool completely until they are crisp and hold their shape, then enjoy.
Why This Recipe is a Keeper
It’s fast, reliable, and entirely focused. With a single measured cup of shredded cheese you can produce crisp, holding taco shells that are richer and more flavorful than store-bought shells. The technique eliminates oil and complex steps—just spread, bake, and shape. That simplicity makes it ideal for busy nights or last-minute guests.
The shells pick up a golden, nutty flavor from the baked cheese that standard tortillas can’t match. They also give you a contrast in textures: a delicate, shattering shell exterior with enough structure to cradle a scoop of seasoned meat or a mound of bright salsa. Once you master the timing, the process becomes repeatable and forgiving.
Texture-Safe Substitutions
- Cheese choice — the base guideline is to use a melting, low-moisture shredded cheese. The ingredient note already recommends cheddar, colby jack, or a Mexican blend; these produce a crisp, evenly browned disk. Stick to similar melting cheeses for the same result.
- Shred size — finely shredded cheese melts more evenly and gives a more uniform shell. If your cheese is coarsely shredded, press it into an even circle before baking to encourage consistent melting.
- Circle thickness — thin circles crisp faster; thicker piles stay pliable longer and can become chewy. Follow the 1/4 cup per shell guideline to achieve the intended crispness.
Must-Have Equipment

- Oven — a reliable oven that holds 400°F (200°C) accurately. Even heat gives even browning.
- Baking sheet and parchment — parchment prevents sticking and makes lifting the baked cheese easier.
- Measuring cup or scale — to divide the 1 cup of shredded cheese into four equal 1/4-cup portions for consistent shells.
- Thin spatula or offset spatula — helps lift the warm cheese discs cleanly without tearing.
- Curved form for shaping — a rolling pin, the neck of a bottle, or a heatproof bowl. Any smooth curve will do; avoid textured surfaces that can imprint the cheese while it’s still pliable.
- Oven mitts or heatproof gloves — the discs remain very hot when you shape them; protect your hands.
Steer Clear of These
- Overcrowding the pan — placing discs too close will fuse them together during baking. Keep at least 2 inches between portions as instructed.
- Skipping the parchment — baked cheese can stick to bare metal and become difficult to lift. Parchment is the simple safety net.
- Baking too long — if you leave the cheese until it’s very dark, it will taste bitter. Pull the sheet when the edges are lightly browned and the centers are bubbling.
- Shaping after full cooling — once fully crisped the shells will break instead of forming. Shape during the brief window when they’re firming but still pliable (about 1–2 minutes off the oven).
Tailor It to Your Diet
If you need to adapt these shells for specific diets, focus on the cheese source rather than changing technique. Use cheeses that comply with your dietary needs—look for lactose-reduced cheeses or plant-based shredded options if you avoid dairy. The procedure, oven temperature, and shaping times remain the same.
For lower-sodium needs, pick a milder, lower-sodium shredded cheese as your base. For higher-protein or bolder flavor, choose a sharper shredded cheese from the recommended list, but keep the 1/4-cup portions so the shell texture remains consistent.
Chef’s Rationale
Why does this work so cleanly? The method uses direct oven heat to render the cheese fat, evaporate moisture, and brown the milk solids. That Maillard browning creates nutty flavor and a firm matrix that crisps as it cools. Dividing the cheese into 1/4-cup discs ensures predictable thickness, and shaping while the discs are still pliable lets you form a shell without cracks.
I prefer baking to frying for these because it’s dry, controlled, and less messy. The thinness of each disc gives a short bake time and a crisp final texture that frying doesn’t always achieve without extra oil. The curved mold is simply a shaping aid; any smooth curve will lock the shell shape while it cools and sets.
Shelf Life & Storage
Once shaped and completely cooled, the shells are best eaten the same day for peak crispness. If you need to store them, keep them in an airtight container at room temperature for up to 24 hours. Moisture is the enemy—avoid refrigeration, which will soften the shells, or a humid environment that encourages them to lose crunch.
If shells soften, you can try reviving them by reheating on a baking sheet in a 350°F (175°C) oven for 3–5 minutes to restore some crispness, but results vary and they won’t be quite as fresh as newly made shells.
Quick Q&A
- Can I make more than four shells at once? Yes, but keep spacing and pan size in mind. Use multiple sheets if necessary and rotate sheets between racks if your oven bakes unevenly.
- What happens if the edges brown too quickly? Move the baking sheet to a slightly lower rack or reduce oven temperature by 25°F and extend bake time a minute or two. Watch the next batch closely.
- Can I prep ahead? You can pre-measure the cheese portions and store them covered in the fridge. Bake and shape when ready. Avoid pre-baking ahead of time if you want the crispiest texture.
- How do I prevent shells from sticking while shaping? Lift gently with a thin spatula and shape immediately on a smooth curve. If some sticking occurs, let the disc cool one more minute on the parchment and try again—cooling slightly often releases it.
Bring It Home
These Crispy Cheese Taco Shells are a small technique that makes a big difference. They turn ordinary taco fillings into something a little more special—crispy, cheesy, and elegant in their simplicity. Make a single batch for two people or scale up by measuring multiples of 1 cup and dividing into 1/4-cup portions. The steps are fast, the cleanup is minimal, and the payoff is immediate: crunchy, flavorful shells that hold confidence well.
When you try them, focus on timing: 6–8 minutes in a hot oven, 1–2 minutes cooling before shaping. That precise window is what gives you a shell that snaps, not a disk that melts into a puddle or a brittle shard. Keep this recipe in your back pocket for quick appetizers, playful dinners, or whenever you want a crunchy, cheesy lift to your meal.

How to Make Crispy Cheese Taco Shells
Ingredients
Ingredients
- 1 cupshredded cheesetry cheddar colby jack, or a Mexican blend
Instructions
Instructions
- Preheat the oven to 400°F (200°C) and place a rack in the center position.
- Line a baking sheet with parchment paper.
- Divide the 1 cup shredded cheese into four equal portions (1/4 cup each). Place each portion on the prepared parchment, spaced at least 2 inches apart. Gently press each portion down with the back of a spoon or a measuring cup to form a thin, even circle.
- Bake on the center rack until the cheese is bubbly and the edges are lightly browned, about 6–8 minutes. Watch closely so it does not burn.
- Remove the baking sheet from the oven and let the cheese circles cool on the parchment for 1–2 minutes so they firm up slightly but are still pliable. Use caution: they will be very hot.
- Using a thin spatula or your hands (with oven mitts), carefully lift one cheese circle off the parchment and immediately drape it over a curved surface (for example, a rolling pin, bottle, or the edge of a heatproof bowl) to form a taco shape. Repeat with the remaining circles.
- Let the shaped cheese shells cool completely until they are crisp and hold their shape, then enjoy.
Equipment
- Oven
- Baking Sheet
- Parchment Paper
- Spoon
- Measuring cup
- thin spatula
- Rolling Pin
- Heatproof Bowl
- Oven mitts