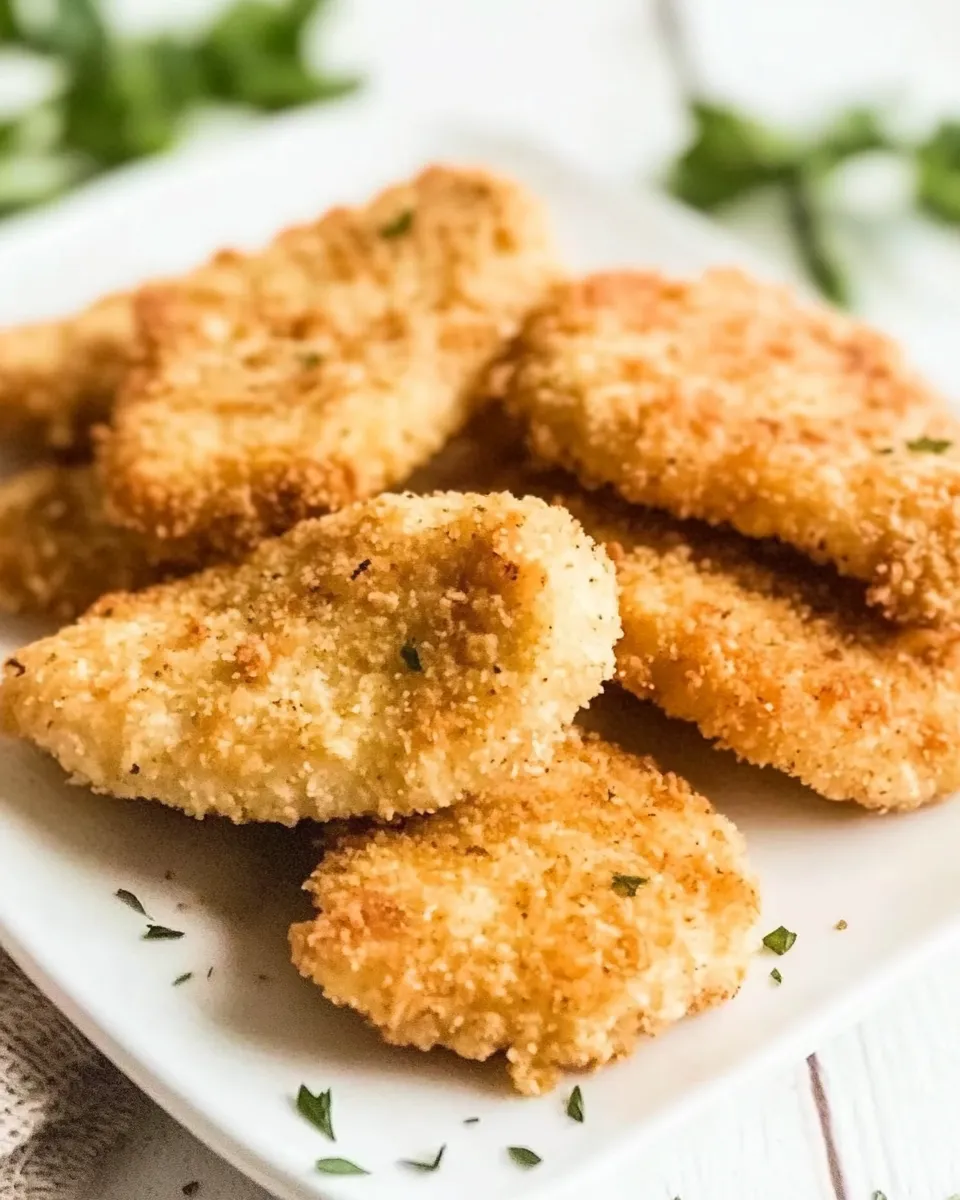
Homemade Chicken Tenders
When you crave something crunchy on the outside and juicy on the inside, these Homemade Chicken Tenders deliver exactly that comfort-food satisfaction. Think golden, crisp panko coating with a tender chicken center—simple enough for a weeknight, elegant enough for a casual dinner party. This recipe uses everyday pantry staples and a straightforward breading process that yields consistent results, whether you bake or air-fry them. Follow the steps closely for best texture and flavor.
Why you’ll love these Homemade Chicken Tenders

These tenders are an easy crowd-pleaser. The triple-layer dredge—flour, egg wash, then panko—creates an extra-crisp crust that stays crunchy for a long time. Seasoned salt is added to each layer, so the seasoning goes right into the core of the coating instead of just sitting on top. They’re ready in under 30 minutes from start to finish and pair beautifully with dips like honey mustard, barbecue sauce, or a simple squeeze of lemon.
Ingredients
- ▢1 pound chicken tenderloins, or boneless, skinless chicken breasts cut into 1-inch thick strips
- ▢1 cup all-purpose flour
- ▢1 teaspoon seasoned salt, for seasoning flour
- ▢3 large eggs
- ▢¼ cup water
- ▢½ teaspoon seasoned salt, for seasoning eggs
- ▢2 cups plain panko bread crumbs
- ▢1 teaspoon seasoned salt, for seasoning breading
- ▢cooking spray, I recommend olive oil or avocado oil cooking spray
Equipment
- Baking sheet or air fryer basket
- Wire rack (for baking)
- Three shallow bowls or pie plates for dredging
- Tongs or a fork for handling the tenders
- Measuring cups and spoons
Prep and timing
- Active time: about 20 minutes
- Cooking time: 10–15 minutes (depending on method)
- Serves: 3–4
Step-by-step Instructions
- Prepare the chicken: If you’re using boneless, skinless chicken breasts, slice them into 1-inch thick strips so they match the texture and size of chicken tenderloins. Pat each piece dry with paper towels to remove excess moisture—this helps the breading stick and creates a crunchier crust.
- Season the flour: Combine 1 cup all-purpose flour with 1 teaspoon seasoned salt in a shallow bowl. Whisk them together so the salt is evenly distributed through the flour. This is your first coating layer and will help the egg adhere to the chicken.
- Make the egg wash: In a second shallow bowl, crack 3 large eggs and add ¼ cup water. Add ½ teaspoon seasoned salt to the mixture and whisk thoroughly until smooth and slightly frothy. The water thins the eggs so they coat evenly and the seasoning starts to flavor the inside of the breading.
- Season the panko: Pour 2 cups plain panko bread crumbs into a third shallow bowl. Stir in 1 teaspoon seasoned salt so the crispy exterior is seasoned through. Toss the panko to make sure the salt is evenly distributed.
- Set up your dredging station: Arrange the three bowls in a line—flour first, then the egg wash, and finally the seasoned panko. This order ensures an even triple-coating: dry-wet-dry. Have a clean plate or tray ready for finished pieces and a few paper towels for quick clean-up.
- Coat the chicken: Working one piece at a time, dredge a chicken strip in the flour mix, making sure to shake off any excess flour so the egg can stick. Next, dip it into the egg wash, fully coating the surface. Allow the excess egg to drip back into the bowl. Finally, press the strip into the panko, turning and pressing lightly so the crumbs adhere on all sides. Place the coated tender onto the prepared plate or tray. Repeat until all chicken pieces are coated. If you have space, set the coated tenders on a wire rack so the bottom stays crisp while you finish breading the rest.
- Prepare for cooking: If baking, preheat your oven to 425°F (220°C). Place a wire rack on a baking sheet and coat the rack lightly with cooking spray, or spray the top of each tender after you arrange them on the rack. If using an air fryer, preheat to 400°F (200°C) if your model recommends preheating. Lightly spray the air fryer basket to prevent sticking.
- Bake or air-fry the tenders: For baking: Arrange the breaded tenders on the prepared wire rack spaced slightly apart so hot air can circulate. Lightly spray the tops with olive oil or avocado oil cooking spray to promote browning. Bake for 12–15 minutes, flipping once halfway through, until the tenders are golden brown and an instant-read thermometer inserted into the thickest part reads 165°F (74°C). For air-frying: Place a single layer of tenders in the air fryer basket without overlapping. Lightly spray the tops with cooking spray. Cook at 400°F (200°C) for about 8–10 minutes, flipping once halfway through, until they’re golden and the internal temperature reaches 165°F (74°C). Work in batches if necessary to avoid crowding.
- Rest briefly: Remove the tenders from the oven or air fryer and let them rest for 2–3 minutes. This short rest allows juices to redistribute and keeps the chicken moist when you bite into it.
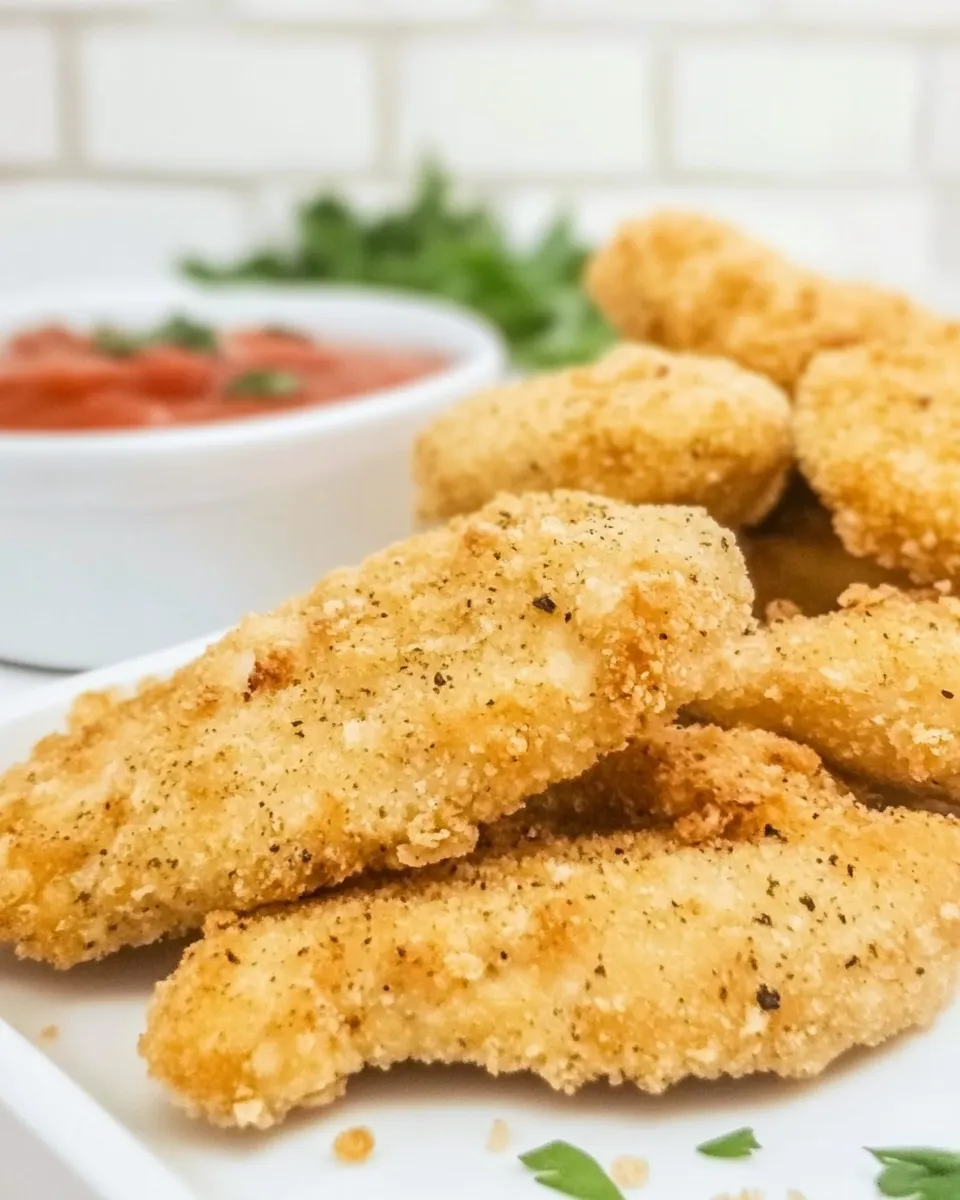
- Serve: Arrange the homemade chicken tenders on a platter and serve with your favorite dipping sauces—think honey mustard, barbecue sauce, ranch, or a zesty yogurt dip. Add a side of crisp salad, roasted vegetables, or oven fries for a full meal.
Tips for the crispiest results
- Make sure chicken strips are evenly sized so they cook uniformly.
- Patting the chicken dry is critical—excess moisture prevents a crunchy coating.
- Do not skip seasoned salt in each layer; seasoning at each step ensures balanced flavor without oversalting.
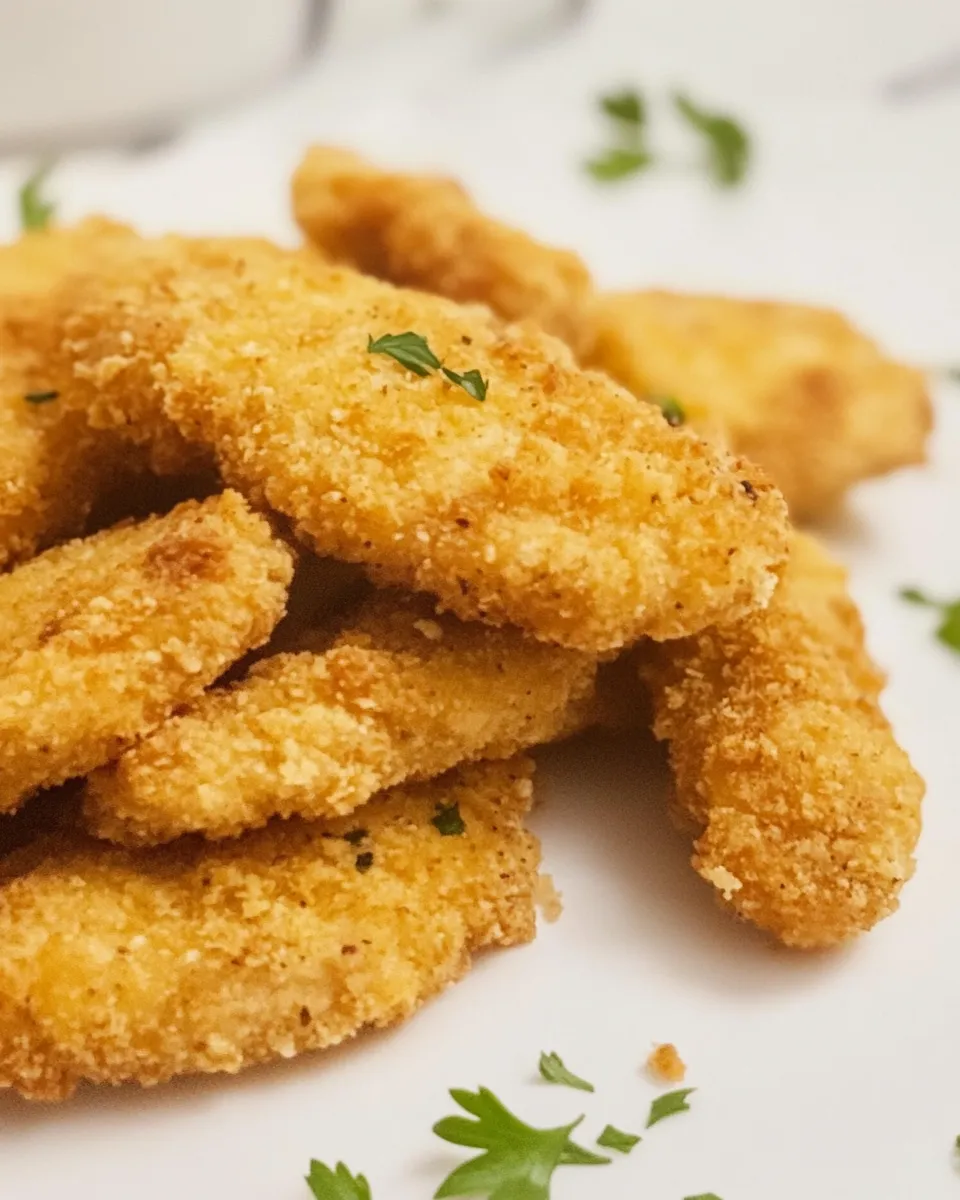
- Use plain panko for the crunchiest texture. Coarser panko gives a loftier, crispier crust than fine breadcrumbs.
- When baking, a wire rack is key. It keeps the tenders elevated so hot air circulates all the way around the pieces, preventing sogginess on the bottom.
- If air-frying, avoid stacking. A single layer promotes even air circulation and consistent browning.
- Allow a short rest before serving—this keeps juices locked in and texture perfect.
Flavor variations
Want to change things up? Here are a few easy variations using the same basic technique and the ingredient quantities provided:
- Add ½ teaspoon garlic powder and ½ teaspoon paprika to the flour bowl for a smoky garlic profile.
- Stir 1 tablespoon finely grated Parmesan into the panko for a savory, cheesy note that crisps up nicely.
- Mix 1–2 teaspoons lemon zest into the egg wash for a subtle bright lift that pairs beautifully with a yogurt-dill dip.
Storing and reheating
Leftover tenders store well in the refrigerator for up to 3 days. To keep them crisp, cool completely, then place them in a single layer on a plate or shallow container lined with paper towels and cover loosely. Reheat in a 375°F (190°C) oven for 8–10 minutes or in an air fryer at 350°F (175°C) for 3–5 minutes. Avoid the microwave when possible, as it will soften the coating.
Allergy and ingredient notes
This recipe uses eggs and wheat flour. If you need an egg-free version, replace the egg wash with an equal amount of aquafaba (chickpea brine) and proceed the same way—the aquafaba will act similarly to bind the panko. For a gluten-free option, swap all-purpose flour for a gluten-free 1:1 flour blend and use gluten-free panko crumbs. Keep the same measured amounts for consistent results.
Final thoughts
These Homemade Chicken Tenders are a dependable, delicious recipe that hits that perfect balance of crunchy exterior and juicy chicken inside. They’re flexible, quick, and a proven winner for family dinners, snack time, or when you want an easy appetizer that looks like you put in extra effort. Keep your dredging station organized and your oven or air fryer hot, and you’ll have perfect tenders every time.
Ready to make them? Gather your ingredients, set up the three bowls, and start dredging—crunchy satisfaction is just a few steps away.

Homemade Chicken Tenders
Ingredients
- 1 pound chicken tenderloins (or boneless skinless chicken breasts cut into 1-inch strips)
- 1 cup all-purpose flour for dredging
- 1 teaspoon seasoned salt for seasoning the flour
- 3 large eggs
- 1/4 cup water for the egg wash
- 1/2 teaspoon seasoned salt for the egg wash
- 2 cups plain panko breadcrumbs
- 1 teaspoon seasoned salt for seasoning the panko
- cooking spray (olive oil or avocado oil recommended) for greasing rack and spraying breaded tenders
Instructions
- Preheat the oven to 425°F (215°C). Place an oven-safe baking rack on a rimmed baking sheet and lightly spray the rack with cooking spray.
- Trim any visible fat or tendons from 1 pound chicken tenderloins. If using breasts, cut into 1-inch-wide strips.
- Set up a breading station with three shallow dishes: combine 1 cup all-purpose flour with 1 teaspoon seasoned salt in the first; whisk 3 large eggs with 1/4 cup water and 1/2 teaspoon seasoned salt in the second; place 2 cups plain panko with 1 teaspoon seasoned salt in the third.
- Dredge each chicken strip in the seasoned flour, shaking off excess, then dip into the egg wash, letting excess drip off, and press into the panko to coat evenly.
- Arrange the breaded chicken tenders on the prepared rack. Lightly spray the tops of the tenders with additional cooking spray to promote browning.
- Bake in the preheated oven for 10–13 minutes, or until an instant-read thermometer inserted into the thickest part registers 165°F (74°C); no flip is needed when using a rack.
- Remove from the oven and let rest for 1–2 minutes before serving.
Equipment
- Rimmed Baking Sheet
- oven-safe baking rack
- three shallow bowls or dishes
- Whisk
- Measuring Cups and Spoons
- Cooking Spray
- Instant-read thermometer
Notes
- Use panko for best crispiness; regular breadcrumbs will be less crunchy.
- For an egg-free option, dip in flour, then a moist binder like mustard, then panko.
- Leftovers keep for 3 days refrigerated.
- Reheat in a 400°F (205°C) oven for best texture.
- To freeze, flash-freeze on a sheet, then transfer to a freezer bag for up to 3 months.