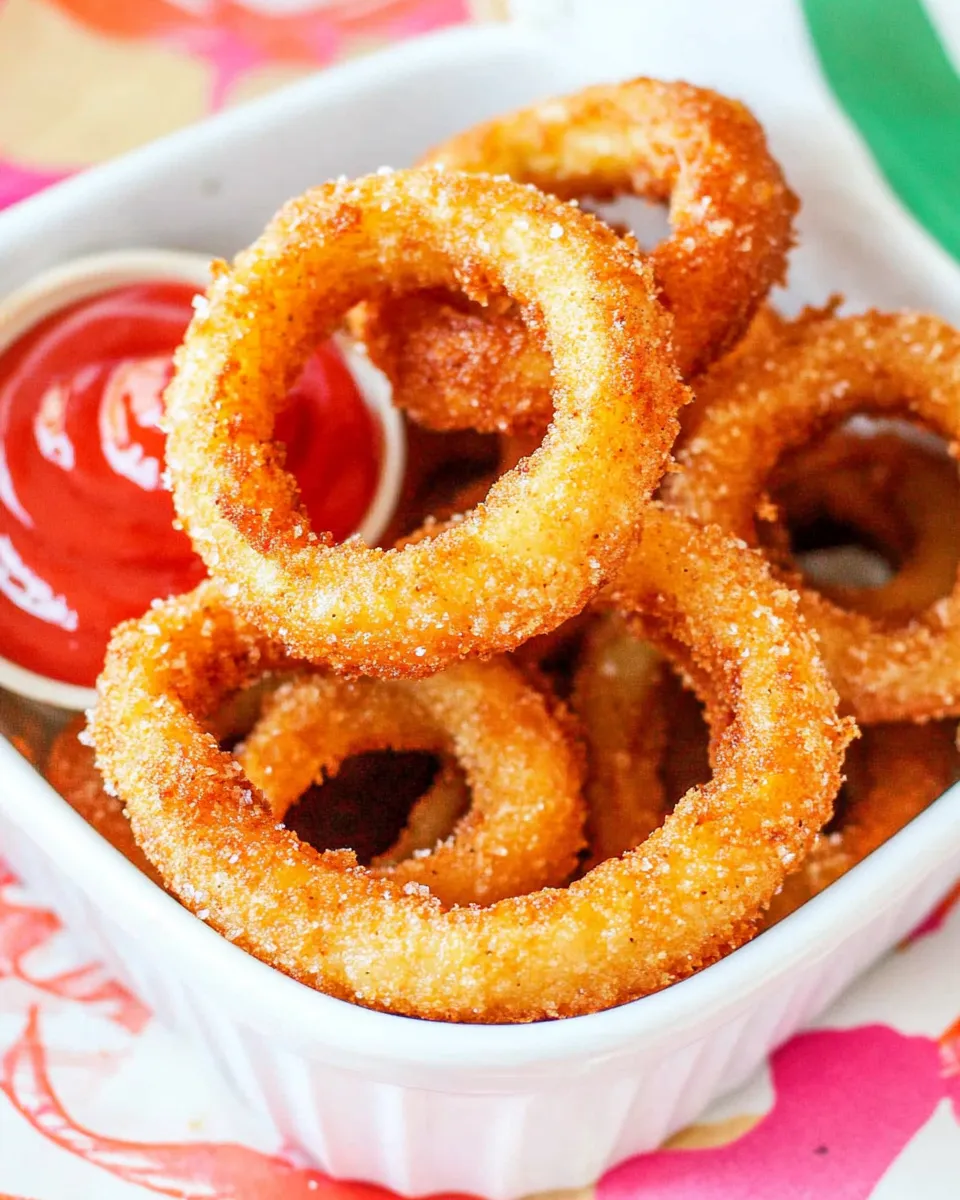
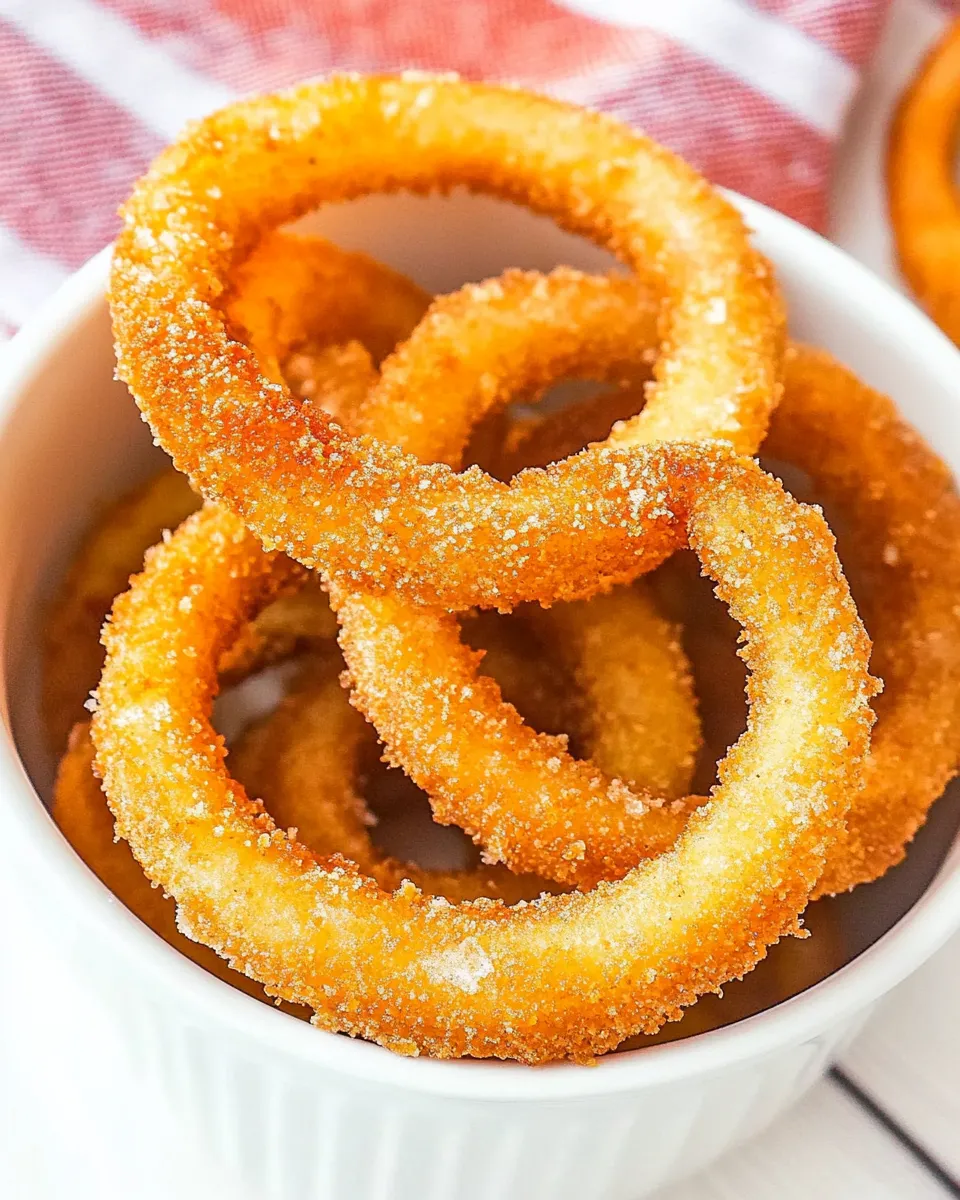
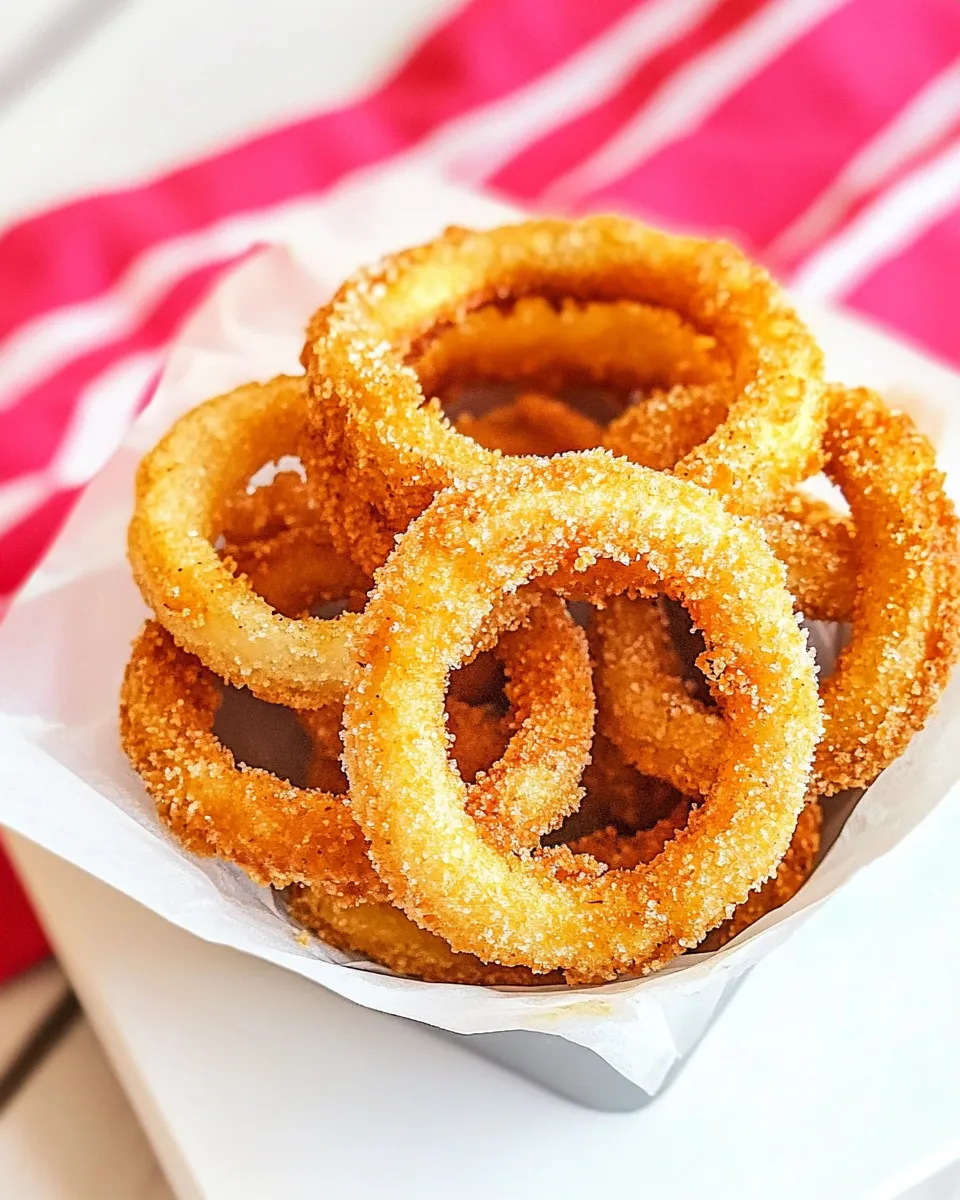
Frozen Onion Rings In The Air Fryer
I love snacks that are effortless yet deliver on texture and flavor. Frozen onion rings are one of those small victories: shelf-stable, inexpensive, and—when treated right—crispy, hot, and addictive. An air fryer does the heavy lifting, turning frozen breaded rings into golden bites without deep frying.
This post is practical and focused. I’ll walk you through a simple, reliable method, explain why the two-temperature approach works, list equipment and common mistakes, and offer quick swaps and holiday-friendly finishing ideas. No fluff—just the steps and the reasons so you get the best result every time.
Whether you’re making a quick snack, rounding out burgers, or feeding a crowd, these tips keep things predictable. You’ll finish with crunchy rings and a minimal cleanup plan. Let’s get cooking.
Ingredient Breakdown

Ingredients
- 10 frozen onion rings — use a brand of your choice; count and uniform size make cooking time consistent.
Frozen Onion Rings In The Air Fryer Made Stepwise
- Preheat the air fryer to 350°F for 3 minutes.
- Place the 10 frozen onion rings in the air fryer basket in a single layer if they fit; if not, you may stack them but do not fill the basket more than halfway.
- Air fry at 350°F for 5 minutes.
- Open the basket and turn each onion ring so they heat evenly.
- Increase the air fryer temperature to 400°F and air fry the onion rings an additional 6–8 minutes, until golden brown and crispy.
- Carefully remove the onion rings, let sit 1 minute, and serve.
Why This Recipe Works
There are two key principles at play: even heating and staged temperature. Starting at 350°F warms the rings through without burning the exterior. That first stage softens the interior and ensures frozen cores thaw uniformly. Turning them at the halfway point further promotes even cooking.
Raising the temperature to 400°F finishes the job. The higher heat crisps the coating and evaporates surface moisture, giving you a golden crunch rather than a limp crust. Because air fryers circulate hot air, the rings crisp without needing a bath of oil. The guideline to not overfill the basket matters: airflow is critical. Crowding reduces circulation and creates uneven results.
Quick Replacement Ideas
- Frozen French fries — similar cooking profile, stagger the same way (lower temp then finish high) for a crisp exterior.
- Frozen sweet potato fries — a touch more fragile; consider adding 1–2 extra minutes at 400°F to finish crisply.
- Frozen mozzarella sticks — lower initial time may be needed; watch closely during the finish so the cheese doesn’t leak out.
- Homemade fresh onion rings — you can follow the same temperature strategy but expect different times depending on batter and thickness.
Equipment Breakdown
Essentials
- Air fryer — any model that reaches 400°F and has a basket or tray for good circulation.
- Tongs — for turning rings safely and removing them without breaking the crust.
Nice-to-have
- Parchment liners with perforations — help reduce sticking and make cleanup easier. Use sparingly to avoid blocking airflow.
- Cooking spray — optional, if you prefer a slightly more gilded finish, but not required.
Missteps & Fixes
- Soggy rings after cooking — cause: overcrowded basket or skipping the flip. Fix: cook in smaller batches so air circulates; open and turn as directed.
- Burnt or overly dark coating — cause: too high a finish temperature or leaving them past peak color. Fix: reduce finish time by a minute or two and check earlier; every air fryer runs a bit hot.
- Uneven color — cause: stacking or placing rings with different sizes together. Fix: sort by size and cook similar-sized rings together; single layer if possible.
- Chewy interior — cause: rings not cooked long enough at the lower temp stage. Fix: ensure the 350°F stage is completed so interiors soften before the high-heat crisping.
Holiday-Friendly Variations
Onion rings can be dressed up quickly for a seasonal spread. Keep the core method the same and add finishing touches:
- Sprinkle with finely grated Parmesan and chopped parsley right after cooking for a savory holiday twist.
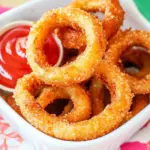
- Serve with a trio of sauces—smoky aioli, sweet mustard, and spicy ketchup—to make a festive appetizer platter.
- Top with finely chopped herbs and a squeeze of lemon for a lighter, bright option that pairs well with roasted holiday mains.
Little Things that Matter
- Preheat the air fryer. A hot basket starts the crisping immediately and shortens overall cook time.
- Count and arrange. Use exactly 10 rings as noted in the instructions; if they don’t fit flat, follow the stacking allowance but keep the basket no more than half full.
- Flip them. Turning at the halfway point corrects hot spots and prevents one side from over-browning.
- Watch the finish. The 6–8 minute range at 400°F accounts for different coatings and air fryer models. Start checking at 6 minutes.
Meal Prep & Storage Notes
Cooked onion rings are best eaten hot and fresh for maximum crunch. If you must store leftovers, cool them on a rack for a few minutes, then transfer to an airtight container and refrigerate. They’ll keep for up to 2 days with decent texture.
To reheat and revive crispness: preheat the air fryer to 375°F and air fry for 3–4 minutes, flipping once. This restores heat and crunch without overcooking.
Quick Questions
- Q: Can I cook more than 10 at once? A: Only if your air fryer basket can hold them in a single layer without exceeding half capacity. Crowding sacrifices crispness; better to run two quick batches.
- Q: Do I need to spray oil on frozen onion rings? A: No. Most frozen breaded rings have enough coating to crisp in the air fryer without added oil. A light mist is optional for extra color.
- Q: Can I skip the 350°F stage and just cook at 400°F? A: You could, but starting higher increases the chance of a burnt exterior and a still-cold interior. The two-stage method ensures even heating and a crisp finish.
- Q: How do I know when they’re done? A: Look for an even golden brown color and a crisp snap when you bite into one. Follow the 6–8 minute finish window and check at the earlier end if your model runs hot.
Final Bite
This method gets reliable, crispy onion rings with minimal fuss. The staged temps and the flip are the simple tricks that make a big difference. Use the exact steps above when you want consistent results—10 rings, the preheat, the two temperatures, and the one-minute rest before serving.
Make a batch, pair them with your favorite dip, and enjoy that satisfying crunch. If you try a variation or a different brand, note how long the finish stage takes in your air fryer and adjust next time. Small tweaks yield big improvements.
Frozen Onion Rings In The Air Fryer
Ingredients
Ingredients
- 10 frozen onion ringsuse a brand of your choice
Instructions
Instructions
- Preheat the air fryer to 350°F for 3 minutes.
- Place the 10 frozen onion rings in the air fryer basket in a single layer if they fit; if not, you may stack them but do not fill the basket more than halfway.
- Air fry at 350°F for 5 minutes.
- Open the basket and turn each onion ring so they heat evenly.
- Increase the air fryer temperature to 400°F and air fry the onion rings an additional 6–8 minutes, until golden brown and crispy.
- Carefully remove the onion rings, let sit 1 minute, and serve.
Equipment
- ▢Air Fryer
Notes
Nutrition information based on Alexia Frozen Onion Rings.
Cook time may very slightly based on the type of and how many onion rings you use.