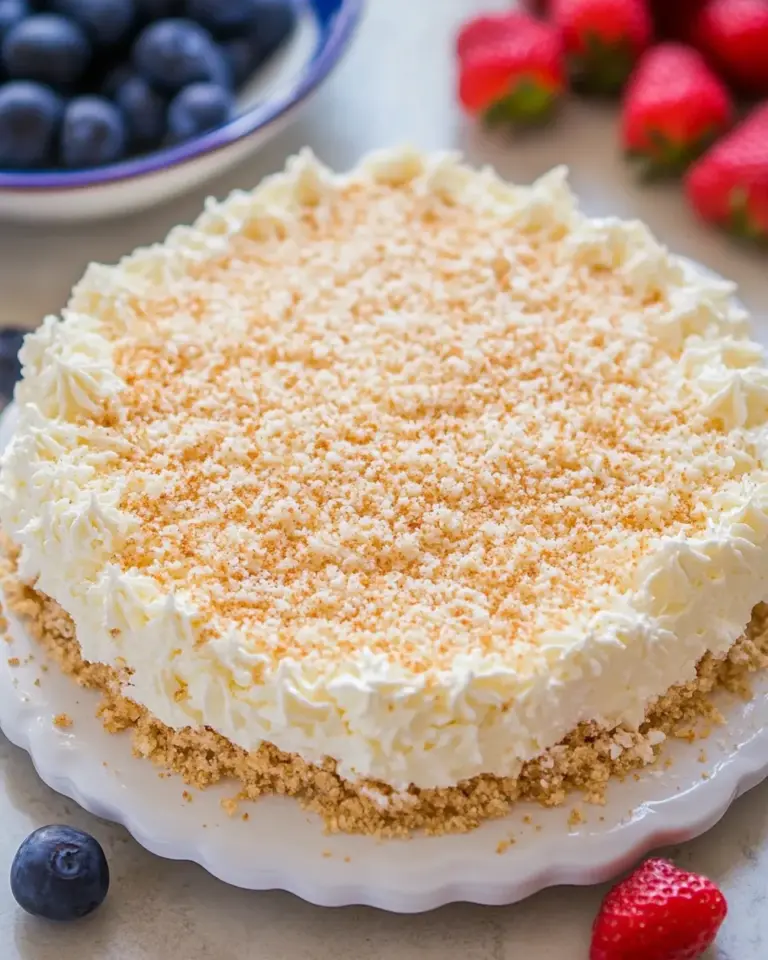
Easy Oreo Truffles
I make Oreo truffles whenever I need an impressive treat with almost no fuss. They require a handful of pantry-friendly ingredients and a bit of patience while the balls chill, but beyond that everything is straightforward. You get a rich, creamy center surrounded by a crisp, glossy shell — crowd-pleasing every time.
This recipe is the kind I reach for for last-minute parties, cookie exchanges, or a small homemade gift. The technique is forgiving: if your truffles aren’t perfectly round, they will still taste fantastic. A few simple tools and a little organization make the process glide.
Below you’ll find the exact ingredients and step-by-step process, plus practical tips on equipment, troubleshooting, storage, and seasonal twists. Read the steps once, assemble your ingredients, and you’ll be surprised how quickly these come together.
Ingredients

- 15-ounce package original Oreos — the base: crushed into fine crumbs to form the truffle body.
- 8 ounces cream cheese, at room temperature — binder and softening agent; room temperature makes it blend smoothly.
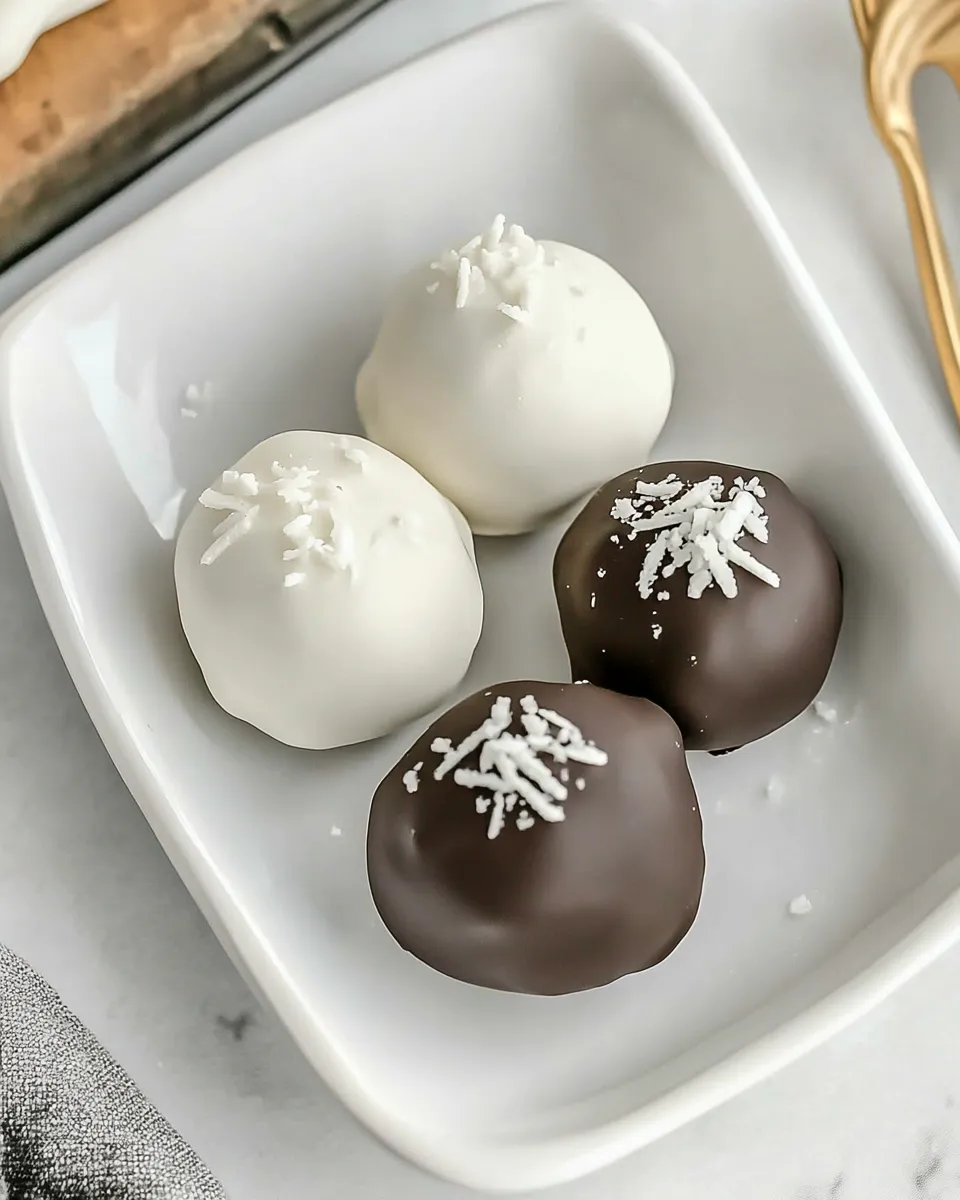
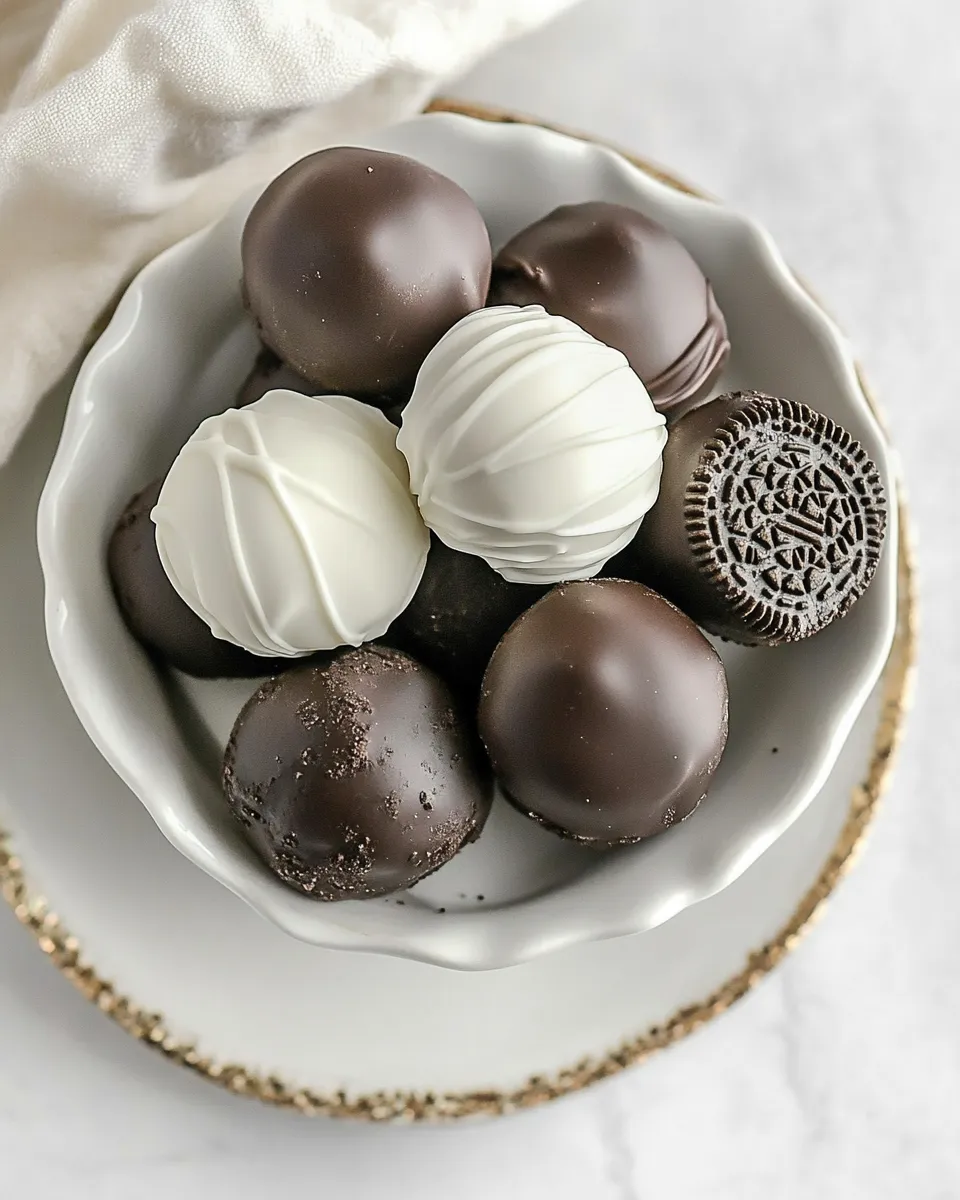
- 12 ounce packages Ghirardelli White or Dark Melting Wafers (may need a backup bag) — coating for a shiny, firm shell; have the extra bag handy if you want full coverage or double-dipping.
- Sprinkes, optional, for garnish — adds color and a bit of texture; use immediately after dipping so they stick.
Cooking (Oreo Truffles): The Process
- Place the 15-ounce package of Oreos in a food processor and process until fine crumbs form.
- Cut the 8 ounces of room-temperature cream cheese into 6–8 pieces and add to the Oreo crumbs.
- Process the mixture until well combined and no visible streaks of cream cheese remain, about 1–2 minutes.
- Using your hands, a 1-inch scoop, or a small spoon, form the mixture into tightly packed 1-inch balls. Place the balls on a parchment-lined baking sheet, leaving a little space between them.
- Chill the truffle balls in the refrigerator for at least 1 hour (or overnight) until firm.
- Prepare the Ghirardelli melting wafers: melt the 12-ounce bag according to the package directions until smooth. Have the additional 12-ounce bag on hand in case you need more coating.
- Dip each chilled truffle into the melted wafers, letting excess coating drip back into the bowl, then return the coated truffle to a parchment-lined baking sheet.
- If using sprinkles, add them immediately after dipping, while the coating is still wet.
- Refrigerate the coated truffles for about 1 hour to set before serving.
- Store any leftovers covered in the refrigerator.
Why This Recipe Belongs in Your Rotation
These truffles are efficient and reliable. A single bag of Oreos plus cream cheese yields a treat that looks elevated once dipped in melting wafers. You don’t need advanced baking skills, special timing, or complicated equipment — which is why they become a staple recipe once you try them.
They’re versatile. Change the coating or add sprinkles to match holidays, or make a double-batch and freeze half for later. They also travel well in a covered container, making them great for potlucks or dropping off to friends.
Finally, the formula is predictable. The ratio of crushed cookies to cream cheese produces a texture that’s creamy rather than gritty, and the chocolate shell gives a satisfying snap. If you prefer chocolate covered confections with minimal effort, this recipe should be on your shortlist.
International Equivalents

If you live outside the U.S., look for sandwich cookies equivalent to original Oreos — anything with a similar cocoa cookie and vanilla filling will work. Weight matters more than brand here: use a 425–450 g packet if your local package lists grams instead of ounces (15 ounces ≈ 425 g).
For cream cheese, any fresh spreadable cheese with a similar fat content will behave the same in this recipe. If you can’t find Ghirardelli melting wafers, use a couverture chocolate or compound coating labeled for melting; follow the manufacturer’s instructions for tempering or melting. If you use couverture, especially dark or high-cocoa content, you may need to thin it slightly with a bit of neutral oil to get a smooth dipping consistency.
Setup & Equipment
Gather these items before you start — having everything at hand speeds the process and reduces mistakes.
- Food processor — essential for turning the cookies into fine crumbs quickly. A small chopper works in a pinch but expect more time and less uniform crumbs.
- Mixing bowl (optional) — handy if you prefer combining by hand after pulsing the crumbs.
- 1-inch scoop, small spoon, or your hands — to portion and shape the truffles consistently.
- Parchment paper-lined baking sheets — for chilling and re-coating without sticking.
- Microwave-safe bowl or double boiler — the wafers melt in either. Use the microwave for speed, stirring frequently.
- Toothpicks, dipping fork, or fork set — makes dipping and draining excess coating easier.
- Refrigerator space — you’ll need a shelf for chilling trays without crowding them.
Avoid These Traps
Trap: cream cheese too cold. If your cream cheese is straight from the fridge and hard, the mix will clump and leave streaks. Tip: cut it into 6–8 pieces and let it sit a little, or warm the pieces slightly before adding to the processor.
Trap: overprocessing the cookies after adding cream cheese. Blend until no visible streaks remain — usually 1–2 minutes. Too much processing can warm the mixture and make it sticky. Use short pulses and check texture.
Trap: coating that’s too hot. If your melted wafers are very hot, the chilled truffle will sweat and the coating can slide off or crack. Let melted chocolate cool a bit until it’s fluid but not scalding — a slight warmth works best.
Trap: not chilling long enough. If you don’t let the balls firm up, they’ll flatten when dipped. Chill at least 1 hour or overnight for the cleanest results.
Spring–Summer–Fall–Winter Ideas
Spring: Use white wafers and pastel sprinkles for a light, festive look. Add a tiny lemon zest to the surface before chilling for a subtle lift (apply sparingly).
Summer: Keep them cool and serve chilled from the fridge. Use dark wafers for contrast and add a sprinkle of coarse sea salt to balance the sweetness.
Fall: Drizzle with caramel or use autumnal sprinkles; pair with spiced cookies (if you swap the cookie base) for warm notes. Serve alongside coffee with pumpkin spice.
Winter: Make them for cookie plates and gifts. Dip in white or dark wafers and finish with crushed peppermint, holiday sprinkles, or a light dusting of cocoa powder for a classic look.
What Could Go Wrong
Issue: truffles are too soft and collapse when dipped. Cause: insufficient chilling or cream cheese too warm. Fix: return shaped balls to refrigerator for longer — at least an hour, ideally overnight. If they still collapse, freeze for 15–20 minutes before dipping.
Issue: coating cracks after setting. Cause: sudden temperature change between very cold truffle and hot coating, or the coating set in a brittle way. Fix: allow the coating to cool slightly before dipping and cool the truffles gradually. Avoid placing them in a freezing environment right after coating.
Issue: coating looks dull or blooms (white streaks). Cause: chocolate not melted properly or improper storage. Fix: remelt the coating gently and re-dip suspect truffles; store finished truffles covered in the refrigerator to reduce humidity exposure.
Refrigerate, Freeze, Reheat
Refrigerate: Store truffles covered in the refrigerator as the source directs. They keep well for several days when covered and chilled. Bring to serving temperature out of the refrigerator for about 10–15 minutes if you prefer a slightly softer bite.
Freeze: Truffles freeze nicely. Place them on a tray to flash-freeze until solid, then transfer to a sealed container or freezer bag. Freeze for up to 2–3 months. Thaw in the refrigerator overnight before serving to maintain texture and prevent condensation on the coating.
Reheat: Do not reheat truffles. Warming destroys the coating’s snap and can change texture. If the coating softens, chill again until it firms — reheating is unnecessary and not recommended.
Your Top Questions
Q: Can I use another cookie instead of original Oreos?
A: The formula relies on a chocolate sandwich cookie with a cream layer. You can substitute a similar cookie, but textures and flavor will vary. If your cookie is drier or larger, pulse to an even fine crumb so the cream cheese binds well.
Q: Can I skip the coating and roll the balls in cocoa or powdered sugar?
A: Yes. If you prefer, roll chilled balls in cocoa, crushed nuts, or powdered sugar instead of dipping. They will be softer and less shelf-stable than coated truffles, so keep them refrigerated.
Q: How do I make them look uniform?
A: Use a 1-inch scoop for consistent size, then quickly roll between your palms to smooth. Chill fully before dipping to preserve shape.
Q: My melted wafers became grainy. What happened?
A: Overheating or exposing chocolate to moisture can seize it and make it grainy. Remelt gently, or if seized, you may need to start fresh with another bag. Follow package directions and stir frequently during melting.
Time to Try It
Ready to make these? Line up your Oreos, cut the cream cheese, and set out a baking sheet with parchment. The active time is short — most of the time is chilling — so you can multitask while the truffles firm up. Follow the 10 clear steps above and you’ll have a tray of glossy, indulgent truffles in a couple of hours.
Make them for a gathering, a gift box, or a simple treat at home. Keep an extra bag of melting wafers on hand, as the instructions suggest, and don’t rush the chill steps. Once you get into the habit, Oreo Truffles will become one of those recipes you turn to again and again.

Easy Oreo Truffles
Ingredients
Ingredients
- 15- ounce package original Oreos
- 8 ounces cream cheese at room temperature
- 12 ounce packages Ghirardelli White or Dark Melting Wafers may need a backup bag
- Sprinkes optional, for garnish
Instructions
Instructions
- Place the 15-ounce package of Oreos in a food processor and process until fine crumbs form.
- Cut the 8 ounces of room-temperature cream cheese into 6–8 pieces and add to the Oreo crumbs.
- Process the mixture until well combined and no visible streaks of cream cheese remain, about 1–2 minutes.
- Using your hands, a 1-inch scoop, or a small spoon, form the mixture into tightly packed 1-inch balls. Place the balls on a parchment-lined baking sheet, leaving a little space between them.
- Chill the truffle balls in the refrigerator for at least 1 hour (or overnight) until firm.
- Prepare the Ghirardelli melting wafers: melt the 12-ounce bag according to the package directions until smooth. Have the additional 12-ounce bag on hand in case you need more coating.
- Dip each chilled truffle into the melted wafers, letting excess coating drip back into the bowl, then return the coated truffle to a parchment-lined baking sheet.
- If using sprinkles, add them immediately after dipping, while the coating is still wet.
- Refrigerate the coated truffles for about 1 hour to set before serving.
- Store any leftovers covered in the refrigerator.
Equipment
- Food Processor
- hands or 1-inch scoop or small spoon
- Parchment-lined baking sheet
- Bowl
- Refrigerator