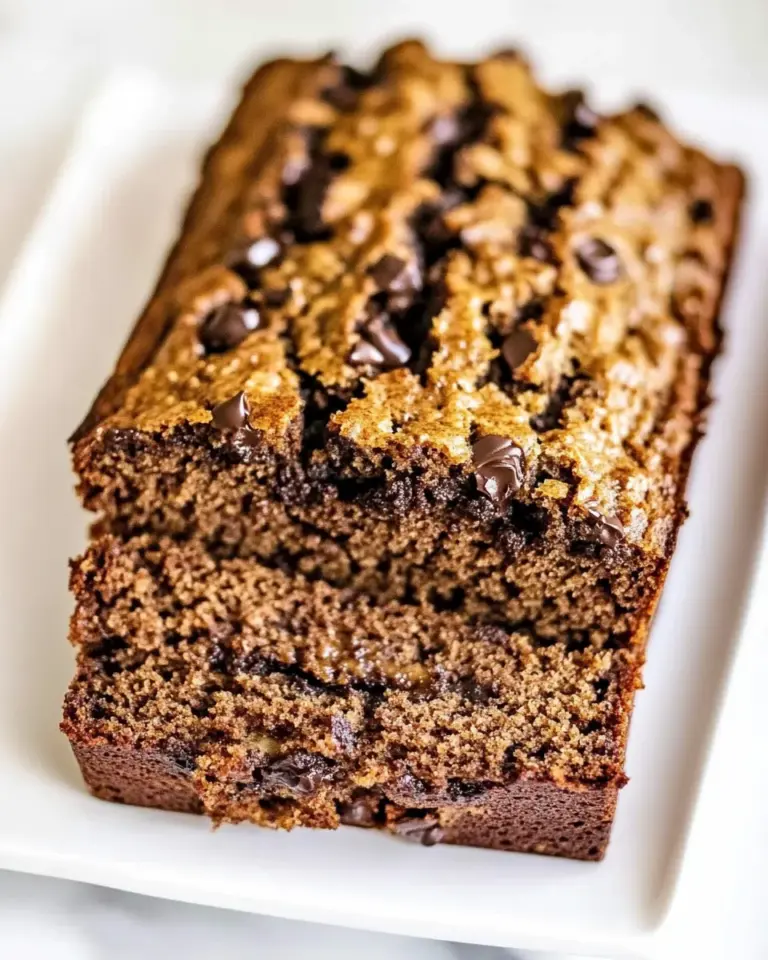
Chocolate Protein Bars
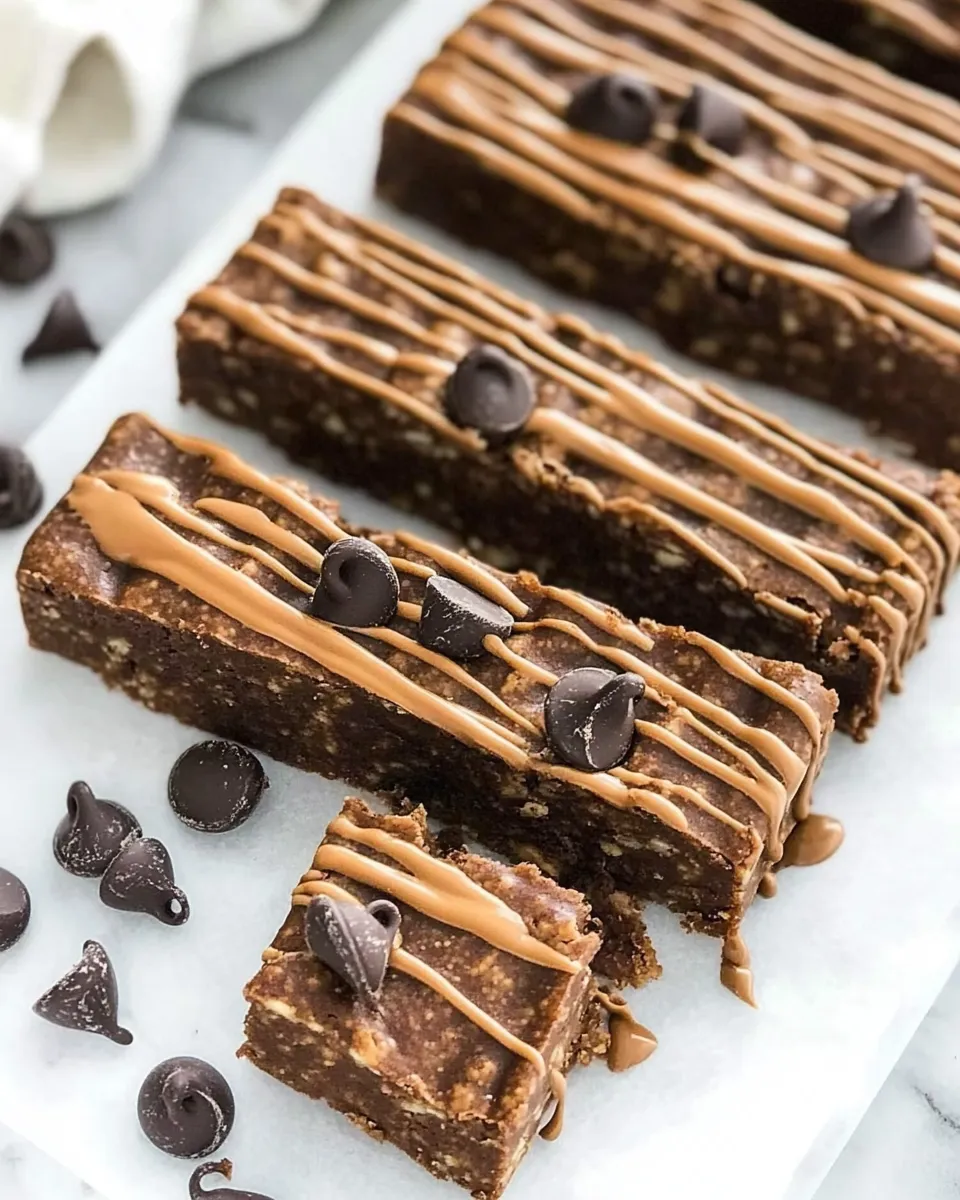
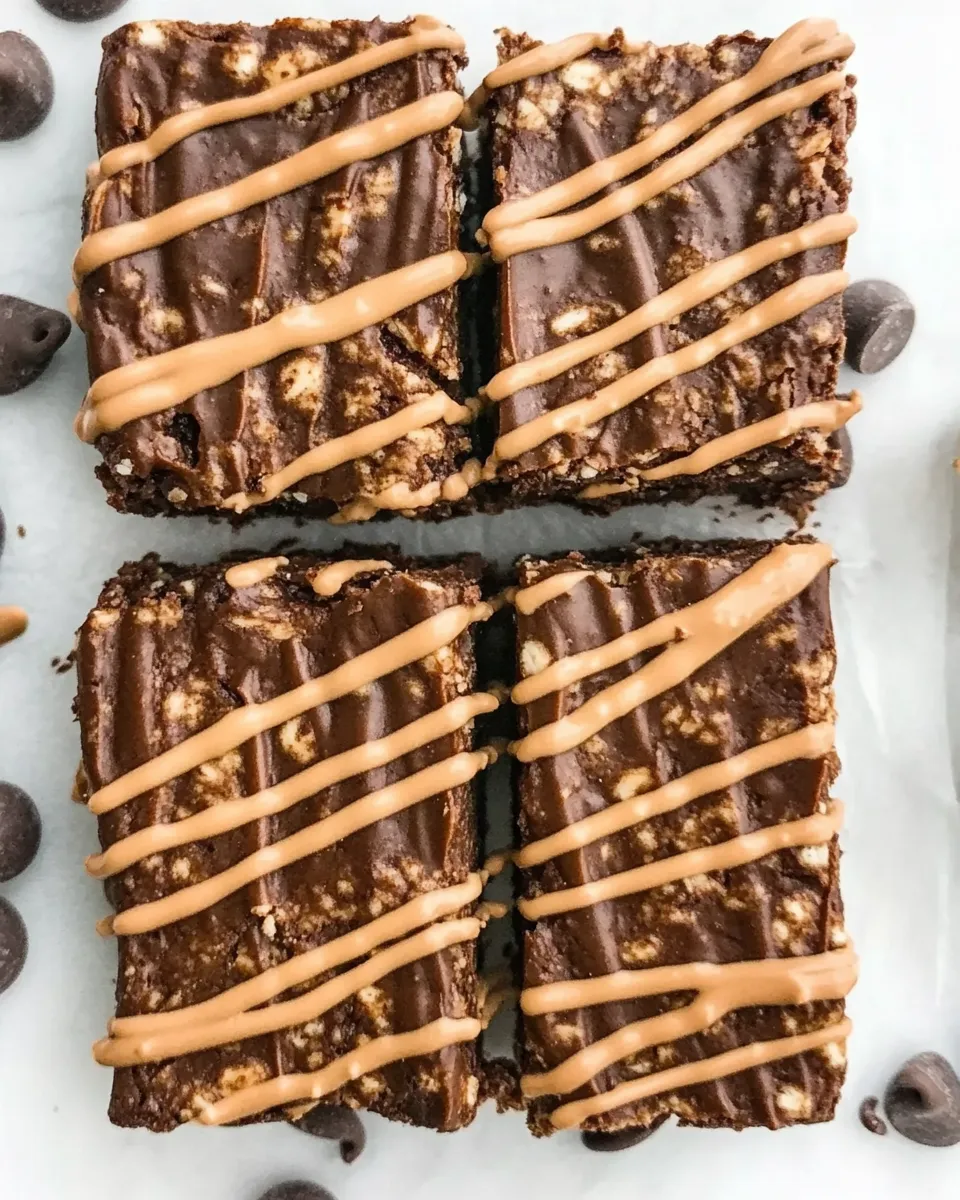
I make these bars on mornings when life is moving fast and I still want something that feels like a proper snack — not a sad handful of crumbs. They’re dense, chocolate-forward, and portable. The texture skews more chewy than cakey, so they hold up in a bag and won’t crumble the second you open them.
This recipe is practical. It uses pantry-friendly ingredients and one bowl for the dry mix. The bind comes from peanut butter and maple syrup, so you get protein, sweetness, and structure without melting chocolate or tempering. You can tweak the protein powder to suit your goals and allergies.
I test recipes to make sure they’re straightforward at home. Expect a firm bar that slices clean after chilling, a short hands-on time, and a predictable result. Below you’ll find shopping and tool notes, exact ingredients, the step-by-step method, troubleshooting, and storage tips to keep these bars reliable week after week.
Your Shopping Guide

Buy ingredients with purpose. Pick an oat flour you trust — some are finely milled, others more rustic; both work but the finer the flour, the smoother the bars. Coconut flour is extremely absorbent, so buy the sifted kind if you can, or be prepared to sift it at home. Your protein powder determines flavor and texture, so choose one you like straight from a scoop.
For peanut butter, choose a creamy variety if you want smoother bars; natural styles with separated oil are fine, but stir them well. Maple syrup should be real maple for flavor, but the recipe accepts substitutes if you’re avoiding higher sugar costs. Use any milk you normally enjoy for the small amount called for — its job is only to rescue a dry mix.
Chocolate Protein Bars: From Prep to Plate
Ingredients
- 2 cups oat flour — the base; gives body and chew. Gluten-free if you need it.
- ½ cup sifted coconut flour — very absorbent; helps hold the bars together. Can sub for almond or more oat flour.
- ½ cup protein powder — choose your favorite (whey, pea, soy, etc.) for flavor and extra protein.
- 2 tablespoons cocoa powder — gives the chocolate flavor without adding liquid or sweetness.
- ½ cup peanut butter — binds and adds richness. Any nut/seed butter works here.
- ½ cup maple syrup — sweetener and binder. Can use agave nectar, honey, or brown rice syrup as needed.
- 1 tablespoon milk of choice — optional rescue to add if the dough is too dry. See notes.
Step-by-step
- Line an 8 x 8-inch pan or a 9 x 4-inch loaf pan with parchment paper; set aside.
- In a large bowl, whisk together 2 cups oat flour, ½ cup sifted coconut flour, ½ cup protein powder, and 2 tablespoons cocoa powder until evenly combined.
- In a microwave-safe bowl or small saucepan, combine ½ cup peanut butter and ½ cup maple syrup. Warm gently until the mixture is soft and stirrable — heat in 15–20 second intervals in the microwave, stirring between intervals, or warm over low heat on the stovetop until smooth. Do not boil.
- Pour the warm peanut butter–maple mixture into the dry ingredients. Stir with a spatula or spoon until the mixture is evenly combined and holds together in a thick dough.
- If the mixture is too dry or crumbly, add up to 1 tablespoon milk of choice, adding 1 teaspoon at a time and stirring after each addition, until the dough holds together but is not wet or runny.
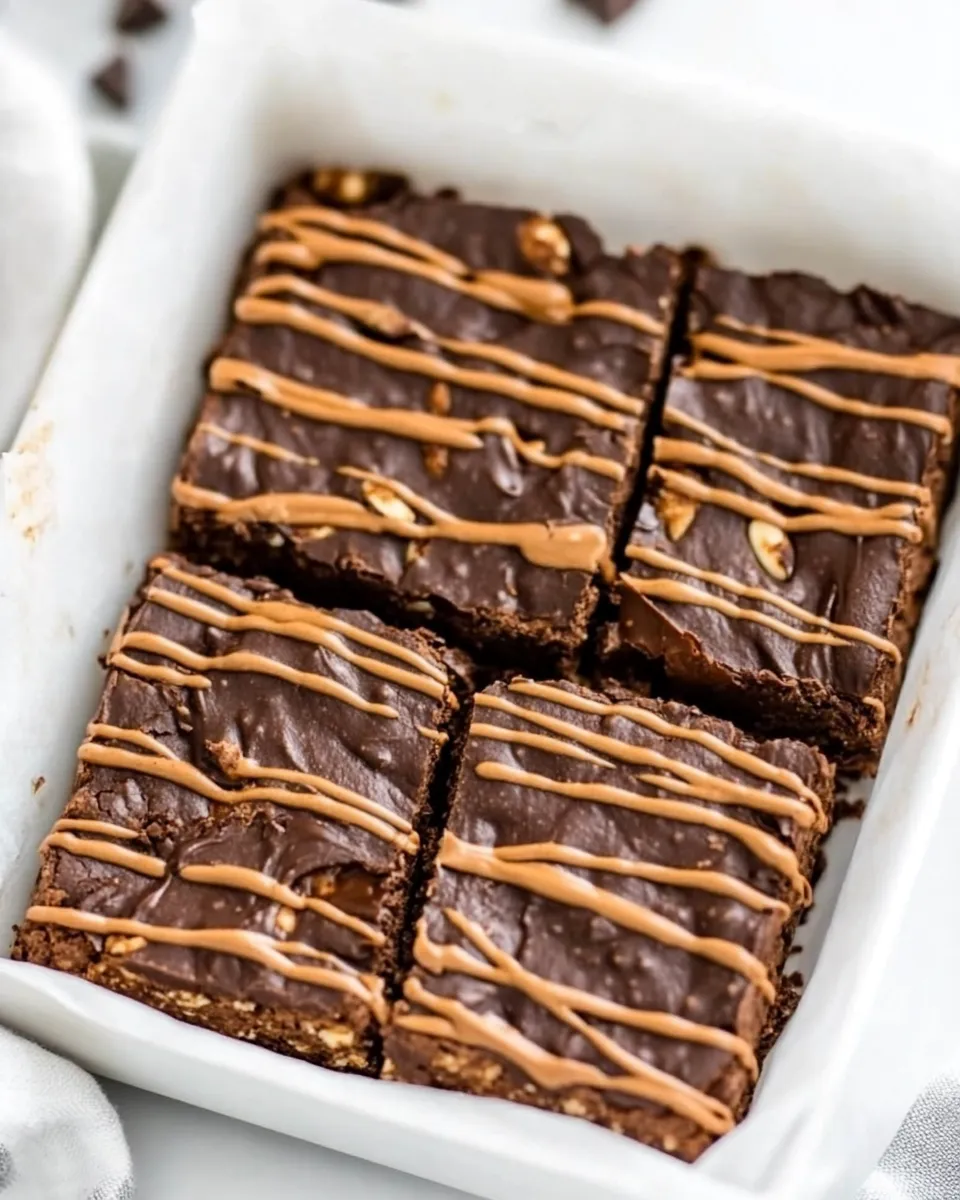
- Transfer the mixture to the prepared pan. Press firmly and evenly into the pan using the back of a spatula or your hands (covered) to create a compact, level layer.
- Refrigerate the pan for at least 30 minutes, or until the bars are firm to the touch.
- Lift the set mixture out of the pan using the parchment paper, place on a cutting board, and cut into bars. Store refrigerated in an airtight container.
Why This Recipe is a Keeper
These bars solve three everyday problems: a quick breakfast, a pre- or post-workout snack, and a portable treat that doesn’t require reheating. They’re forgiving, thanks to the coconut flour’s absorbency and the sticky combo of peanut butter plus maple syrup.
They also adapt easily. Swap the protein powder to manage flavor or macros. Use different nut butters for variety. The base flavor stays solid because cocoa and protein powder keep the chocolate profile consistent.
No-Store Runs Needed
Because this recipe leans on pantry staples, you’re unlikely to need a special store run. If you do find yourself short one item, these minimal substitutions usually work:
- Protein powder: swap a similar scoop for texture — expect some change in taste.
- Coconut flour: the recipe notes you can use almond flour or extra oat flour, but expect a texture shift.
- Maple syrup: honey or agave are acceptable alternatives if you’re not strict about flavor.
Tools of the Trade
Keep tools simple. A large mixing bowl, spatula, and an 8×8 pan (or 9×4 loaf pan) plus parchment paper are all you need. A small saucepan or a microwave-safe bowl to warm the peanut butter and syrup works fine. If you prefer, a bench scraper or a flat-bottomed measure helps press the mixture evenly into the pan.
Troubles You Can Avoid
Common slip-ups are easy to fix:
- Too dry or crumbly: add milk, 1 teaspoon at a time, until it holds. Don’t add too much — you want a firm, not wet, dough.
- Too sticky or runny: press firmly into the pan and chill longer; over-warm peanut butter can make the mixture looser. Cool slightly before mixing into dry ingredients.
- Bars fall apart after slicing: ensure thorough chilling. If they’re still soft, return them to the fridge for another 15–30 minutes before cutting.
Warm & Cool Weather Spins
In warm months, keep the bars refrigerated until just before you leave the house so they don’t soften. Pack them in an insulated lunchbox if you’re headed out for more than an hour. In cool weather, they hold shape well at room temperature for short periods, but I still recommend refrigeration for longer storage.
If you live somewhere very humid, press the mixture extra firmly and allow a slightly longer chill time to ensure they set fully.
Notes from the Test Kitchen
Texture notes from testing: bars made with finely milled oat flour are smoother; coarser oat flour yields more texture. Coconut flour makes these bars dense — that’s intentional. If you prefer a lighter bite, reduce coconut flour and replace it with a small amount more oat flour or a higher-moisture binder, but expect a change in the bars’ structural integrity.
Flavor pairing: the cocoa powder keeps the chocolate clear without relying on melted chocolate. If you like deeper chocolate notes, try a richer cocoa or add a small pinch of instant espresso to enhance the chocolate without adding liquid.
Keep It Fresh: Storage Guide
Store the bars refrigerated in an airtight container as directed in the method. Use parchment between layers to prevent sticking. If the bars warm up slightly during transport, a short chill once you arrive will help them firm back up.
Freeze for longer keeping if you need to stash extras: wrap bars individually in parchment or plastic wrap before placing in a freezer-safe container so you can thaw only what you need. Thaw in the refrigerator or at room temperature until soft enough to enjoy.
Your Top Questions
- Can I use a different nut butter? Yes. Almond, cashew, or sunflower seed butter work. Expect slight flavor and texture changes.
- What if I don’t have oat flour? Finely ground rolled oats make a decent substitute if you have a blender or food processor. Measure after grinding to get close to 2 cups.
- Can I add mix-ins like chocolate chips or nuts? You can fold in small amounts, but avoid anything that adds too much dry bulk. Sprinkle mix-ins on top before chilling for a neat presentation.
- Are these keto-friendly? Not as written. Maple syrup and oat flour contribute carbs. You’d need different sweeteners and flours to adapt successfully.
Ready, Set, Cook
Prep your pan and line it before you mix. Once you warm the peanut butter and maple syrup, the rest is quick: a single bowl for dry ingredients, one step to combine, press, chill, and slice. These bars reward careful pressing and a solid chill, so don’t rush the set time.
Make a batch on a Sunday and keep them handy for busy mornings or for a post-workout snack. They travel well, are straightforward to tweak, and hold up inside a lunchbox. When you want a chocolate hit that also fills a gap, these bars deliver.

Chocolate Protein Bars
Ingredients
Ingredients
- 2 cupsoat flourgluten free if needed
- 1/2 cupcoconut floursifted Can sub for almond or more oat flour
- 1/2 cupprotein powder
- 2 tablespooncocoa powder
- 1/2 cuppeanut butteror any nut/seed butter
- 1/2 cupmaple syrupcan use agave nectar honey, or brown rice syrup
- 1 tablespoonmilk of choice* See notes
Instructions
Instructions
- Line an 8 x 8-inch pan or a 9 x 4-inch loaf pan with parchment paper; set aside.
- In a large bowl, whisk together 2 cups oat flour, ½ cup sifted coconut flour, ½ cup protein powder, and 2 tablespoons cocoa powder until evenly combined.
- In a microwave-safe bowl or small saucepan, combine ½ cup peanut butter and ½ cup maple syrup. Warm gently until the mixture is soft and stirrable — heat in 15–20 second intervals in the microwave, stirring between intervals, or warm over low heat on the stovetop until smooth. Do not boil.
- Pour the warm peanut butter–maple mixture into the dry ingredients. Stir with a spatula or spoon until the mixture is evenly combined and holds together in a thick dough.
- If the mixture is too dry or crumbly, add up to 1 tablespoon milk of choice, adding 1 teaspoon at a time and stirring after each addition, until the dough holds together but is not wet or runny.
- Transfer the mixture to the prepared pan. Press firmly and evenly into the pan using the back of a spatula or your hands (covered) to create a compact, level layer.
- Refrigerate the pan for at least 30 minutes, or until the bars are firm to the touch.
- Lift the set mixture out of the pan using the parchment paper, place on a cutting board, and cut into bars. Store refrigerated in an airtight container.
Equipment
- 8 x 8-inch pan or 9 x 4-inch loaf pan
- Parchment Paper
- Large Bowl
- Microwave-safe bowl or small saucepan
- Spatula
- Cutting Board
Notes
* Depending on the flour and protein powder combination, you might need more milk to firm up.
TO STORE.
If you prefer soft and chewy protein bars, store them at room temperature in an airtight container. For thicker and chewier protein bars, keep them stored in the fridge. They will keep well for up to 1 month.
TO FREEZE.
Freeze leftover protein bars in a freezer-safe container and freeze them for up to 6 months.