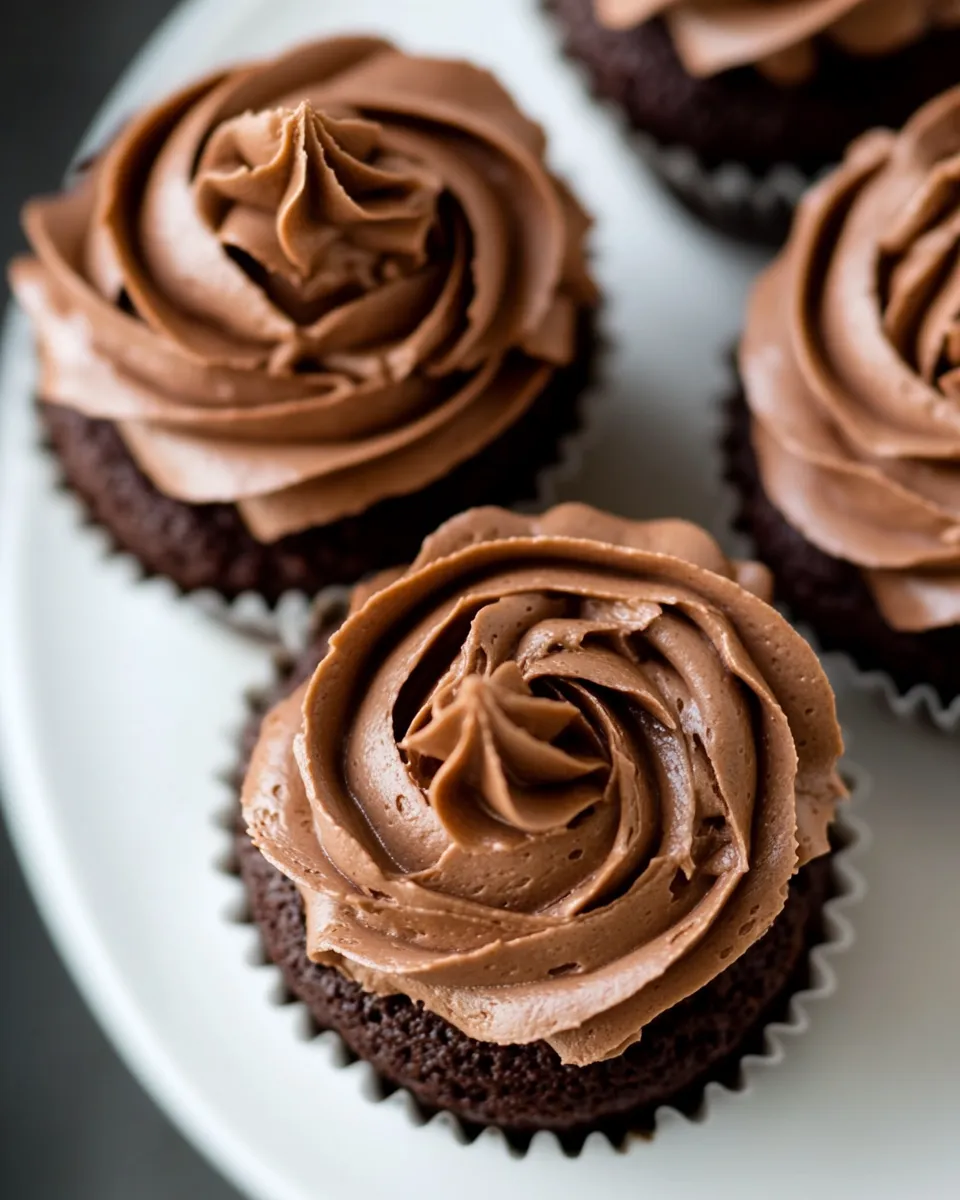
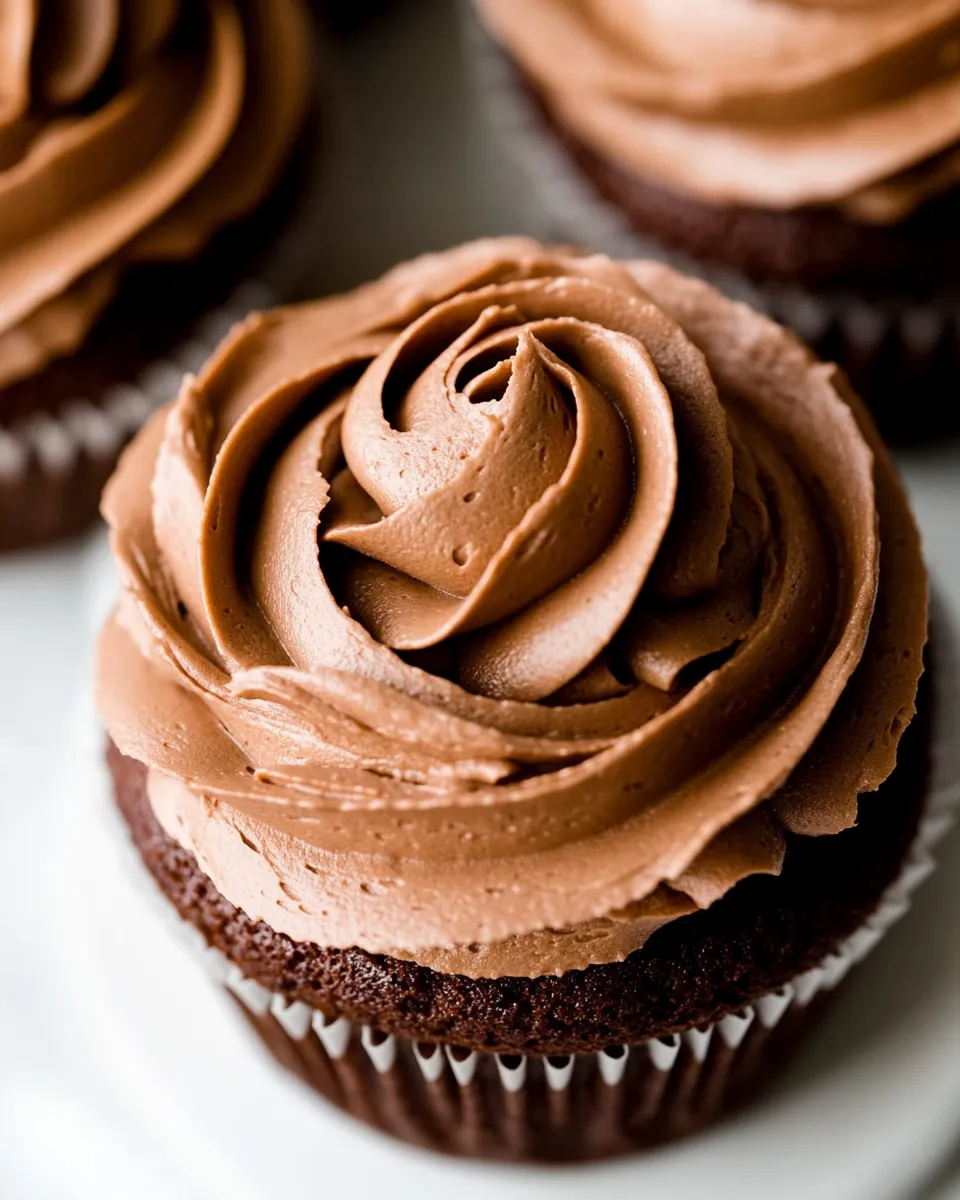
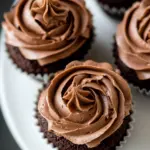
Chocolate Mousse Frosting for Cupcakes
There’s something quietly indulgent about a light, airy chocolate mousse piled onto a tiny cupcake. It reads fancy, but it’s forgiving and home-friendly. Over the years I’ve refined this particular method so the frosting stays fluffy, stable, and undeniably chocolatey without a long list of steps or mystery ingredients.
This recipe separates the chocolate base from the cupcake baking. You make a chilled chocolate-cream base first, whip it into a mousse, and then top simple mini cupcakes. The multi-step approach sounds slower than it feels; most of the time is hands-off chilling, and the final whip takes only minutes.
If you’re short on time, plan ahead: make the chocolate base the night before. It’s a great frosting for parties because you can bring the mousse chilled and pipe just before serving. In the post below I’ll cover ingredient notes, common missteps, useful tools, and storage so you can get consistent results every time.
Ingredient Notes

Ingredients
- 2 ounces semi-sweet chocolate — Provides the chocolate flavor and structure for the mousse; choose a chocolate you enjoy eating because its taste comes through.
- ½ cup heavy cream — Warms and melts the chocolate and later becomes the whipped component; the fat is what gives the mousse its silkiness.
- ½ cup all-purpose flour — Forms the base of the mini cupcake crumb; measure by spooning into the cup and leveling for accuracy.
- ¼ teaspoon baking soda — Adds a touch of lift to the mini cupcakes; works with the baking powder for even texture.
- ½ teaspoon baking powder — Primary leavening for the cupcakes; make sure it’s fresh for reliable rise.
- ⅛ teaspoon salt — Balances sweetness and enhances chocolate notes; don’t skip it even in small amounts.
- ¼ cup boiling water — Dissolves cocoa and espresso, blooming the flavor and creating a smooth cocoa-espresso mixture for the batter.
- 2 ½ tablespoons unsweetened cocoa powder — Gives the cupcakes deep chocolate flavor and color; sift or whisk to remove lumps before combining with boiling water.
- ¼ teaspoon instant espresso powder — Amplifies the chocolate flavor without adding coffee taste; optional for those who avoid caffeine but recommended if you love depth.
- 4 tablespoons unsalted butter, softened — Adds richness and helps with texture in the cupcakes; room temperature makes it easier to cream with sugar.
- ⅓ cup granulated sugar — Sweetens the cupcakes and assists with creaming to incorporate air for structure.
- ¼ teaspoon vanilla extract — A small amount brightens the batter and rounds the chocolate notes.
- 1 large egg — Binds and provides structure; use a fresh egg at room temperature for best incorporation.
Step-by-Step: Chocolate Mousse Frosting for Cupcakes
- Make the chocolate base for the frosting: place 2 ounces semi-sweet chocolate and ½ cup heavy cream in a small saucepan over low heat. Stir constantly until the chocolate is fully dissolved and the mixture is smooth. Do not let the cream boil; heat just enough to melt the chocolate.
- Remove the pan from the heat and let the chocolate-cream mixture cool to room temperature. Transfer it to a mixing bowl, cover, and chill in the refrigerator for at least 8 hours (or overnight).
- When ready to finish the frosting, whip the chilled chocolate-cream mixture with an electric mixer on medium-high speed until thick and firm and it holds its shape. Set the whipped mousse frosting aside in the refrigerator until ready to use.
- Preheat the oven to 350°F. Line a mini cupcake pan with 20 liners.
- In a medium bowl, whisk together ½ cup all-purpose flour, ¼ teaspoon baking soda, ½ teaspoon baking powder, and ⅛ teaspoon salt. Set this dry mixture aside.
- In a separate small bowl, whisk ¼ cup boiling water with 2 ½ tablespoons unsweetened cocoa powder and ¼ teaspoon instant espresso powder until fully dissolved. Set this cocoa-espresso mixture aside.
- In a mixing bowl, beat 4 tablespoons unsalted butter (softened) and ⅓ cup granulated sugar together until well combined and light in texture.
- Add ¼ teaspoon vanilla extract and 1 large egg to the butter-sugar mixture and continue beating until the mixture is smooth and creamy.
- Add the dry flour mixture to the wet mixture and beat just until combined.
- Add the cocoa-espresso mixture to the batter and beat until the batter is smooth and evenly combined.
- Fill each mini cupcake liner with about 1 tablespoon of batter (about 2/3 full).
- Bake the mini cupcakes for 10 to 15 minutes, or until a toothpick inserted in the center comes out clean.
- Remove the cupcakes from the oven and let them cool completely before frosting.
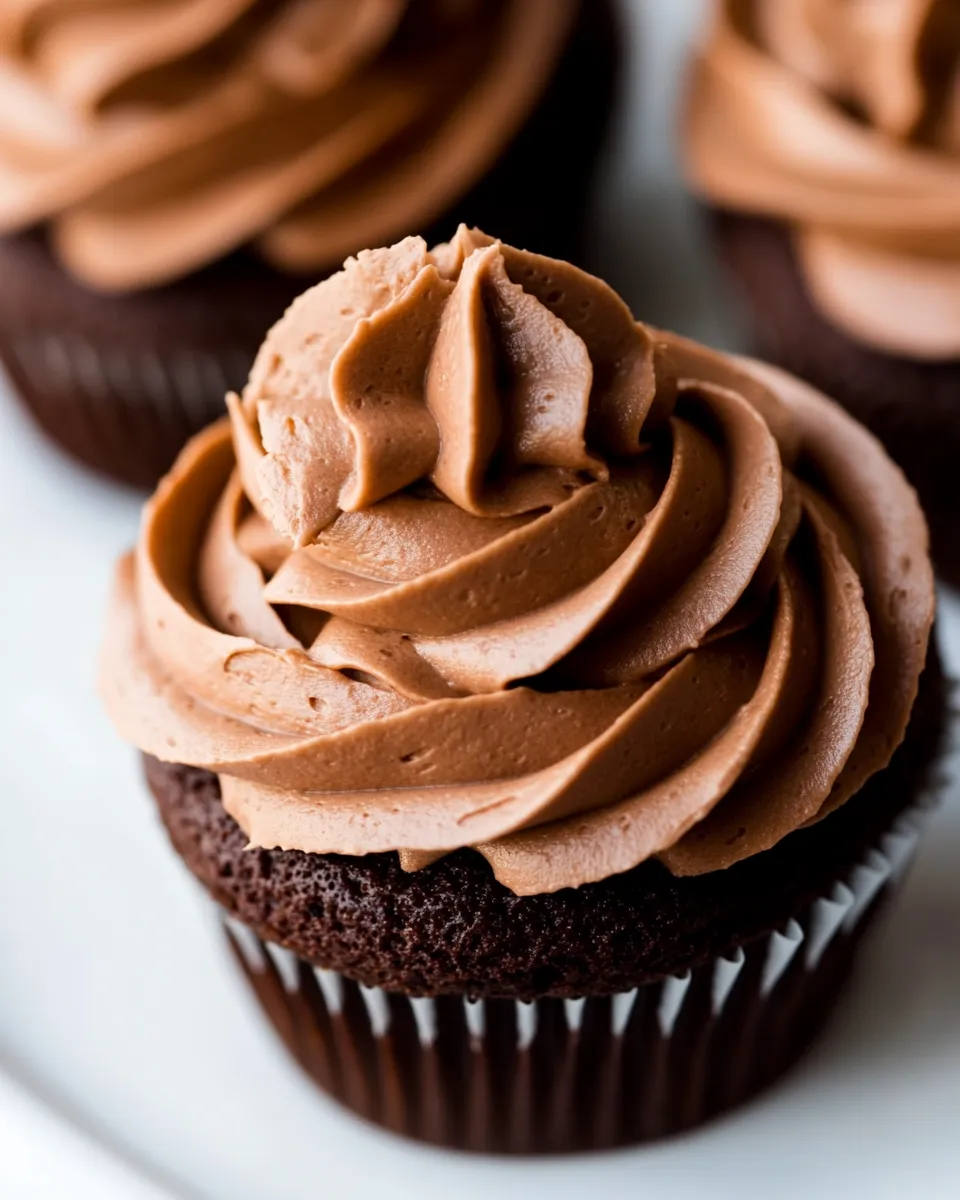
- Once cupcakes are fully cool, pipe or spread the whipped chocolate mousse frosting onto each cupcake.
What Makes This Recipe Special
This frosting reads like a mousse but behaves like a stable topping. The melted chocolate and cream base, once fully chilled, whips into a mousse with lift and structure. Because you chill the base, the fat in the chocolate and cream firms up slightly and traps air when whipped, giving you a frosting that holds peaks yet feels cloud-light on the tongue.
Separating frosting preparation from cupcake baking allows both components to be finished at optimal times. The cupcakes are small so they bake quickly and stay moist; the mousse topping is made ahead so you can focus on presentation the day of your event. The espresso powder in the batter is a small but powerful trick: it sharpens chocolate flavor without adding a coffee profile.
No-Store Runs Needed
One of the biggest wins of this recipe is that it uses pantry basics. If you keep chocolate, cocoa, flour, sugar, butter, eggs, cream, and a pinch of leavening on hand, you’re set. The method doesn’t require special stabilizers, powders, or obscure ingredients.
If you’re assembling the cupcakes for a last-minute gathering, make the chocolate base the night before. That eliminates any emergency shopping and gives you a calm morning to bake and finish.
Prep & Cook Tools
Use tools that keep the process efficient and predictable:
- Small saucepan — for gently melting the chocolate into the cream.
- Mixing bowl — a medium or large bowl for chilling the chocolate-cream base.
- Electric mixer — handheld or stand mixer for whipping the chilled base into mousse; it saves time and delivers stable peaks.
- Mini cupcake pan and 20 liners — sized to match the recipe; liners make removal and serving simple.
- Measuring cups and spoons — accurate measuring matters most for the dry ingredients and the water.
- Rubber spatula and whisk — for scraping bowls clean and smoothing batter.
Frequent Missteps to Avoid
Here are the common problems I see and how to avoid them:
- Overheating the chocolate-cream. Keep the heat low and stop as soon as the chocolate melts. If the cream boils, the texture can become grainy.
- Not chilling the mixture long enough. The recipe requires at least 8 hours. If the chocolate-cream isn’t properly chilled, it will not whip into a stable mousse.
- Whipping too early or too hard. Start on medium-high and watch for thickened peaks. Overwhipping can cause separation or a grainy texture.
- Filling liners unevenly. Use a tablespoon measure or a small scoop for consistent mini cupcakes so they bake uniformly.
- Frosting warm cupcakes. The mousse must go on fully cooled cupcakes; otherwise the frosting will soften and lose shape.
Dietary Swaps & Alternatives
If you need to adapt the recipe, consider these practical swaps while keeping the method the same. Note that changing core ingredients will alter texture and flavor, so adjust expectations accordingly.
- Dairy-free option — replace heavy cream with a full-fat plant-based cream and use a vegan chocolate. For butter in the cupcakes, use a vegan butter substitute at room temperature.
- Lower-caffeine choice — omit or reduce instant espresso powder in the batter; it only boosts chocolate flavor, it isn’t required.
- Chocolate intensity — swap the semi-sweet chocolate for a darker chocolate if you want a richer mousse, or a milk-style chocolate for a sweeter, creamier frosting. Keep the weight the same.
- Texture tweaks — if you prefer a stiffer frosting, chill the whipped mousse briefly before piping; for a softer finish, whip a little less.
Notes from the Test Kitchen
I tested this recipe on three separate occasions with small adjustments to chilling time and whipping speed. The constant: a long chill produces the most reliable mousse. In one test I chilled only six hours and the mixture whipped but lacked peak stability after a few minutes at room temperature. In contrast, an overnight chill gave a mousse that held its piped shape even after sitting out for an hour at cool room temperature.
When whipping, I found a medium-high speed gives the best lift without risking separation. If you use a stand mixer, pause and check the texture every 30–60 seconds after it begins to thicken. The frosting should be glossy and hold soft to medium peaks.
For the cupcakes, filling the mini liners about two-thirds full creates domes that pair well with the mousse cap. Bake times vary by oven; mine took 12 minutes on average. Always test a center with a toothpick.
Refrigerate, Freeze, Reheat
Storage is simple:
- Refrigerate assembled cupcakes in an airtight container for up to 3 days. Keep them chilled until 10–15 minutes before serving so the mousse softens slightly for eating.
- Freeze unfrosted mini cupcakes for up to 1 month. Thaw completely and cool to room temperature before adding the mousse.
- Freeze the chilled chocolate-cream base (before whipping) in a sealed container for up to 2 weeks. Thaw overnight in the refrigerator, then whip as directed.
- Do not microwave frosted cupcakes to reheat. If you prefer a warm cupcake, gently warm the unfrosted cupcake and then add chilled mousse just before serving.
Reader Questions
Can I make the mousse faster?
Not safely. The long chill is what lets the cream and chocolate firm enough to whip into a stable mousse. Shortening the chill reduces structure and risks a loose frosting.
What if my mousse looks grainy after whipping?
Graininess usually points to overheating when melting the chocolate or to overwhipping. If it separates slightly, try chilling for 10–15 minutes and gently re-whipping on low to bring it back together. If the chocolate was scorched while melting, the texture may not recover.
How do I get clean piping lines on mini cupcakes?
Use a small round or star tip and keep the mousse chilled until the moment you pipe. If the frosting softens as you work, return the bowl to the refrigerator for 5–10 minutes to firm up, then continue.
Can I scale this recipe to larger cupcakes?
Yes. The mousse volume will cover fewer larger cupcakes, so either double the frosting base or use it sparingly on standard cupcakes. Bake times and batter volume per liner will change for larger tins.
Final Thoughts
This Chocolate Mousse Frosting for Cupcakes is a reliable way to get a restaurant-style finish at home without opaque techniques. Plan ahead, respect the chill time, and whip to the right moment. The result is a featherlight frosting with honest chocolate flavor that pairs beautifully with small, tender cupcakes.
Make the chocolate base the night before you plan to serve. Bake the cupcakes the same day, cool completely, then whip and pipe the mousse when you’re ready. It’s an elegant-looking dessert that stays practical—and forgiving—throughout the process.
Chocolate Mousse Frosting for Cupcakes
Ingredients
Ingredients
- 2 ouncessemi-sweet chocolate*
- 1/2 cupheavy cream
- 1/2 cupall-purpose flour
- 1/4 teaspoonbaking soda
- 1/2 teaspoonbaking powder
- 1/8 teaspoonsalt
- 1/4 cupboiling water
- 2 1/2 tablespoonsunsweetened cocoa powder
- 1/4 teaspooninstant espresso powder
- 4 tablespoonsunsalted butter softened
- 1/3 cupgranulated sugar
- 1/4 teaspoonvanilla extract
- 1 large egg
Instructions
Instructions
- Make the chocolate base for the frosting: place 2 ounces semi-sweet chocolate and ½ cup heavy cream in a small saucepan over low heat. Stir constantly until the chocolate is fully dissolved and the mixture is smooth. Do not let the cream boil; heat just enough to melt the chocolate.
- Remove the pan from the heat and let the chocolate-cream mixture cool to room temperature. Transfer it to a mixing bowl, cover, and chill in the refrigerator for at least 8 hours (or overnight).
- When ready to finish the frosting, whip the chilled chocolate-cream mixture with an electric mixer on medium-high speed until thick and firm and it holds its shape. Set the whipped mousse frosting aside in the refrigerator until ready to use.
- Preheat the oven to 350°F. Line a mini cupcake pan with 20 liners.
- In a medium bowl, whisk together ½ cup all-purpose flour, ¼ teaspoon baking soda, ½ teaspoon baking powder, and ⅛ teaspoon salt. Set this dry mixture aside.
- In a separate small bowl, whisk ¼ cup boiling water with 2 ½ tablespoons unsweetened cocoa powder and ¼ teaspoon instant espresso powder until fully dissolved. Set this cocoa-espresso mixture aside.
- In a mixing bowl, beat 4 tablespoons unsalted butter (softened) and ⅓ cup granulated sugar together until well combined and light in texture.
- Add ¼ teaspoon vanilla extract and 1 large egg to the butter-sugar mixture and continue beating until the mixture is smooth and creamy.
- Add the dry flour mixture to the wet mixture and beat just until combined.
- Add the cocoa-espresso mixture to the batter and beat until the batter is smooth and evenly combined.
- Fill each mini cupcake liner with about 1 tablespoon of batter (about 2/3 full).
- Bake the mini cupcakes for 10 to 15 minutes, or until a toothpick inserted in the center comes out clean.
- Remove the cupcakes from the oven and let them cool completely before frosting.
- Once cupcakes are fully cool, pipe or spread the whipped chocolate mousse frosting onto each cupcake.
Equipment
- Measuring Cups and Spoons
- Saucepan
- Wooden Spoon
- Rubber spatula
- Mixing Bowls
- Plastic Wrap
- standing mixer or handheld mixer
- Mini cupcake pan
- mini cupcake pan liners
- Whisk
- spoons
- toothpick
- piping bag with tip
Notes
*Please be sure to use a chocolate bar and not chocolate chips or chocolate morsels. Chocolate chips and morsels are usually designed to keep their shape when heated and therefore have stabilizers in them. That prevents them from melting properly.
**Make sure that the chocolate gets melted fully in this step. If there are still little pieces of undissolved chocolate, you will end up with a grainy frosting.
***The long chill time (8 hours) for the melted chocolate is necessary for the frosting to whip up properly. Please don't be tempted to cut it short.
****Just like with regular whipped cream, it's possible to overwhip the mousse frosting. Be sure to stop whipping when the mousse has reached firm peaks.
Serving and Storage:
Be sure to treat the topping like you would treat whipped cream. Keep the frosted cupcakes refrigerated if you’re not serving them immediately. (You can make them up to 5 hours ahead and store in an airtight container in the fridge.)