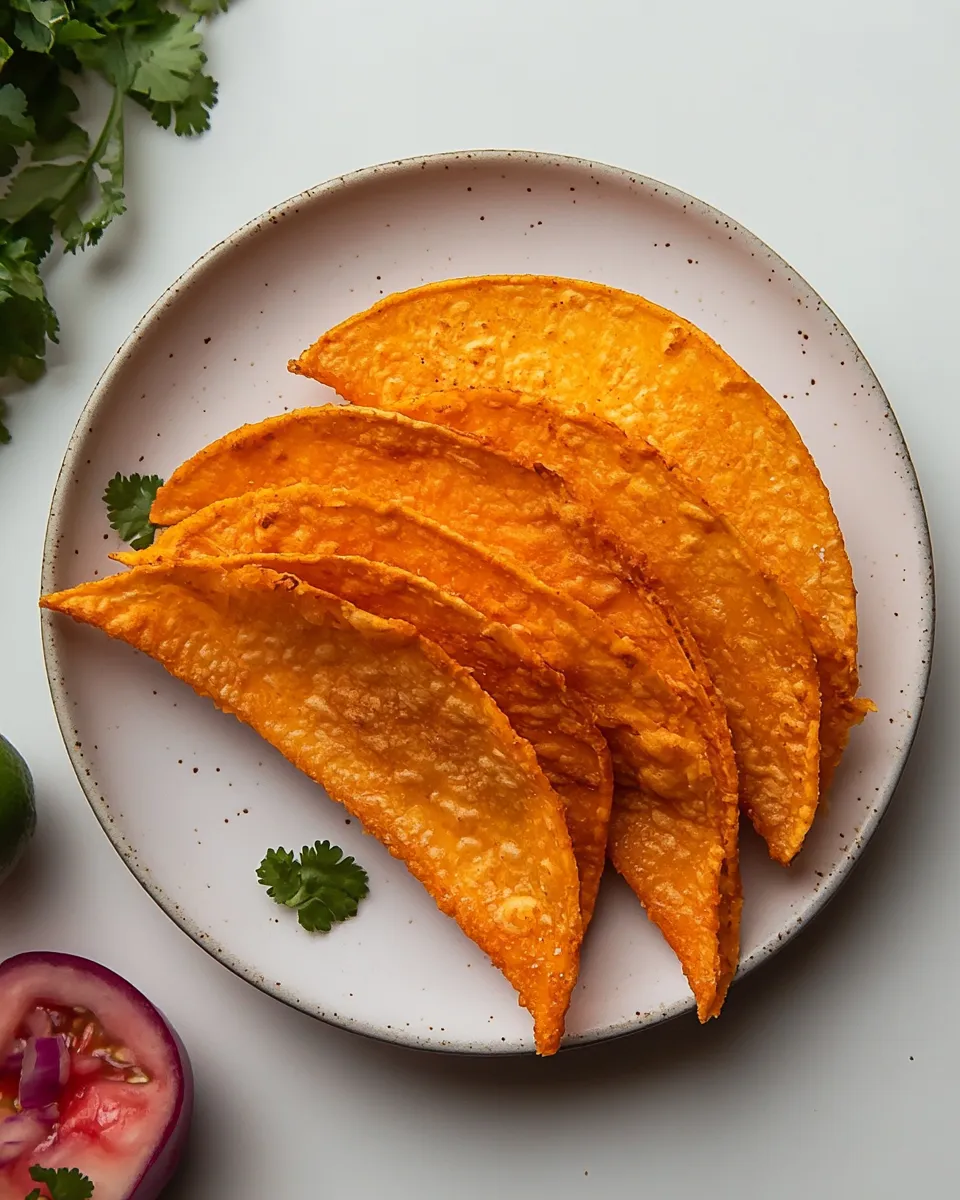
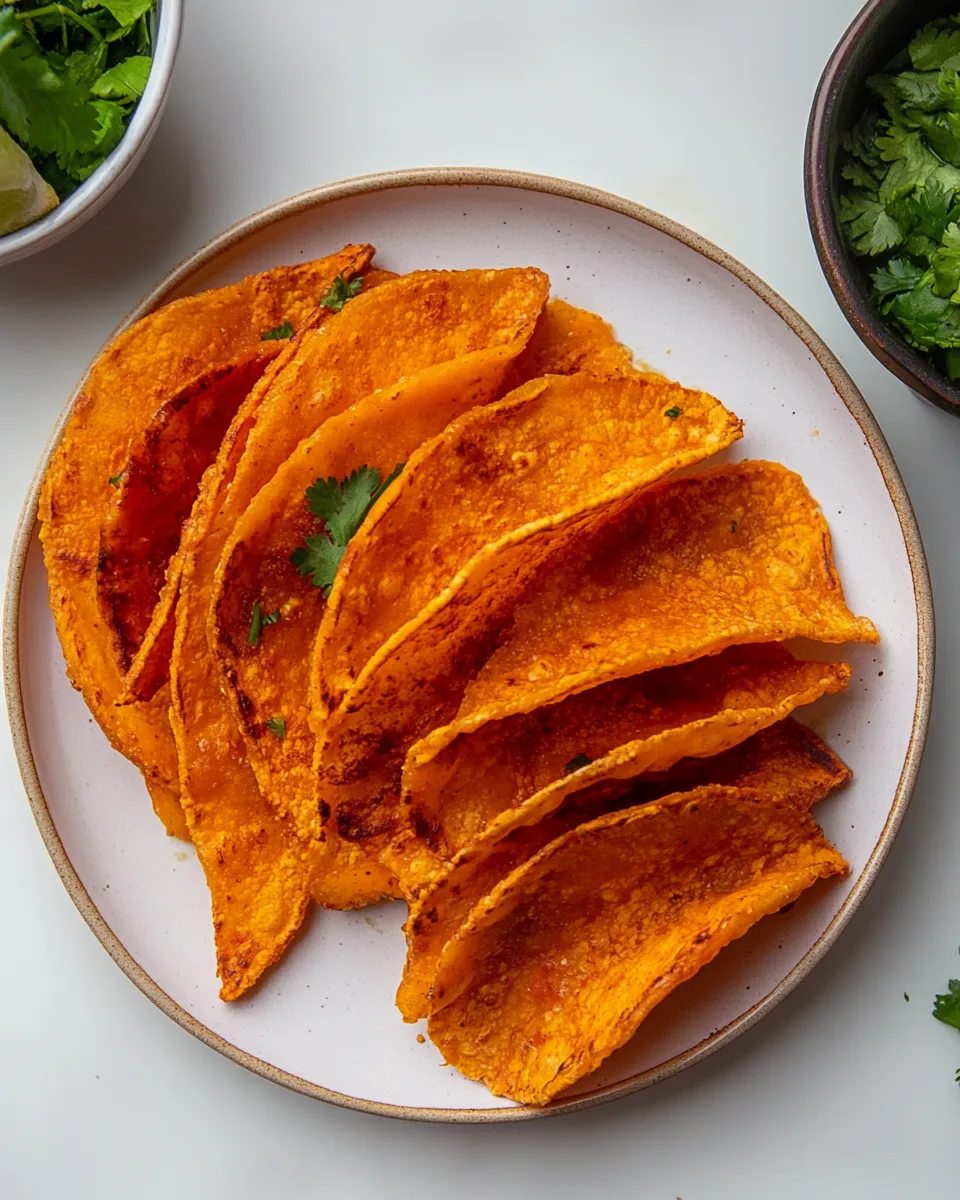
Cheese Taco Shells
Welcome to a simple, crunchy, and utterly addictive spin on taco night: Cheese Taco Shells. If you love the crisp bite of a taco but want to skip store-bought shells, these are for you. They’re made primarily from 2 cups sharp shredded cheddar cheese and a few pantry-friendly add-ins. The result is a golden, lacy shell that holds fillings beautifully—meaty or plant-based—while adding a chewy, savory edge.
This recipe is written with clear, practical instructions so you can make these shells confidently and consistently. The ingredient list below is the single source of truth for quantities and names. I’ve rewritten the directions into precise, step-by-step guidance to avoid any confusion and to help you get restaurant-worthy results at home.
Why you’ll love these Cheese Taco Shells

- Quick: Ready in about 15 minutes from start to finish.
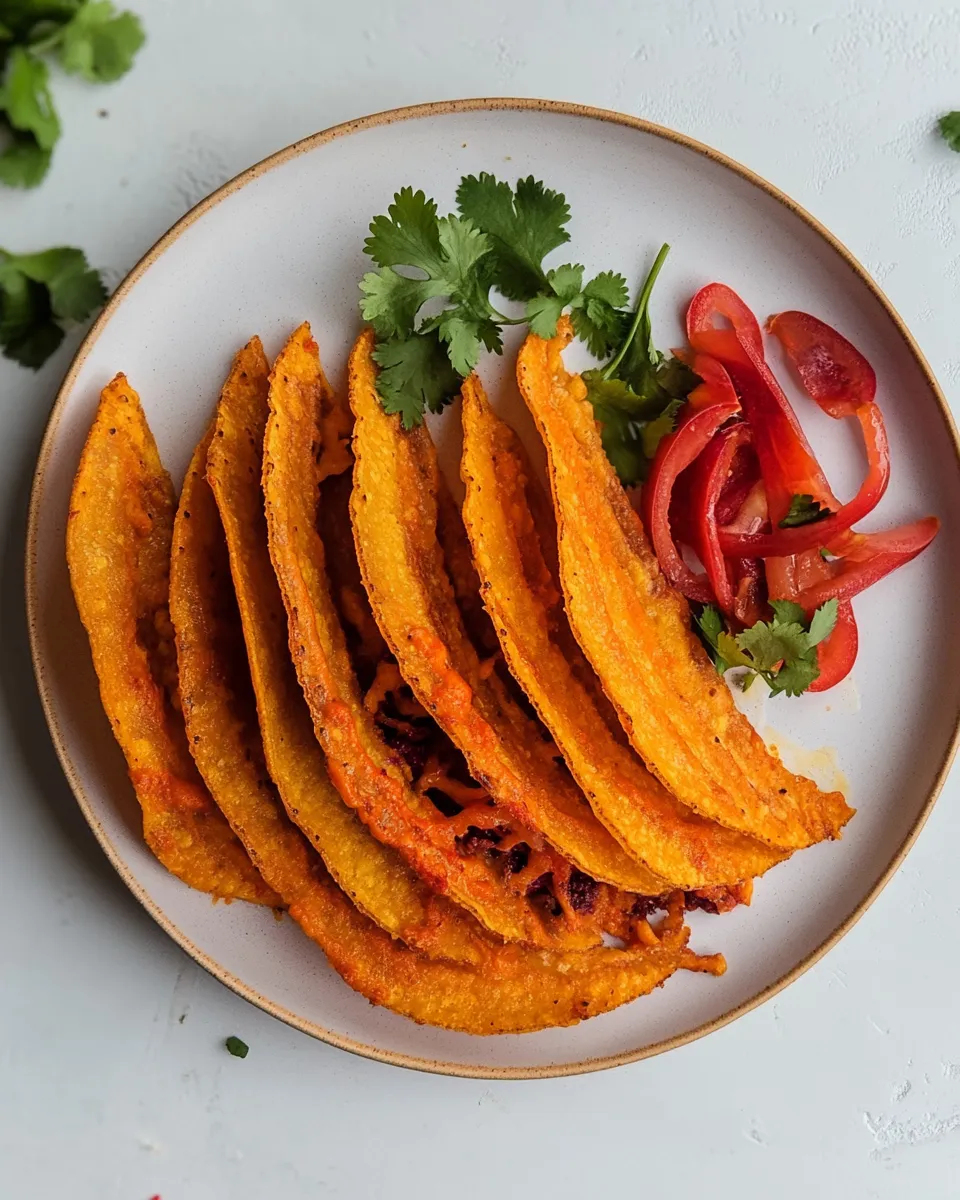
- Satisfying texture: Crispy edges and a slightly chewy center with that deep cheddar flavor.
- Versatile: Fill with seasoned protein, roasted vegetables, or a fresh slaw.
- Minimal ingredients: Two cups of sharp shredded cheddar cheese carry the dish.
Ingredients
- 2 cups sharp shredded cheddar cheese
- 1/2 teaspoon smoked paprika
- 1/4 teaspoon ground cumin
- 1/8 teaspoon garlic powder
- A pinch of salt (adjust to taste; cheddar can be salty)
- Nonstick spray or a small amount of neutral oil for greasing the baking sheet
Equipment
- Baking sheet
- Parchment paper or a silicone baking mat
- Spatula
- Heatproof bowl or small towel draped over an upside-down bowl (for shaping)
- Oven and cooling rack
Notes on ingredients and flavor
Two cups of sharp shredded cheddar cheese provide the foundation here. The cheddar melts, bubbles, and crisps into a shell that keeps its structure when filled. I like smoked paprika and ground cumin for a warm, slightly smoky background that complements most taco fillings. Garlic powder gives a subtle savory boost. Taste the cheese first before adding extra salt—sharp cheddar can carry a fair amount of sodium already.
Step-by-step instructions
The following instructions are rewritten for clarity and to match the ingredient list exactly. They preserve the order of tasks but translate them into crisp, actionable steps so you can produce picture-perfect cheese shells every time.
- Preheat your oven to 375°F (190°C). Position a rack in the center of the oven so the shells bake evenly.
- Line a baking sheet with parchment paper or a silicone mat. Lightly coat the surface with nonstick spray or rub a thin layer of neutral oil so the cheese releases easily after baking.
- In a small bowl, combine the smoked paprika, ground cumin, garlic powder, and a pinch of salt. Stir to blend the spices into an even mixture.
- Place 2 cups sharp shredded cheddar cheese in a medium mixing bowl. Sprinkle the spice blend over the shredded cheddar and toss gently with your hands or a spoon until the spices are evenly distributed through the cheese.
- Measure out 1/3-cup portions of the seasoned cheddar. For each shell, mound one 1/3-cup portion in a flat, thin circle on the prepared baking sheet. Space the mounds at least 3 inches apart to allow spreading. Use your fingers or the back of a spoon to gently flatten each mound into a 4- to 5-inch-wide circle about 1/8 inch thick. The thinner you make them, the crispier they’ll be.
- Place the baking sheet in the preheated oven. Bake for 6 to 8 minutes, watching closely toward the end of baking. The cheese should melt fully, bubble, and turn a deep golden color with slightly darker lacy edges. Avoid overbaking—if they turn too dark, the shells will taste burnt.
- As soon as the edges are golden and the centers look set, remove the baking sheet from the oven. Let the cheese sit for 20 to 30 seconds so it stabilizes just enough to move without tearing.
- Working quickly, use a thin spatula to lift one cheese round. Transfer it immediately over the curved side of an upside-down heatproof bowl, or drape it over a wooden spoon handle, to shape it into a taco shell. Gently press it to form the taco curve, but be careful—the melted cheese will be hot and soft. Repeat with remaining rounds, shaping them as soon as you lift them.
- Let the shells cool completely in their shaped form for 3 to 5 minutes so they crisp up and hold their curve. Once cooled, they will retain their taco shape and be ready to fill.
- Fill the shells with your desired ingredients—seasoned cooked protein, sautéed vegetables, shredded lettuce, pico de gallo, or a dollop of yogurt-based sauce. Serve immediately so the shells stay crisp.
Assembly and serving suggestions
These cheese shells are sturdy and flavorful. Try one of these combinations for instant success:
- Chicken shawarma-style filling with crisp cucumber ribbons, sliced tomatoes, and a lemon-yogurt drizzle.
- Spiced ground beef or lamb with diced onion, chopped cilantro, and a squeeze of lime.
- Black beans and roasted peppers with avocado slices, pickled red onion, and cotija-style crumbled cheese.
- Warm roasted cauliflower, tahini sauce, and crunchy slaw for a plant-forward option.
Make-ahead tips and storage
These shells are best enjoyed the day you make them, when they’re at their peak crispness. If you need to prepare ahead:
- Make the shells, cool them completely, and store them in an airtight container layered with parchment. Store at room temperature for up to 24 hours. They may soften slightly over time.
- To refresh slightly softened shells, re-crisp them in a 350°F (175°C) oven for 3 to 4 minutes. Watch closely so they don’t overbrown.
Common issues and fixes
- If shells spread too much while baking: Make sure you flatten the cheese to an even, thin circle and leave adequate space between rounds. A slightly cooler oven or a shorter bake time can help too.
- If shells are oily after baking: Use a sharp cheddar with moderate fat content; very oily cheese can create excess grease. Blot gently with a paper towel if needed.
- If shells crack when shaping: Shape them while the cheese is still soft and pliable—too cool and they’ll snap. If they’re too soft, wait an extra 10–15 seconds before lifting.
Nutrition notes
These Cheese Taco Shells are rich in flavor and fat from the cheddar, and they add protein as well. Exact nutrition will vary based on the cheddar brand and any fillings you add. Because these shells are made entirely from cheese and seasonings, consider pairing them with fresh vegetables or a light yogurt-based sauce for balance.
Why this method works
Melted cheese forms a flexible, lacy sheet when spread thin and baked just until golden. Cooling it over a curved surface sets the shape. The spice blend is small but intentional—smoked paprika and cumin build a warm backbone that complements fillings without overwhelming the cheddar’s bright, tangy notes. Using 2 cups sharp shredded cheddar cheese ensures enough volume to craft multiple shells while keeping the flavor bold.
Quick FAQ
How many shells does this make? With 2 cups sharp shredded cheddar cheese and 1/3-cup portions, plan on making about 6 shells, depending on how thin you spread each one.
Can I use other cheeses? Yes. For a different flavor profile, try a medium or mild cheddar, Monterey Jack, or a melty cheese blend. Keep in mind that texture and saltiness will change; this recipe is designed around the melting properties of cheddar.
Can I bake larger or smaller shells? Yes—adjust the portion size and baking time slightly. Larger shells may need an extra minute or two; smaller shells will bake faster. Always watch for deep golden color and lacy edges as your cue to remove from oven.
Closing thoughts
These Cheese Taco Shells are a fast, fun way to elevate taco night. They bring bright cheddar flavor, satisfying crunch, and a homemade touch that feels special without being fussy. Follow the steps above, keep an eye on the oven, and you’ll have beautiful shells to fill with your favorite ingredients in under 20 minutes. Happy cooking—and enjoy the crackle and chew of homemade cheese shells.

Cheese Taco Shells
Ingredients
- 2 cups sharp shredded cheddar cheese
Instructions
- Preheat the oven to 400°F (200°C). Line a baking sheet with parchment paper.
- Using a 1/4-cup measure, scoop portions of shredded cheddar onto the prepared sheet. Flatten each mound into a roughly 5-inch (12 cm) circle, leaving space between them (about 3 per sheet).
- Bake for 6–8 minutes, until the edges are browned and the cheese is crispy while the center is slightly soft.
- Remove from the oven and let cool on the sheet 2–3 minutes until just cool enough to handle.
- Carefully lift each cheese round with a spatula and drape it over a wooden spoon handle, narrow rolling pin, or similar cylindrical object to form a taco shell. Hold until it begins to set.
- Allow shells to cool completely so they harden, then fill as desired.
Equipment
- Baking Sheet
- Parchment Paper
- Measuring cup
- Spatula
- wooden spoon or narrow rolling pin
Notes
- Work in batches to avoid overcrowding the baking sheet.
- Use pre-shredded or freshly shredded cheddar for best melting.
- Let shells cool fully to achieve maximum crispness.
- If shells stick, peel parchment away carefully while warm.