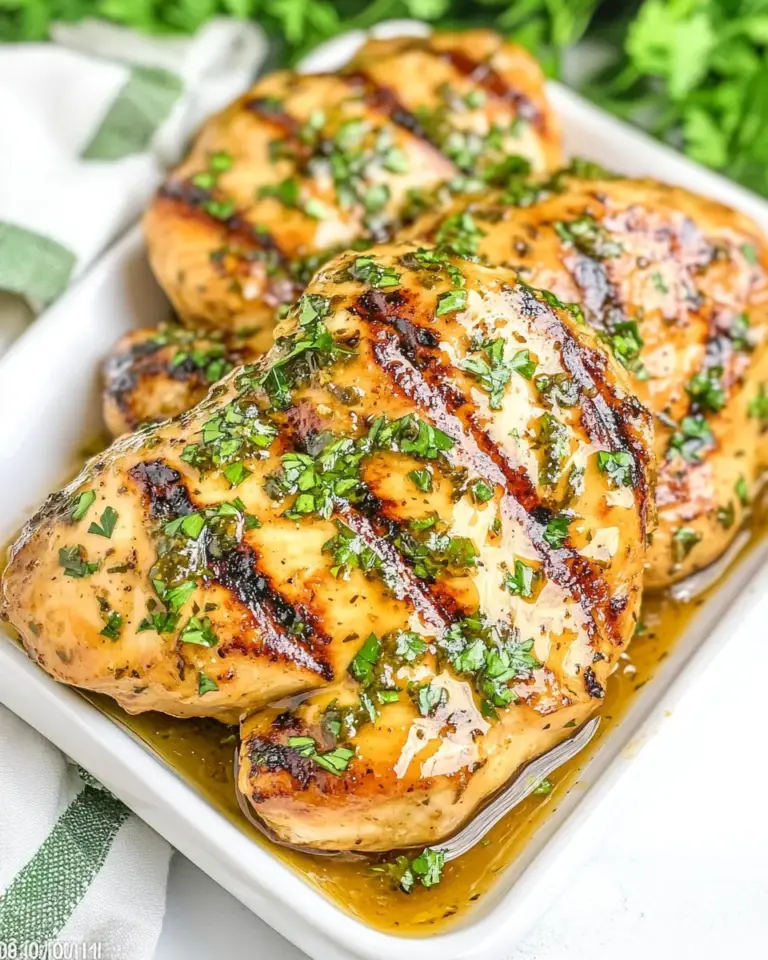
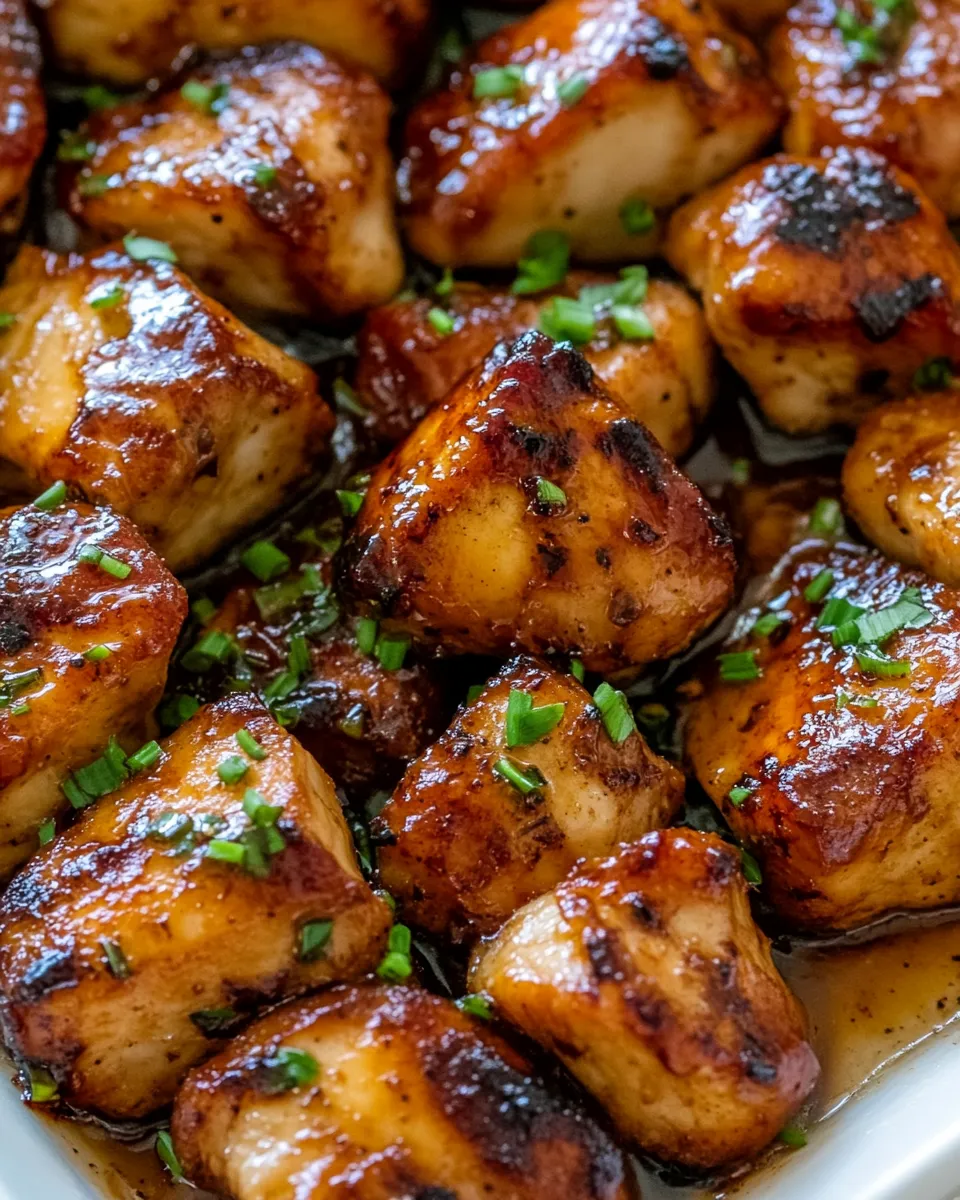
Brown Sugar Garlic Chicken
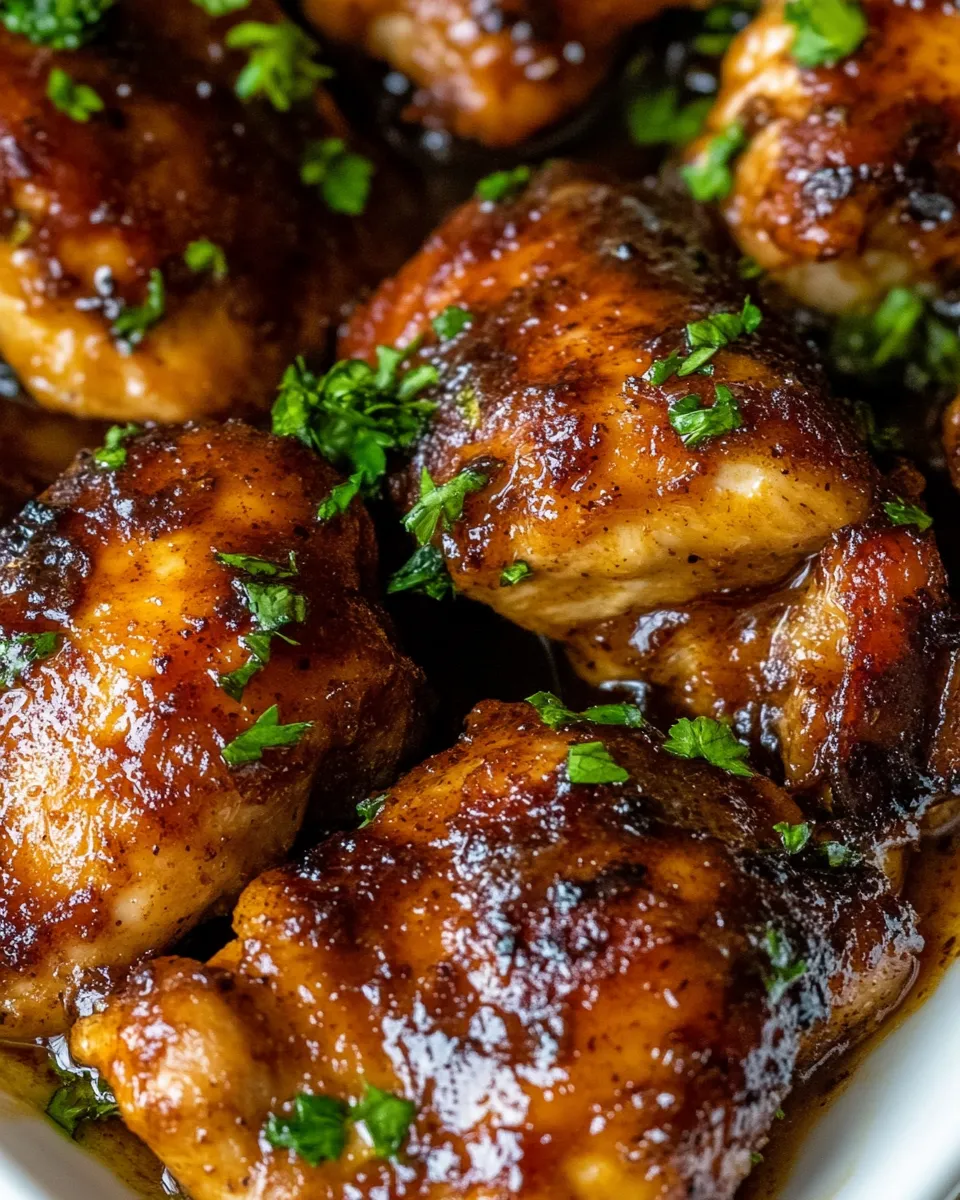
This Brown Sugar Garlic Chicken is the kind of weeknight supper that feels like a celebration: sticky-sweet coating, an assertive hit of garlic, and a little sriracha kick that keeps every forkful interesting. It’s made with boneless, skinless chicken thighs which stay juicy and forgiving in the pan, and the sauce develops a glossy glaze you’ll want on everything—from rice to steamed greens. The recipe keeps things straightforward, uses a short ingredient list, and yields a flavorful main that’s both comforting and dinner-party worthy.
Before we dive into the method, a quick note about texture and timing: using boneless, skinless chicken thighs gives you meat that tolerates higher heat without drying out. The brown sugar is the backbone of this sauce, caramelizing slightly to form the glaze, while the garlic provides savory depth. A splash of chicken broth thins the sauce so it simmers and reduces rather than burning, and soy sauce brings the salty, umami balance. If you prefer it milder, scale back the sriracha, or add a splash more chicken broth to loosen the sauce.
Ingredients

- 3 pounds chicken thighs (boneless and skinless)
- ½ cup brown sugar
- 8 cloves garlic (minced)
- 2 tablespoons sriracha sauce
- ¼ cup soy sauce
- ¼ cup chicken broth
- ½ teaspoon pepper (or to taste)
What you’ll need
- Large nonstick skillet or ovenproof skillet
- Tongs or spatula
- Measuring cups and spoons
- Cutting board and chef’s knife
- Small bowl for sauce mix
Prep and flavor tips
Trim any excess fat from the chicken thighs if you prefer a leaner bite, but keep the majority of the meat intact—this is what delivers juicy results. Mince the garlic finely; the more finely minced, the more evenly it distributes through the sauce and the less likely it will crisp or burn in the pan. If you want a slightly cleaner glaze, stir the brown sugar into the wet ingredients until smooth before adding it to the skillet.
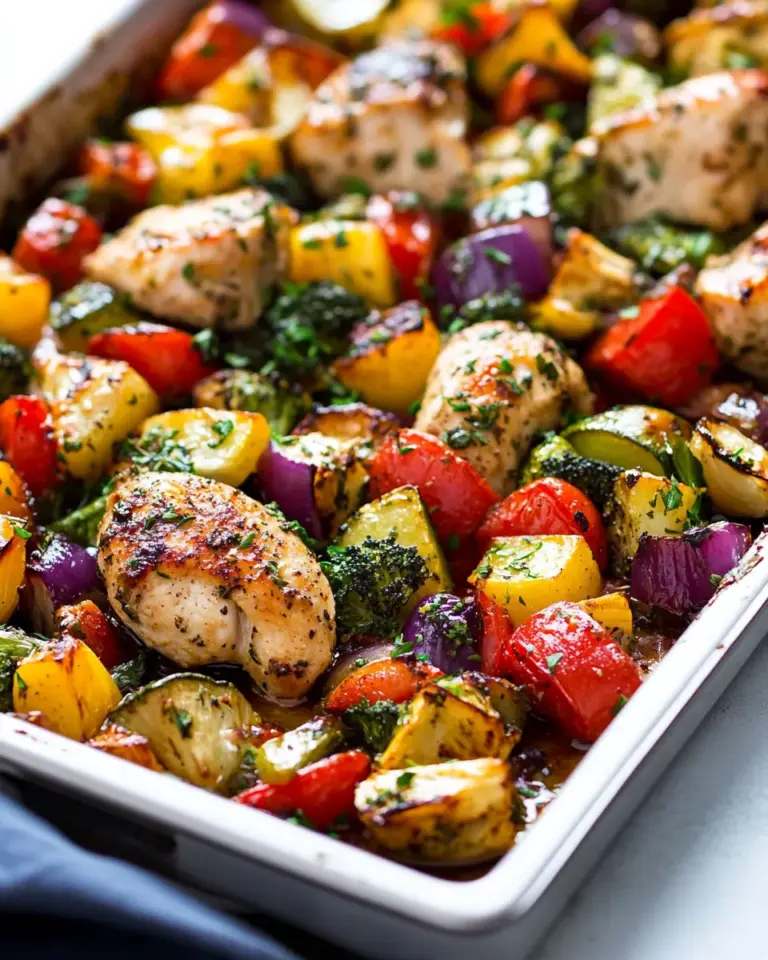
Want extra vegetables? Snap peas, sliced bell peppers, or baby bok choy make great additions. Add them toward the end of cooking so they remain bright and crisp-tender. Serve the chicken over steamed white rice, jasmine rice, or a bed of cauliflower rice for a lighter option. Garnish with thinly sliced scallions or toasted sesame seeds if you’d like.
Rewritten step-by-step directions
- Pat the 3 pounds of chicken thighs dry with paper towels and season both sides lightly with the ½ teaspoon pepper. Let the chicken sit for 5 minutes while you prepare the sauce.
- In a small bowl, combine ½ cup brown sugar, 8 cloves garlic (minced), 2 tablespoons sriracha sauce, ¼ cup soy sauce, and ¼ cup chicken broth. Stir until the brown sugar is mostly dissolved and the mixture is well combined.
- Heat a large nonstick or ovenproof skillet over medium-high heat. Once hot, add a thin coating of neutral oil (about 1 tablespoon) to the pan to prevent sticking.
- Add the seasoned chicken thighs to the skillet in a single layer, giving each piece room. Cook without moving them for 4 minutes to develop color on the first side.
- Flip the chicken thighs using tongs or a spatula and cook the second side for another 3 to 4 minutes, until they are nicely browned but not fully cooked through.
- Pour the prepared sauce evenly over the browned chicken thighs. Reduce the heat to medium-low so the sauce simmers gently and does not burn.
- Allow the sauce to simmer with the chicken, spooning the sauce over the pieces occasionally. Continue to cook for 8 to 12 minutes, turning the chicken once or twice, until the internal temperature reaches 165°F (74°C) and the sauce has thickened to a glossy glaze.
- If the sauce thickens too quickly or starts to stick, add a splash of the reserved chicken broth and stir to loosen it, then continue cooking until the chicken is fully cooked and the sauce clings to the meat.
- Taste the sauce and adjust seasoning with extra pepper or a touch more soy sauce if needed. Remove the skillet from the heat.
- Transfer the chicken to a serving platter and spoon the remaining glaze over the top. Allow the dish to rest for 3 minutes so the juices redistribute before serving.
Make-ahead and storage
You can make this Brown Sugar Garlic Chicken up to two days ahead. Cool completely and refrigerate in an airtight container. Reheat gently in a skillet over low heat with a splash of chicken broth to restore the glaze’s shine, or reheat in a 325°F oven until warmed through. Leftovers keep well for 3 to 4 days in the refrigerator.
Variations and swaps
- Less spicy: Reduce the sriracha to 1 tablespoon or omit entirely and replace with 1 tablespoon sweet chili sauce for a milder, sweeter flavor.
- More savory: Add 1 teaspoon toasted sesame oil to the sauce mixture for a deeper, nutty note just before serving.
- Glazed on the grill: Brown the thighs in the skillet for color, then finish on a medium-hot grill, brushing with the sauce during the last 5 minutes of grilling so it caramelizes without burning.
- Vegetable boost: Stir-fry sliced bell peppers or snap peas separately and toss with the finished chicken for added texture and color.
Serving suggestions
Plate this Brown Sugar Garlic Chicken on a mound of steamed rice to catch every drop of the glossy sauce. It also pairs beautifully with simple sides: roasted broccoli, garlic green beans, or a crisp salad to cut through the richness. For a more casual dinner, tuck pieces into warm flatbreads with a smear of yogurt or a drizzle of extra sauce.
Why this method works
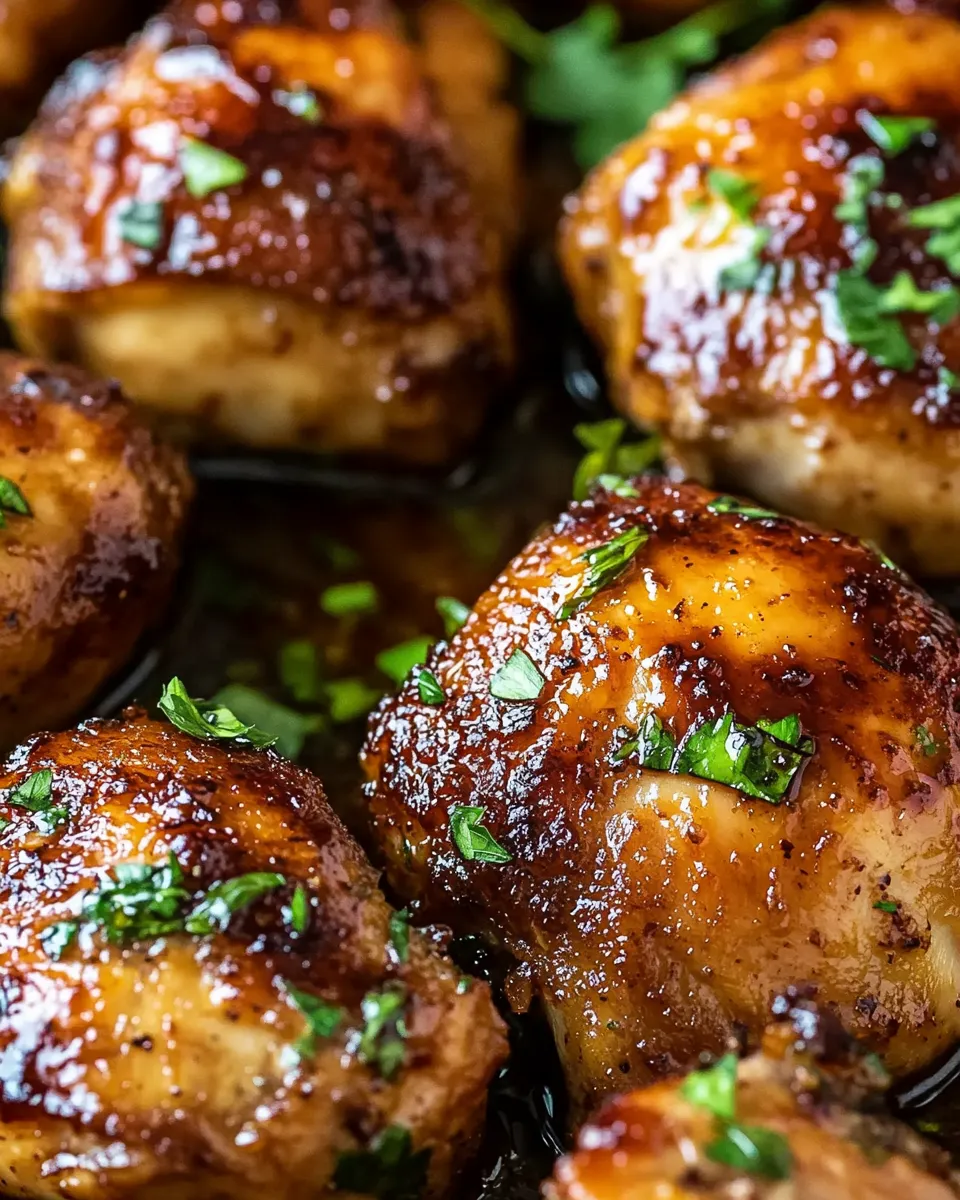
Using boneless, skinless chicken thighs gives forgiving, tender results because thighs contain slightly more fat and connective tissue than breasts; that extra fat renders while cooking and keeps the meat moist. Browning the chicken first builds flavor through the Maillard reaction, and then finishing it in a reduced sugar-sauce ensures the brown sugar melts into a sticky, flavorful glaze instead of forming gritty sugar crystals. The chicken broth in the sauce prevents scorching and lengthens the time the sauce can reduce without burning, producing a shiny coating that clings to the meat.
Quick checklist before you start
- Chicken trimmed and patted dry
- Garlic minced and measured
- Sauce mixed and ready to pour
- Skillet preheated to medium-high
- Tongs or spatula ready for turning
Final notes
This Brown Sugar Garlic Chicken takes a handful of pantry-friendly ingredients and turns them into a sticky, savory-sweet centerpiece for dinner. The method is flexible, forgiving, and rewarding: a little browning, a gentle simmer, and a confident finish yield a dish that’s both cozy enough for weeknights and impressive enough for guests. Keep the sauce balanced to your taste, and don’t be afraid to tweak the sriracha for more or less heat. Serve it hot, finish with a few garnishes if desired, and enjoy every glossy bite.
Brown Sugar Garlic Chicken
Ingredients
- 3 pounds chicken thighs boneless and skinless
- 1/2 cup brown sugar
- 8 cloves garlic minced
- 2 tablespoons Sriracha sauce
- 1/4 cup soy sauce
- 1/4 cup chicken broth
- 1/2 teaspoon black pepper or to taste
Instructions
- Preheat the oven to 425°F (218°C). Pat the 3 pounds of boneless, skinless chicken thighs dry with paper towels and set aside.
- Make the sauce: combine 1/2 cup brown sugar, 8 cloves minced garlic, 2 tablespoons Sriracha, 1/4 cup soy sauce, 1/4 cup chicken broth, and 1/2 teaspoon black pepper in a saucepan over medium heat.
- Whisk the sauce over medium heat until the brown sugar dissolves and the mixture is smooth, about 2–3 minutes; remove from heat.
- Pour about half of the sauce into a 9×13-inch casserole dish and spread to coat the bottom. Arrange the chicken thighs in a single layer in the dish.
- Pour the remaining sauce evenly over the chicken thighs.
- Bake uncovered in the preheated oven for 35–40 minutes, basting the chicken with the pan sauce every 10 minutes, until the chicken reaches an internal temperature of 165°F (74°C).
- Remove from the oven and let rest a few minutes before serving; garnish with chopped parsley or cilantro if desired.
Equipment
- 9x13 Inch Casserole Dish
- Saucepan
- Whisk
- tongs or spoon for basting
Notes
- Store leftovers in an airtight container in the refrigerator for 3 to 5 days.
- Freeze in airtight containers for up to 3 months.
- Thaw frozen portions overnight in the refrigerator before reheating.