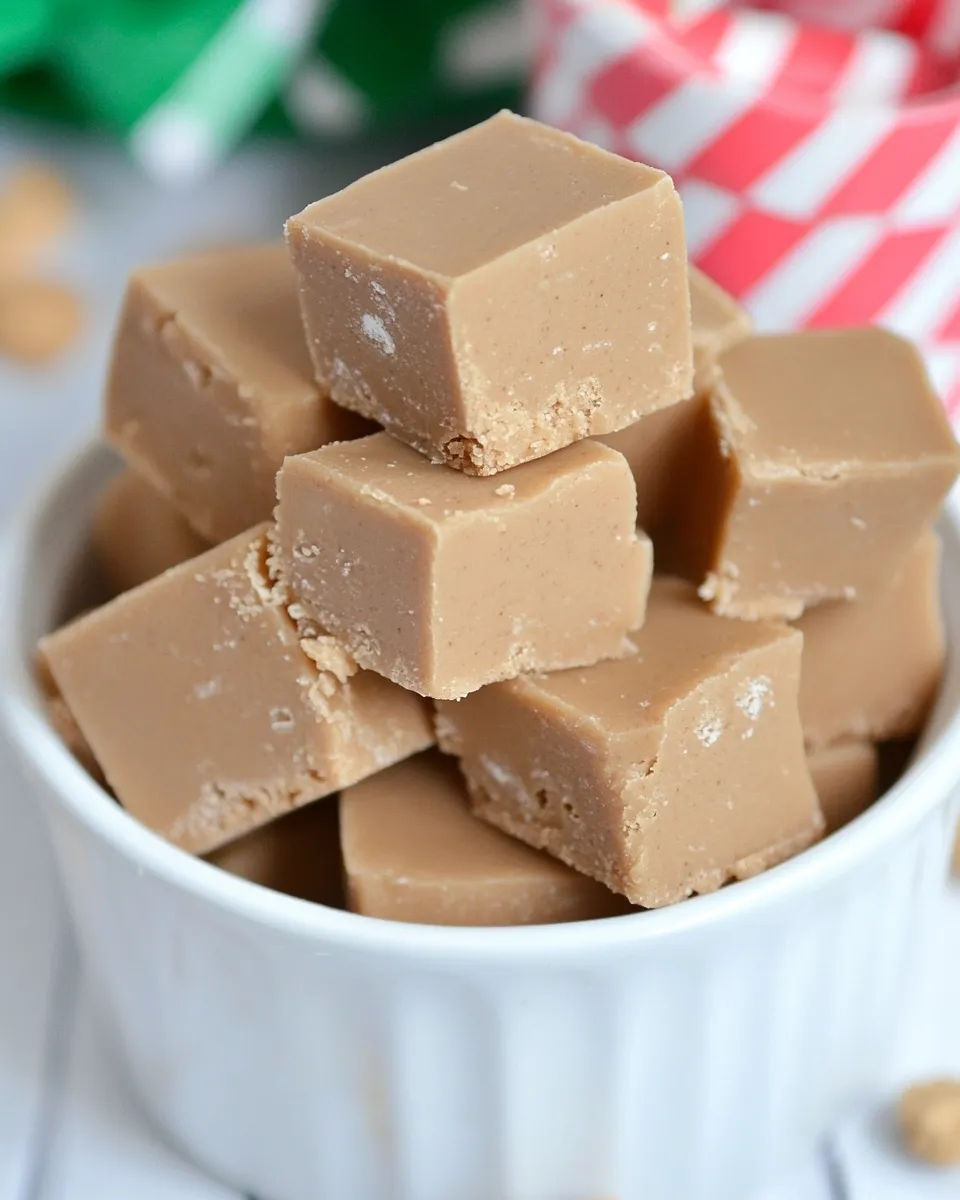
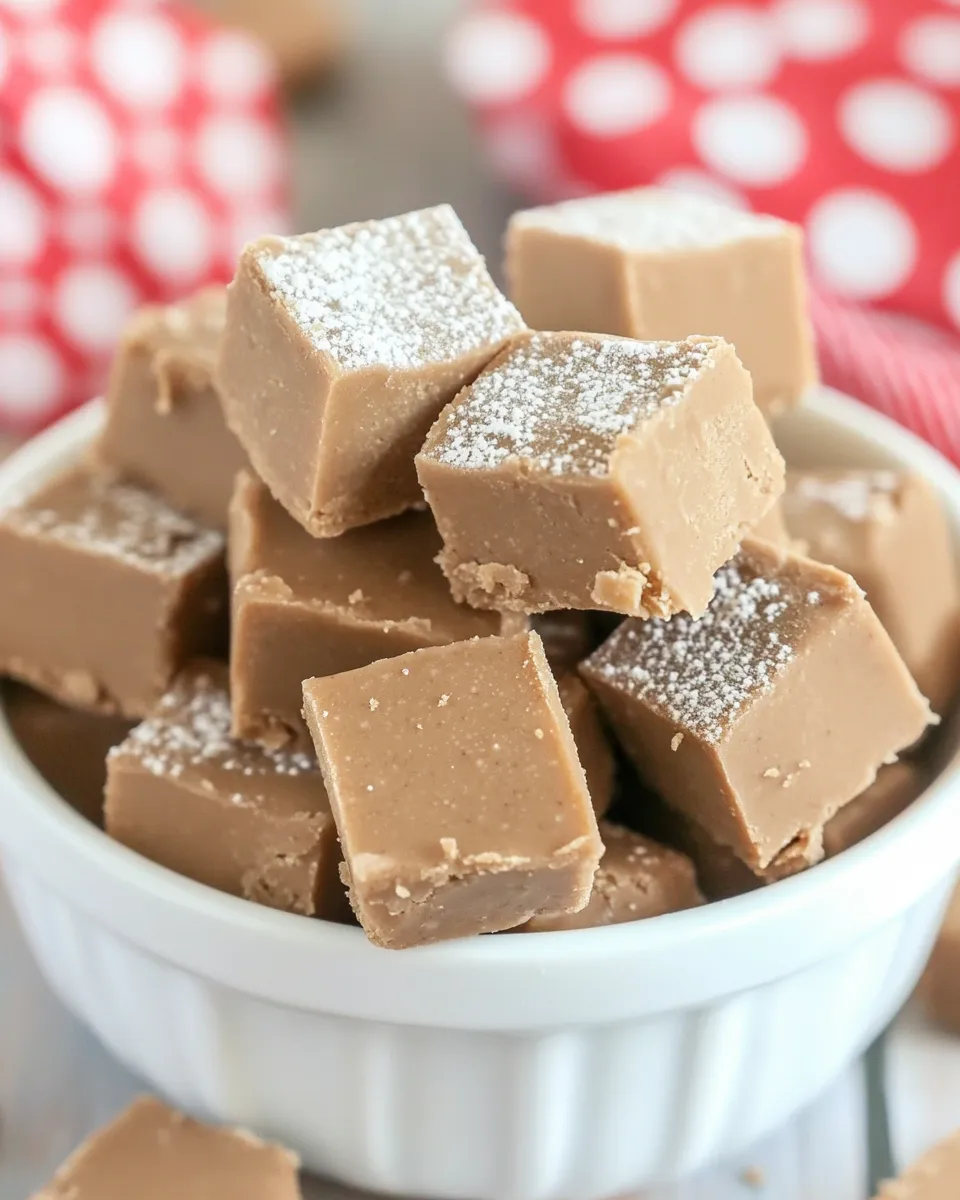
Biscoff Fudge
I love recipes that feel indulgent and yet require almost no finesse. This Biscoff fudge is exactly that: rich, sweet, and wonderfully forgiving. It leans on two pantry staples — a large container of Pillsbury vanilla frosting and Biscoff spread — and turns them into a no-bake treat you can make in minutes and share in hours.
There’s comfort in recipes that consistently work. You don’t need tempering, candy thermometers, or specialty equipment. The method is straightforward: melt, combine, set. The flavor is unmistakable — the caramelized warmth of Biscoff paired with classic vanilla frosting creates a dense, sliceable fudge that’s perfect for holidays, bake sales, or an everyday sweet craving.
This post walks you through the exact ingredients and the precise, step-by-step method. I’ll also cover sensible swaps, storage tips, common slip-ups, and quick troubleshooting so your batch turns out beautifully the first time.
Ingredients at a Glance

- 11lb container Pillsbury vanilla frosting — the base and binder; provides sweetness, texture, and stability.
- 2 3/4c.Biscoff Spread — the signature flavor; adds spice, caramel notes, and a fudgy richness.
Biscoff Fudge Made Stepwise
- Line a baking dish (or multiple 8×8-inch glass baking dishes) with heavy-duty foil, leaving an overhang on the sides so you can lift the fudge out later. Choose dish(es) large enough to hold the entire mixture from the 11 lb container Pillsbury vanilla frosting and 2 3/4 cups Biscoff Spread.
- Place the 11 lb container Pillsbury vanilla frosting and 2 3/4 cups Biscoff Spread into a very large microwave-safe bowl. If they will not fit in one bowl, work in batches (see step 3).
- Microwave on High in 30–60 second intervals, removing and stirring thoroughly after each interval, until the frosting and Biscoff are fully melted and the mixture is smooth and uniform. If working in batches, microwave and stir each batch until melted.
- If you used batches, combine all melted batches into one large bowl and stir until the texture and color are uniform.
- Immediately pour the combined mixture into the foil-lined baking dish(es) and spread evenly with a spatula.
- Refrigerate until firm (about 1–2 hours or until set).
- Use the foil overhang to lift the fudge from the dish, remove the foil, and cut into pieces.
Why You’ll Love This Recipe
It’s fast. From pantry to set fudge in under two hours total, most of that time is hands-off chilling. You can scale it by spreading the mixture across multiple 8×8 pans or one large sheet pan lined with foil.
It’s consistent. You won’t worry about sugar crystals, burning, or tempering chocolate. The ingredients are stable and predictable; follow the melting and stirring steps and you’ll get a smooth texture every time.
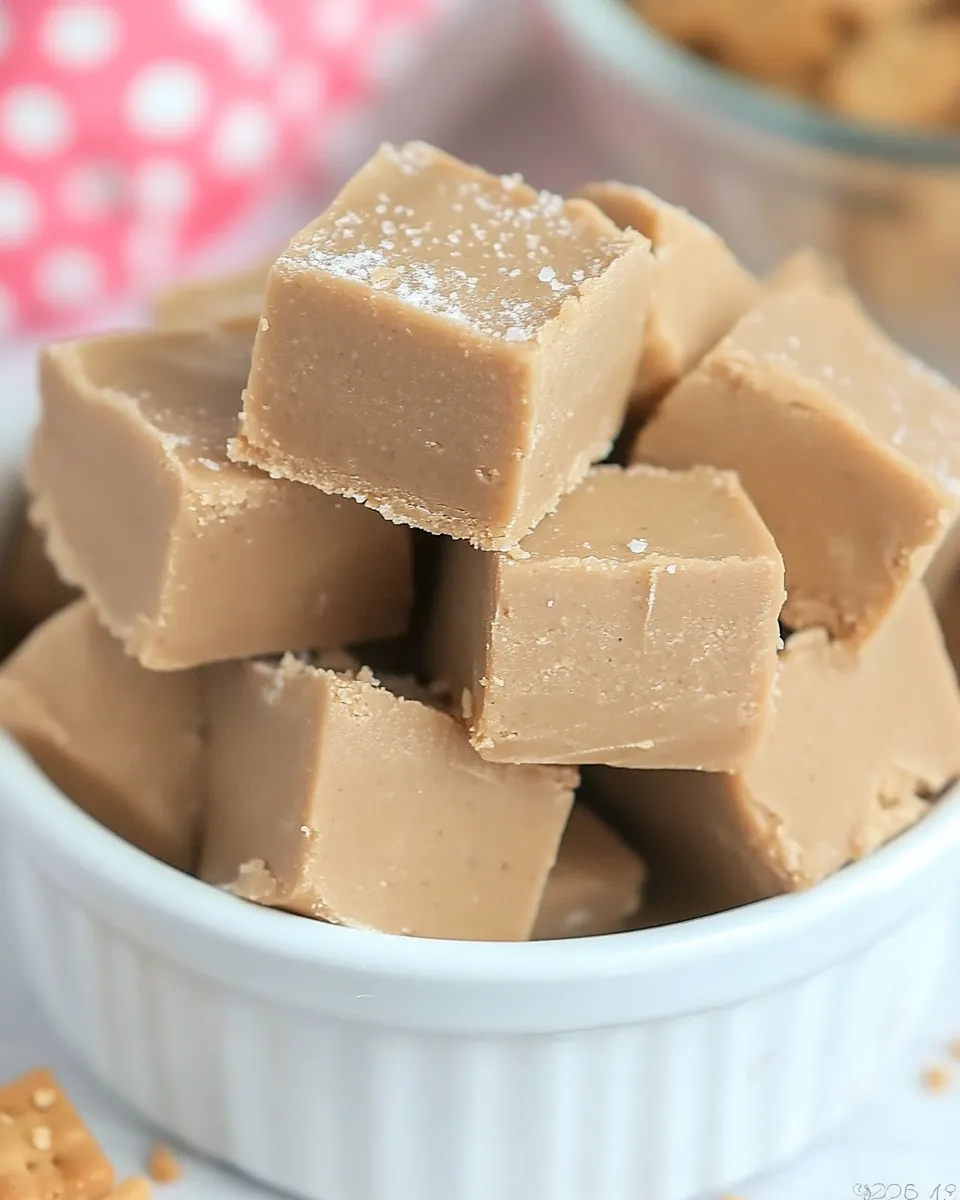
It’s versatile. The flavor profile pairs well with a dusting of sea salt, a drizzle of melted chocolate, or chopped nuts on top. It serves as a simple gift, a party contribution, or a convenient treat to slice and stash in the freezer.
Ingredient Swaps & Substitutions
Because this recipe relies on two specific items, substitutions change the result. Still, here are practical options if you’re adapting:
- Vanilla frosting alternative — you can use another brand of ready-to-spread vanilla frosting if Pillsbury isn’t available. The flavor and sweetness will be similar. Avoid frostings with strong flavor additions (like cream cheese) unless you want that twist.
- Biscoff alternative — any speculoos or cookie-butter style spread will give a similar spice-caramel profile. The texture and sweetness may vary slightly by brand.
- Scaling — this recipe uses a very large container of frosting. If you only want a smaller batch, halve quantities and use a smaller dish, but note the original proportions are already optimized for the 11 lb container and 2 3/4 cups of Biscoff.
Essential Tools for Success
- Very large microwave-safe bowl — you need something roomy to melt both components without overflowing while stirring.
- Spatula — a flexible silicone spatula lets you scrape the sides and spread the mixture smoothly into the pan.
- Heavy-duty foil — lining the pan with foil with an overhang makes removing the set fudge easy and clean.
- 8×8-inch glass baking dish(es) — the instructions reference these; use multiple if one isn’t large enough to hold the full batch.
- Microwave — the method depends on microwaving in intervals; if you don’t have a microwave, use a double boiler and low heat, stirring until smooth.
Slip-Ups to Skip
A few common mistakes can make this process messier or change texture. Avoid them.
- Overheating — microwave in short intervals and stir well. Too much heat can alter texture or cause separation. Stirring helps distribute heat and prevents hotspots.
- Using a bowl that’s too small — if the container is cramped, you’ll spill or struggle to stir. Work in batches instead of forcing everything into one small bowl.
- Rushing the set — don’t try to speed up firming by freezing unless you keep an eye on it. Rapid cooling can sometimes change texture or cause condensation when thawed.
- Skipping the foil overhang — without an overhang, lifting the fudge cleanly is harder and cutting can be messier.
Year-Round Variations
Change small finishing touches depending on the season or occasion. Here are ideas that keep the base recipe intact.
- Holiday crunch — top the unset surface with chopped toasted pecans or crushed speculoos cookies, press lightly, then chill.
- Chocolate stripe — drizzle melted dark chocolate across the top after the fudge is firm, chill again until set, then slice.
- Sea-salt finish — sprinkle flaky sea salt lightly over the surface right after pouring and smoothing; it balances the sweetness.
- Gift-ready bites — cut into small squares and wrap in wax paper for neighbor or office gifts. Keep chilled until handing out.
If You’re Curious
Why does this work so well? The vanilla frosting is full of sugar and stabilizers that set when cooled; the Biscoff spread adds fats and flavor that meld with the frosting as both are warmed and then cooled. You get a fudge-like texture without cooking sugar to a specific stage because the structure comes from the frosting’s formulation.
Will it behave like chocolate fudge? Not exactly. The mouthfeel is slightly different — denser and more uniformly soft — but it slices cleanly when fully chilled and has the comfort-food sweetness most people expect from fudge.
Keep It Fresh: Storage Guide
Store cut pieces in an airtight container in the refrigerator. The fudge keeps well for up to two weeks chilled. For longer storage, freeze wrapped pieces in a single layer for up to three months. Thaw in the refrigerator to avoid condensation forming on the surface.
Tips for stacking: separate layers in your container with parchment or wax paper so pieces don’t stick together. Bring to near-room temperature briefly before serving if you want a softer bite, but don’t leave them out for extended periods, especially in warm weather.
Troubleshooting Q&A

- Q: My mixture looks grainy after melting. Is it ruined?
A: Stir thoroughly. Graininess often comes from uneven melting. If you used batches, combine and stir until uniform. If it remains grainy, gentle reheating in short intervals with stirring can help smooth it. - Q: The fudge won’t set; it’s still soft after a couple of hours in the fridge.
A: Ensure your pan is shallow enough for the mixture to chill through. Very deep pans increase set time. Also confirm your refrigerator is set to a cooling temperature and that the foil lift makes it easy to transfer to a flat surface for checking firmness. - Q: It’s too sweet. Any fix?
A: This recipe is inherently sweet because of its two main ingredients. For future batches, consider serving smaller portions or pairing with unsweetened coffee or dark chocolate to offset sweetness. - Q: Can I cut decorative shapes?
A: Yes. Chill until fully firm, then use a sharp knife or cookie cutters for shapes. For tidy edges, warm the knife slightly and wipe it between cuts.
Save & Share
If this Biscoff fudge becomes a keeper (and it often does), save the method and note any tweaks you make. Tag photos with simple notes about your finishing touches — a sprinkle of sea salt, a chocolate drizzle, or chopped nuts — so you remember what worked best.
Share slices with friends and family. It’s an easy recipe to double or split across pans, perfect for potlucks or gifting. And if someone asks for the simple version: melt, mix, pour, chill, lift, cut — repeat as needed.
Biscoff Fudge
Ingredients
Ingredients
- 11 lb container Pillsbury vanilla frosting
- 2 3/4 c.Biscoff Spread
Instructions
Instructions
- Line a baking dish (or multiple 8×8-inch glass baking dishes) with heavy-duty foil, leaving an overhang on the sides so you can lift the fudge out later. Choose dish(es) large enough to hold the entire mixture from the 11 lb container Pillsbury vanilla frosting and 2 3/4 cups Biscoff Spread.
- Place the 11 lb container Pillsbury vanilla frosting and 2 3/4 cups Biscoff Spread into a very large microwave-safe bowl. If they will not fit in one bowl, work in batches (see step 3).
- Microwave on High in 30–60 second intervals, removing and stirring thoroughly after each interval, until the frosting and Biscoff are fully melted and the mixture is smooth and uniform. If working in batches, microwave and stir each batch until melted.
- If you used batches, combine all melted batches into one large bowl and stir until the texture and color are uniform.
- Immediately pour the combined mixture into the foil-lined baking dish(es) and spread evenly with a spatula.
- Refrigerate until firm (about 1–2 hours or until set).
- Use the foil overhang to lift the fudge from the dish, remove the foil, and cut into pieces.
Equipment
- Microwave
- very large microwave-safe bowl
- Spatula
- heavy-duty foil
- 8x8-inch Baking Dish