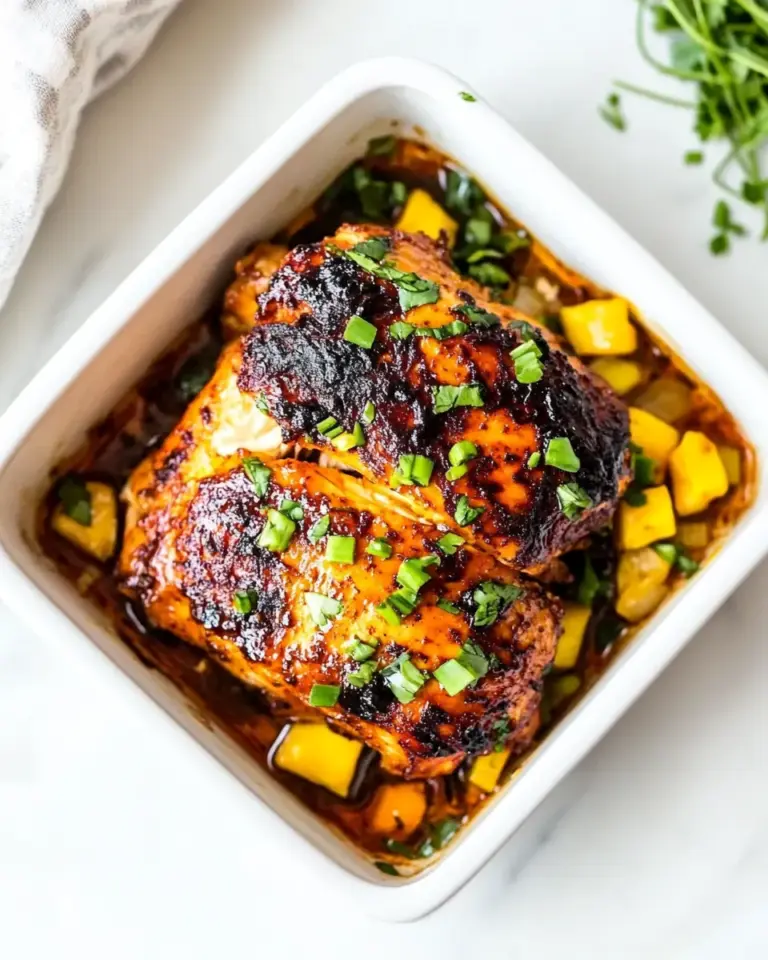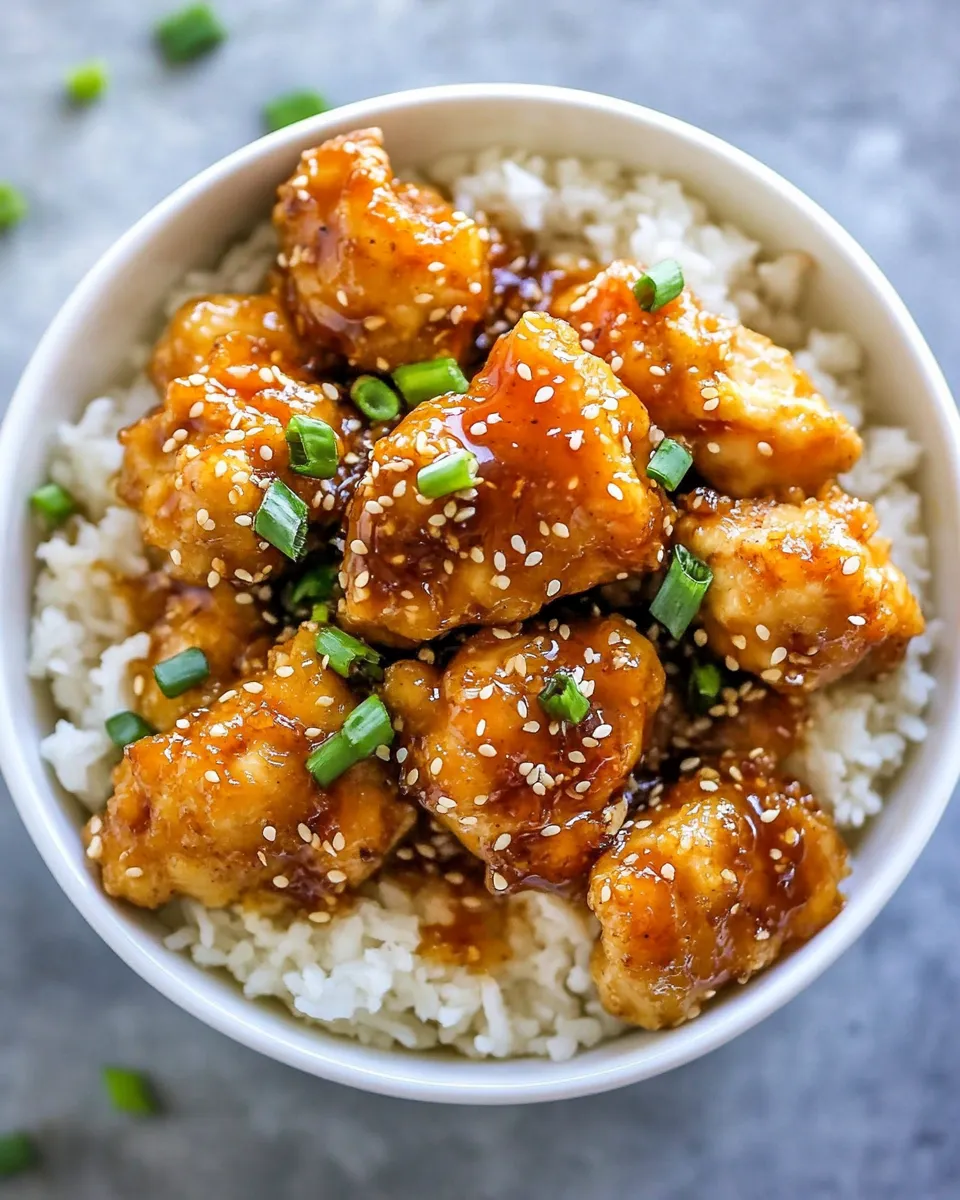
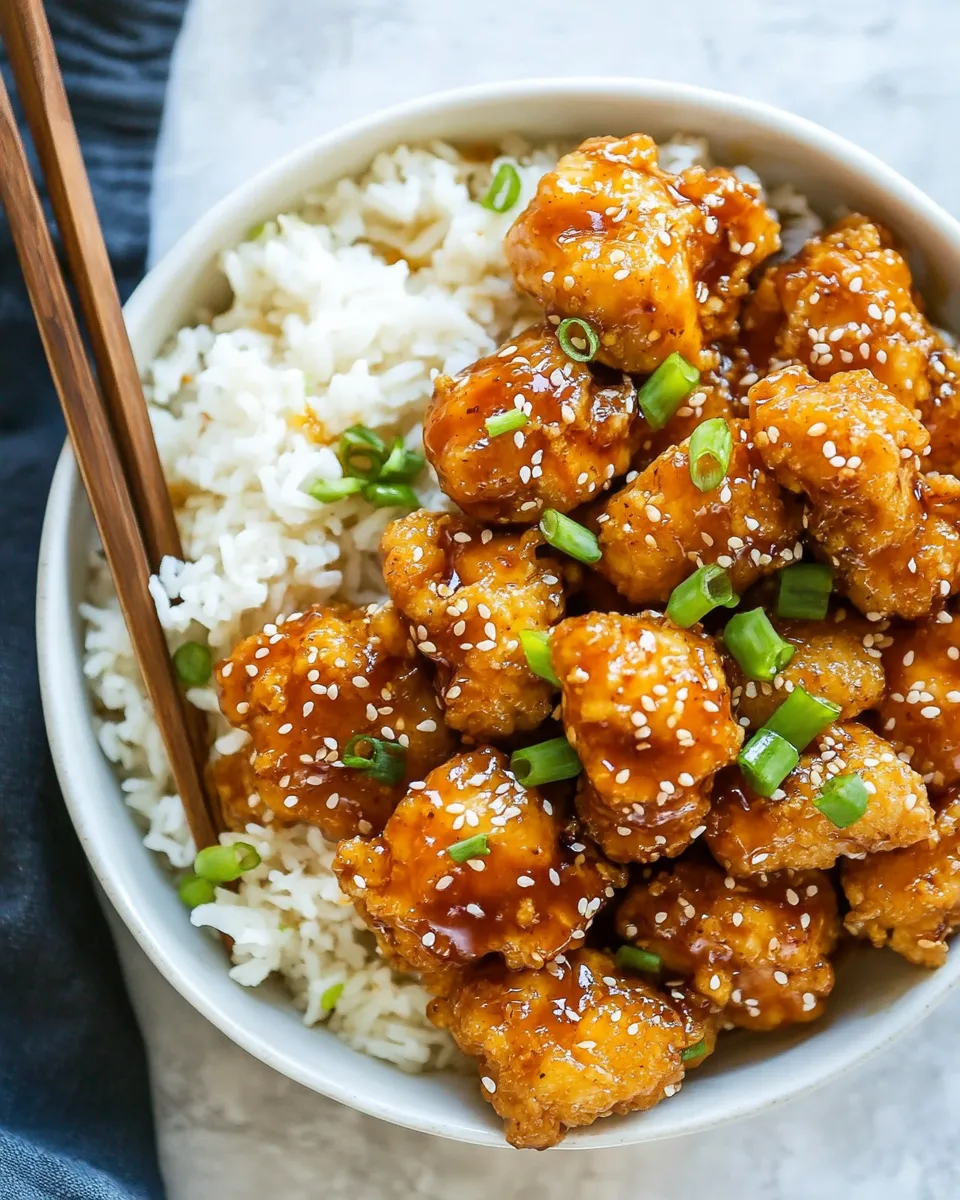
Baked Honey Garlic Chicken
There’s something deeply comforting about a dish that marries sweet, savory, and a touch of heat in one bite. This Baked Honey Garlic Chicken delivers just that—crisp, panko-coated chicken pieces dunked in a glossy honey-garlic sauce that clings to every morsel. It’s straightforward enough for a weeknight, yet special enough for guests. The texture contrast between the crunchy exterior and juicy interior is irresistible, and the whole tray comes together with minimal fuss.
Why this recipe works

This recipe balances textures and flavors in a way that keeps you reaching for another piece. Using panko breadcrumbs ensures an extra-crispy coating without heavy frying. Beating eggs to bind the crumbs creates a light, even crust. The sauce—just honey, soy sauce, garlic, and a hint of Sriracha for those who want heat—reduces into a shiny glaze that soaks into the edges of the chicken while leaving much of the crisp intact. A sprinkle of sesame seeds and fresh parsley at the end finishes the plate with a nutty crunch and bright color.
Ingredients
- 3 chicken breasts (boneless and skinless, cut into 1 inch pieces)
- 2 eggs (beaten)
- 1½ cups Panko breadcrumbs
- sesame seeds (optional)
- fresh parsley (chopped, optional)
- ¼ cup honey
- ¼ cup soy sauce
- 3 cloves garlic (minced)
- 1 tablespoon Sriracha sauce (optional)
- salt and pepper to taste
Equipment
- Baking sheet or shallow baking dish
- Mixing bowls
- Whisk or fork
- Measuring cups and spoons
- Tongs or fork for dredging
- Saucepan for glazing
- Wire rack (optional, for extra crispiness)
Before you begin
Preheat your oven and arrange a rack in the center so the heat circulates evenly. If you have a wire rack that fits inside your baking sheet, use it—elevating the chicken helps the panko stay crisp all around. If not, a lightly greased baking dish works just fine.
Step-by-step directions
- Prep the chicken: Pat the 3 chicken breasts dry with paper towels, then cut them into 1 inch pieces. Season the pieces with salt and pepper to taste. Set them aside while you prepare the coating and sauce.
- Make the egg wash: Crack 2 eggs into a medium bowl and beat them with a fork or whisk until smooth. This will help the panko adhere evenly to each piece of chicken.
- Prepare the panko: Place 1½ cups Panko breadcrumbs in a shallow bowl or on a plate. If you want extra flavor, season the panko lightly with salt and pepper, but keep it simple—most of the seasoning will come from the sauce.
- Coat the chicken: One or two pieces at a time, dip the seasoned chicken pieces into the beaten eggs, letting any excess drip off, then press them into the Panko breadcrumbs until fully coated. Place the breaded pieces on the prepared baking sheet or wire rack so they are not touching each other.
- Bake until golden and cooked through: Transfer the baking sheet with the coated chicken to your preheated oven. Bake until the panko is golden and the chicken reaches an internal temperature of 165°F (74°C), about 15–20 minutes depending on your oven and the size of the pieces. If using a wire rack, the air circulation will create a more even crispness.
- While the chicken bakes, make the honey-garlic sauce: In a small saucepan over medium-low heat, combine ¼ cup honey, ¼ cup soy sauce, and 3 cloves garlic (minced). If you like a little spice, stir in 1 tablespoon Sriracha sauce. Warm gently, stirring frequently, until the garlic softens and the mixture is well combined. Let it simmer for 2–3 minutes, then remove from heat. The sauce should be glossy and slightly thickened.
- Glaze the chicken: When the chicken pieces are cooked through and golden, remove them from the oven. Using tongs or a fork, transfer the baked chicken to a large bowl. Pour the warm honey-garlic sauce over the pieces and toss gently to coat each piece evenly. The residual heat will help the sauce cling to and soak into the edges of the panko.
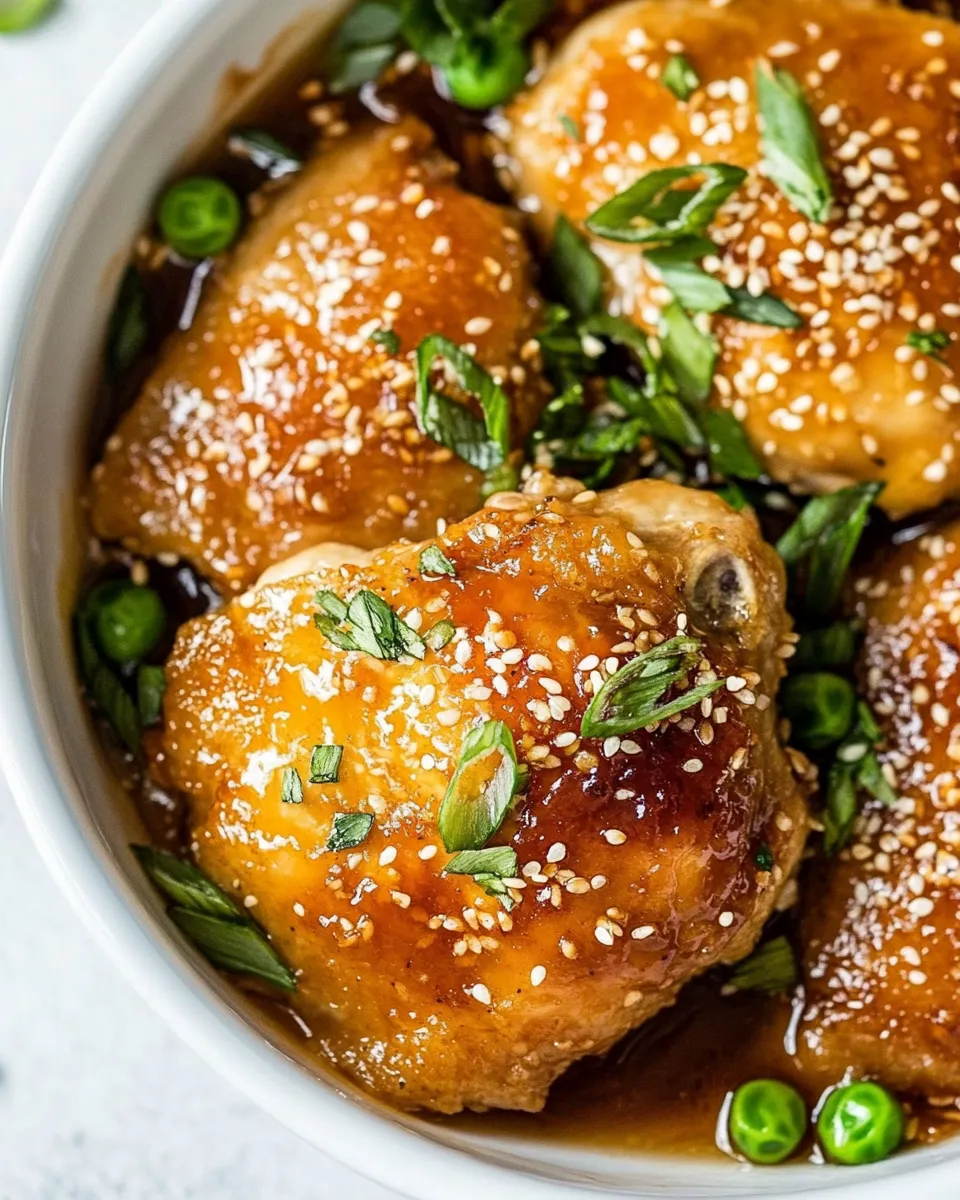
- Finish and serve: Transfer the glazed chicken to a serving plate. Sprinkle with sesame seeds and chopped fresh parsley if using. Taste and adjust salt and pepper if needed. Serve immediately while still warm and crisp.
Troubleshooting and tips
- Extra crispiness: For an even crunchier crust, bake the breaded pieces for 5–7 minutes, then broil for 1–2 minutes under close supervision so they don’t burn.
- Even coating: Work in small batches when dredging to avoid overcrowding the panko, which can make the crumbs clump instead of sticking evenly.
- Make-ahead sauce: The honey-garlic sauce stores well in the refrigerator for up to 5 days. Rewarm gently on the stove before tossing with freshly baked chicken.
- Adjusting heat: If Sriracha is too spicy, reduce the amount or omit it entirely. You can also add a pinch of chili flakes to the sauce if you prefer a textured heat.
- Substitutions: If you don’t have panko, use regular breadcrumbs for a denser crust, though the texture will differ. If you need a gluten-free option, use certified gluten-free panko.
Serving suggestions
This Baked Honey Garlic Chicken is versatile. Here are a few ways to enjoy it:
- Serve it over steamed rice or cauliflower rice to soak up the sauce.
- Pair it with stir-fried vegetables or a simple bok choy sauté for a balanced plate.
- Make sliders by tucking pieces into small buns with shredded cabbage and a drizzle of extra sauce.
- Toss with a leafy green salad and a lemon vinaigrette for contrast—the sweet glaze plays nicely against bright acidity.
Storage
Store leftover glazed chicken in an airtight container in the refrigerator for up to 3 days. To re-crisp, place pieces on a baking sheet and warm in a 375°F (190°C) oven for 8–10 minutes, or until heated through and the crumbs regain some texture. If the sauce has thickened too much in the fridge, stir in a teaspoon of warm water before tossing with the chicken.
Nutrition snapshot
The exact nutrition will vary by portion size and any sides served, but this recipe offers a satisfying balance of lean protein and carbohydrates from the panko and honey. If you need a lower-sugar version, reduce the honey slightly and boost the garlic and soy for umami.
Final thoughts
Simple ingredients and a few thoughtful steps transform basic chicken into a dish that feels indulgent yet approachable. The combination of crisp panko and the sticky-sweet honey-garlic glaze creates a crave-worthy contrast of textures and flavors. Whether you’re feeding kids, meal-prepping, or entertaining, this Baked Honey Garlic Chicken is a dependable crowd-pleaser that’s easy to make and even easier to love.
When you bake this recipe, pay attention to the coating step and the sauce timing—those two elements are what make the dish sing. Enjoy a plateful with your favorite sides and a sprinkle of sesame seeds and fresh parsley for a pretty finish.

Baked Honey Garlic Chicken
Ingredients
- 3 chicken breasts boneless, skinless, cut into 1-inch pieces
- 2 eggs beaten
- 1.5 cups panko breadcrumbs
- sesame seeds optional, for garnish
- fresh parsley chopped, optional for garnish
- 1/4 cup honey
- 1/4 cup soy sauce
- 3 cloves garlic minced
- 1 tablespoon Sriracha sauce optional
- salt and pepper to taste
Instructions
- Preheat the oven to 375°F (190°C) and line a baking sheet with parchment paper.
- Place the panko breadcrumbs on a shallow plate and beat the eggs in another shallow plate; season the beaten eggs with salt and pepper.
- Add the cut chicken pieces to the seasoned beaten eggs and toss to coat each piece fully.
- Working in batches if needed, dredge each egg-coated chicken piece in the panko until evenly coated, then arrange the pieces on the prepared baking sheet in a single layer.
- Bake the chicken in the preheated oven for about 20 minutes, or until the chicken is cooked through and the coating is lightly golden.
- While the chicken bakes, combine the honey, soy sauce, minced garlic, and Sriracha (if using) in a 1-quart saucepan; bring to a boil over medium heat, then reduce heat and simmer for 2–3 minutes, stirring occasionally, until slightly thickened.
- Transfer the baked chicken to a bowl, pour the warm sauce over it, and toss to coat each piece thoroughly; reserve any extra sauce for dipping if desired.
- Garnish with sesame seeds and chopped parsley if using, and serve over rice or vegetables.
Equipment
- Baking Sheet
- Parchment Paper
- shallow plates (for egg and breadcrumbs)
- 1-quart saucepan
- Mixing Bowl
- Tongs or fork
Notes
- Store leftovers in an airtight container in the fridge for 3–4 days.
- To reheat and keep crisp, bake at 400°F for about 5 minutes until heated through.
- Freeze before or after baking on a parchment-lined sheet, then transfer to a freezer bag.
- If freezing after baking, slightly under-bake first to avoid overcooking when reheating.
- If frozen before baking, add 5–10 minutes to the baking time when cooking from frozen.