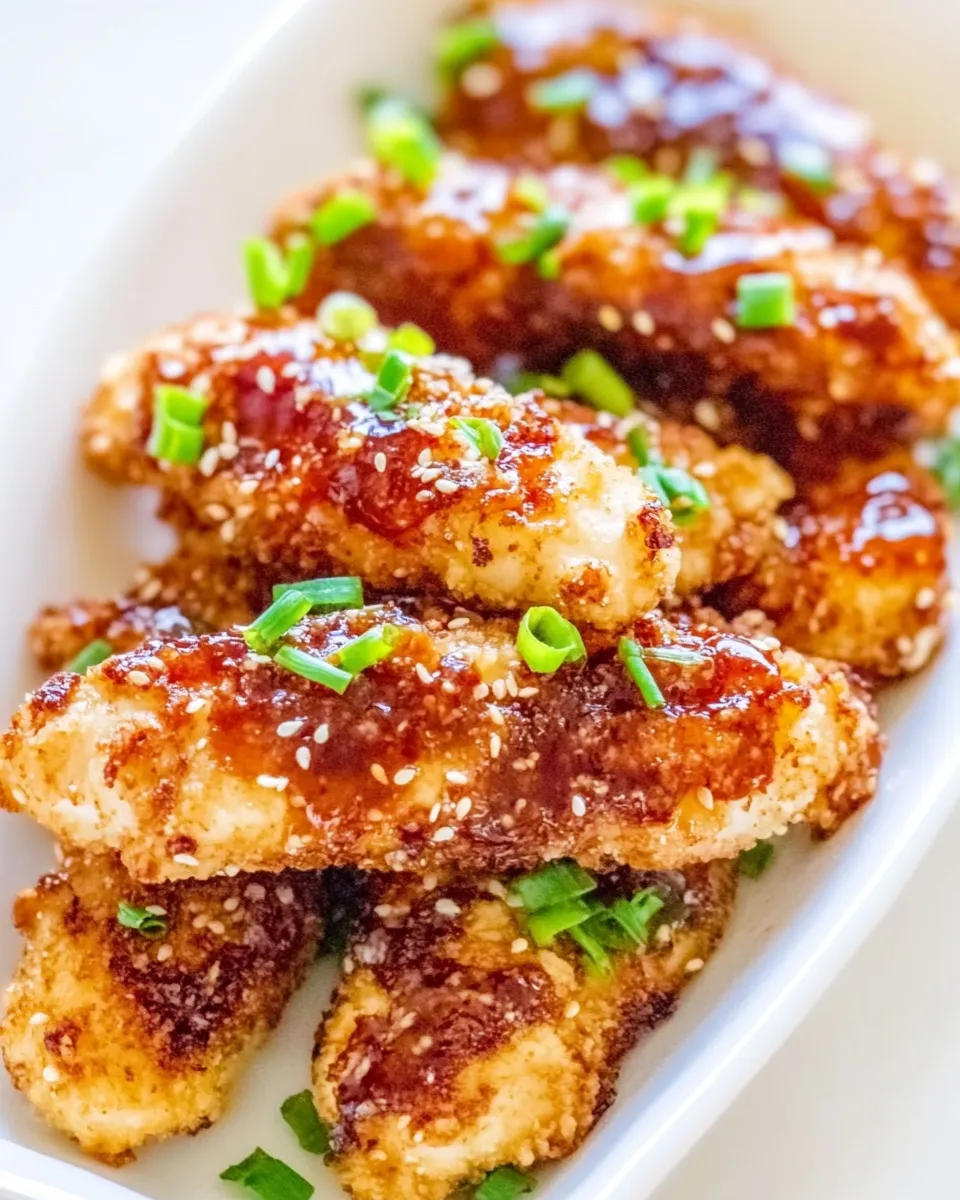
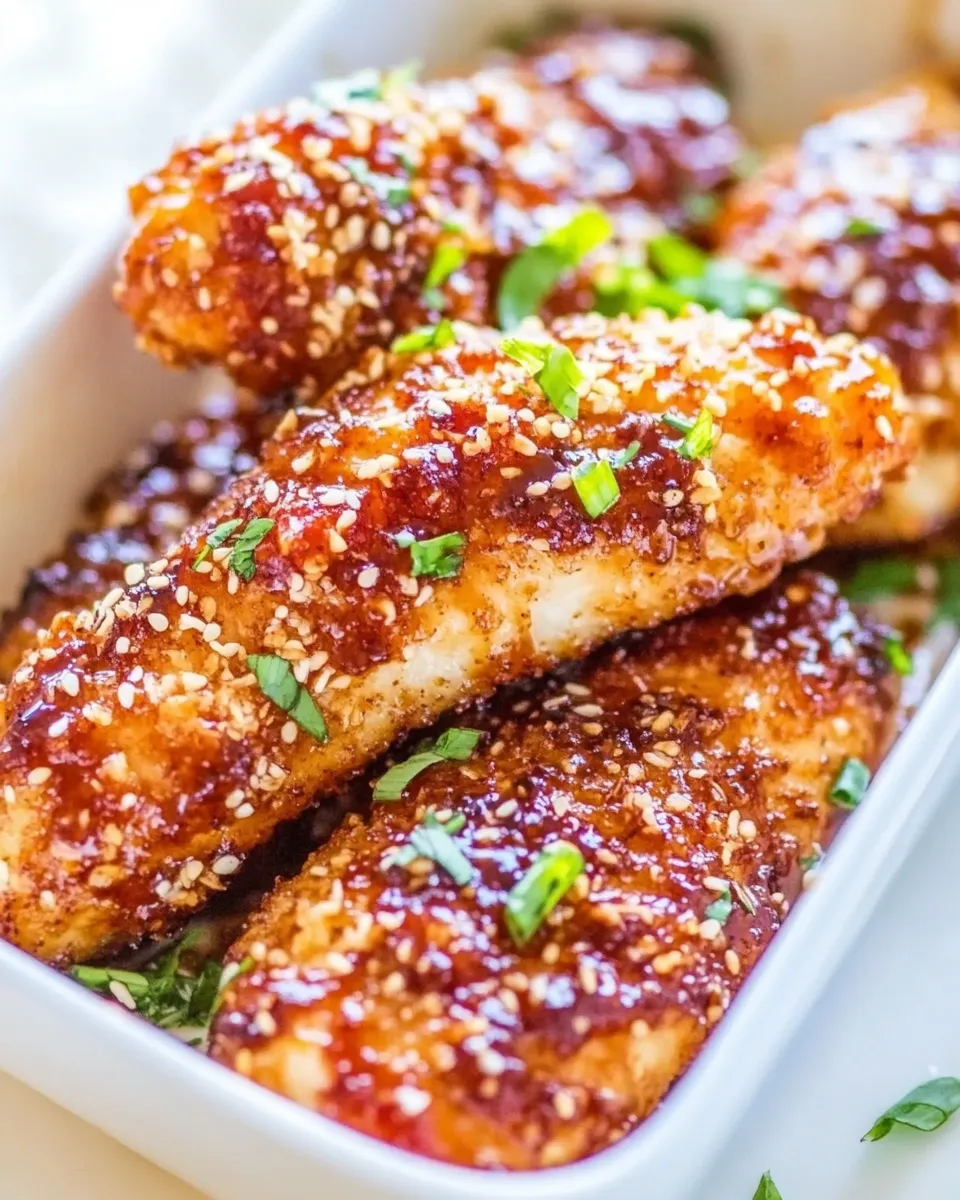
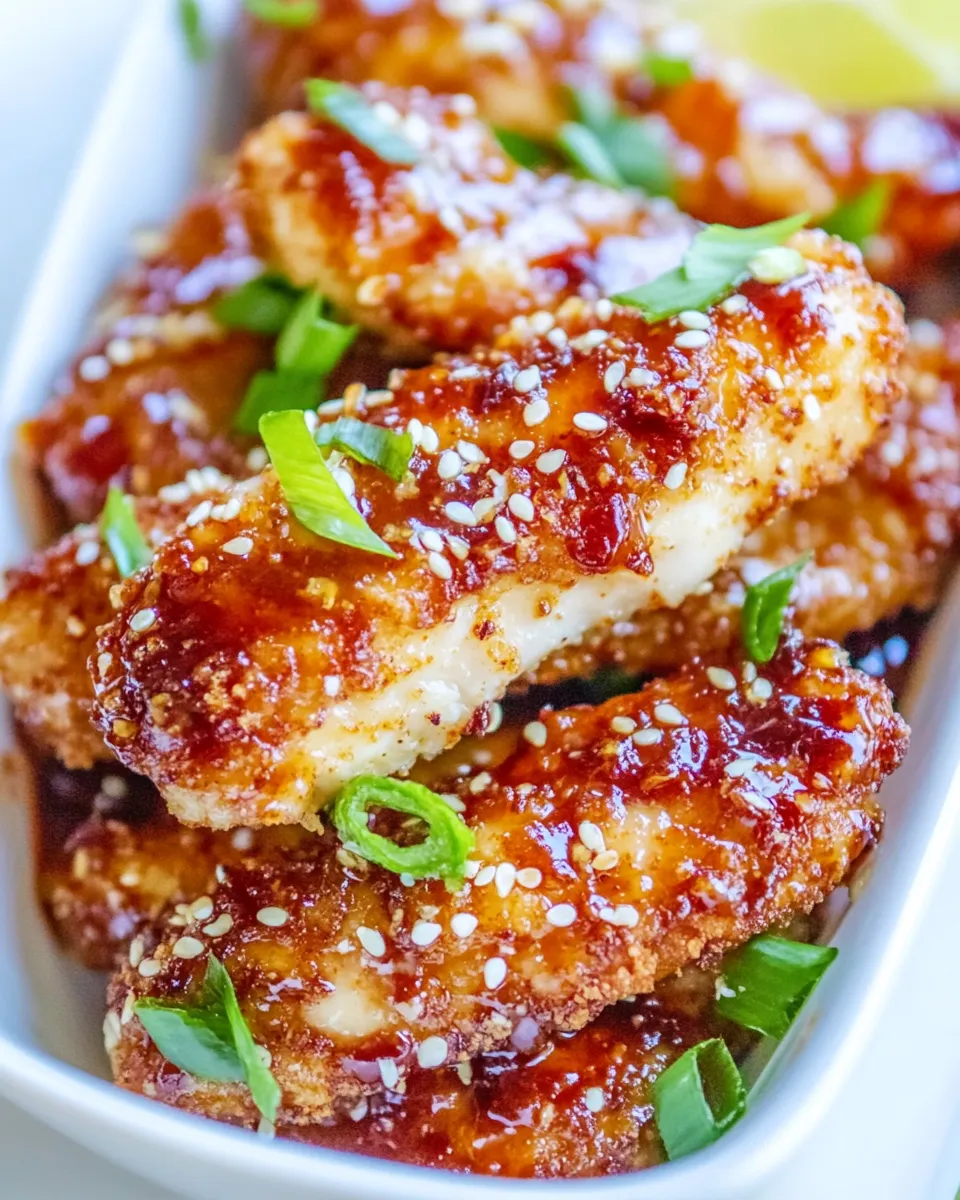
Asian Glazed Chicken Fingers
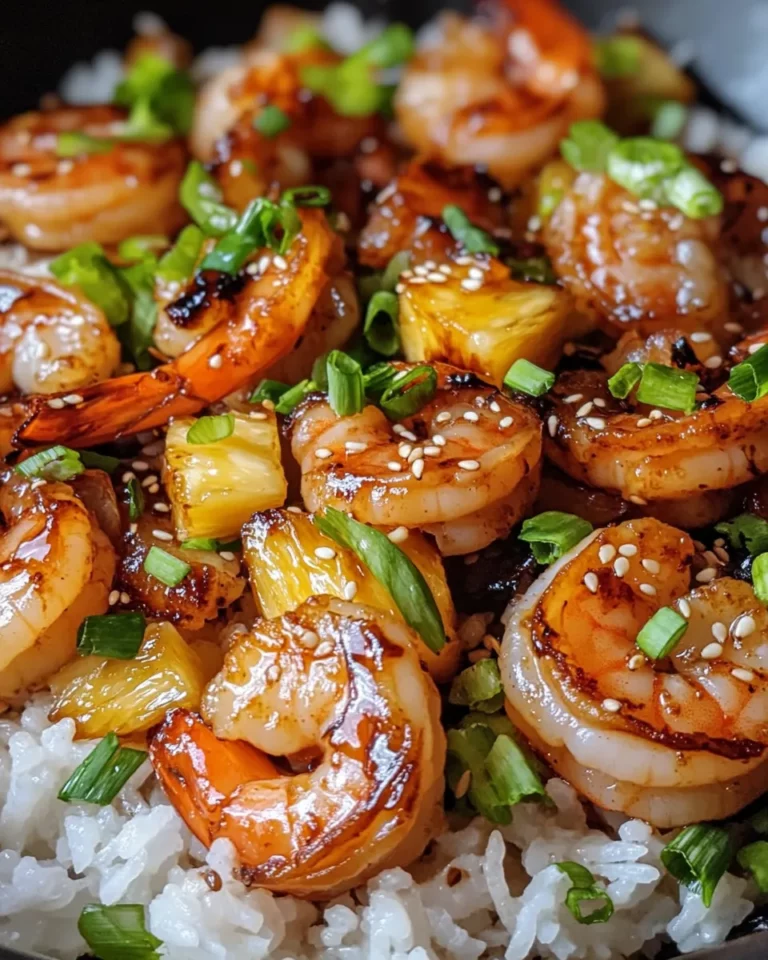
Asian Glazed Chicken Fingers are the kind of dish that becomes a family favorite the first time you serve them. Crispy, tender chicken fingers coated in a sticky-sweet, savory glaze strike the perfect balance between comfort and bold flavor. This recipe uses simple pantry staples—honey, soy sauce, rice vinegar, and a few warming spices—to create a glaze that clings to crunchy panko-coated strips. Serve them with steamed rice, a crisp slaw, or simply a scattering of chopped green onions for a weeknight dinner that feels special.
Why you’ll love these chicken fingers

There’s something irresistible about a crunchy exterior that gives way to juicy chicken. The glaze here is bright and slightly spicy—thanks to sriracha and chili flakes—while Chinese five spice adds a subtle aromatic depth. But the real secret is the texture combination: a buttermilk soak that keeps the chicken supremely tender and panko breadcrumbs that fry up extra-crispy. This is a reliably crowd-pleasing recipe that comes together with ingredients you probably already have on hand.
Ingredients
- ▢ ¼ cup honey
- ▢ ½ cup soy sauce
- ▢ 1 teaspoon sriracha sauce
- ▢ ½ teaspoon chili flakes
- ▢ ½ teaspoon Chinese five spice
- ▢ ½ teaspoon garlic powder
- ▢ 1 tablespoon olive oil
- ▢ 1 tablespoon rice vinegar
- ▢ salt and pepper (to taste)
- ▢ 2 pounds chicken breasts (I had 4 chicken breasts), boneless and skinless
- ▢ 1 cup buttermilk
- ▢ 2 cups breadcrumbs (I used Panko)
- ▢ 1 to 2 cups all-purpose flour (for dredging)
- ▢ salt and pepper (to taste)
- ▢ Green onions (for garnish)
Make-ahead notes and tips
You can prep the glaze up to two days ahead and store it in the refrigerator. If you prefer a milder heat, reduce the sriracha to ½ teaspoon and cut the chili flakes by half. For crispier fingers, keep the oil hot enough that the chicken sizzles when it hits the pan but not so hot that the outside burns before the interior cooks. If your chicken breasts are thick, slice them into strips and pound them slightly so they cook quickly and evenly.
Equipment
- Large bowl for buttermilk soak
- Shallow bowls or plates for flour and breadcrumbs
- Large skillet (preferably nonstick) or a deep-fryer
- Tongs or a slotted spoon
- Saucepan for glaze
- Wire rack for resting
Step-by-step instructions
Follow these clear, step-by-step directions to get perfectly glazed, crunchy chicken fingers. I’ve kept the original ingredient amounts exactly as listed above.
-
Prepare the glaze.
In a small saucepan, combine ¼ cup honey, ½ cup soy sauce, 1 teaspoon sriracha sauce, ½ teaspoon chili flakes, ½ teaspoon Chinese five spice, ½ teaspoon garlic powder, 1 tablespoon olive oil, and 1 tablespoon rice vinegar. Stir the mixture to combine.
Place the saucepan over medium heat and bring the mixture to a gentle simmer. Allow it to cook for 4–6 minutes, stirring occasionally, until it thickens slightly and becomes glossy. Remove from the heat and set aside so it stays warm while you cook the chicken. Taste and add salt and pepper to your preference, remembering soy sauce already contributes a lot of saltiness.
-
Prepare the chicken.
Trim any excess fat from the 2 pounds chicken breasts and slice each breast into strips about 3/4 inch wide, or to your preferred finger size. If the breasts are especially thick, slice them horizontally to create thinner strips that will cook evenly.
Place the sliced chicken into a large bowl and pour 1 cup buttermilk over the strips. Toss gently so each piece is coated. Let the chicken sit in the buttermilk for at least 20 minutes at room temperature or refrigerate up to 2 hours. The buttermilk helps tenderize the meat and ensures a juicy interior.
-
Set up your dredging station.
While the chicken soaks, arrange three shallow bowls or plates. In the first bowl, pour 1 to 2 cups all-purpose flour for dredging; season the flour with a pinch of salt and a generous grind of black pepper. In the second bowl, leave the buttermilk-soaked chicken. In the third bowl, add 2 cups breadcrumbs (Panko works great for extra crunch).
-
Dredge the chicken strips.
Working one piece at a time, remove a chicken strip from the buttermilk, letting excess drip off. Dredge it in the seasoned flour, shaking off any surplus. Return it briefly to the buttermilk if the flour seems to fall off, then press the strip into the breadcrumbs so the crumbs adhere evenly. Place each coated piece on a clean plate or baking sheet as you go. Continue until all chicken strips are breaded.
-
Cook the chicken fingers.
Heat a large skillet over medium heat and add enough olive oil to coat the bottom of the pan in a thin layer (about 2–3 tablespoons, depending on pan size). When the oil is hot and shimmers, add chicken strips in a single layer without overcrowding the pan. Cook in batches if necessary.
Fry the strips for 3–4 minutes per side, flipping once, until the coating is golden brown and the chicken is cooked through to an internal temperature of 165°F (74°C). Adjust the heat as needed so the crust crisps without burning. Transfer cooked fingers to a wire rack set over a baking sheet to drain and stay crisp while you finish the remaining batches.
-
Glaze the chicken fingers.
Once all the chicken fingers are cooked and resting on the rack, pour the reserved warm glaze into a shallow bowl or keep it in the saucepan on very low heat. Working quickly, dip each chicken finger into the glaze or spoon the glaze over each piece, turning to coat on all sides. Allow excess glaze to drip back into the pan or bowl before placing the glazed strip back on the wire rack. Repeat until every piece is evenly coated.
If you prefer a stickier finish, return the glazed chicken fingers to a clean skillet over low heat for 30–45 seconds per side, just long enough to caramelize the glaze slightly—watch closely so it doesn’t burn.
-
Final seasoning and garnish.
Taste one piece and adjust with a light sprinkle of salt and fresh-cracked pepper if desired. Scatter sliced green onions over the tray of glazed chicken fingers for a fresh, oniony finish and a pop of color.
-
Serve.
Serve these Asian Glazed Chicken Fingers hot alongside steamed rice, a crisp green salad, or a mango slaw. They’re also excellent dipped in extra glaze, plain yogurt, or a simple chili-lime dipping sauce. Leftovers will keep in an airtight container in the refrigerator for up to 3 days; reheat briefly in a hot oven for best texture.
Serving suggestions
- Place the chicken fingers on a platter with lime wedges and extra glaze for dunking.
- Serve with a simple cucumber and carrot slaw tossed in rice vinegar and a pinch of sugar to cut through the richness.
- Pair with steamed jasmine rice and sautéed bok choy for a full meal.
Notes and substitutions
- If you don’t have buttermilk, you can make a quick substitute by adding 1 tablespoon lemon juice or white vinegar to 1 cup milk and letting it sit for 5 minutes.
- Panko breadcrumbs deliver a lighter, crunchier coating than standard breadcrumbs. If you use regular breadcrumbs, the texture will be denser.
- Adjust sriracha and chili flakes to control the heat level. For a completely mild glaze, omit the chili flakes and use only ½ teaspoon sriracha.
- The recipe calls for soy sauce; if you need a lower-sodium option, choose a low-sodium soy sauce but taste the glaze before adding extra salt.
Storage
Store leftover glazed chicken fingers in an airtight container in the refrigerator for up to 3 days. To maintain crispiness, reheat in a 375°F oven for 8–10 minutes, flipping once. Reheating in the microwave will soften the crust quickly, so it’s best avoided if you want to keep the crunch.
Final thoughts
These Asian Glazed Chicken Fingers are a weeknight savior: bright, sticky, and satisfying with minimal fuss. They’re also endlessly adaptable—make them spicier, sweeter, or extra-crispy depending on what you and your guests prefer. If you try the recipe, garnish with extra green onions and serve immediately for the best texture and flavor. Enjoy!

Asian Glazed Chicken Fingers
Ingredients
- 1/4 cup honey
- 1/2 cup soy sauce
- 1 teaspoon sriracha sauce
- 1/2 teaspoon chili flakes
- 1/2 teaspoon Chinese five spice
- 1/2 teaspoon garlic powder
- 1 tablespoon olive oil
- 1 tablespoon rice vinegar
- salt and pepper to taste
- 2 pounds chicken breasts boneless, skinless (about 4 breasts), cut into long thin strips
- 1 cup buttermilk
- 2 cups breadcrumbs Panko recommended
- 1 to 2 cups all-purpose flour for dredging
- green onions for garnish
Instructions
- Preheat the oven to 400°F (200°C) and line a baking sheet with parchment paper.
- In a small saucepan, whisk together honey, soy sauce, sriracha, chili flakes, Chinese five spice, garlic powder, olive oil, and rice vinegar; set aside.
- Cut the chicken breasts into long thin strips.
- Place the chicken strips in a bowl and pour about 1 cup of buttermilk over them to lightly coat; set aside.
- Set up three shallow plates: one with flour (seasoned with salt and pepper), one with remaining buttermilk, and one with breadcrumbs (seasoned with salt and pepper).
- Dredge each chicken strip first in flour, then in buttermilk, and finally in breadcrumbs, pressing to adhere; transfer to the prepared baking sheet in a single layer.
- Bake for 30–45 minutes, until the coating is golden and the chicken is cooked through (cut one piece to check if needed).
- While the chicken bakes, bring the prepared glaze to a boil over medium-high heat, then reduce to medium and simmer until reduced by about half and thickened.
- When the chicken is cooked, drizzle or brush the glaze generously over the fingers and garnish with chopped green onions.
- Optional: to fry instead, heat vegetable oil in a large skillet and fry chicken strips 3–5 minutes per side until golden and cooked through.
Equipment
- Baking Sheet
- Parchment Paper
- Mixing Bowls
- shallow plates
- Small Saucepan
- Whisk
- Tongs
Notes
- Store cooked chicken in an airtight container in the fridge for 3–4 days.
- To freeze, dredge strips and freeze on a sheet until firm, then transfer to a sealed container.
- From frozen, bake at 425°F for 20–25 minutes until cooked through.