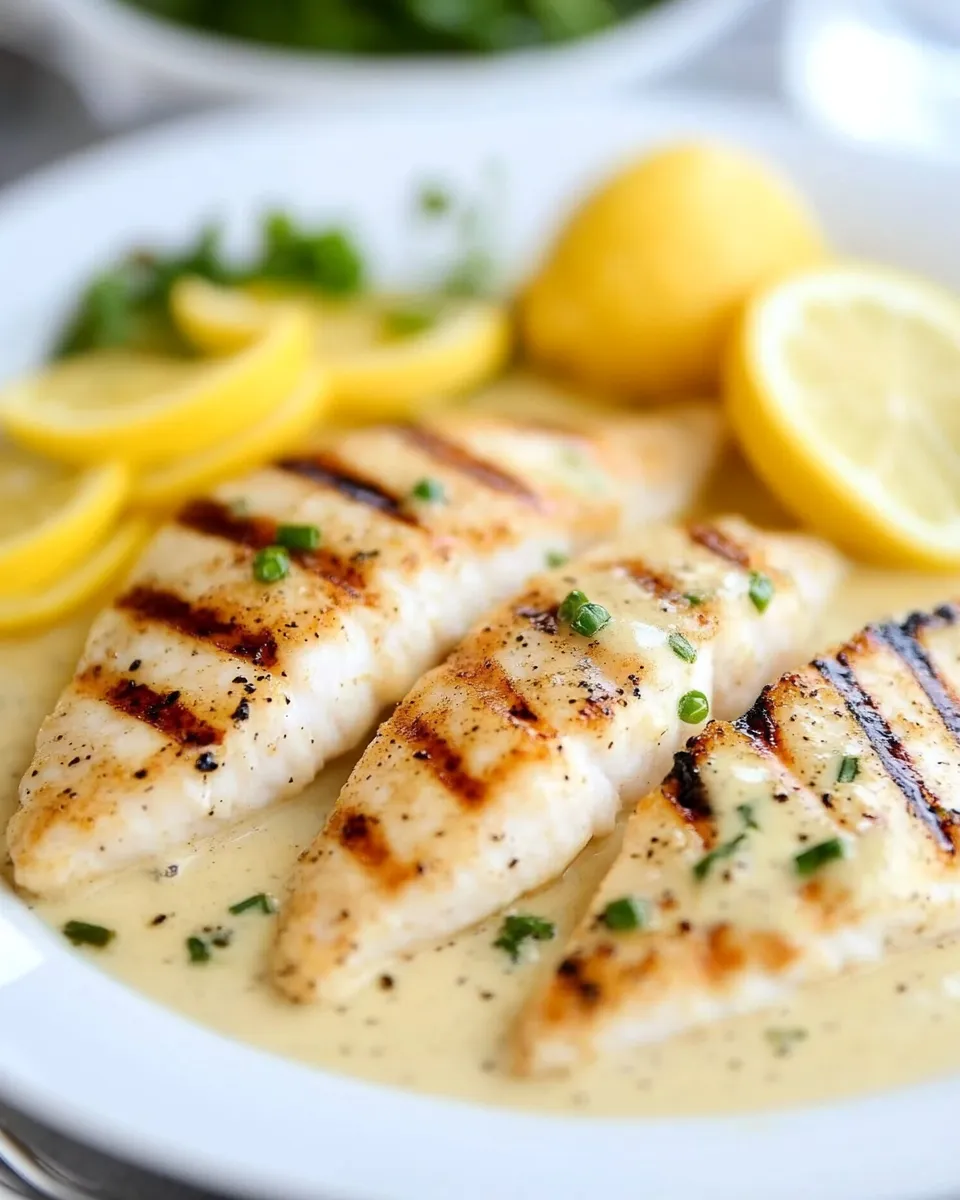
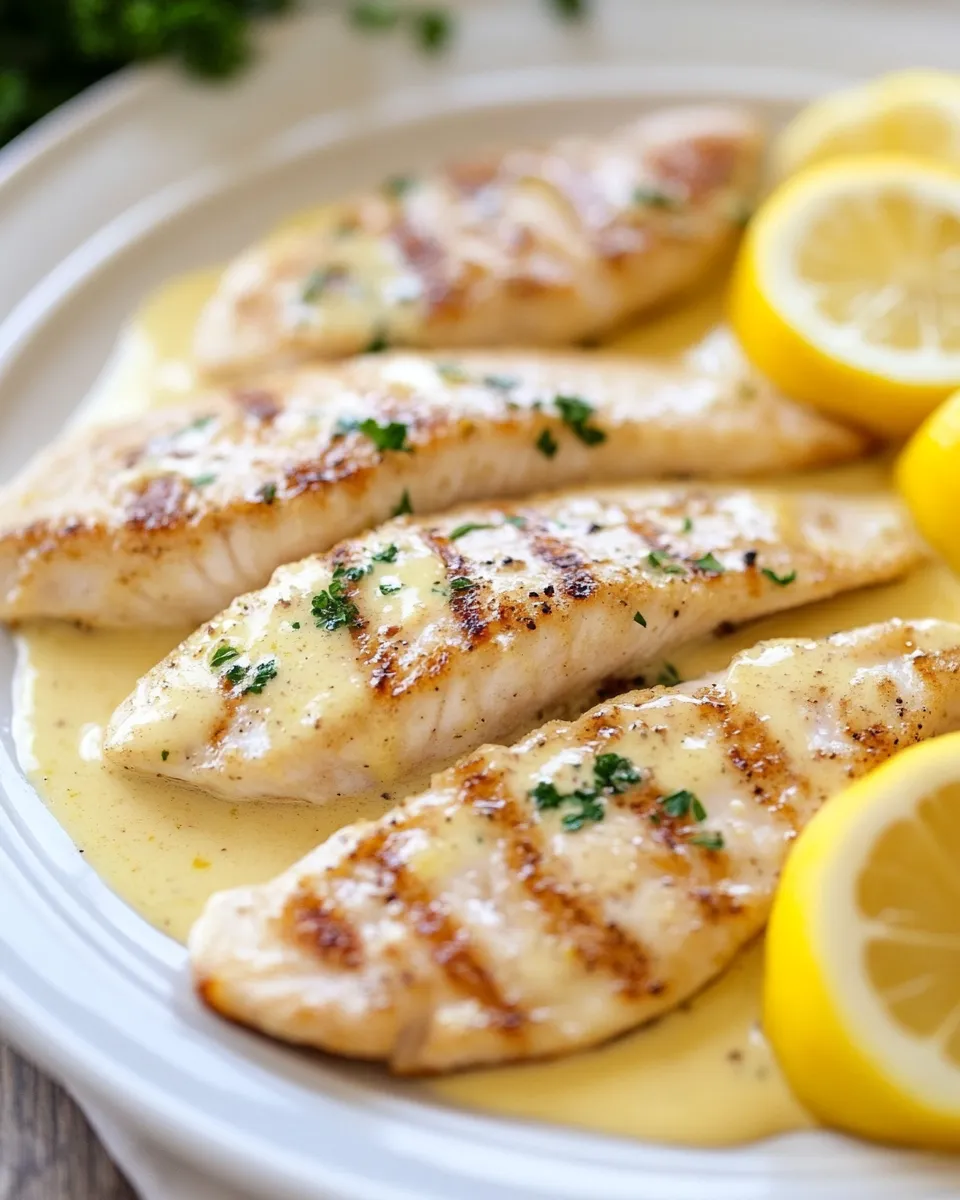
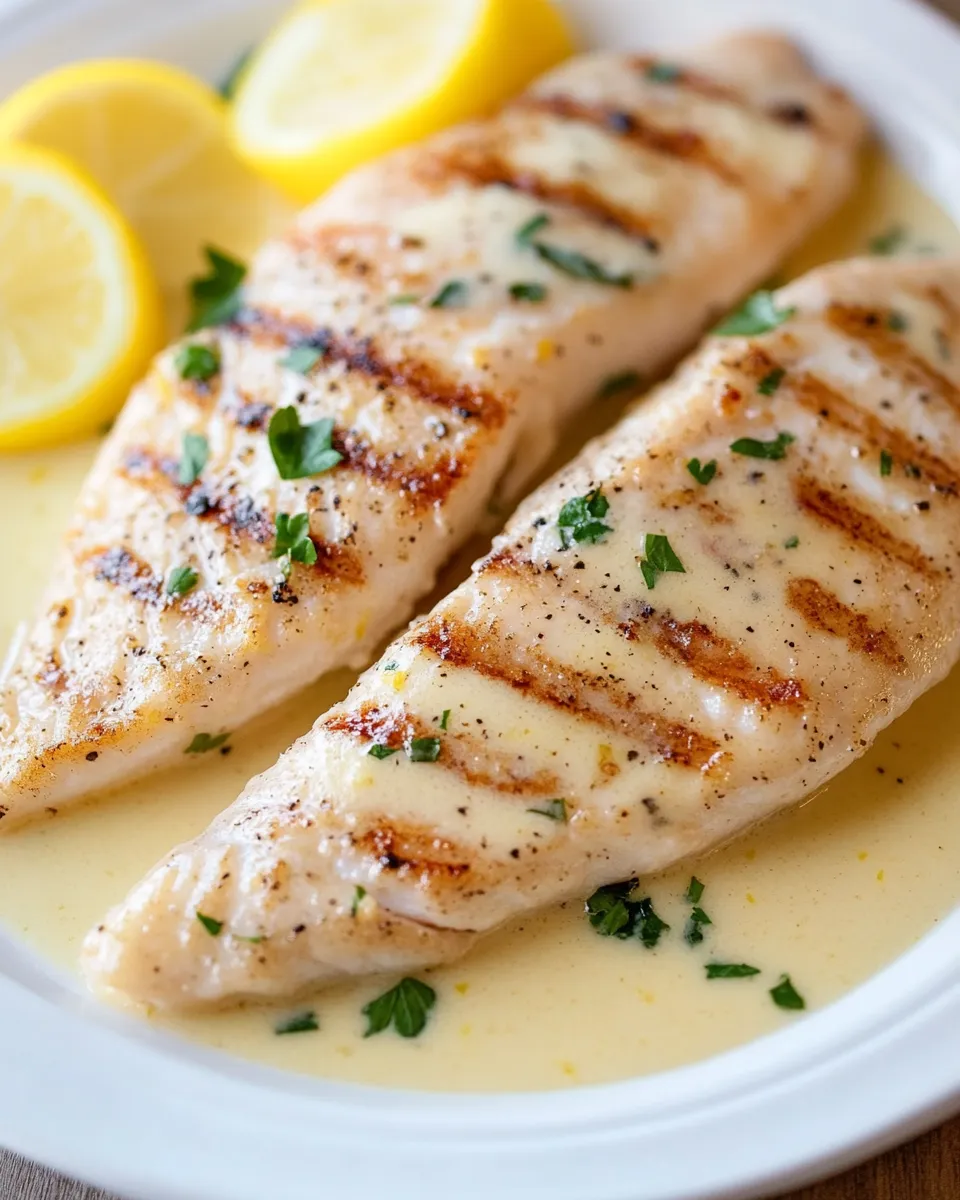
Creamy Lemon Grilled Tilapia
I fell in love with this dish because it feels like a small restaurant meal you can make on a weeknight. The fish grills quickly, picks up a light char, and the lemon-butter cream sauce pulls everything together with bright acidity and a glossy finish. It’s simple, fast, and dependable—exactly what I want after a busy day.
The flavors are focused: garlic, lemon, and butter with a touch of stock to keep the sauce light. A little cornstarch steadies the sauce so it clings to the fillets, and capers add a briny pop at the end. If you follow the sequence and the quick timing, you’ll end up with tender, flaky fish and a sauce worth spooning over rice, greens, or roasted vegetables.
No complicated steps, no obscure ingredients—just a few practical pointers and the right order. I’ll walk you through the ingredients, the exact method, useful swaps, and the mistakes to avoid so your dinner comes out the way it should every single time.
What You’ll Need

- 4–5 tilapia fillets, thawed (or use halibut) — Main protein; choose thicker fillets if you want slightly more forgiving cook time.
- 2 tablespoons oil — Any neutral-tasting oil (vegetable, canola, safflower) for grilling and to prevent sticking.
- salt and pepper — Season to taste; use kosher salt for even seasoning and freshly cracked pepper for best flavor.
- 2 tablespoons butter, divided — Divided so some goes into the sauce at the end for shine and richness.
- 2 cloves garlic, minced — Builds the aromatic base of the sauce; mince finely so it releases flavor quickly.
- ½ cup chicken or vegetable stock — Adds body and savory depth to the sauce; vegetable stock keeps it pescatarian.
- 1 teaspoon cornstarch — Thickens the sauce when mixed into a slurry; prevents lumps when added to hot liquid.
- 1 lemon, juiced, and zest of half a lemon — Fresh juice for acidity; zest for concentrated lemon aroma.
- ¼ cup heavy cream — Gives the sauce its creamy, smooth texture.
- ¼ teaspoon salt — Added at the sauce stage for controlled seasoning.
- 1 teaspoon ground black pepper — Adds a gentle heat; freshly ground preferred.
- 1 tablespoon capers — Rinsed if overly salty; they provide a bright, briny contrast.
- 1 tablespoon fresh parsley leaves, chopped — Fresh herb finish for color and a clean herbal note.
The Method for Creamy Lemon Grilled Tilapia
- Pat the 4–5 tilapia fillets dry with paper towels. Pour the 2 tablespoons neutral oil over the fillets and rub to coat both sides. Season all sides with salt and pepper to taste.
- Preheat the grill to medium-high. Clean and oil the grates. Grill the fillets 3–5 minutes per side (depending on thickness), flipping only once when the edges look browned and the fish is opaque and flakes easily. Transfer the cooked fillets to a plate and keep warm.
- In a skillet set over medium heat, melt 1 tablespoon of the butter. Add the 2 minced garlic cloves and sauté briefly until fragrant, about 20–30 seconds; do not let the garlic brown.
- Add the ½ cup chicken or vegetable stock to the skillet and bring to a gentle boil.
- Whisk the 1 teaspoon cornstarch with just enough cold water to dissolve it into a smooth slurry. Whisk the slurry into the boiling stock and continue whisking until the sauce thickens slightly.
- Once slightly thickened, stir in the juice of 1 lemon, the zest of half a lemon, and the ¼ cup heavy cream. Reduce heat to low and cook 1–2 minutes more until the sauce is thickened to a coating consistency. Stir in ¼ teaspoon salt and 1 teaspoon ground black pepper.
- Remove the pan from the heat and add the remaining 1 tablespoon butter, swirling the pan until the butter melts into a smooth, glossy sauce.
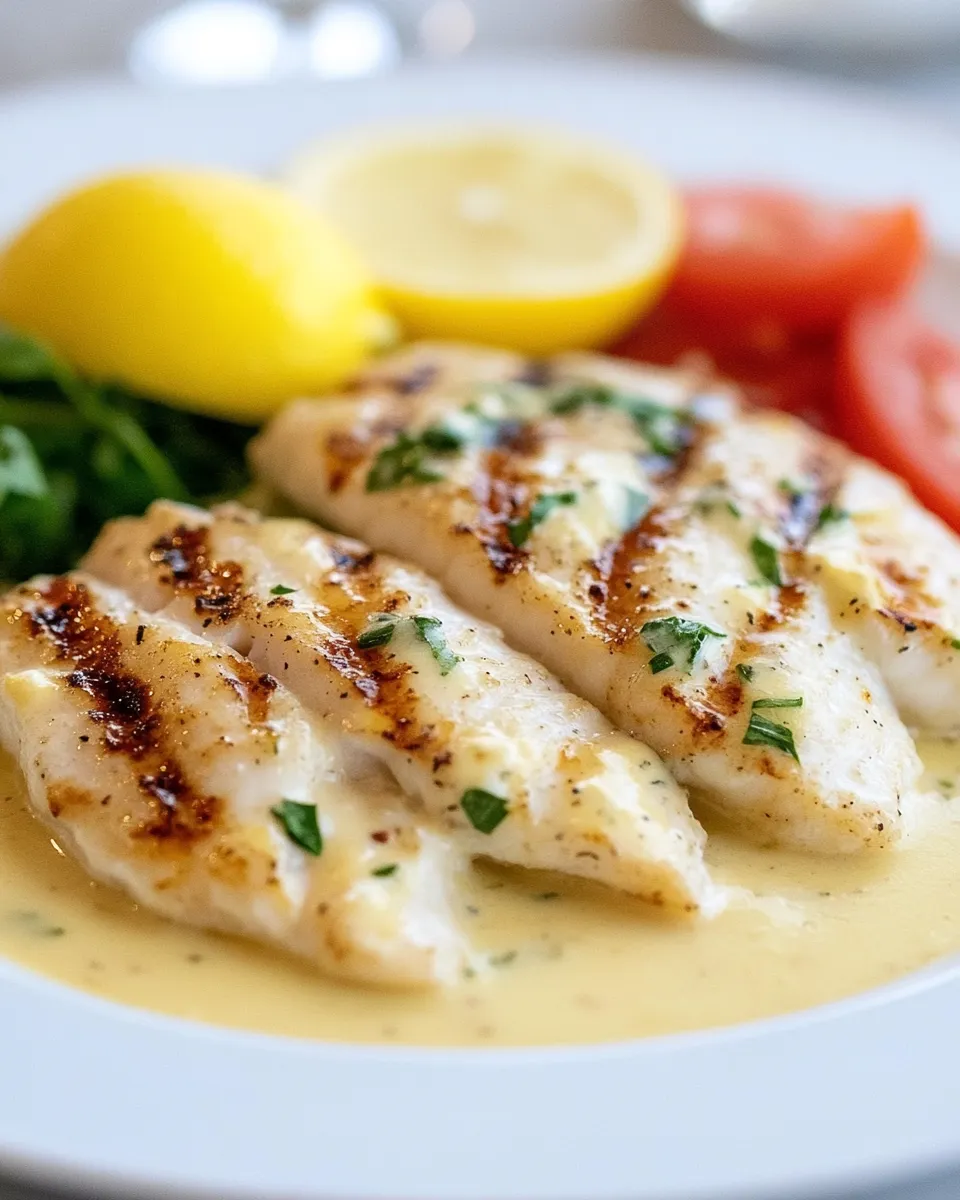
- Spoon the sauce over the grilled tilapia fillets. Sprinkle 1 tablespoon capers and 1 tablespoon chopped fresh parsley over the fish and serve immediately.
Why This Recipe Is Reliable
The structure is what makes this dependable: quick, high-heat searing for the fish, followed by a controlled sauce built in the pan. Grilling seals in moisture and gives a bit of char; making the sauce separately prevents overcooking the fish while you fuss with finishing touches.
Two small technical choices help the outcome every time. First, patting the fillets dry and oiling them ensures a clean sear without sticking. Second, the cornstarch slurry stabilizes the sauce quickly, so you get a glossy, clingy sauce without long reductions. These are repeatable, low-risk steps.
Vegan & Vegetarian Swaps
- For a plant-based “fish” — Use firm, meaty alternatives such as seitan-based fillets or large slices of king oyster mushroom caps. Grill gently and watch timing; many alternatives cook faster than fish.
- To replace butter and cream — Use vegan butter and full-fat canned coconut milk or a cashew cream (blended soaked cashews + water). The flavor will shift, so increase lemon zest slightly for brightness.
- Stock — Stick with vegetable stock to keep things vegetarian/vegan. Use a low-sodium version to control final salt level.
- Capers and garnish — Capers are already vegan; use chopped dill or chives instead of parsley if you prefer.
Tools & Equipment Needed
- Grill (gas or charcoal) — For a clean, quick sear. A grill pan works indoors if you don’t have outdoor access.
- Tongs or a thin fish spatula — Flip the fillets cleanly; a thin spatula helps prevent tearing.
- Skillet — A small to medium skillet for the sauce; stainless or nonstick both work.
- Whisk — Essential for emulsifying the slurry into the stock and avoiding lumps.
- Measuring spoons and cups — For consistent amounts, especially for cornstarch and cream.
- Paper towels — Drying the fillets is a crucial step for proper grilling.
What Not to Do
- Don’t skip drying the fillets — Moist fillets steam instead of sear, which prevents a good crust and causes sticking.
- Don’t crowd the grill — Overcrowding drops temperature and forces longer cooking, which dries fish out.
- Don’t let the garlic brown in the sauce — It turns bitter quickly; cook just until fragrant (20–30 seconds) then proceed.
- Don’t add cornstarch dry — Always make a slurry with cold water first, or you’ll get lumps and a starchy texture.
- Don’t reheat the sauce aggressively — High heat can break the sauce after butter and cream are added; warm gently.
Better Choices & Swaps
- Fish alternatives — If tilapia is not available, halibut was mentioned as an option in the ingredients list. Salmon or cod can work too but adjust grill time for thickness and oiliness.
- Oil choices — Use canola or safflower for high-heat stability. Olive oil is fine but choose a lighter variety to avoid herbal notes that compete with lemon.
- Stock — Chicken stock gives a touch more savory depth; vegetable stock keeps it lighter and vegetarian-friendly.
- Herb finishes — Parsley is classic; for a different profile, try chopped dill or tarragon (a little goes a long way).
- Capers — If you want less brine, rinse capers briefly and pat dry, or reduce the amount to 2 teaspoons.
Testing Timeline
- Prep (10 minutes) — Thawing should be done ahead of time. Pat dry, oil and season the fillets, and mince the garlic.
- Grill (6–10 minutes) — Grill 3–5 minutes per side depending on thickness. Thin fillets finish in about 3 minutes per side; thicker fillets take closer to 5.
- Sauce (6 minutes) — Melt butter, sauté garlic (<1 minute), boil stock and thicken with slurry (1–2 minutes), add lemon and cream, finish low heat (1–2 minutes), then swirl in butter off heat.
- Plate and serve (2 minutes) — Spoon sauce, garnish with capers and parsley, and serve immediately.
Meal Prep & Storage Notes
Grilled tilapia is best served immediately. The sauce is what holds up reasonably well: cool it quickly and store in an airtight container in the refrigerator for up to 2 days. Reheat gently over low heat, adding a splash of stock or cream to bring it back to coating consistency.
Prepared fish can be stored for up to 24 hours in the fridge, but texture softens on reheating. If you need make-ahead convenience, cook the sauce and store it separately; grill the fillets just before serving or reheat briefly under a broiler for a minute to refresh the exterior.
Reader Questions
What if my fish sticks to the grill?
Clean and oil the grates well before cooking, and make sure the fillets are thoroughly dried and oiled. Let the fish develop a crust and release naturally; flipping too early causes tearing.
Can I use frozen fillets?
Yes, but fully thaw, pat dry, and refrigerate while drying for an hour if possible. Excess moisture will prevent a clean sear.
My sauce is lumpy—how do I fix it?
If lumps form, strain the sauce through a fine mesh sieve, then whisk in a small amount of warm stock or cream off the heat. Next time, dissolve the cornstarch completely in cold water before adding.
How do I adjust for thicker fillets?
Increase grill time to about 5 minutes per side and monitor doneness by opacity and flakiness. Thicker fillets may also benefit from a lower indirect heat finish if the surface is browning too fast.
Time to Try It
This recipe rewards attention to the small details: drying the fish, guarding the garlic from browning, and whisking the slurry smoothly. When you follow the order here, the result is reliable—tender, flaky fish with a bright, silky sauce.
Gather your ingredients, fire up the grill, and plan for a 30-minute window from start to finish. Spoon the lemon cream over the fillets, scatter the capers, and enjoy a quick, elegant dinner that feels like a treat without any fuss.

Creamy Lemon Grilled Tilapia
Ingredients
Ingredients
- ?4-5 tilapia filletsthawed or use halibut
- ?2 tablespoonsoilany neutral tasting oil like vegetable oil canola, safflower
- ?salt and pepperto taste
- ?2 tablespoonsbutterdivided
- ?2 clovesgarlicminced
- ?1/2 cupchicken or vegetable stock
- ?1 teaspooncornstarch
- ?1 lemonjuiced and zest of half a lemon
- ?1/4 cupheavy cream
- ?1/4 teaspoonsalt
- ??teaspoonground black pepper
- ?1 tablespooncapers
- ?1 tablespoonfresh parsley leaveschopped
Instructions
Instructions
- Pat the 4–5 tilapia fillets dry with paper towels. Pour the 2 tablespoons neutral oil over the fillets and rub to coat both sides. Season all sides with salt and pepper to taste.
- Preheat the grill to medium-high. Clean and oil the grates. Grill the fillets 3–5 minutes per side (depending on thickness), flipping only once when the edges look browned and the fish is opaque and flakes easily. Transfer the cooked fillets to a plate and keep warm.
- In a skillet set over medium heat, melt 1 tablespoon of the butter. Add the 2 minced garlic cloves and sauté briefly until fragrant, about 20–30 seconds; do not let the garlic brown.
- Add the ½ cup chicken or vegetable stock to the skillet and bring to a gentle boil.
- Whisk the 1 teaspoon cornstarch with just enough cold water to dissolve it into a smooth slurry. Whisk the slurry into the boiling stock and continue whisking until the sauce thickens slightly.
- Once slightly thickened, stir in the juice of 1 lemon, the zest of half a lemon, and the ¼ cup heavy cream. Reduce heat to low and cook 1–2 minutes more until the sauce is thickened to a coating consistency. Stir in ¼ teaspoon salt and 1 teaspoon ground black pepper.
- Remove the pan from the heat and add the remaining 1 tablespoon butter, swirling the pan until the butter melts into a smooth, glossy sauce.
- Spoon the sauce over the grilled tilapia fillets. Sprinkle 1 tablespoon capers and 1 tablespoon chopped fresh parsley over the fish and serve immediately.
Equipment
- Grill
- Skillet
- Paper Towels
- Tongs
- Whisk
Notes
Oil everything.To get the best grilled tilapia that doesn’t stick, you want to use plenty of oil! Cover the fish in oil, and be sure to oil the clean grill grates, too.
Use foil packets.If you want to be positive your fish won’t stick to the grill, use foil packets. Remember the nonstick side of foil is the dull side, not the shiny one! You’ll get that same grilled flavor without the broken filets.
Remove from the grill sooner than you think.One of the best tricks I’ve learned for grilled tilapia is to take it off the grill sooner than you’d imagine. Once the fish is brown, you can flip it. When it’s completely opaque, it’s done! You can always check the internal temperature with a meat thermometer, too. It should be at least 145°F/63°C.