Buttermilk Chicken Tenders
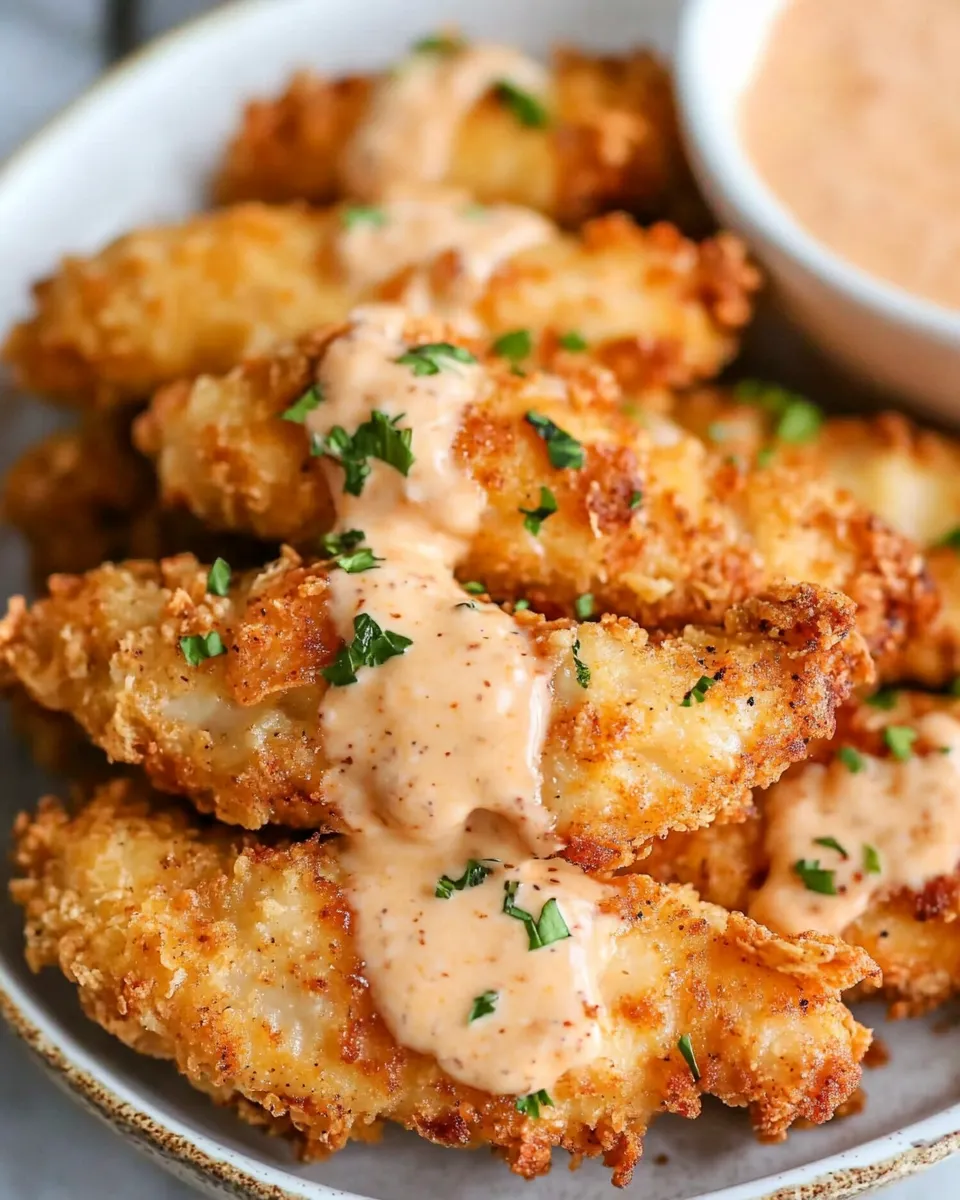
There’s something irresistibly delicious about crispy, juicy chicken tenders dipped in a tangy, flavorful batter. Buttermilk chicken tenders bring that perfect balance of tenderness and crunch, making them a favorite for family dinners, casual gatherings, or even a comfort food treat after a long day. This recipe uses simple ingredients, including 2 pounds of chicken tenderloins—known as mini chicken fillets in the UK—and oil for frying, to create juicy, flavorful chicken tenders that everyone will love. Whether you’re a seasoned cook or a beginner, this step-by-step guide will walk you through making perfect buttermilk chicken tenders that are crispy on the outside and tender on the inside.
Why This Recipe Is a Must-Try
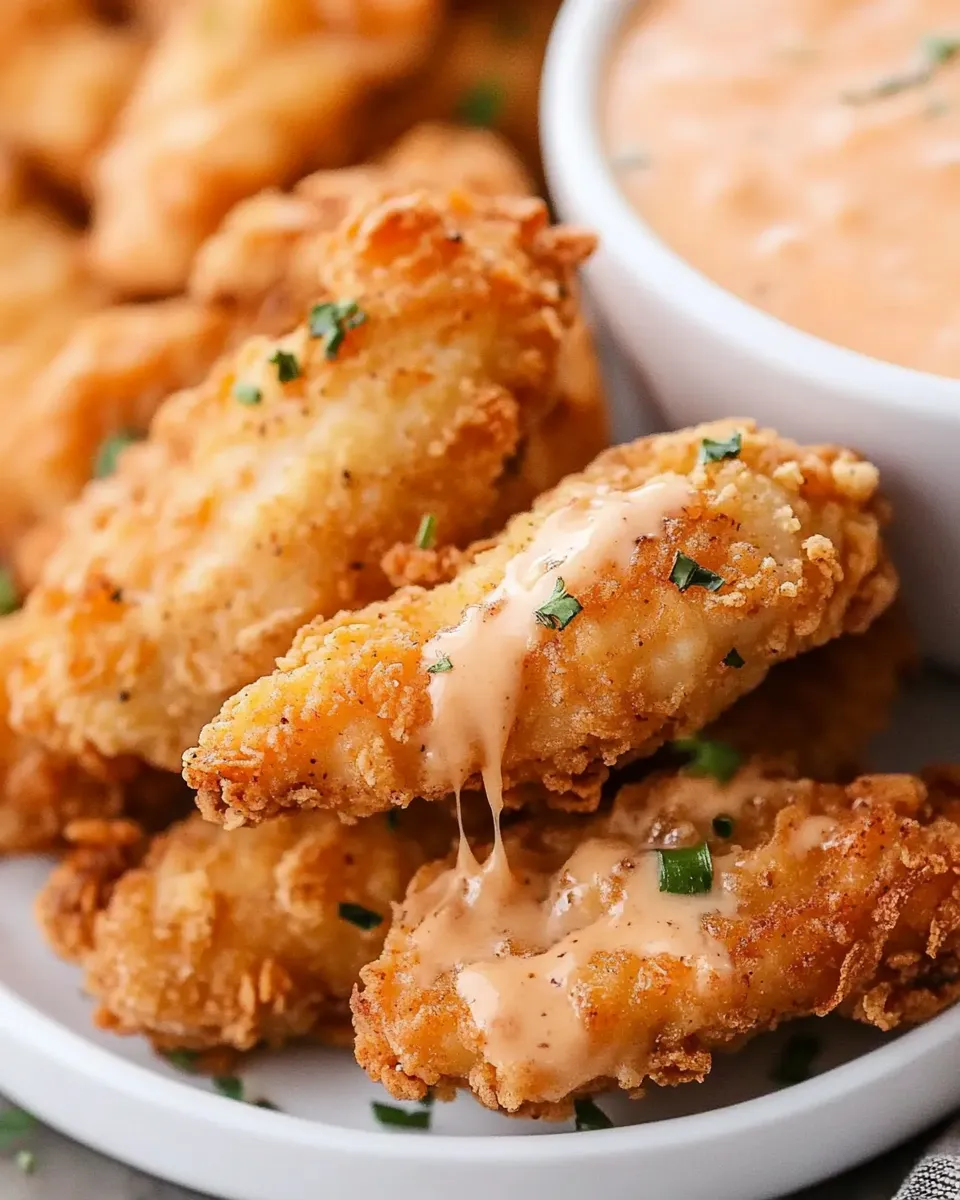
What makes these chicken tenders stand out? It’s all about the buttermilk marinade. Soaking the chicken in buttermilk tenderizes the meat, ensuring each bite is juicy and flavorful. The seasoned flour coating creates a wonderfully crispy crust that locks in the moisture. Plus, frying the chicken in oil gives it that golden-brown, crunchy exterior that’s simply irresistible.
Unlike many fast-food versions, these tenders are made from scratch with wholesome ingredients, allowing you to control the seasoning and texture. You can serve them with your favorite dipping sauces or alongside a fresh salad or crispy fries for a classic meal. Best of all, this recipe uses accessible ingredients and straightforward techniques, making it easy for anyone to recreate at home.
Ingredients
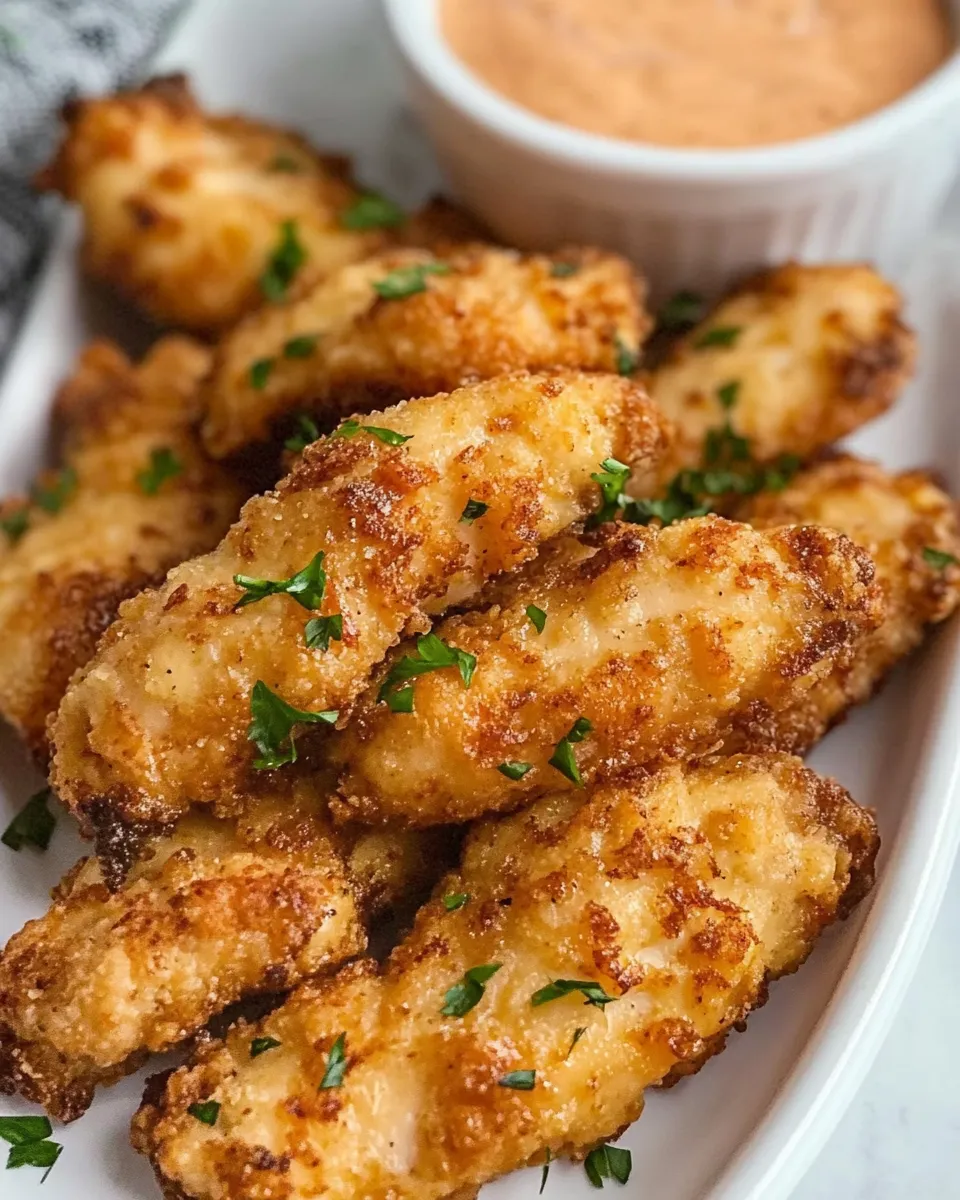
- 2 pounds chicken tenderloins (about 18 mini chicken fillets in the UK)
- 2 cups buttermilk (or homemade buttermilk: 2 cups milk mixed with 2 tablespoons lemon juice or white vinegar)
- 2 cups all-purpose flour
- 1 tablespoon paprika
- 1 teaspoon garlic powder
- 1 teaspoon onion powder
- 1 teaspoon salt
- 1/2 teaspoon black pepper
- 1/2 teaspoon cayenne pepper (optional, for a little heat)
- Oil for frying (vegetable, canola, or sunflower oil)
How To Make Buttermilk Chicken Tenders
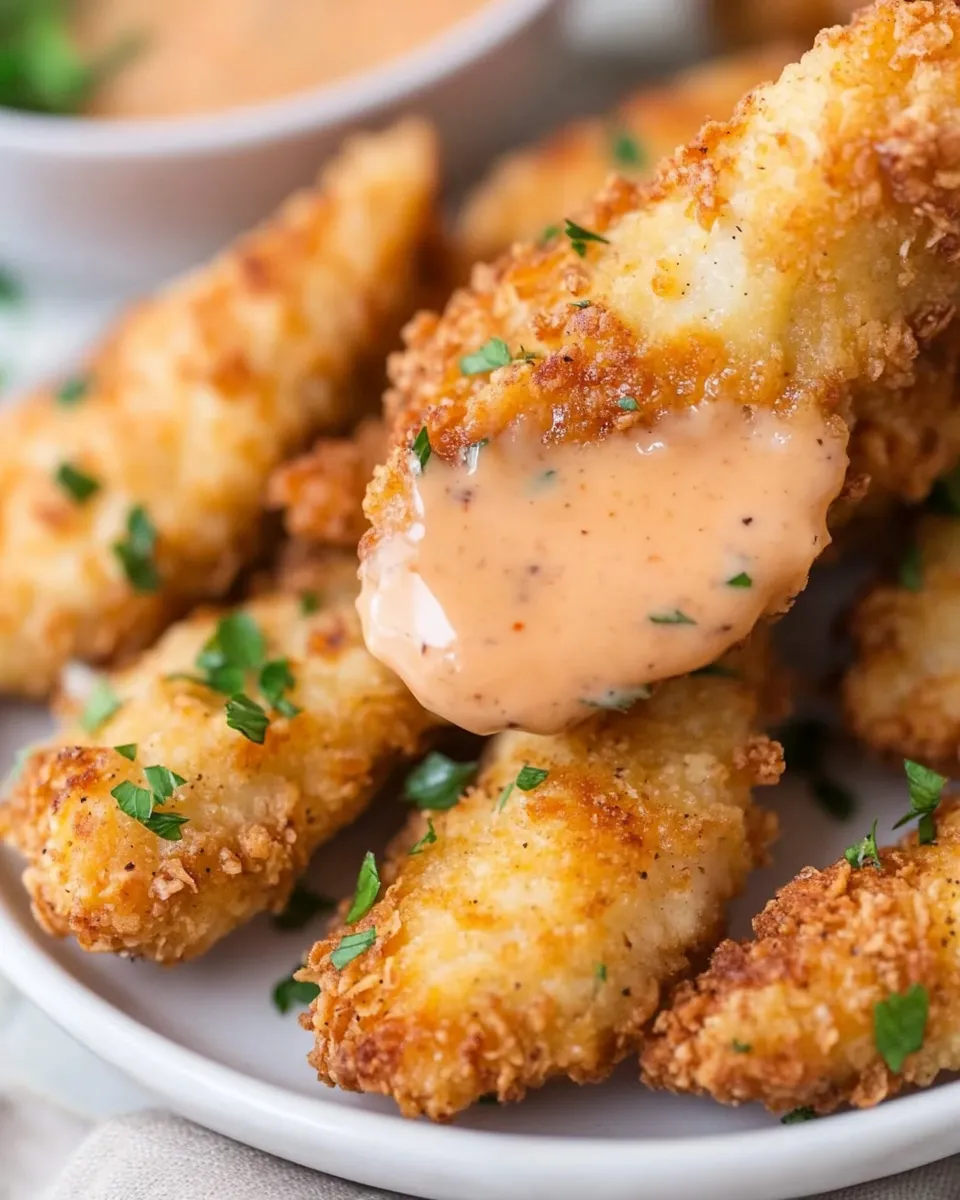
Step 1: Marinate the Chicken
Place the chicken tenderloins in a large bowl or resealable plastic bag. Pour the buttermilk over the chicken, making sure all pieces are fully coated. Cover the bowl with plastic wrap or seal the bag and refrigerate for at least 1 hour, preferably 4 hours or overnight. This step is key to tender, juicy chicken.
Step 2: Prepare the Flour Coating
In a shallow dish, combine the flour, paprika, garlic powder, onion powder, salt, black pepper, and cayenne pepper (if using). Mix the seasoning into the flour evenly. This seasoned flour will give your chicken tenders a flavorful and crispy crust.
Step 3: Coat the Chicken
Remove the chicken tenderloins from the buttermilk, letting any excess drip off. Dredge each piece in the seasoned flour mixture, pressing gently to ensure the coating sticks well. Place the coated chicken tenders on a wire rack or plate while you heat the oil.
Step 4: Heat the Oil
Pour about 2 inches of oil into a large, heavy-bottomed skillet or deep frying pan. Heat the oil over medium-high heat until it reaches 350°F (175°C). If you don’t have a thermometer, test the oil by dropping a small pinch of flour into it; if it sizzles immediately, the oil is hot enough.
Step 5: Fry the Chicken Tenders
Carefully add the chicken tenders to the hot oil in batches, making sure not to overcrowd the pan. Fry each batch for about 4-5 minutes, turning occasionally, until the chicken is golden brown and cooked through. The internal temperature should reach 165°F (74°C).
Step 6: Drain and Serve
Use a slotted spoon or tongs to transfer the cooked chicken tenders to a plate lined with paper towels to drain excess oil. Let them rest for a few minutes before serving to maintain crispiness. Serve with your favorite dipping sauces, such as honey mustard, barbecue sauce, or a spicy aioli.
Expert Tips
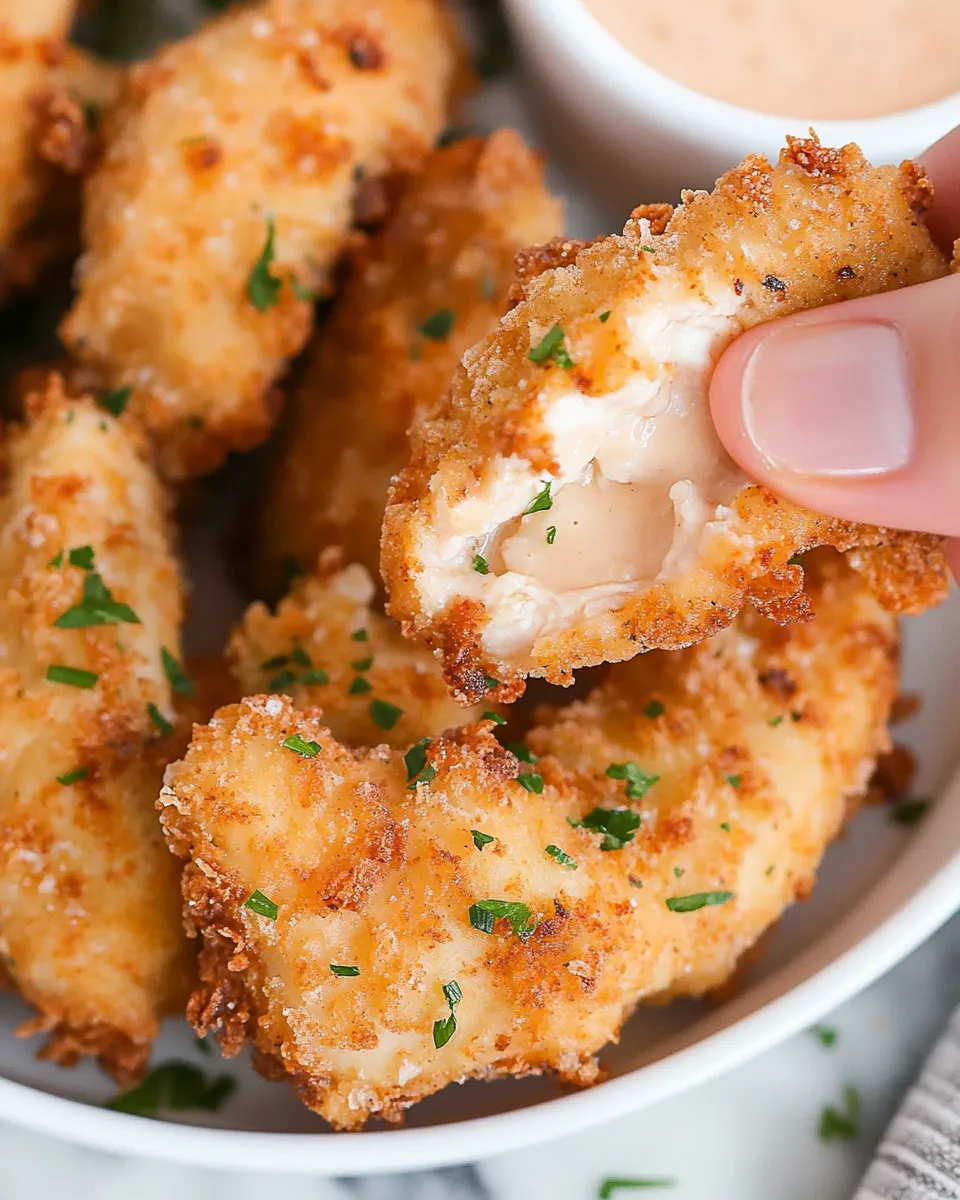
- For extra crispy tenders, double dredge the chicken by dipping it back into the buttermilk after the first flour coating, then dredge it again in the flour mixture.
- Use a wire rack to drain the cooked tenders instead of paper towels alone—this keeps the crust crispy by preventing them from sitting in oil.
- Maintain the oil temperature between 350°F and 360°F for even cooking and to avoid greasy chicken.
- Don’t overcrowd the pan when frying; this lowers the oil temperature and results in soggy tenders.
- Allow the chicken to marinate overnight for maximum tenderness and flavor infusion.
- If you prefer baking, place the coated tenders on a parchment-lined baking sheet, spray with oil, and bake at 425°F (220°C) for 15-20 minutes, flipping halfway through.
Variations and Customizations
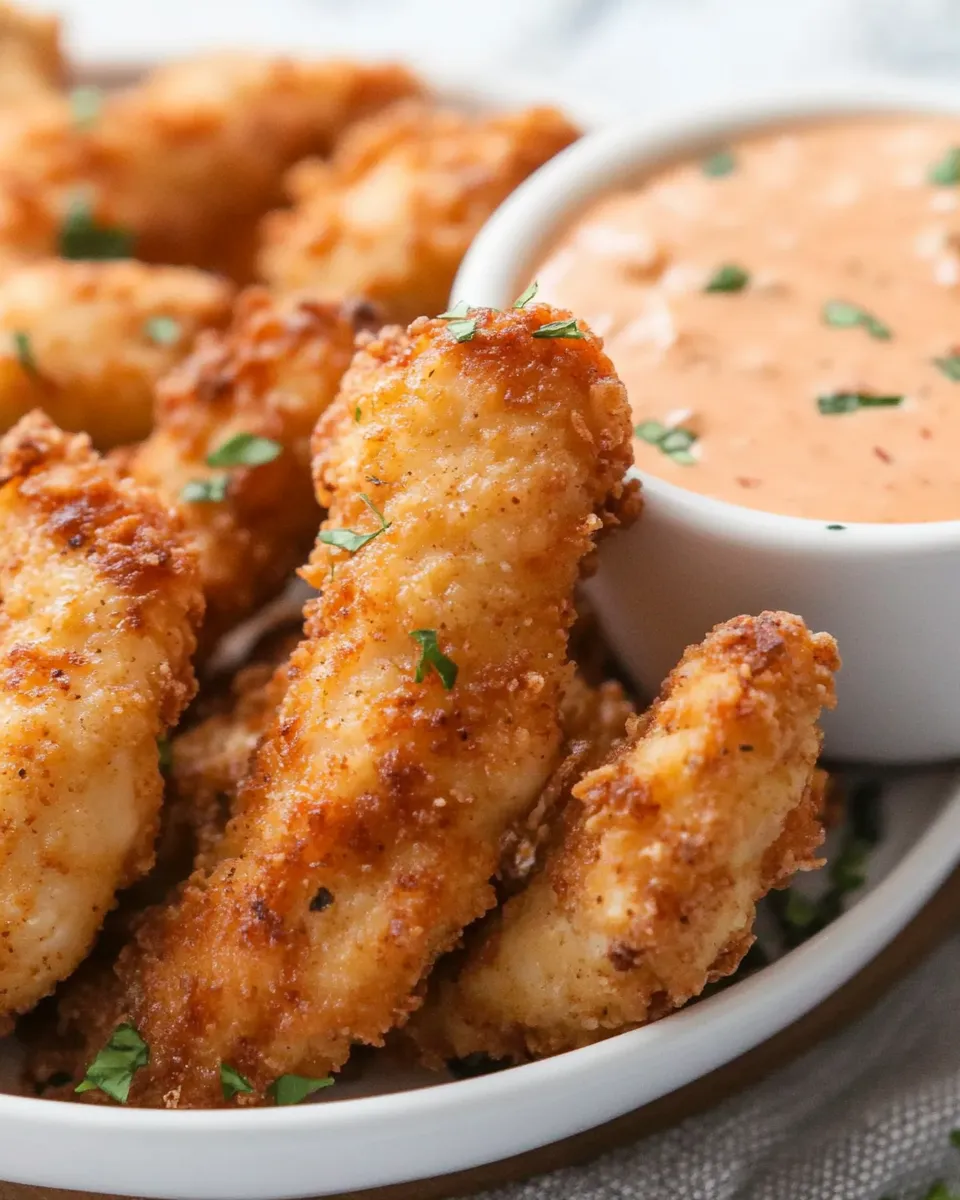
- Spicy Buttermilk Chicken Tenders: Add extra cayenne pepper or smoked paprika to the flour mixture. Serve with a cooling ranch or yogurt-based dip.
- Herbed Tenders: Mix dried herbs like thyme, oregano, or rosemary into the flour for a fragrant twist.
- Gluten-Free Version: Use gluten-free all-purpose flour or almond flour for the coating.
- Oven-Baked Option: For a lighter version, bake the tenders as described in the tips section.
- Garlic Parmesan: After frying, toss the tenders in a mixture of grated Parmesan cheese and garlic powder for an extra burst of flavor.
- Sweet and Spicy: Serve with a drizzle of honey or a side of sweet chili sauce for a delicious contrast.
How to Store Leftovers
Store any leftover chicken tenders in an airtight container in the refrigerator for up to 3 days. To reheat and maintain the crispy texture, place them on a wire rack over a baking sheet and warm in a preheated oven at 375°F (190°C) for 10-12 minutes. Avoid microwaving as it can make the coating soggy. You can also freeze cooked tenders by placing them in a single layer on a baking sheet to freeze individually, then transfer to a freezer-safe container or bag. Reheat from frozen in the oven for best results.
FAQ
Can I use chicken breasts instead of tenderloins?
Yes, you can use chicken breasts cut into strips if you don’t have tenderloins. Just be sure to slice them evenly for consistent cooking, and marinate them in buttermilk for at least 1 hour for the best texture.
What can I use if I don’t have buttermilk?
You can make a simple buttermilk substitute by mixing 2 cups of milk with 2 tablespoons of lemon juice or white vinegar. Let it sit for 5-10 minutes until it thickens slightly before using.
Is frying the only way to cook these tenders?
While frying gives the crispiest texture, you can bake the tenders in the oven at 425°F (220°C) for 15-20 minutes, flipping halfway through. This is a healthier option with slightly less crunch.
How do I know when the chicken tenders are fully cooked?
The best way to check is with a meat thermometer. The internal temperature should reach 165°F (74°C). If you don’t have a thermometer, cut into one piece to ensure there’s no pink meat and the juices run clear.
Conclusion
Buttermilk chicken tenders are a fantastic way to enjoy crispy, juicy chicken with simple ingredients and easy steps. The buttermilk marinade keeps the chicken tender, while the seasoned flour coating creates a perfect crunchy crust. Whether you’re serving them as a family meal, party snack, or comfort food, these tenders deliver incredible flavor and texture every time. Try out the variations or stick to the classic recipe—it’s hard to go wrong with this delicious, crowd-pleasing dish!
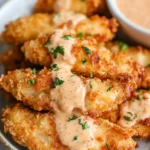
Buttermilk Chicken Tenders
Ingredients
- 2 pounds chicken tenderloins (about 18 mini chicken fillets in the UK)
- 2 cups buttermilk (or homemade buttermilk: 2 cups milk mixed with 2 tablespoons lemon juice or white vinegar)
- 2 cups all-purpose flour
- 1 tablespoon paprika
- 1 teaspoon garlic powder
- 1 teaspoon onion powder
- 1 teaspoon salt
- 0.5 teaspoon black pepper
- 0.5 teaspoon cayenne pepper (optional, for a little heat)
- oil for frying (vegetable, canola, or sunflower oil)
Instructions
- Place the chicken tenderloins in a large bowl or resealable plastic bag. Pour the buttermilk over the chicken, making sure all pieces are fully coated. Cover the bowl with plastic wrap or seal the bag and refrigerate for at least 1 hour, preferably 4 hours or overnight.
- In a shallow dish, combine the flour, paprika, garlic powder, onion powder, salt, black pepper, and cayenne pepper (if using). Mix the seasoning into the flour evenly.
- Remove the chicken tenderloins from the buttermilk, letting any excess drip off. Dredge each piece in the seasoned flour mixture, pressing gently to ensure the coating sticks well. Place the coated chicken tenders on a wire rack or plate while you heat the oil.
- Pour about 2 inches of oil into a large, heavy-bottomed skillet or deep frying pan. Heat the oil over medium-high heat until it reaches 350°F (175°C). If you don’t have a thermometer, test the oil by dropping a small pinch of flour into it; if it sizzles immediately, the oil is hot enough.
- Carefully add the chicken tenders to the hot oil in batches, making sure not to overcrowd the pan. Fry each batch for about 4-5 minutes, turning occasionally, until the chicken is golden brown and cooked through. The internal temperature should reach 165°F (74°C).
- Use a slotted spoon or tongs to transfer the cooked chicken tenders to a plate lined with paper towels to drain excess oil. Let them rest for a few minutes before serving to maintain crispiness. Serve with your favorite dipping sauces, such as honey mustard, barbecue sauce, or a spicy aioli.
Equipment
- Large Bowl
- Resealable Plastic Bag
- Shallow Dish
- Wire Rack
- Large Heavy-Bottomed Skillet
- Deep Frying Pan
- Slotted Spoon
- Meat Thermometer

