Chocolate Pie
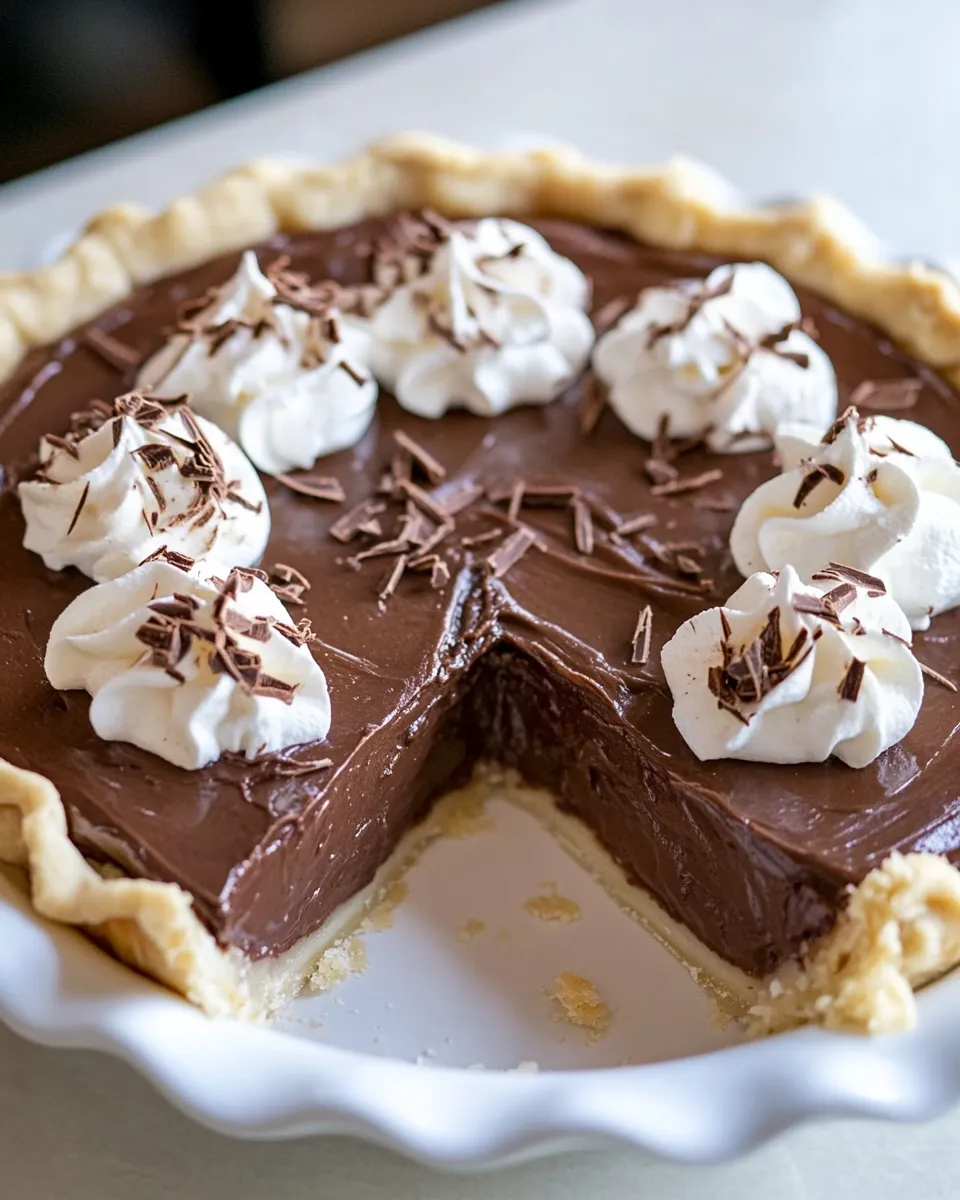
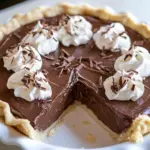
This is the kind of Chocolate Pie I turn to when a crowd is coming, when I want something that looks impressive but doesn’t demand an all-day commitment. It’s a chocolate custard set in a blind-baked crust, glossy and firm enough to slice cleanly, with a texture that sits between pudding and ganache. It’s reliable, clear in technique, and forgiving if you pay attention to the few critical moments.
I like that it separates into straightforward stages: crust, stovetop filling, chill. Each stage is short and logical, so you can pace the work and clean as you go. The filling is cooked on the stove, so you control the thickness and finish by eye — that’s where the experience climbs from good to excellent.
Below you’ll find a concise ingredient breakdown, a step-by-step build of the Chocolate Pie, smart substitutions, troubleshooting pointers, and make-ahead strategies so the pie fits into your schedule. No gimmicks — just a dependable chocolate pie you’ll make again and again.
Ingredient Rundown

Ingredients
- 1 prepared pie crust (homemade or storebought) — the structural base; blind-baked so the filling stays glossy and doesn’t make the crust soggy.
- ⅓ cup cornstarch — the thickener that gives the filling pudding-like body without a heavy flour taste.
- 1 ¼ cups sugar — sweetness and structure; balances the dark chocolate.
- ¼ teaspoon salt — rounds out the chocolate and enhances flavor.
- 4 large egg yolks — enrich the filling and help it set to a custardy texture.
- 2 ½ cups whole milk — provides the bulk of the liquid and a creamy base.
- ½ cup heavy cream — adds richness and a silkier mouthfeel.
- 6 ounces chopped dark chocolate (70% cocoa) — the flavor core; use a good-quality bar for depth.
- 2 tablespoon unsalted butter — adds sheen and mouthfeel to the finished filling.
- 1 tablespoon vanilla extraxt — flavor lift; stir in at the end for aromatic finish.
- whipped cream — garnish; cuts the richness and adds a light contrast.
- chopped dark chocolate — optional garnish for texture and visual finish.
Build Chocolate Pie Step by Step
- Preheat the oven to 350°F (175°C). Place 1 prepared pie crust in a 9-inch pie dish, trim any excess, and crimp the edges. Line the crust with parchment paper and fill with pie weights or dried beans.
- Bake the crust for 20 minutes. Carefully remove the parchment paper and weights, then return the crust to the oven and bake an additional 10 minutes, or until the crust is set and lightly golden.
- Remove the crust from the oven and set it on a wire rack to cool to room temperature.
- While the crust cools, measure the filling ingredients. In a medium saucepan, whisk together 1/3 cup cornstarch, 1 1/4 cups sugar, and 1/4 teaspoon salt until evenly combined.
- Add 4 large egg yolks, 2 1/2 cups whole milk, and 1/2 cup heavy cream to the saucepan. Whisk until the mixture is completely smooth and no lumps of cornstarch remain.
- Place the saucepan over medium heat. Whisk constantly and continuously scrape the bottom and sides of the pan. Heat until the mixture thickens and begins to bubble around the edges and reaches a pudding-like consistency.
- Remove the pan from the heat immediately once thickened.
- Add 6 ounces chopped dark chocolate, 2 tablespoons unsalted butter, and 1 tablespoon vanilla extract to the hot pudding. Stir continuously until the chocolate and butter are fully melted and the filling is smooth and glossy.
- Pour the hot chocolate filling into the cooled pie crust. Use a spatula to smooth the top so the filling is level.
- Optional: place a piece of plastic wrap directly on the surface of the filling to prevent a skin from forming. Refrigerate the pie until fully set, at least 6 hours.
- When ready to serve, top slices with whipped cream and sprinkle with additional chopped dark chocolate if desired.
Why It’s Crowd-Pleasing
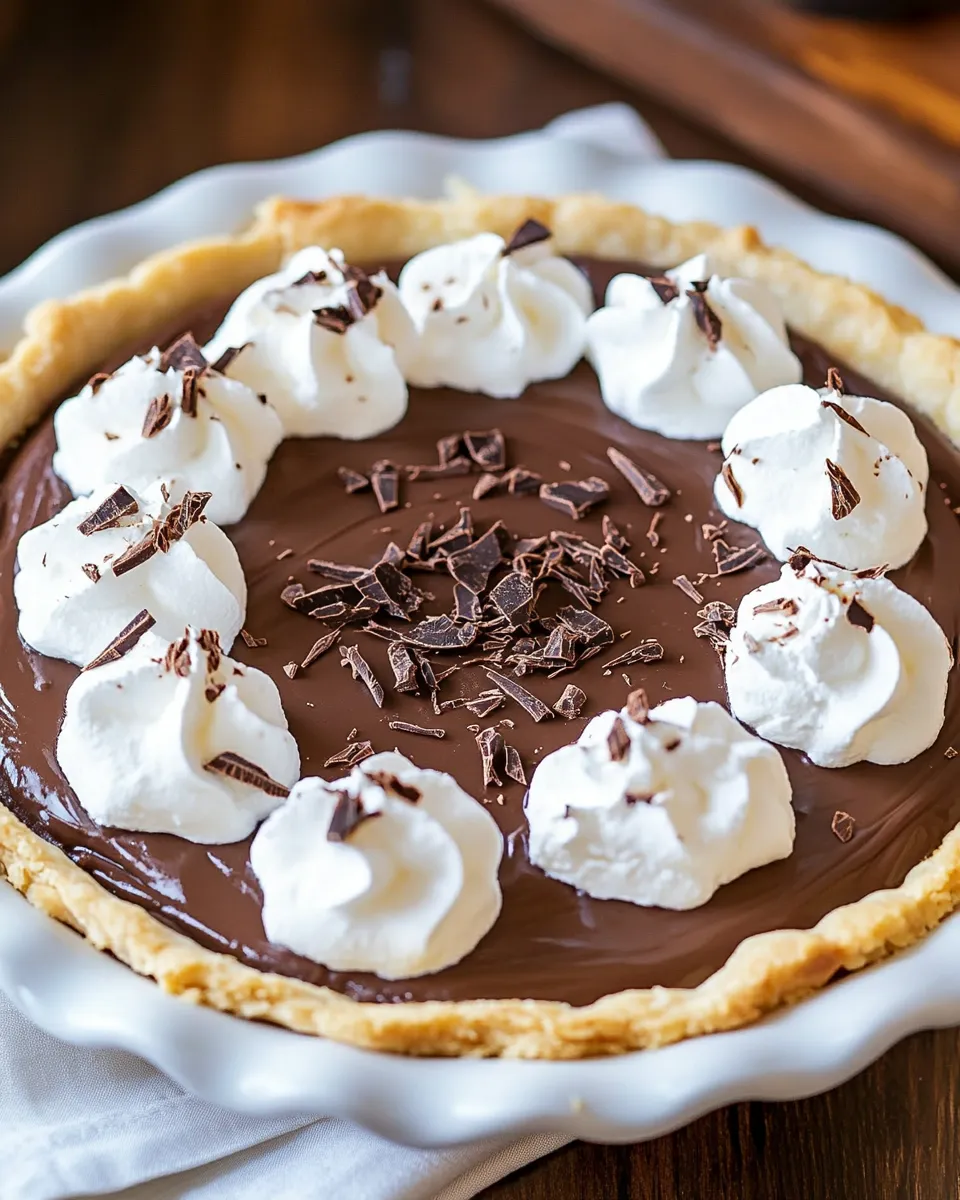
The flavors are straightforward and bold: high-percentage dark chocolate, proper sugar balance, and a creamy custard texture. That combination hits the chocolate lovers in the room and still pleases people who say they prefer lighter desserts. The glossy surface and clean slices look polished, so it reads as a celebration dessert even though it’s simple to execute.
Texturally, the pie sits between a pudding and a ganache — smooth, dense, and not overly gelatinous. People respond to that richness. Add a dollop of whipped cream and you’ve got contrast in both flavor and mouthfeel, which always scores points at the table.
What to Use Instead

- Prepared pie crust — use a graham cracker crust for a different texture and flavor profile, or a prebaked sweet shortcrust for extra buttery notes.
- Cornstarch — arrowroot is a one-to-one substitute if you want a glossy finish; note that arrowroot reacts differently with dairy and should be kept off prolonged high heat.
- Whole milk / heavy cream — for a lighter version, swap some whole milk for low-fat milk but keep at least half the liquid as whole milk to preserve richness.
- Chopped dark chocolate (70%) — use a 60% bar if you prefer less intensity, or mix dark and milk chocolate for a rounder, sweeter filling.
- Unsalted butter — if you only have salted butter, omit any extra added salt in the filling and taste before adjusting.
Equipment Breakdown
Here’s what you’ll want on hand and why it matters.
- 9-inch pie dish — standard size for the given crust and filling volume.
- Medium saucepan — heavy-bottomed is best to prevent scorching while you whisk the custard.
- Whisk — for smooth mixing and to keep cornstarch from clumping.
- Spatula — to stir the chocolate into the hot pudding and to smooth the filling in the crust.
- Parchment paper and pie weights/dried beans — for blind-baking the crust to prevent bubbles and shrinkage.
- Wire rack — to cool the crust evenly before filling.
Avoid These Mistakes
There are a few simple missteps that can ruin an otherwise perfect Chocolate Pie. Watch for them and you’ll be fine.
- Skipping the blind-bake — filling an unbaked crust with a cooked custard invites sogginess. Bake the crust fully as directed.
- Heating too hot or not whisking — the custard must be whisked constantly over medium heat. If you stop whisking or crank the heat, it will scorch or scramble.
- Rushing the set — serve before the filling is fully chilled and it won’t slice cleanly. Allow at least 6 hours refrigerated.
- Adding chocolate too early — stir the chocolate into the mixture off the heat so it melts gently and the structure of the custard isn’t compromised.
Spring to Winter: Ideas
Seasonal twists keep this pie feeling fresh throughout the year.
- Spring — top with lightly sweetened whipped cream and a scattering of fresh berries to add brightness.
- Summer — serve with espresso-shaved ice cream or a basil-infused whipped cream for a grown-up pairing.
- Fall — fold a pinch of cinnamon or a small amount of espresso into the filling for warm spices and deeper chocolate notes.
- Winter — finish with a sprinkle of flaky sea salt and candied orange peel or a drizzle of liqueur-spiked caramel alongside each slice.
Method to the Madness
Technique matters more than tricks here. The key moments are the blind-bake and the cooking of the custard. For the crust: have it trimmed and crimped so it bakes evenly. Line and weigh it so the base doesn’t puff. Watch the edges closely on the second bake; you want light gold, not deep brown.
For the filling: whisk the dry ingredients together first so the cornstarch is evenly distributed. Combine the yolks and milk into the dry mix, then cook over medium heat, whisking continuously. It will go from thin to thick quickly; the change is dramatic. Once it bubbles at the edges and shows a pudding-like coat on the back of a spoon, remove from heat and stir in the chocolate, butter, and vanilla. Pour while still hot so the chocolate melts fully and the surface smooths out.
Make Ahead Like a Pro
This pie plays extremely well for make-ahead entertaining. Refrigerated, it needs at least 6 hours to set, but can be made up to 48 hours in advance without loss of texture. Keep it covered with plastic wrap; if you place wrap directly on the filling before it cools, you’ll prevent a skin from forming.
If you need to go longer, the prebaked crust can be made a day ahead and stored at room temperature in an airtight container. The filling will keep in the fridge for up to 3 days, but the quality of the crust will start to decline after 24 hours if exposed to humidity. For the best presentation, add whipped cream and any chopped chocolate just before serving.
Frequently Asked Questions
Can I use a store-bought pie crust? Yes. The recipe calls for a prepared pie crust, which can be homemade or storebought. Just blind-bake it as instructed.
My custard lumps — what happened? Lumps usually mean the cornstarch wasn’t fully whisked into the liquid or the heat was too high and it started to cook unevenly. Strain the mixture through a fine-mesh sieve if needed, and use lower heat next time while whisking constantly.
How do I fix a cracked surface? Cracks are usually cosmetic and result from rapid cooling. A quick fix is to cover with whipped cream and chopped chocolate; it hides imperfections and tastes great.
Can I freeze this pie? Freezing creamy custards changes texture, so it’s not ideal. If you must, freeze only the baked crust unfilled, and make the filling fresh. If you freeze the assembled pie, thaw in the fridge slowly and expect a softer texture.
Before You Go
Chocolate Pie is one of those desserts that rewards attention to small steps: blind-bake thoroughly, whisk the custard carefully, mix the chocolate in off the heat, and chill fully. Follow those rules and you’ll have a dessert that looks elegant and tastes like a treat without a lot of theatrical effort.
If you try it, leave a note about what chocolate percentage you used and whether you swapped anything. Small adjustments make big differences in chocolate desserts, and I love hearing which variations work for you.
Chocolate Pie
Ingredients
Ingredients
- 1 preparedpie crusthomemade or storebought
- 1/3 cupcornstarch
- 1 1/4 cupsugar
- 1/4 teaspoonsalt
- 4 largeegg yolks
- 2 1/2 cupswhole milk
- 1/2 cupheavy cream
- 6 ounceschopped dark chocolate 70% cocoa
- 2 tablespoonunsalted butter
- 1 tablespoonvanilla extraxt
- whipped cream
- chopped dark chocolate
Instructions
Instructions
- Preheat the oven to 350°F (175°C). Place 1 prepared pie crust in a 9-inch pie dish, trim any excess, and crimp the edges. Line the crust with parchment paper and fill with pie weights or dried beans.
- Bake the crust for 20 minutes. Carefully remove the parchment paper and weights, then return the crust to the oven and bake an additional 10 minutes, or until the crust is set and lightly golden.
- Remove the crust from the oven and set it on a wire rack to cool to room temperature.
- While the crust cools, measure the filling ingredients. In a medium saucepan, whisk together 1/3 cup cornstarch, 1 1/4 cups sugar, and 1/4 teaspoon salt until evenly combined.
- Add 4 large egg yolks, 2 1/2 cups whole milk, and 1/2 cup heavy cream to the saucepan. Whisk until the mixture is completely smooth and no lumps of cornstarch remain.
- Place the saucepan over medium heat. Whisk constantly and continuously scrape the bottom and sides of the pan. Heat until the mixture thickens and begins to bubble around the edges and reaches a pudding-like consistency.
- Remove the pan from the heat immediately once thickened.
- Add 6 ounces chopped dark chocolate, 2 tablespoons unsalted butter, and 1 tablespoon vanilla extract to the hot pudding. Stir continuously until the chocolate and butter are fully melted and the filling is smooth and glossy.
- Pour the hot chocolate filling into the cooled pie crust. Use a spatula to smooth the top so the filling is level.
- Optional: place a piece of plastic wrap directly on the surface of the filling to prevent a skin from forming. Refrigerate the pie until fully set, at least 6 hours.
- When ready to serve, top slices with whipped cream and sprinkle with additional chopped dark chocolate if desired.
Equipment
- 9-inch Pie Dish
- Parchment Paper
- Pie weights or dried beans
- Oven
- Wire Rack
- Medium Saucepan
- Whisk
- Spatula