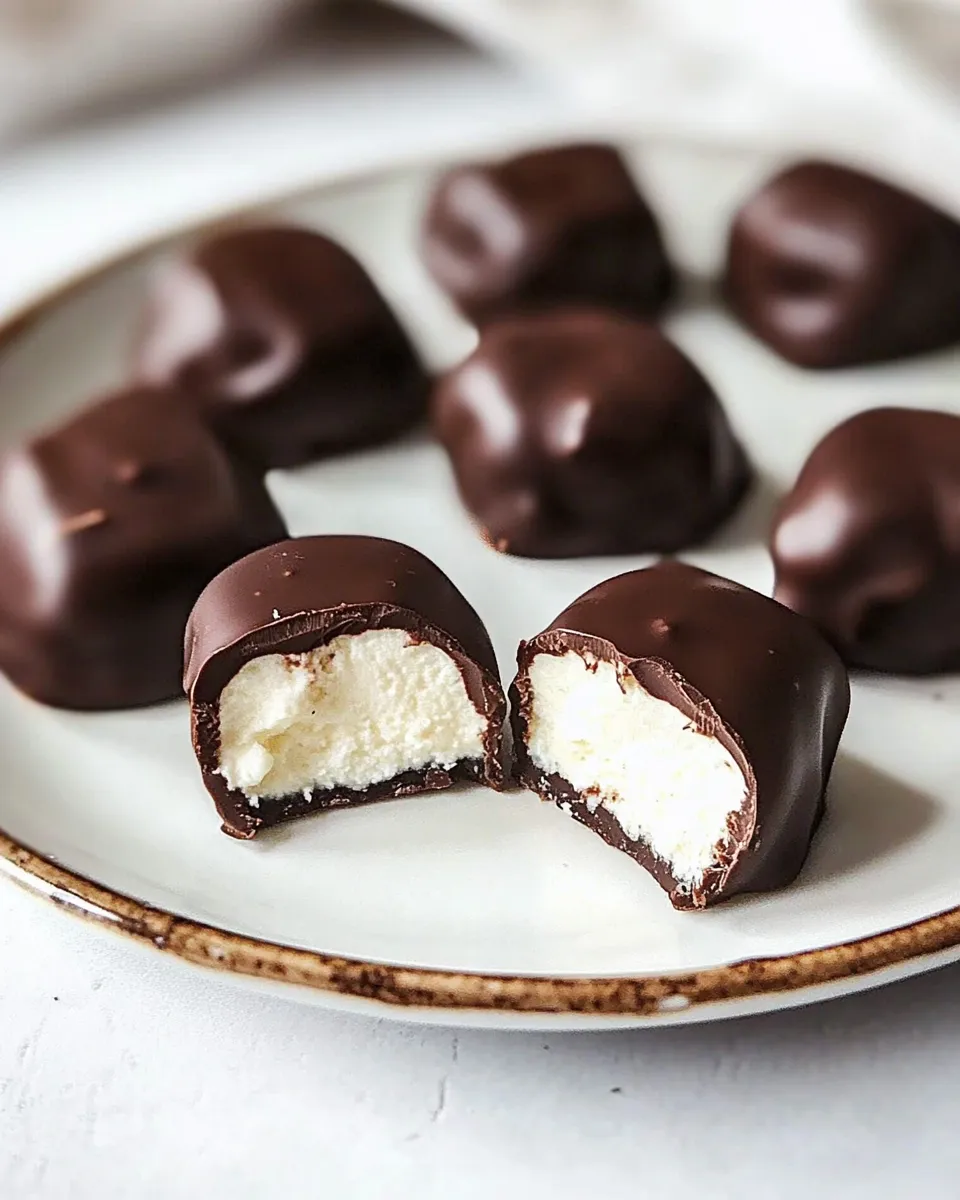
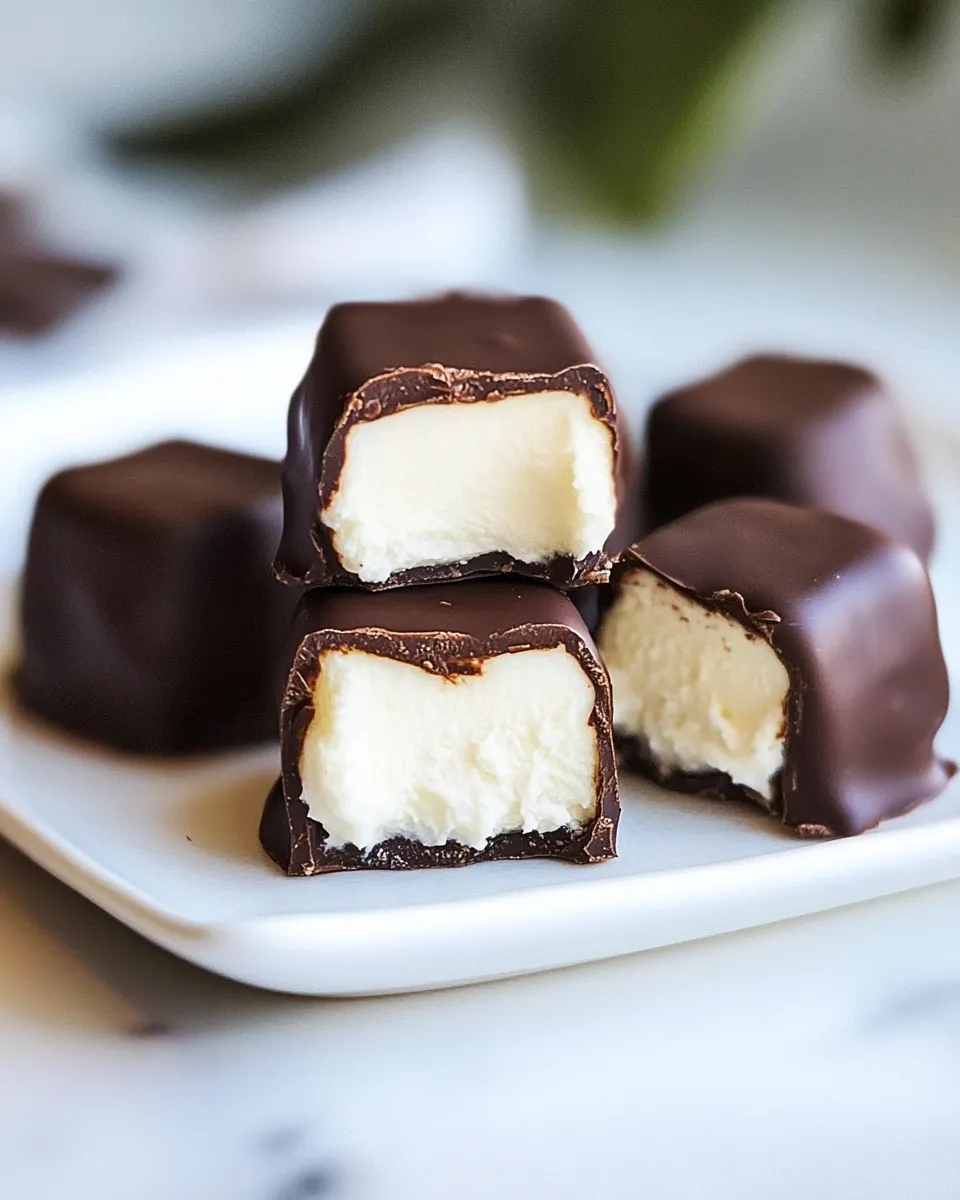
Chocolate Covered Cheesecake Bites
I make these chocolate covered cheesecake bites on repeat when I need an impressive-but-simple treat. They take a handful of pantry staples and deliver something dense, creamy, and perfectly portioned. The dark chocolate shell keeps the slices neat and adds a bitter balance to the mildly sweet, tangy cheesecake inside.
This version uses reduced‑fat cream cheese and plain Greek yogurt for a lighter texture without skimping on flavor. The coconut sugar adds a subtle caramel note and plays nicely with the dark chocolate coating. They’re great for parties, weekday dessert when you want something small, or an elegant bite to bring to a potluck.
They do require a bit of passive time—baking, chilling, and then setting the chocolate—but active hands-on time is minimal. I walk through the exact steps and share practical tips so your bites come out clean, glossy, and easy to serve.
What You’ll Need

Below I list the ingredients and then the step-by-step method. Read the instructions fully before you start so you can plan the chilling and chocolate-dipping stages.
Ingredients
- 8 ounces cream cheese, reduced-fat, room temperature — base for the cheesecake; soften until smooth to avoid lumps.
- 1 cup Greek yogurt, plain — adds tang and creaminess while keeping the filling lighter.
- 1 teaspoon vanilla extract — flavor support; boosts the overall profile without overpowering.
- 1/4 cup coconut sugar — sweetener with a toasty, caramel edge; dissolves into the batter.
- 1 egg — binds the filling and helps it set while baking.
- 12 ounces dark chocolate — coating for the bites; choose a quality bar or chips for better melt and snap.
- 3 tablespoons coconut oil — thins the chocolate for a smoother dip and helps it set glossy.
How to Prepare (Chocolate Covered Cheesecake Bites)
- Preheat oven to 325°F. Spray an 8 x 8-inch square pan with nonstick cooking spray.
- In a medium bowl, beat 8 ounces reduced‑fat cream cheese until smooth.
- Add 1/4 cup coconut sugar and 1 teaspoon vanilla extract to the cream cheese and mix until combined.
- Add 1 egg and 1 cup plain Greek yogurt and mix until the batter is smooth and uniform.
- Pour the batter into the prepared 8 x 8-inch pan and smooth the top.
- Bake 55 to 60 minutes, until the edges are set and the center is mostly set (a slight jiggle in the center is fine).
- Remove the pan from the oven and cool on a wire rack to room temperature. Once cooled, refrigerate the cheesecake in the pan until fully chilled and firm (at least 2 hours).
- Run a knife around the edges, lift the cheesecake from the pan, and cut into 1 x 1‑inch squares. Place the squares on a plate or tray.
- Line a tray with parchment paper for the dipped bites.
- Place 12 ounces dark chocolate and 3 tablespoons coconut oil in a heatproof bowl set over a pot of simmering water (or use a small saucepan on very low heat). Stir constantly until the chocolate and coconut oil are thoroughly melted and smooth. Remove from heat.
- Using a fork or dipping tool, dip each chilled cheesecake square into the melted chocolate, let excess chocolate drip back into the bowl, and transfer the dipped bite to the prepared parchment paper.
- When all bites are coated, place the tray in the refrigerator until the chocolate is set.
Why It’s Crowd-Pleasing
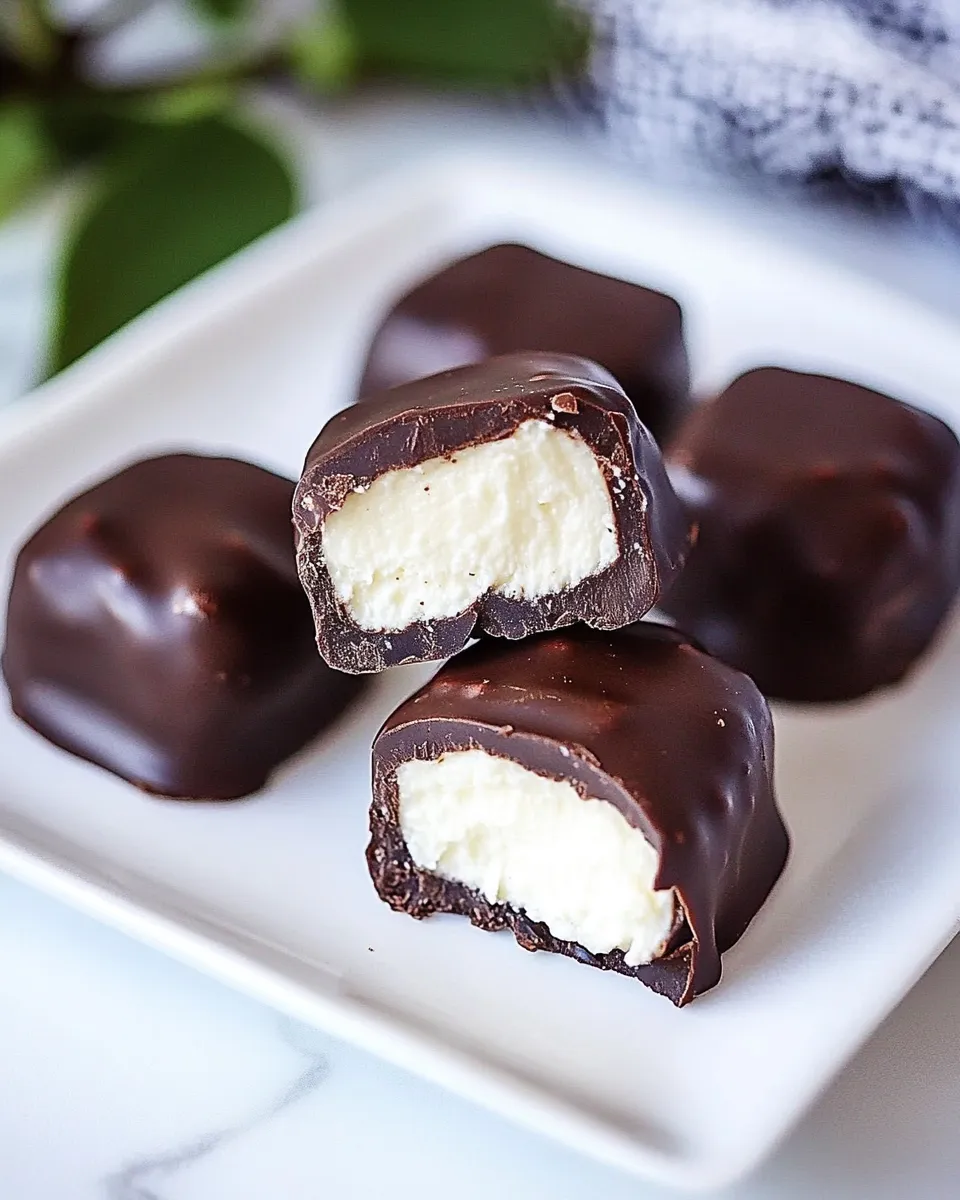
Chocolate covered cheesecake bites hit three triggers people love: creaminess, bite-size convenience, and a pleasing contrast of textures. The cheesecake is dense enough to feel satisfying but still tender. The dark chocolate shell gives a little snap and a clean presentation that looks like you spent much longer on them than you did.
They’re also easy to eat without plates or forks, which makes them perfect for social settings. Serve them chilled on a platter and they’ll disappear fast—people like being able to take one or two and go back for more.
Ingredient Flex Options
- Swap the dark chocolate for semisweet or milk chocolate if you prefer a sweeter coating. Keep in mind sweetness balance will change.
- If you want a richer cheesecake, replace up to 2 ounces of the reduced‑fat cream cheese with full‑fat cream cheese, but you’ll lose the lighter profile.
- Add a teaspoon of lemon zest to the batter for a brighter finish; it cuts through the chocolate richness and complements the tang of the yogurt.
- Top dipped bites with a sprinkle of flaky sea salt, chopped toasted nuts, or a dusting of cocoa powder before the chocolate sets for variation.
What You’ll Need (Gear)
- 8 x 8-inch square baking pan — for the cheesecake base and even baking.
- Nonstick cooking spray — for easy release.
- Medium mixing bowl and hand mixer or stand mixer — to beat the cream cheese smooth.
- Wire rack and parchment paper — for cooling and setting dipped bites.
- Heatproof bowl and pot for double boiler (or a small saucepan) — to melt chocolate gently.
- Knife and cutting board — to portion the chilled cheesecake into 1 x 1-inch squares.
- Forks or dipping tool — to coat the squares cleanly in chocolate.
Pitfalls & How to Prevent Them
- Cracked or split cheesecake: Avoid overbeating once the egg is added; mix just until combined. Bake at the stated temperature and don’t open the oven in the first 30 minutes.
- Soggy bottom or poorly set center: Ensure the cheesecake cools to room temperature before refrigerating and chill for at least the stated time so it firms up enough to cut cleanly.
- Lumpy filling: Beat the cream cheese until completely smooth before adding other ingredients. Room-temperature cream cheese is key.
- Seized or grainy chocolate: Melt chocolate gently over simmering water and stir constantly. Adding the coconut oil as directed helps create a smooth, glossy coating.
- Messy dipping: Work with well-chilled cheesecake squares and use a fork or dipping tool so excess chocolate can drip back into the bowl. Have parchment lined trays ready to catch drips.
Allergy-Friendly Swaps
- Dairy-free: Use dairy-free cream cheese and non-dairy Greek-style yogurt (coconut or almond-based). Note texture will vary; chilling time may need adjustment.
- Egg-free: For an egg allergy, this recipe relies on the egg for structure; try an egg replacer designed for baking or increase firming by chilling longer, but results will differ.
- Nut allergies: The recipe itself doesn’t call for nuts, but if you add toppings avoid nut-based garnishes and check your chocolate for traces of nuts.
- Refined sugar-free: Coconut sugar is already used here. If you need a specific substitute for coconut sugar, choose a 1:1 alternative like date sugar, keeping in mind texture and melting differences.
Recipe Notes & Chef’s Commentary
I prefer reduced‑fat cream cheese here for a lighter texture, but you can use full‑fat for a richer mouthfeel. The Greek yogurt keeps the batter moist and adds a pleasant tang that plays off the chocolate. When cutting 1 x 1-inch squares, use a sharp, clean knife and wipe it between cuts for tidy edges.
Chocolate coating will look best if you temper it slightly by cooling the melted chocolate to lukewarm before dipping. The coconut oil called for in the recipe serves this practical purpose: it thins the chocolate and gives a satiny finish without needing strict tempering technique.
Prep Ahead & Store
- Make ahead: You can bake the cheesecake up to 2 days in advance and keep it chilled in the pan, covered. Cut and dip on the day you plan to serve for the cleanest appearance.
- Storage: Store the finished bites in an airtight container in the refrigerator. They’ll keep well for up to 5 days.
- Freezing: You can freeze the plain cheesecake slab (before dipping) for up to 1 month. Thaw overnight in the fridge, cut, then dip. Chocolate-dipped bites do not freeze and thaw well—the coating can discolor or separate.
Frequently Asked Questions
- Can I use a different sweetener? Yes. The recipe uses 1/4 cup coconut sugar. Brown sugar or granulated sugar can work, but flavor and moisture will change slightly.
- Do I have to use coconut oil with the chocolate? Coconut oil helps make the chocolate smoother and shinier and eases dipping. A neutral oil like vegetable oil can be substituted in a pinch, but coconut oil is preferable for consistency.
- Why did my chocolate look dull after setting? If the chocolate cools too quickly or is not tempered/combined with enough oil, it can bloom or lose shine. Cooling in the fridge will set it, and the coconut oil helps maintain gloss.
- How do I prevent the cheesecake from cracking? Follow the bake time and avoid overbeating. A slight jiggle in the center at the end of baking is intended; it firms up during chilling.
Make It Tonight
If you have about 15 minutes of hands-on time and a few hours to chill, you can make these tonight. Preheat your oven, soften the cream cheese, and prepare the batter. While the cheesecake bakes and cools, plan your dipping station so the chocolate goes on quickly once the squares are chilled. They’re small, elegant, and reliably popular—perfect when you want something that looks special but doesn’t require fuss.
When you serve them, arrange the bites on a simple platter with a few extras for those who want seconds. They keep well and travel easily, so they’re a solid choice to share. Enjoy.

Chocolate Covered Cheesecake Bites
Ingredients
Ingredients
- 8 ouncescream cheesereduced-fat room temperature
- 1 cupGreek yogurtplain
- 1 teaspoonvanilla extract
- 1/4 cupcoconut sugar
- 1 egg
- 12 ouncesdark chocolate
- 3 tablespoonscoconut oil
Instructions
Instructions
- Preheat oven to 325°F. Spray an 8 x 8-inch square pan with nonstick cooking spray.
- In a medium bowl, beat 8 ounces reduced‑fat cream cheese until smooth.
- Add 1/4 cup coconut sugar and 1 teaspoon vanilla extract to the cream cheese and mix until combined.
- Add 1 egg and 1 cup plain Greek yogurt and mix until the batter is smooth and uniform.
- Pour the batter into the prepared 8 x 8-inch pan and smooth the top.
- Bake 55 to 60 minutes, until the edges are set and the center is mostly set (a slight jiggle in the center is fine).
- Remove the pan from the oven and cool on a wire rack to room temperature. Once cooled, refrigerate the cheesecake in the pan until fully chilled and firm (at least 2 hours).
- Run a knife around the edges, lift the cheesecake from the pan, and cut into 1 x 1‑inch squares. Place the squares on a plate or tray.
- Line a tray with parchment paper for the dipped bites.
- Place 12 ounces dark chocolate and 3 tablespoons coconut oil in a heatproof bowl set over a pot of simmering water (or use a small saucepan on very low heat). Stir constantly until the chocolate and coconut oil are thoroughly melted and smooth. Remove from heat.
- Using a fork or dipping tool, dip each chilled cheesecake square into the melted chocolate, let excess chocolate drip back into the bowl, and transfer the dipped bite to the prepared parchment paper.
- When all bites are coated, place the tray in the refrigerator until the chocolate is set.
Equipment
- 8 x 8-inch square pan
- nonstick cooking spray
- Medium Bowl
- Wire Rack
- Knife
- Plate or tray
- Parchment Paper
- Heatproof Bowl
- saucepan or pot for double boiler
- Fork or dipping tool
- Refrigerator