Chicken Fingers with 6 Mayo Dipping Sauces
I make chicken fingers a lot: for weekends, for weeknights, for when friends drop by, and for nights when the fridge looks sad. This version is unfussy, reliable, and built around six mayonnaise-based dips that turn simple breaded chicken into something fun to dunk and share. The prep is straightforward and the payoff is big—crisp, golden fingers with a range of flavors from sharp wasabi to sweet jalapeño-honey relish.
I’ll walk you through the exact ingredient lineup and step-by-step method I use every time. There are small tricks in the marinating, the breading, and the resting that make the results consistently juicy and crunchy. The six dips are all quick to assemble while the chicken marinates, and each one adds a distinct character so no one gets bored halfway through the plate.
No fluff—just a clear plan, sensible tips, and ways to adapt the recipe to what you have on hand. If you want to plate this for a crowd, I’ll include timing and storage notes so nothing gets soggy and everything stays tasty.
The Ingredient Lineup

- 600 g chicken breast — cut into strips for even cooking and a quick fry time.
- 100 g white flour — for the first dry coat; helps the egg adhere.
- 3 eggs — beaten; binds the breadcrumbs to the chicken.
- 150 g breadcrumbs — gives the crispy exterior; use plain or panko depending on texture preference.
- 50 ml milk — part of the marinade to tenderize and add moisture.
- 1 tsp paprika — in the marinade for color and subtle warmth.
- salt — essential seasoning in the marinade and to finish.
- pepper — freshly ground where possible; seasons both chicken and some dips.
- cooking oil — for frying; a neutral oil with a high smoke point works best.
- 2 tbsp mayo — for the wasabi mayo (step-specific).
- 1 tsp wasabi paste — bright, sharp heat for the wasabi mayo.
- 2 tbsp mayo — for the chili garlic mayo (step-specific).
- 1 chili pepper — fresh heat for the chili garlic mayo; adjust to taste.
- 1 garlic clove — minced or blitzed for the chili garlic mayo.
- 2 tbsp mayo — for the curry mayo (step-specific).
- 1 tsp curry — adds warm, aromatic spice to the curry mayo.
- 1 celery stick — finely chopped and folded into the curry mayo for crunch and freshness.
- 2 tbsp mayo — for the mature-cheese mayo dip (step-specific).
- 1 tbsp mature cheese — finely grated; gives a savory, tangy backbone to the cheese mayo.
- 1 piece green onion — finely chopped, stirred into the cheese mayo for bite and color.
- 1 tbsp mustard — in the jalapeno and honey relish for tang and depth.
- 1 tbsp ketchup — adds sweetness and tomato flavor to the relish.
- 10 g jalapenos — finely chopped; fresh heat and texture in the relish.
- 1 tsp honey — balances the heat in the jalapeno and honey relish.
- 2 tbsp mayo — for the coleslaw dressing (step-specific).
- 30 g cabbage — finely grated or shredded for the coleslaw.
- 30 g carrots — finely grated for color, sweetness, and crunch in the coleslaw.
- 20 g celery — finely grated or chopped for the coleslaw; adds freshness.
Chicken Fingers with 6 Mayo Dipping Sauces: How It’s Done
- Cut 600 g chicken breast into finger-sized strips (about 1–2 cm thick, 8–10 cm long).
- In a bowl combine 50 ml milk, 1 tsp paprika, salt and pepper. Add the chicken strips, cover, and marinate in the fridge for 15–20 minutes.
- While the chicken marinates, make the wasabi mayo: mix 1 tsp wasabi paste with 2 tbsp mayo in a small bowl; set aside.
- Make the chili garlic mayo: finely mince or blitz 1 garlic clove and 1 chili pepper, then mix them with 2 tbsp mayo and freshly ground pepper to taste; set aside.
- Make the curry mayo: finely chop 1 celery stick, then stir the chopped celery and 1 tsp curry into 2 tbsp mayo; set aside.
- Make the mature-cheese mayo dip: finely grate or very finely chop 1 tbsp mature cheese and place it in a blender or bowl with 2 tbsp mayo. Blend or whisk until smooth, then stir in 1 piece green onion, finely chopped. Set aside.
- Make the jalapeno and honey relish: finely chop 10 g jalapenos and mix with 1 tbsp mustard, 1 tbsp ketchup, and 1 tsp honey. Set aside.
- Make the coleslaw: finely grate or shred 30 g cabbage and 30 g carrots; finely grate or chop 20 g celery. Combine the vegetables with 2 tbsp mayo and mix until evenly coated; season with salt and pepper if desired. Chill until serving.
- Prepare the breading station: place 100 g white flour on a plate, beat 3 eggs in a shallow bowl, and spread 150 g breadcrumbs on a third plate.
- Remove the chicken from the milk marinade, letting excess drip off. One strip at a time, dredge in flour (coat and shake off excess), dip in the beaten eggs, then press into the breadcrumbs to fully coat. Place breaded strips on a clean tray while you finish coating the rest.
- Heat a layer of cooking oil in a frying pan over medium-high heat until hot but not smoking.
- Fry the chicken fingers in batches so they do not crowd the pan: cook until the breadcrumbs are golden brown and the chicken is cooked through (no pink inside), turning as needed. Drain cooked pieces on paper towels.
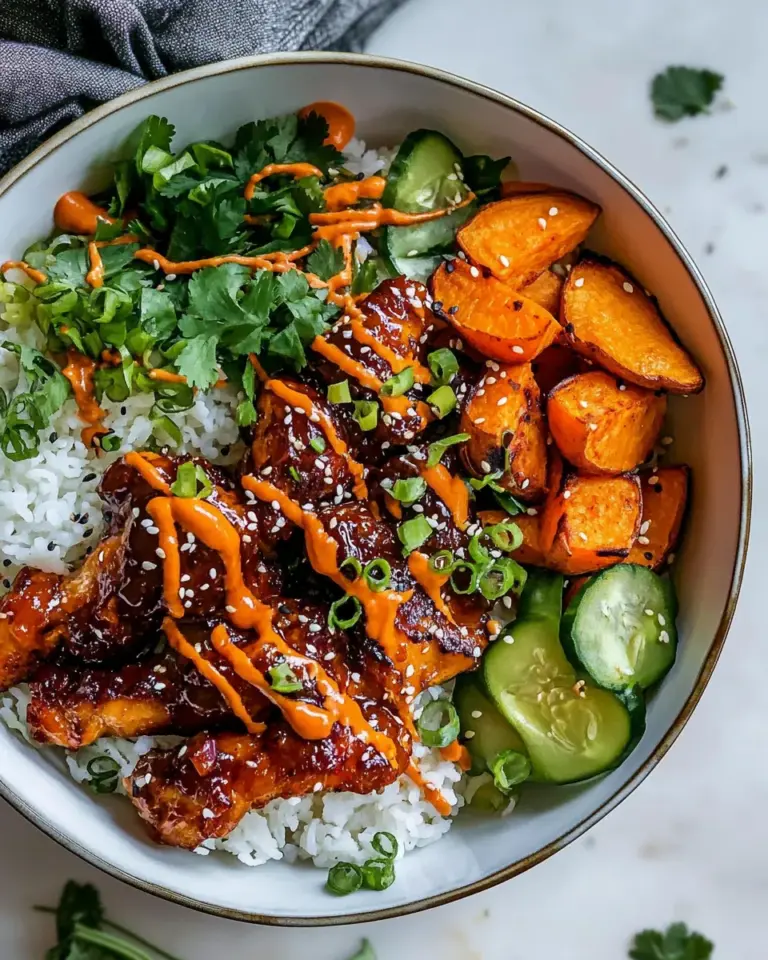
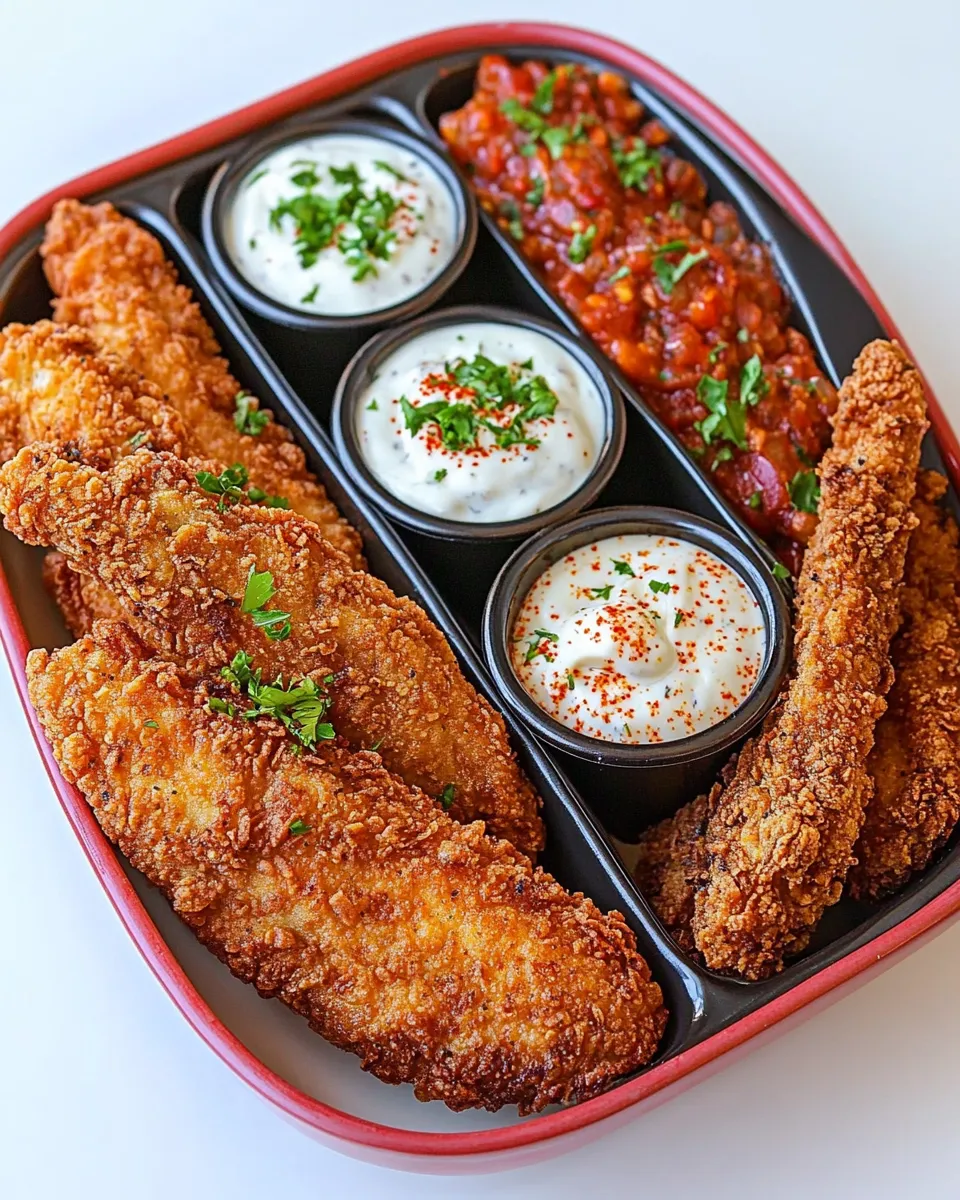
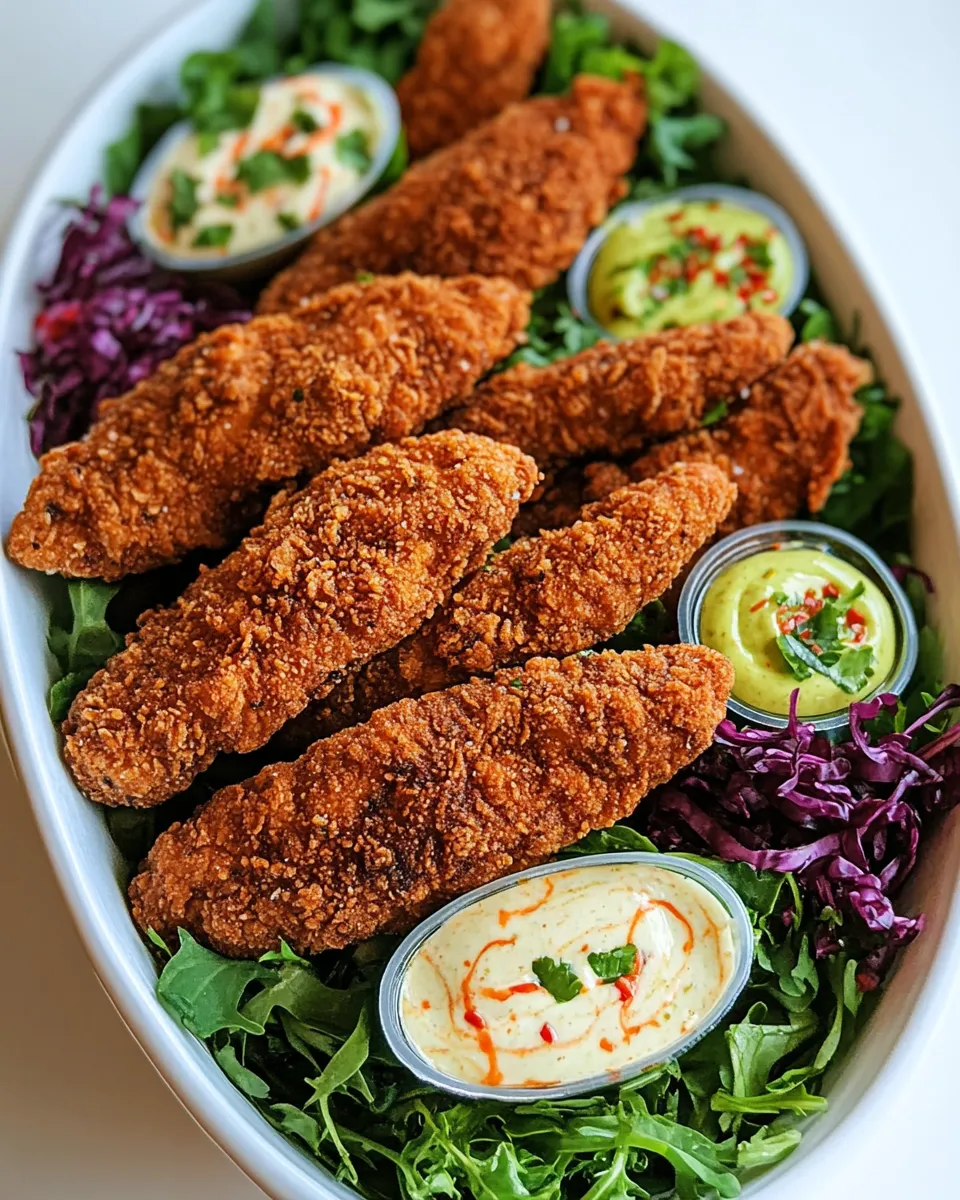
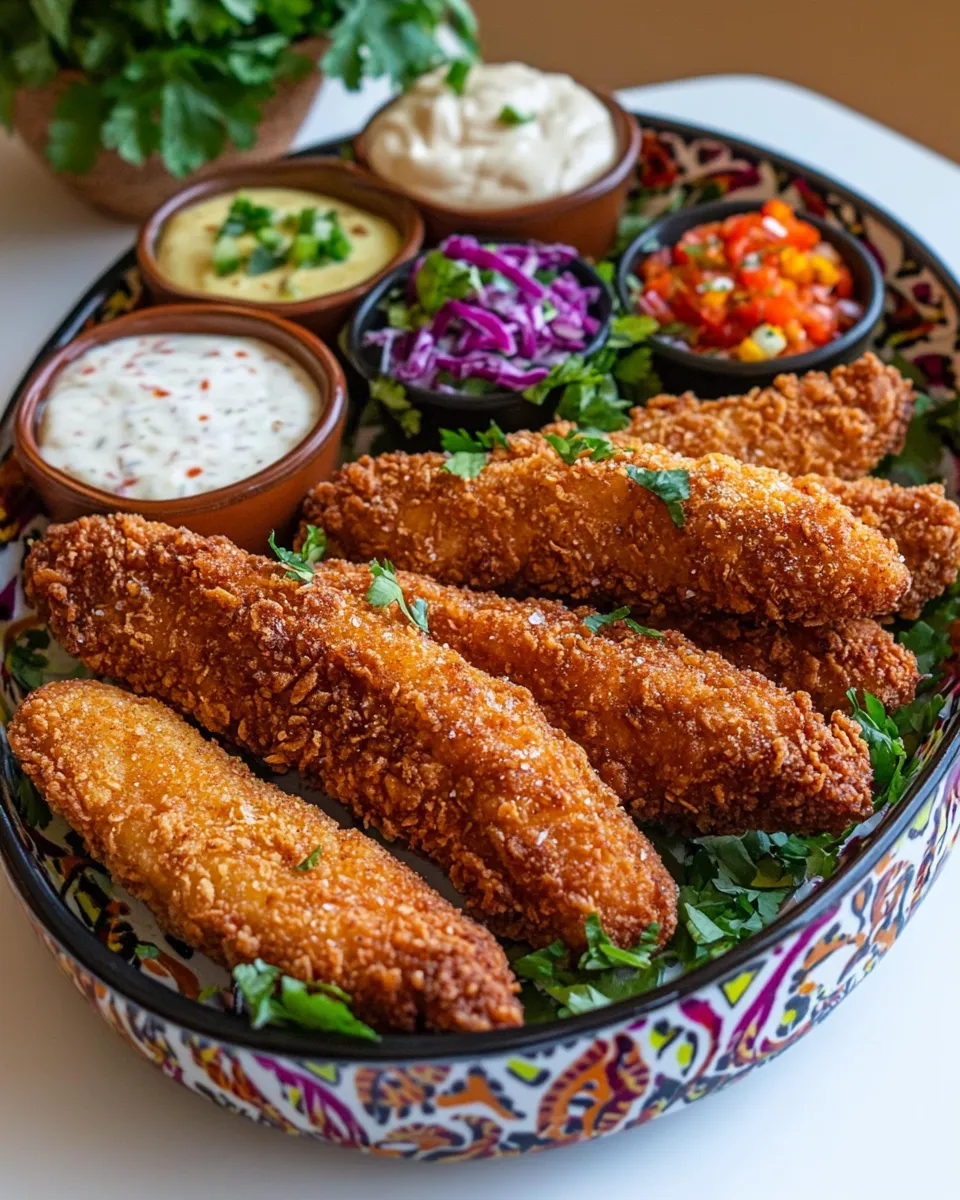
- Let the chicken rest briefly (a couple of minutes) to finish cooking through. Serve the chicken fingers hot with the six dipping sauces: wasabi mayo, chili garlic mayo, curry mayo, mature-cheese mayo dip, jalapeno and honey relish, and coleslaw.
The Upside of Chicken Fingers with 6 Mayo Dipping Sauces
There are three real wins here: speed, variety, and crowd appeal. The marinade is short but effective, the breading and frying are fast, and you get six distinct sauces from mostly pantry staples. That means everyone at the table can find a favorite: spicy, tangy, sweet, or creamy.
This setup is flexible for entertaining. Make the dips in advance and chill them. Fry the chicken in batches and keep it warm in a low oven if you’re serving a group. The result is consistent: crispy outside, tender inside, and a plate of dips that makes the same simple chicken feel like a party.
Ingredient Swaps & Substitutions
- Chicken breast — thighs can be used if you prefer darker, juicier meat; adjust fry time slightly.
- White flour — use plain all-purpose flour. For a gluten-free option, try rice flour or a gluten-free flour blend.
- Breadcrumbs — panko gives extra crunch; if using fresh bread crumbs, toast them lightly first.
- Milk — buttermilk would tenderize more, but plain milk works fine.
- Mayonnaise — use light mayo to cut calories, or Greek yogurt in some dips for tang and fewer calories (note: texture will change).
- Wasabi paste — horseradish is a reasonable substitute if you want similar heat.
- Chili pepper — swap with chili flakes or Sriracha in the chili garlic mayo if fresh chilies aren’t available.
- Mature cheese — Parmesan or aged cheddar both work; grate finely to blend smoothly.
- Jalapenos — pickled jalapeños are an easy alternative and add vinegar tang.
Must-Have Equipment
- Frying pan — heavy-bottomed skillet to hold oil temperature.
- Thermometer (optional) — helpful for oil temp and ensuring chicken reaches 75 °C/165 °F internally.
- Three shallow dishes/plates — for flour, egg, and breadcrumbs.
- Paper towels and a tray — for draining fried chicken and keeping it organized.
- Mixing bowls and small bowls — for the sauces and the marinade.
Avoid These Mistakes
- Crowding the pan — it drops oil temperature and yields soggy breading; fry in batches.
- Skipping the rest — letting chicken sit a couple minutes after frying finishes carryover cooking and keeps juices locked in.
- Over-polishing the breading — press enough to adhere, but don’t compress the crumbs into a dense coating; you want texture.
- Too-hot oil — oil that’s smoking will burn the crumbs before the chicken cooks. Medium-high that’s hot but not smoking is best.
- Under-seasoning — season the milk marinade and taste your dips; a pinch of salt in the mayo-based dips lifts the flavors.
How to Make It Lighter
If you want lighter chicken fingers, switch to baking or shallow-air frying. Coat the chicken the same way, place on a wire rack, spray lightly with oil, and bake at 200 °C (400 °F) until golden and cooked through—turn once. An air fryer also crisps up breadcrumbs with less oil. For the dips, replace some or all of the mayo with Greek yogurt to cut calories and add tang. Use reduced-fat mayo if that’s your preference.
Chef’s Rationale
I keep the marinade short and simple: milk, paprika, salt and pepper. It tenderizes without making the meat floppy and adds a base seasoning so every bite is seasoned through. The flour-egg-breadcrumb sequence is classic for a reason—the flour dries the surface, the egg acts as glue, and the crumbs give the texture we crave.
The six dips cover a broad flavor map using a single backbone ingredient: mayonnaise. That keeps prep focused. Wasabi gives a clean nasal heat; chili-garlic is aromatic and smoky; curry and celery add warmth and crunch; mature cheese brings savor and depth; jalapeño-honey balances heat with sweetness; the coleslaw doubles as a creamy crunch and a dip.
Keep It Fresh: Storage Guide
- Cooked chicken fingers — cool to room temperature, then refrigerate in an airtight container for up to 3 days. Reheat in a 200 °C (400 °F) oven or air fryer to regain crispness.
- Dips — mayo-based dips keep well covered in the fridge for 3–4 days. The cheese mayo and wasabi mayo are best within 48 hours for optimal flavor.
- Coleslaw — will keep 1–2 days before the veg starts to release water; store separately from the hot chicken to avoid wilting.
Quick Q&A
- Can I bake instead of frying? Yes—see “How to Make It Lighter.” Baking or air-frying yields good results with less oil, though frying gives the crispiest crust.
- How do I know the chicken is done? No pink inside and juices run clear; internal temp should be 75 °C (165 °F).
- Can I make the dips in advance? Absolutely. Most mayo-based dips benefit from 30 minutes in the fridge to let flavors marry.
- What if my breadcrumbs get soggy? Toast them lightly before using, or use panko which stays crisper.
Final Thoughts
This is a recipe I turn to when I want something that reads casual but tastes thoughtful. The chicken fingers are forgiving, the dips are fast and bold, and the technique scales easily for more mouths. Make the dips you like best, keep the rest simple, and don’t be afraid to let guests mix and match. Happy cooking—and happier dunking.

Chicken Fingers with 6 Mayo Dipping Sauces
Ingredients
Ingredients
- 600 gchicken breast
- 100 gwhite flour
- 3 eggs
- 150 gbreadcrumbs
- 50 mlmilk
- 1 tsppaprika
- salt
- pepper
- cooking oil
- 2 tbspmayo
- 1 tspwasabi paste
- 2 tbspmayo
- 1 chili pepper
- 1 garlic clove
- pepper
- 2 tbspmayo
- 1 tspcurry
- 1 celery stick
- 2 tbspmayo
- 1 tbspmature cheese
- 1 piecegreen onion
- 1 tbspmustard
- 1 tbspketchup
- 10 gjalapenos
- 1 tsphoney
- 2 tbspmayo
- 30 gcabbage
- 30 gcarrots
- 20 gcelery
Instructions
Instructions
- Cut 600 g chicken breast into finger-sized strips (about 1–2 cm thick, 8–10 cm long).
- In a bowl combine 50 ml milk, 1 tsp paprika, salt and pepper. Add the chicken strips, cover, and marinate in the fridge for 15–20 minutes.
- While the chicken marinates, make the wasabi mayo: mix 1 tsp wasabi paste with 2 tbsp mayo in a small bowl; set aside.
- Make the chili garlic mayo: finely mince or blitz 1 garlic clove and 1 chili pepper, then mix them with 2 tbsp mayo and freshly ground pepper to taste; set aside.
- Make the curry mayo: finely chop 1 celery stick, then stir the chopped celery and 1 tsp curry into 2 tbsp mayo; set aside.
- Make the mature-cheese mayo dip: finely grate or very finely chop 1 tbsp mature cheese and place it in a blender or bowl with 2 tbsp mayo. Blend or whisk until smooth, then stir in 1 piece green onion, finely chopped. Set aside.
- Make the jalapeno and honey relish: finely chop 10 g jalapenos and mix with 1 tbsp mustard, 1 tbsp ketchup, and 1 tsp honey. Set aside.
- Make the coleslaw: finely grate or shred 30 g cabbage and 30 g carrots; finely grate or chop 20 g celery. Combine the vegetables with 2 tbsp mayo and mix until evenly coated; season with salt and pepper if desired. Chill until serving.
- Prepare the breading station: place 100 g white flour on a plate, beat 3 eggs in a shallow bowl, and spread 150 g breadcrumbs on a third plate.
- Remove the chicken from the milk marinade, letting excess drip off. One strip at a time, dredge in flour (coat and shake off excess), dip in the beaten eggs, then press into the breadcrumbs to fully coat. Place breaded strips on a clean tray while you finish coating the rest.
- Heat a layer of cooking oil in a frying pan over medium-high heat until hot but not smoking.
- Fry the chicken fingers in batches so they do not crowd the pan: cook until the breadcrumbs are golden brown and the chicken is cooked through (no pink inside), turning as needed. Drain cooked pieces on paper towels.
- Let the chicken rest briefly (a couple of minutes) to finish cooking through. Serve the chicken fingers hot with the six dipping sauces: wasabi mayo, chili garlic mayo, curry mayo, mature-cheese mayo dip, jalapeno and honey relish, and coleslaw.
Equipment
- Frying pan
- Mixing Bowls
- plates
- Shallow Bowl
- Blender or whisk
- tray
- Paper Towels