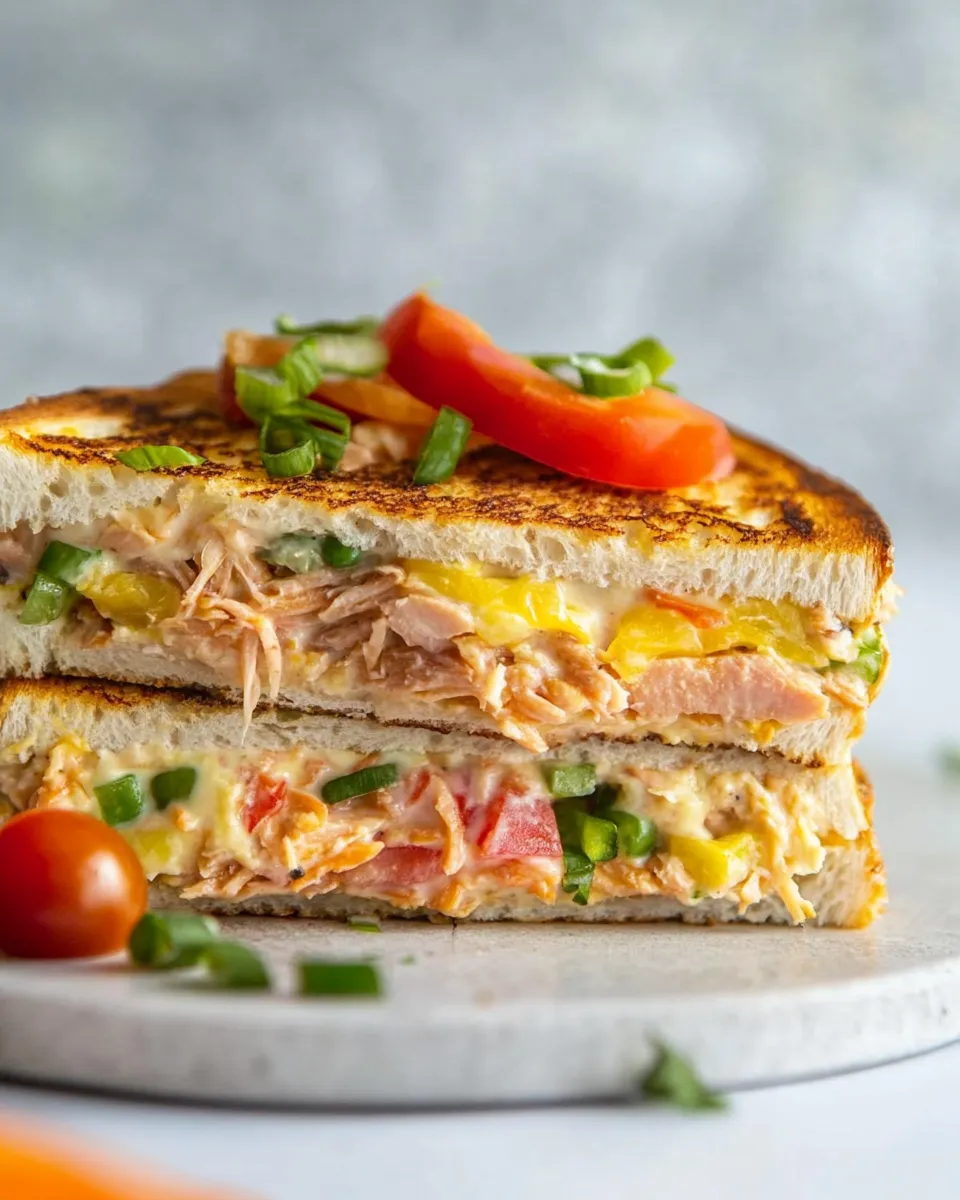
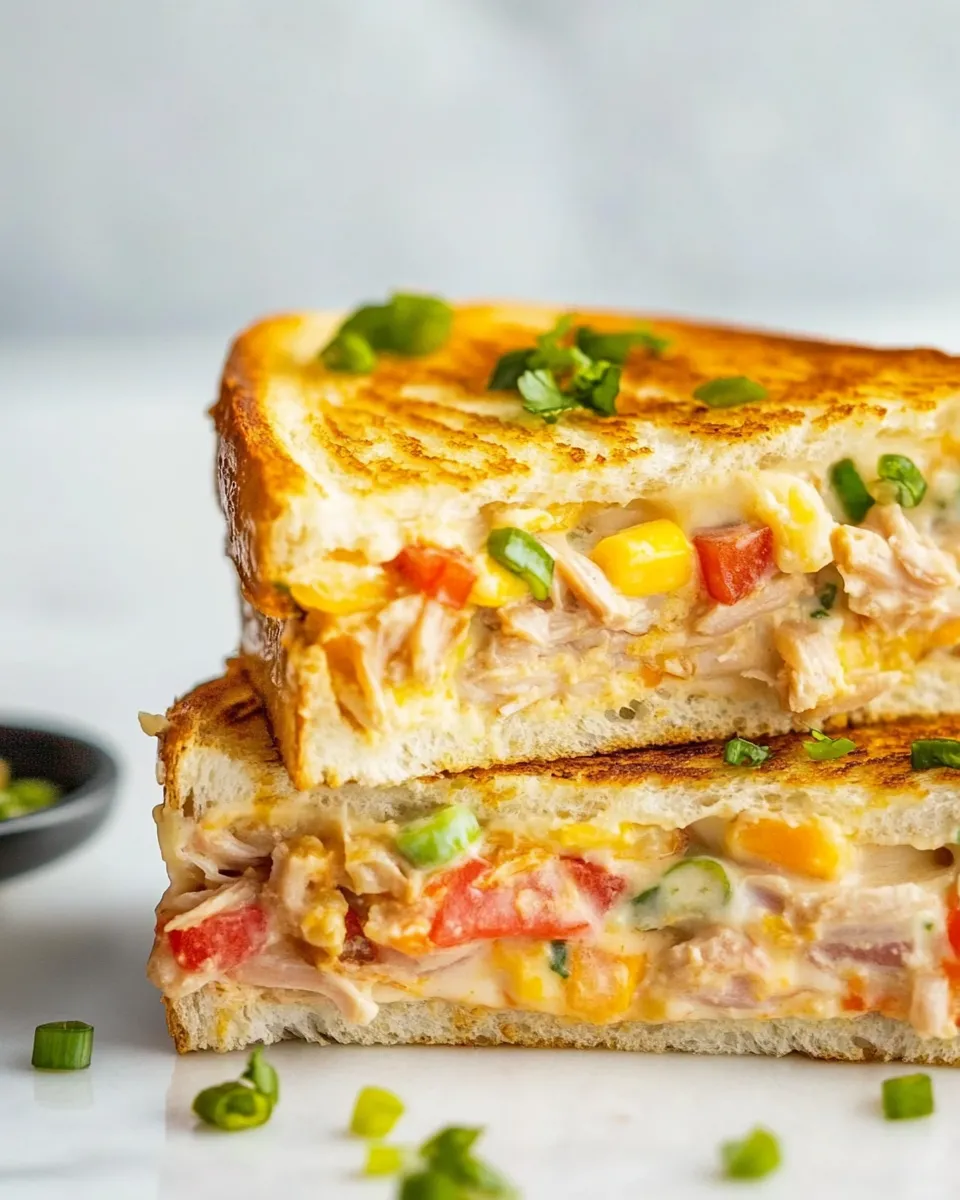
Ultimate Tuna Melt
There are few sandwiches that hit comfort, speed, and flavor in one tidy package like a tuna melt. This version is straightforward, dependable, and designed to work on a busy weeknight or as the star of a laid-back weekend lunch. I lean on classic flavors—tuna, sharp cheddar, crunchy celery, and a touch of Dijon—to make every bite sing without fuss.
I’ll walk you through the shopping, assembly, cooking methods, and common fixes so you can make eight perfect sandwiches without second-guessing yourself. The steps are clear and the timing is realistic; you’ll know what to do if the cheese won’t melt or the bread browns too fast.
Use the skillet method when you want control and the broiler when you want hands-off speed. Both work. Read the short notes and chef commentary below to tailor the sandwich to your pantry and taste.
Ingredients

- 16 ounces tuna fish, drained — The base protein; draining well prevents a soggy sandwich.
- 1/4 cup mayonnaise — Binds the tuna and adds creaminess; adjust for taste or texture.
- 1/4 cup celery, finely chopped — Adds crunch and freshness to the mix.
- 1/4 cup red onion, finely chopped — Sharpness and bite; chop small so it distributes evenly.
- 1 tablespoon Dijon mustard — Brightens the filling and cuts through the richness.
- 2 tablespoons parsley, chopped — Fresh herb note; keeps the tuna from tasting flat.
- salt and pepper, to taste — Season gradually; you can always add more at the table.
- 16 slices bread — The vehicle; choose a sturdy loaf so it holds the filling.
- 8 slices cheddar cheese, more if you want a layer on the bottom — Sharp cheddar melts nicely and adds flavor contrast.
- tomato, sliced — Optional freshness and acidity; add to taste.
- 1/4 cup butter, softened — Brushed on the outside of the bread to get that golden, crisp crust.
Your Shopping Guide
Buy ingredients you enjoy eating. For the tuna, a good, inexpensive canned tuna packed in water or oil both work—drain thoroughly. Sharp cheddar gives a classic profile; if you like a milder melt, use a younger cheese, but I recommend sticking with cheddar here for balance.
Pick a bread that can handle moisture without turning to mush: a country loaf, sourdough, or a sturdy sandwich bread all perform well. If you plan to add many tomato slices, choose a firmer tomato so the sandwich stays intact when sliced.
Ultimate Tuna Melt: Step-by-Step Guide
- Drain the 16 ounces of tuna very well and place it in a medium bowl. Add 1/4 cup mayonnaise, 1/4 cup finely chopped celery, 1/4 cup finely chopped red onion, 1 tablespoon Dijon mustard, 2 tablespoons chopped parsley, and salt and pepper to taste. Stir until evenly combined; set the tuna mixture aside.
- Lay out the 16 slices of bread. Spread the 1/4 cup softened butter evenly on one side of each slice.
- Assemble 8 sandwiches: for each sandwich, place one slice of bread buttered side down. Put 1 slice of cheddar cheese (use the 8 slices total, one per sandwich) on the unbuttered side, divide the tuna mixture evenly among the 8 sandwiches and spread it over the cheese, add tomato slices as desired, then top with the remaining bread slice buttered side up. (If you have extra cheese and want a second layer under the tuna, add it now.)
- Skillet cooking method (recommended): Preheat a large skillet over medium heat. When hot, place 2–4 sandwiches in the skillet (do not overcrowd). Cook 2–3 minutes on the first side, until the bread is golden brown. Flip each sandwich, reduce heat to medium-low, cover the skillet with a lid (to help the cheese melt), and cook 2–3 more minutes until the cheese is fully melted and the second side is golden. Remove and let rest 1 minute before serving. Repeat with remaining sandwiches.
- Broiler cooking method (alternative): Preheat your broiler and position the oven rack about 6 inches from the heat source. Place assembled sandwiches on a baking sheet. Broil 2–3 minutes on the top side until the bread is golden and the cheese begins to melt, then carefully flip each sandwich and broil another 2–3 minutes until the cheese is fully melted and the bread is golden. Watch closely to prevent burning.
- Slice sandwiches if desired and serve hot.
Reasons to Love Ultimate Tuna Melt
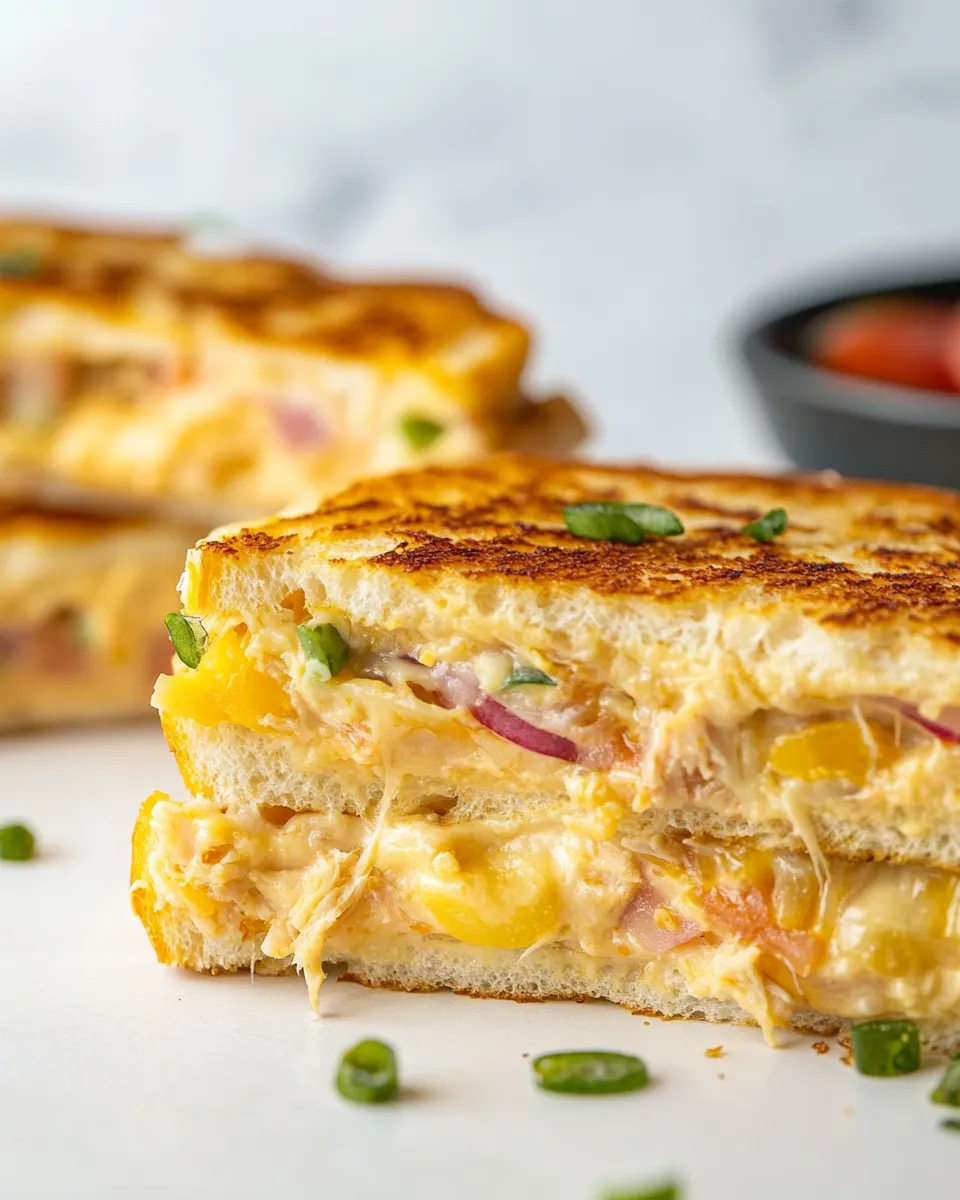
This sandwich hits several sweet spots: it’s quick, balanced, and endlessly adaptable. The mayo and Dijon make a creamy, slightly tangy filling while celery and red onion add crunch and brightness. Cheddar gives depth and a satisfying melt.
It’s also a make-ahead-friendly recipe. You can prepare the tuna mix in the morning, assemble just before cooking, and finish in a pan or under the broiler in minutes. That’s why it’s a reliable option for lunch prep and feeding a crowd without a lot of stress.
No-Store Runs Needed
If you’re looking to avoid an extra trip to the store, this recipe helps. The main components—tuna, mayo, a slice or two of cheddar, bread—are pantry and fridge staples for many households. If you don’t have parsley, omit it; the sandwich will still be great.
Softened butter can be swapped by gently warming the butter to make it spreadable if you forgot to soften it ahead of time. And if you don’t have tomatoes, leave them out rather than subbing in unfamiliar items—simplicity keeps the sandwich reliable.
Gear Up: What to Grab
- Large skillet — For the recommended cooking method; gives you control over browning.
- Lid for the skillet — Helps trap heat and melt the cheese cleanly.
- Baking sheet — Needed only if you use the broiler method.
- Medium bowl and spoon — For mixing the tuna so it’s evenly seasoned and textured.
- Spatula — To flip sandwiches cleanly without losing the filling.
Missteps & Fixes
Cheese not melting: If the cheese won’t melt through, lower the heat after flipping and cover the skillet for a minute or two. The trapped steam helps the cheese go melty without burning the bread.
Bread browning too quickly: Turn down the heat. A medium or medium-low finish after the flip is the sweet spot. If the outside is done but the cheese isn’t melted, reduce heat and cover briefly.
Soggy sandwiches: Always drain the tuna very well and avoid over-layering wet tomato slices. Pat tomato slices dry and consider a thin layer of cheese directly on the bread to act as a moisture barrier before adding the tuna.
Dietary Swaps & Alternatives
Want to tweak the nutrition? Reduce the 1/4 cup mayonnaise or replace half of it with an extra tablespoon of Dijon to keep flavor but cut some fat. To cut butter, use less on the bread—brushing is enough to brown the crust. For a lighter sandwich, skip the butter and finish briefly under the broiler to toast the top.
Want a cheeseless option? Omit the cheddar entirely and rely on the warm bread to hold the filling. You’ll lose the melted-cheese texture, but the seasoned tuna will still be satisfying. If you prefer more texture, increase the celery or onion slightly from the listed amounts.
Recipe Notes & Chef’s Commentary
Assembly tips
Spread the butter on the outside of each slice evenly so you get a uniform golden crust. When assembling, put the cheese directly on the bread before the tuna. That small step gives you a protective layer between the wet filling and the bread, which helps keep the sandwich crisp.
Portioning
The recipe makes eight sandwiches. Divide the tuna mixture into eight even portions for consistent sandwiches that cook at the same rate. If you want heartier sandwiches, layer an extra slice of cheese under the tuna (the ingredients note calls this out). That’s a simple way to increase richness without adding new components.
Storing Tips & Timelines
Store any leftover tuna mixture in an airtight container in the refrigerator for up to 3 days. Keep it separate from bread and cheese so you can toast and assemble fresh sandwiches. Assembled but uncooked sandwiches can last a few hours in the fridge tightly wrapped, but they’re best cooked and eaten the same day for the best texture.
Reheat cooked sandwiches in a skillet over low heat with a lid or under the broiler for a minute or two per side. Microwaving will warm the filling quickly but sacrifice crispness.
Ultimate Tuna Melt FAQs
Q: Can I use oil-packed tuna instead of water-packed? A: Yes. Oil-packed tuna will be richer—drain it well to control excess oil. Either works; just taste and adjust salt accordingly.
Q: How can I make the filling less wet? A: Drain the tuna thoroughly and consider removing some seeds from the tomato slices or skipping the tomato. Keep the tuna mix firm by not over-adding mayonnaise.
Q: Can I make fewer sandwiches? A: Yes. Scale down the components proportionally, but keep the ratios: mayonnaise to tuna and the aromatic amounts make the balance. Or prepare the full tuna mix and use leftovers for salads.
Q: Is the broiler faster? A: Broiling is faster and more hands-off, but you must watch closely to avoid burning. The skillet provides better control over even browning and melting.
Next Steps
Make the tuna mixture ahead when you have a free moment, then toast sandwiches as needed. If you have leftover tuna mix, it’s great folded into a bed of greens or used as a topping for tomato slices as a quick snack. Keep practicing the skillet flip and heat control—once you get the timing, you’ll consistently pull golden, melty sandwiches from the pan.
Now warm the skillet, assemble one sandwich, and give it a try. This is a forgiving recipe—small tweaks won’t break it, and the fundamentals will reward you with a reliably delicious lunch or dinner.
Ultimate Tuna Melt
Ingredients
Ingredients
- 16 ouncestuna fish drained
- 1/4 cupmayonnaise
- 1/4 cupcelery finely chopped
- 1/4 cupred onion finely chopped
- 1 tablespoondijon mustard
- 2 tablespoonsparsley chopped
- salt and pepper to taste
- 16 slicesbread
- 8 slicescheddar cheese more if you want a layer on the bottom
- tomato sliced
- 1/4 cupbutter softened
Instructions
Instructions
- Drain the 16 ounces of tuna very well and place it in a medium bowl. Add 1/4 cup mayonnaise, 1/4 cup finely chopped celery, 1/4 cup finely chopped red onion, 1 tablespoon Dijon mustard, 2 tablespoons chopped parsley, and salt and pepper to taste. Stir until evenly combined; set the tuna mixture aside.
- Lay out the 16 slices of bread. Spread the 1/4 cup softened butter evenly on one side of each slice.
- Assemble 8 sandwiches: for each sandwich, place one slice of bread buttered side down. Put 1 slice of cheddar cheese (use the 8 slices total, one per sandwich) on the unbuttered side, divide the tuna mixture evenly among the 8 sandwiches and spread it over the cheese, add tomato slices as desired, then top with the remaining bread slice buttered side up. (If you have extra cheese and want a second layer under the tuna, add it now.)
- Skillet cooking method (recommended): Preheat a large skillet over medium heat. When hot, place 2–4 sandwiches in the skillet (do not overcrowd). Cook 2–3 minutes on the first side, until the bread is golden brown. Flip each sandwich, reduce heat to medium-low, cover the skillet with a lid (to help the cheese melt), and cook 2–3 more minutes until the cheese is fully melted and the second side is golden. Remove and let rest 1 minute before serving. Repeat with remaining sandwiches.
- Broiler cooking method (alternative): Preheat your broiler and position the oven rack about 6 inches from the heat source. Place assembled sandwiches on a baking sheet. Broil 2–3 minutes on the top side until the bread is golden and the cheese begins to melt, then carefully flip each sandwich and broil another 2–3 minutes until the cheese is fully melted and the bread is golden. Watch closely to prevent burning.
- Slice sandwiches if desired and serve hot.
Equipment
- Large Skillet
- Lid
- Baking Sheet
- Oven Broiler
Notes
Originally posted February 11, 2020
Updated on April 6, 2023