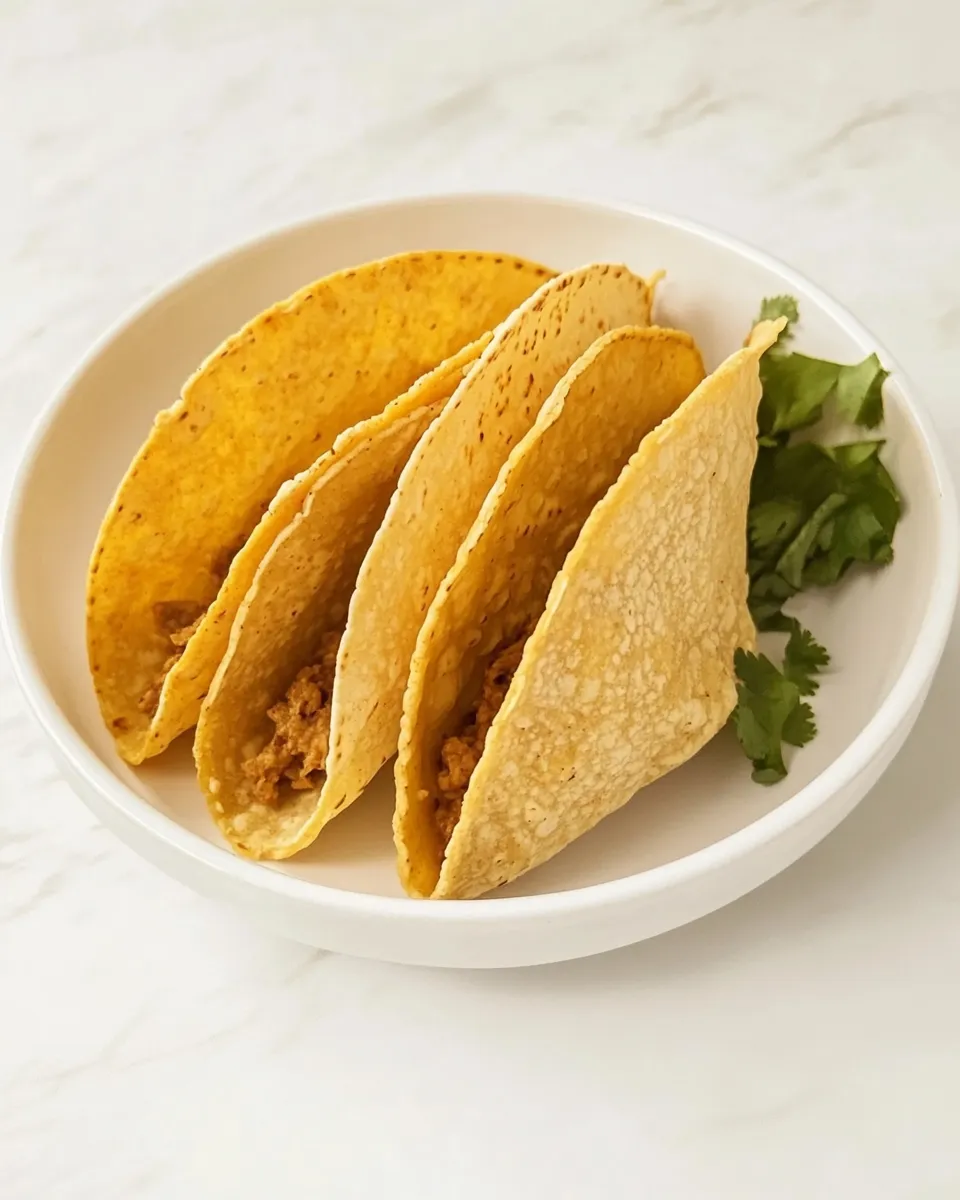
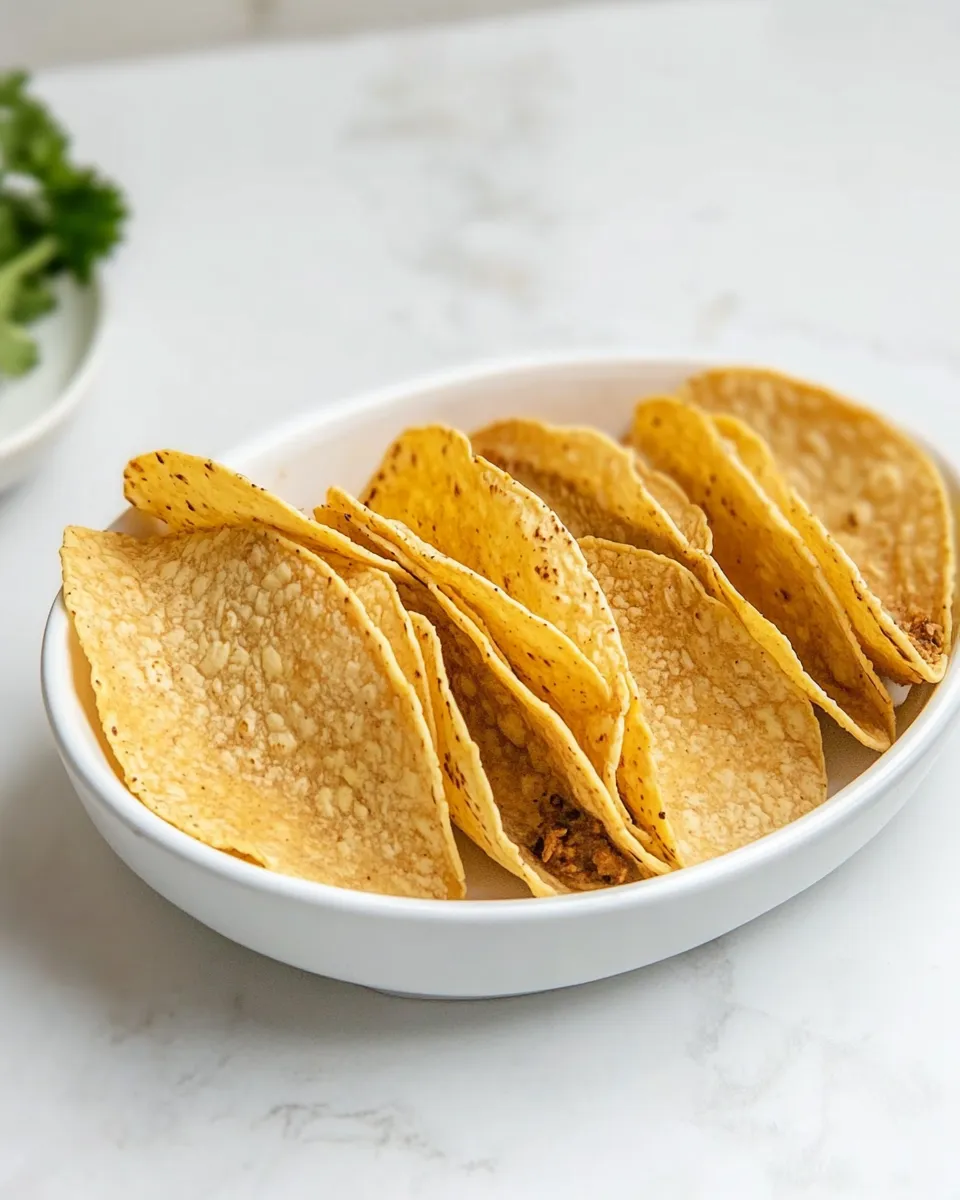
Taco Shells In Oven
There’s something so satisfying about homemade taco shells: warm corn fragrance, that perfect snap when you bite, and the way they cradle your favorite fillings. This version of Taco Shells In Oven uses simple pantry staples and a quick technique to transform 8 corn tortillas into golden, sturdy shells that stand up to all your favorite toppers. They bake in the oven with a light coating of cooking spray or vegetable oil and an optional dusting of chili powder for a gentle kick. No fancy equipment required—just a baking sheet and an oven.
Why make taco shells in the oven?

Store-bought shells can be convenient, but homemade shells are crisp and freshly flavored. Oven-baked shells are hands-off, more even in texture than frying, and use less oil while still delivering a satisfying crunch. This method is perfect when you want a batch of shells that’ll stay crispy while you prepare a variety of fillings—whether you’re setting up a taco night with a spiced veggie filling, shredded seasoned chicken, or a bright citrusy slaw.
Ingredients
- 8 corn tortillas
- Cooking spray or vegetable oil
- Chili powder, optional
Equipment
- Rimmed baking sheet
- Kitchen tongs or a spatula
- Wire rack or folded aluminum foil (optional, to help shape the shells)
- Pastry brush (optional, if using vegetable oil)
Prep notes and tips
Room-temperature tortillas bake more evenly, so take them out of the package a few minutes before you begin. If your tortillas are very dry and prone to cracking, wrap them in a damp towel and microwave for 10–15 seconds to soften—don’t skip this, because a cracked tortilla won’t form a proper shell.
If you choose to use vegetable oil instead of cooking spray, a light brush with a pastry brush works well. Chili powder is optional; sprinkle it on before baking for a subtle toasted chile flavor. For perfectly shaped shells, use a wire rack over the baking sheet or fold aluminum foil into a long “V” to support each tortilla as it bakes.
Rewritten step-by-step directions
The following instructions are rewritten to be clear, sequential, and consistent with the ingredient amounts listed above. These steps will guide you to crisp, golden taco shells with minimal fuss.
- Preheat the oven to 375°F (190°C). Arrange a rimmed baking sheet in the center of the oven so it will heat evenly.
- If you plan to shape the tortillas into U-shaped shells, create a support on the baking sheet: place an inverted wire rack or fold a piece of aluminum foil into a long V shape and set it on the sheet. Make sure the supports are spaced so each tortilla can drape over one without touching another. Alternatively, you can bake tortillas flat and then drape them over the bars of an oven-safe cooling rack to form shells after a brief bake—choose whichever method feels more comfortable for you.
- Work with one tortilla at a time. Lightly coat one side of a tortilla with cooking spray or brush it with about 1/2 teaspoon vegetable oil. If you want chili powder, sprinkle a light pinch evenly over the oiled side—don’t overload it, as the flavor concentrates during baking.
- Place the tortilla over your prepared support so it forms the classic taco shape. If you’re using a wire rack, simply drape it across the bars; if you used flat baking with plans to shape later, place the oiled tortilla directly on the hot baking sheet.
- Repeat the oiling and optional seasoning for the remaining tortillas, arranging them so they won’t overlap and each has room to brown and crisp.
- Bake the tortillas for 8 to 12 minutes. Start checking at 8 minutes: the edges should look toasted and the tortillas should feel firm. Rotate the baking sheet once halfway through the bake to promote even browning if your oven has hot spots. If you notice any spots crisping faster than others, gently reposition the tortillas with tongs to ensure uniform texture.
- If you baked the tortillas flat and plan to shape them afterward, remove the baking sheet from the oven when the tortillas are just firm but still pliable—this will be at the lower end of the time range. Quickly drape each warm tortilla over the bars of an oven-safe cooling rack or over crumpled foil to form U-shaped shells. Let them cool undisturbed for 2 to 3 minutes so the shape sets.
- If you baked the tortillas already draped on supports, remove them when they are crisp and golden. Use tongs or a spatula to transfer the hot shells to a wire rack to cool slightly and become fully crisp. Allow them to cool for about 2 to 3 minutes before filling so they hold their shape.
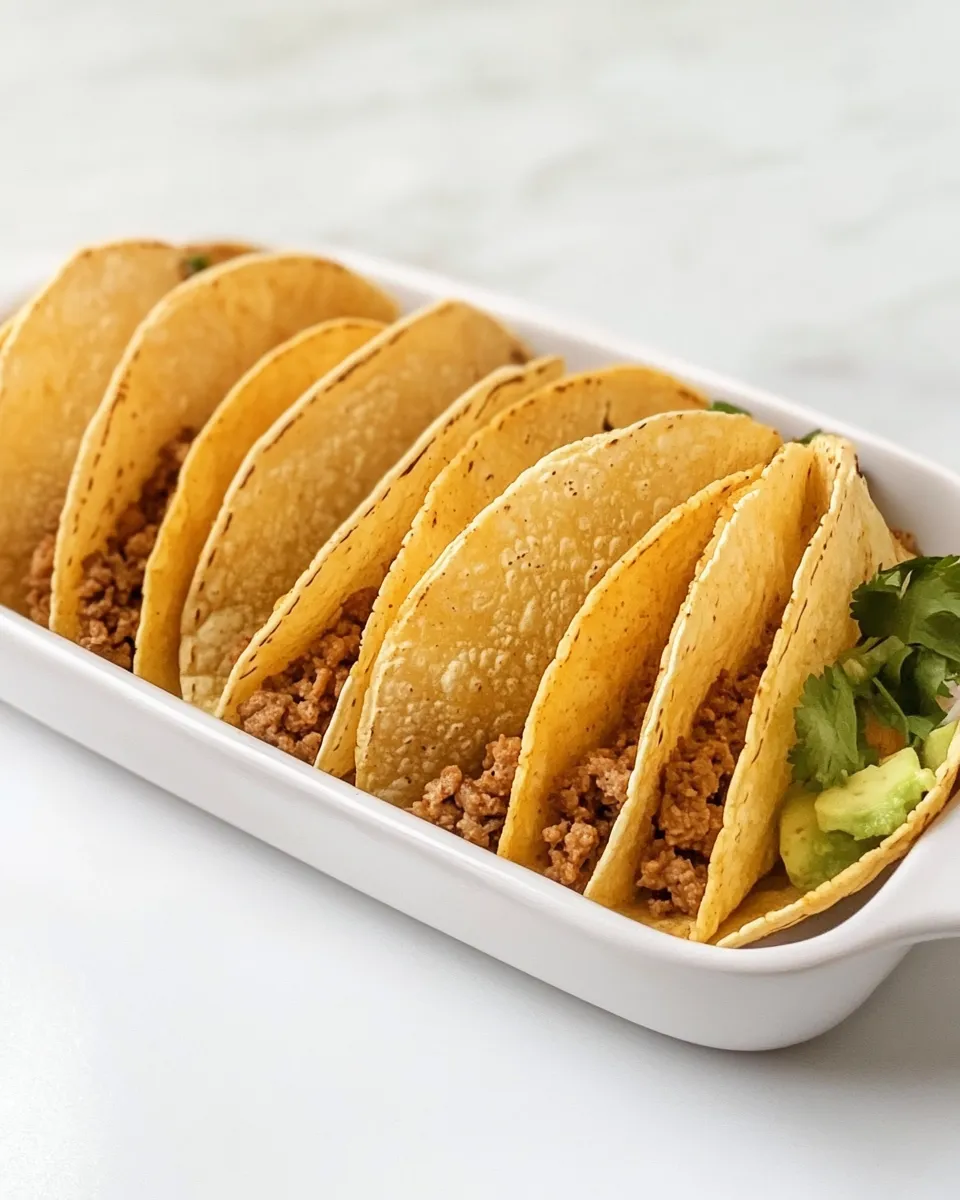
- After cooling slightly, fill the shells with your favorite fillings. These shells are sturdy enough for saucy fillings and will stay crisp for a short time; for party service, keep them in a single layer at room temperature until ready to assemble.
Serving suggestions
These baked shells pair beautifully with a wide range of fillings. Try:
- Spiced shredded chicken, shredded iceberg lettuce, diced tomatoes, and a drizzle of yogurt-based sauce.
- Pan-fried seasoned mushrooms, roasted peppers, cotija-style cheese, and a squeeze of lime.
- Slow-cooked beef, pickled onions, cilantro, and a dollop of avocado mash.
- For a light, vegetarian option: black beans seasoned with cumin and garlic, roasted corn, and shredded cabbage slaw.
Storage and make-ahead
If you’re making shells in advance, allow them to cool completely and store them in an airtight container at room temperature for up to 2 days. To revive slightly softened shells, re-crisp in a 350°F (175°C) oven for 3–5 minutes. If you need to freeze them, place cooled shells in a single layer between sheets of parchment paper and freeze in a sealed container for up to a month. Reheat from frozen in a 350°F (175°C) oven for 6–8 minutes.
Common problems and fixes
- Cracked tortillas: They were too dry. Before baking, wrap them in a damp towel and microwave for 10–15 seconds to add moisture and pliability.
- Soggy bottoms after filling: Don’t fill the shells until right before serving. For saucy fillings, line the shell with a thin layer of shredded lettuce or a smear of cream to provide a barrier.
- Uneven browning: Rotate the baking sheet halfway through baking, or move the shells around if your oven has hot spots.
Flavor variations
Keep the base method but tweak the oil and seasonings for different flavor profiles:
- Smoky: Mix a pinch of smoked paprika with the oil before brushing on.
- Garlicky: Add a light dusting of garlic powder to the oiled side.
- Spicy: Swap or combine chili powder with a pinch of cayenne for more heat.
- Citrus-bright: After baking, sprinkle with a little lime zest for a fresh lift.
Why this method works
Baking at a moderately high oven temperature crisps the tortillas without burning them. A light coating of oil helps achieve a golden color and creates a barrier that lets the tortilla crisp rather than dry out. Shaping the tortillas during or right after baking encourages them to hold a classic taco form, while the brief cooling time sets the structure so they remain sturdy when filled.
Quick checklist before you bake
- Preheat oven to 375°F (190°C).
- Prepare baking sheet with a wire rack or folded foil supports if you want pre-shaped shells.
- Have cooking spray or vegetable oil ready plus optional chili powder.
- Work one tortilla at a time to oil and place on the support.
- Check at 8 minutes and remove when the shells are crisp and golden.
Final thoughts
These Taco Shells In Oven are a fast, reliable way to make delicious, sturdy shells from 8 corn tortillas using just cooking spray or vegetable oil and a touch of optional chili powder. The finished shells are crisp, golden, and ready to be filled with everything from fresh veggies to richly seasoned proteins. Whether you’re hosting a taco night or making a quick weeknight dinner, this method gives you restaurant-quality crunch with minimal mess.
Printable recipe summary
Yield: 8 taco shells
Prep time: 5 minutes
Cook time: 8–12 minutes
Ingredients
- 8 corn tortillas
- Cooking spray or vegetable oil
- Chili powder, optional
Directions (concise)
- Preheat oven to 375°F (190°C) and prepare a rimmed baking sheet with supports if desired.
- Lightly coat one side of each tortilla with cooking spray or brush with vegetable oil; sprinkle chili powder if using.
- Drape tortillas over supports or place flat on the baking sheet, ensuring they don’t overlap.
- Bake 8–12 minutes, checking at 8 minutes for firmness and even browning; rotate the sheet once if needed.
- If baked flat, quickly drape warm tortillas over a rack to form shells and let cool 2–3 minutes; if pre-shaped, cool briefly before transferring to a wire rack.
- Fill and serve immediately, or store cooled shells in an airtight container for up to 2 days.

Taco Shells In Oven
Ingredients
- 8 corn tortillas
- cooking spray or vegetable oil for brushing or spraying
- chili powder optional, to taste
Instructions
- Preheat the oven to 375°F (190°C). Line a baking sheet with parchment paper or lightly oil it.
- Lightly spray or brush both sides of each corn tortilla with cooking spray or vegetable oil.
- If using, sprinkle a light dusting of chili powder on one or both sides of the tortillas.
- Fold each tortilla in half over the long side and place them standing on edge on the prepared baking sheet so they form taco-shell shapes. If needed, use two baking sheets or space them to avoid touching.
- Bake for about 8–12 minutes, until the tortillas are crisp and golden, flipping once halfway through if they are browning unevenly.
- Remove from the oven and let the shells cool slightly so they firm up before filling.
Equipment
- Baking Sheet
- Oven
- cooking spray or pastry brush
- Tongs
Notes
- Use fresh corn tortillas for best crispness.
- Watch closely during baking to prevent burning.
- For extra-crispy shells, bake a few minutes longer.