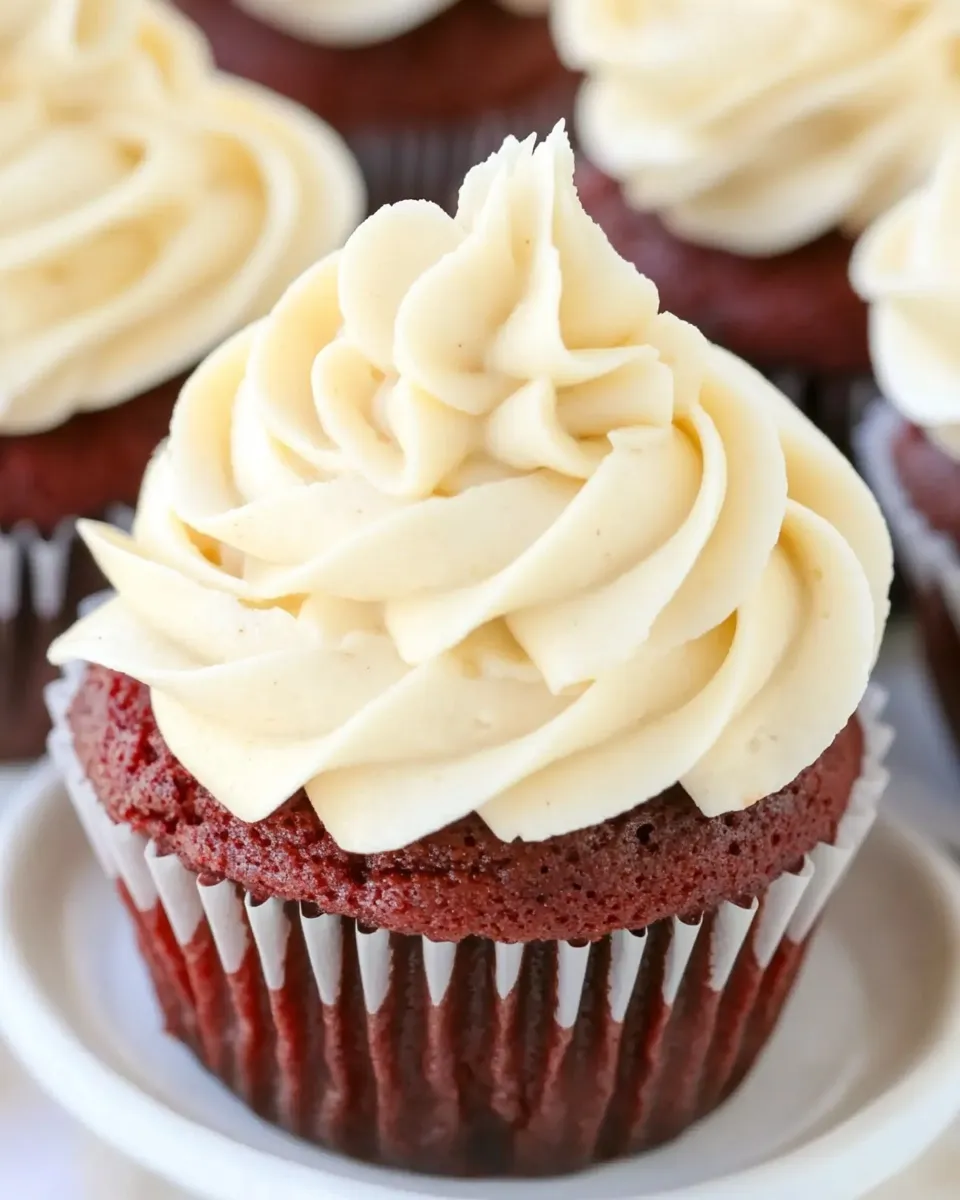
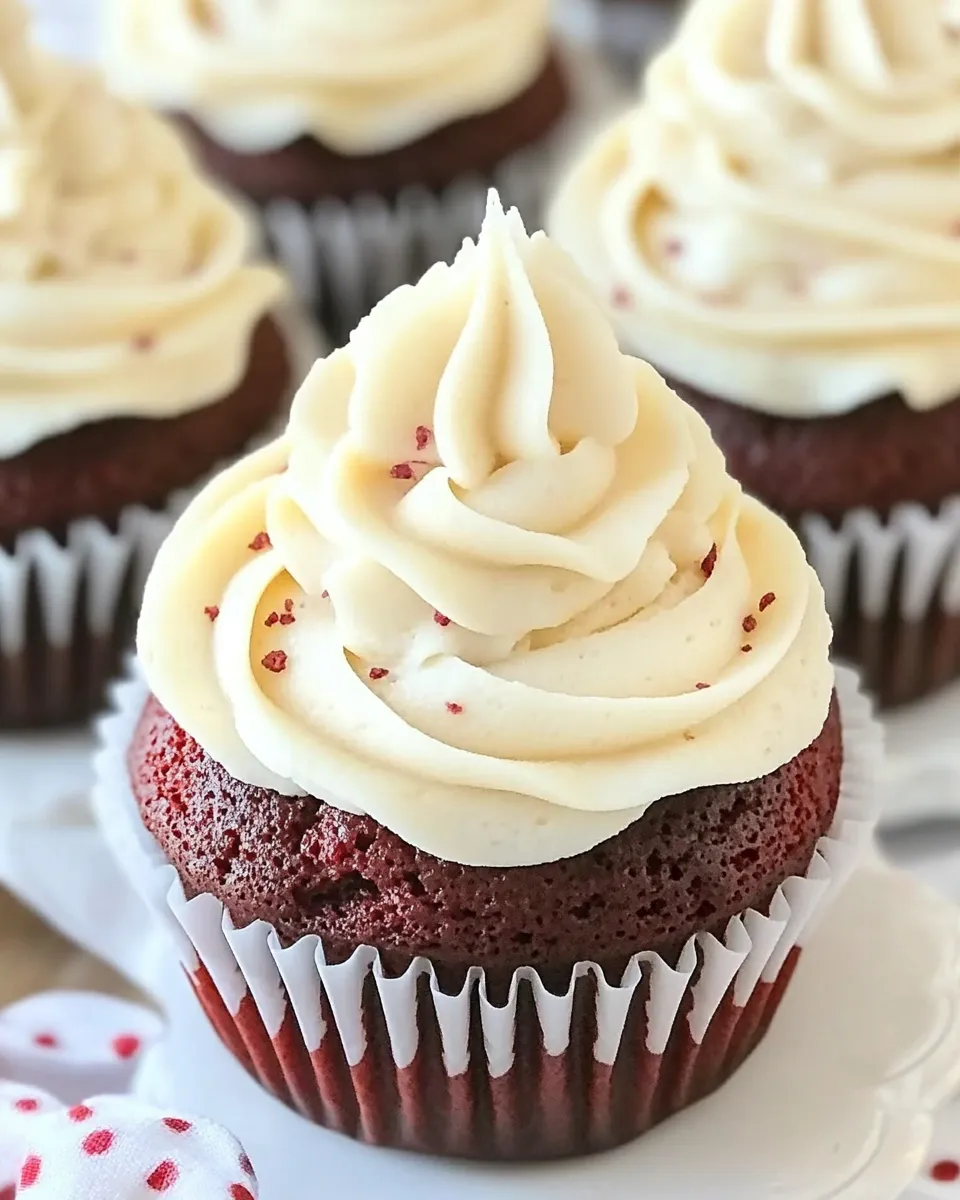
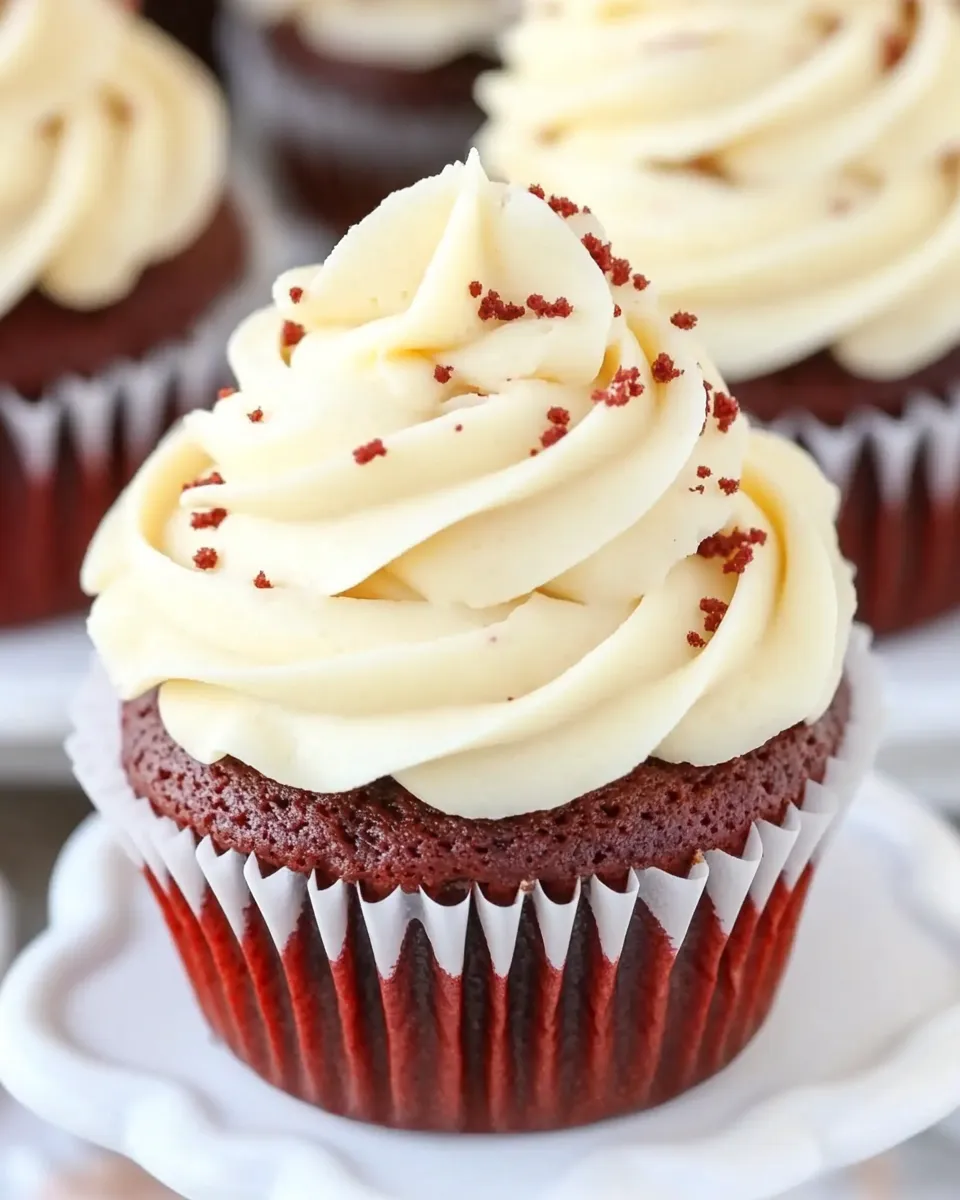
Red Velvet Cupcakes with Cream Cheese Frosting
Red velvet cupcakes are one of those reliably charming desserts: visually striking, tender, and just a little bit nostalgic. This recipe yields a big batch—36 cupcakes—so it’s perfect when you’re baking for a party, a bake sale, or simply stocking your freezer for unexpected guests.
I like to keep the method straightforward and focused on technique: measure carefully, avoid overmixing, and time the steps so the cupcakes come out evenly baked. The batter relies on a liquid food coloring addition for that classic red tone and a quick vinegar-soda reaction for lift, so a steady hand during assembly goes a long way.
Important note up front: the ingredient list provided here does not include cream cheese, butter, or powdered sugar and therefore does not include frosting directions. I’ll explain options and practical tips for frosting later, but this recipe’s instructions end with fully baked, cooled cupcakes ready for whatever cream cheese frosting recipe you prefer.
The Ingredient Lineup

- 3 ½ cups cake flour — provides a fine, tender crumb; cake flour is lower in protein than all-purpose flour and is key to the soft texture.
- ½ cup unsweetened cocoa (not Dutch processed) — adds the chocolatey undertone characteristic of red velvet; avoid Dutch-processed cocoa because it won’t react the same way with baking soda and vinegar.
- 1 ½ teaspoon salt — balances sweetness and enhances flavor overall; measure accurately.
- 2 cups canola oil — keeps cupcakes moist and tender; liquid fats make a softer texture than solid fats.
- 2 ¼ cups sugar — sweetens and contributes to structure and browning; use granulated sugar as listed.
- 3 eggs — binders and leavening support; bring to room temperature for more even mixing.
- 3 ounces red food coloring — delivers the signature red color; add carefully to avoid splashes and to control color intensity.
- 1 ½ teaspoons vanilla — adds aromatic depth; pure vanilla extract gives the best flavor.
- 1 ¼ cups buttermilk — acid in the buttermilk reacts with baking soda for lift and tenderizes the crumb; room temperature is preferable.
- 2 teaspoons baking soda — primary leavening agent when combined with vinegar and the acidity of the buttermilk.
- 2½ teaspoons white vinegar — reacts with baking soda to create lift; combined just before baking for best effect.
Step-by-Step: Red Velvet Cupcakes with Cream Cheese Frosting
- Preheat the oven to 350°F. Line three 12-count muffin tins (36 cups total) with paper liners.
- In a medium bowl, whisk together 3 1/2 cups cake flour, 1/2 cup unsweetened cocoa (not Dutch processed), and 1 1/2 teaspoons salt. Set aside.
- In the bowl of an electric mixer, beat 2 cups canola oil and 2 1/4 cups sugar on medium speed until well blended.
- Add the 3 eggs one at a time, mixing briefly after each addition until incorporated.
- Lower the mixer speed to low. With the mixer running, carefully add 3 ounces red food coloring in a steady stream to avoid splashing, and mix until the color is even.
- Add 1 1/2 teaspoons vanilla and mix briefly to combine.
- Add the dry ingredients and 1 1/4 cups buttermilk to the batter in alternation on low speed: start with half of the flour mixture, then half of the buttermilk, then the remaining flour mixture, and finish with the remaining buttermilk. Mix only until combined—do not overmix.
- Scrape down the sides and bottom of the bowl with a spatula, then mix just briefly on low to ensure everything is evenly incorporated.
- In a small dish, combine 2 teaspoons baking soda and 2 1/2 teaspoons white vinegar (it will bubble). With the mixer running on low, add this mixture to the batter and beat for about 10 seconds to incorporate.
- Fill each cupcake liner about 2/3 full with batter. Bake for 25–30 minutes, or until a toothpick inserted into the center of a cupcake comes out clean or with a few moist crumbs. If using multiple racks, rotate pans halfway through baking for even baking.
- Remove the pans from the oven and let the cupcakes cool in the pans on a wire rack for 5–10 minutes. Then transfer the cupcakes to the wire rack and cool completely before frosting.
- Note: This recipe’s ingredient list does not include cream cheese, butter, powdered sugar, or quantities for a frosting, so frosting directions are not included.
Reasons to Love Red Velvet Cupcakes with Cream Cheese Frosting
These cupcakes strike a balance between classic and eye-catching. The cocoa provides a subtle chocolate base without overpowering, while the red coloring gives them a celebratory look. Texture is the star: tender crumb, moist interior, and a fine crumb that holds frosting well.
The method is forgiving: most of the work happens in the mixer and a quick chemical lift from baking soda and vinegar. That makes timing predictable—you can produce consistent results once you follow the mix-and-measure steps precisely. Lastly, because this yields 36 cupcakes, it’s efficient when you need to serve a crowd.
Low-Carb/Keto Alternatives
- Swap the cake flour for a blend of low-carb flours (almond and coconut) with a binding agent—note that texture and absorption differ greatly from cake flour, so expect a denser cupcake and the need to experiment with ratios and eggs.
- Replace sugar with a granular erythritol or monk-fruit blend suitable for baking; because those sweeteners interact differently with creaming and browning, watch baking time and expect color and texture variations.
- Use an oil that fits your dietary choice—some prefer avocado oil—but keep in mind calorie density remains high; low-carb does not necessarily mean low-calorie.
- If maintaining the classic red color is important, use concentrated gel food coloring (small quantities go further) or natural beet powder, recognizing beet will affect flavor.
Cook’s Kit
- Electric mixer (stand or hand) — for consistent emulsification of oil, eggs, and sugar.
- Three 12-count muffin tins — this batch fills three pans; having them ready avoids overfilling or juggling pans mid-prep.
- Paper liners — makes removal and cleanup simple and keeps bottoms from browning too fast.
- Measuring cups and spoons — accurate dry and liquid measures are essential for consistent results.
- Medium mixing bowl and small dish — for dry ingredients and the baking soda/vinegar mixture.
- Spatula and wire cooling rack — scrape the bowl clean and cool cupcakes properly before frosting.
- Toothpick or cake tester — to check doneness.
What Not to Do
- Do not overmix after adding the flour. Overmixing develops gluten and makes cupcakes tough; mix only until combined.
- Do not add the baking soda and vinegar too early. Their reaction contributes to lift, so add them right before baking as directed.
- Do not use Dutch-processed cocoa. The recipe relies on natural cocoa’s acidity to interact properly with baking soda.
- Do not frost warm cupcakes. Frosting warm cupcakes causes melting and can create a mess; cool completely on a wire rack first.
- Do not skip rotating pans if you’re using multiple racks. Oven hot spots will lead to uneven baking.
Make It Diet-Friendly
“Diet-friendly” can mean different things. To reduce sugar intake without changing other elements, frost less or omit frosting and dust with a little cocoa for presentation. For smaller portions, make mini cupcakes (adjust bake time carefully) and serve one per person. If dairy is a concern, pair the baked cupcakes with a dairy-free frosting option you trust, but remember this recipe itself does not include frosting components.
Recipe Notes & Chef’s Commentary
Technique notes that make a difference:
- Room temperature eggs and buttermilk mix more uniformly with oil, reducing the risk of a broken emulsion.
- Adding the red food coloring with the mixer on low and in a steady stream prevents splattering and promotes an even tint. Three ounces is the quantity called for here—adjusting that will change the color intensity.
- When alternating dry ingredients and buttermilk, begin and end with dry ingredients to maintain structure and avoid a runny batter.
- The vinegar and baking soda reaction is short-lived. Prepare it in a small dish and add immediately so you capture the lift in the oven.
Because the recipe yields 36 cupcakes, you’ll have enough to practice perfecting your swirl if you’re planning to pipe frosting. If you’re testing a separate cream cheese frosting recipe, pipe one or two cupcakes first to ensure flavor balance before frosting the whole batch.
Storage & Reheat Guide
Unfrosted cupcakes: Cool completely, then store in an airtight container at room temperature for up to 2 days. For longer storage, freeze upright in a single layer on a baking sheet, then transfer to a freezer bag for up to 3 months. Thaw at room temperature before frosting.
Frosted cupcakes: Because the recipe does not provide frosting, follow the storage guidelines of the frosting you choose. Cream cheese frostings should be refrigerated and kept away from heat. If you frost and refrigerate cupcakes, bring them to room temperature for 20–30 minutes before serving for best flavor and texture.
To refresh slightly stale cupcakes: wrap individually and warm in a 300°F oven for 5–8 minutes, watching carefully—this works best for unfrosted cupcakes and helps restore a bit of tenderness.
FAQ
- Q: Can I use all-purpose flour instead of cake flour?
A: You can, but the texture will be less tender. If you must substitute, remove 2 tablespoons of all-purpose flour per cup and replace with cornstarch to mimic cake flour’s lower protein.
- Q: Why does the recipe use so much red food coloring?
A: This is the amount specified to achieve a bold red color in this particular formula. If you prefer a lighter hue, reduce the quantity, keeping in mind color affects appearance, not structure.
- Q: My cupcakes dome too much or too little—what gives?
A: Oven temperature and batter aeration affect doming. Make sure the oven is properly calibrated. Over-aerated batter or very hot initial oven temps can cause excessive doming.
- Q: Is there an egg-free version of this recipe?
A: Egg-free requires structural replacements (like commercial egg replacers or added starches) and will change texture. I recommend testing a smaller batch if you must omit eggs.
Next Steps
Once your cupcakes are cooled, choose a cream cheese frosting recipe you trust and test it on a few cupcakes before committing to the whole batch. If you’re serving these at an event, consider decorating simply with a swirl and a light dusting of cocoa or chopped nuts for texture. For seasonal twists, add a small edible decoration—sprinkle, berry, or chocolate curl—right before serving.
Because this recipe makes a large quantity, plan storage and presentation ahead. If you’re freezing cupcakes for later, label the date and intended frosting to keep organization simple. Finally, note any tweaks you make—color intensity, bake time, or frosting amount—so you can replicate the results you like next time.
Red Velvet Cupcakes with Cream Cheese Frosting
Ingredients
Ingredients
- 3 1/2 cups cake flour
- 1/2 cup unsweetened cocoa not Dutch processed
- 1 1/2 teaspoon salt
- 2 cups canola oil
- 2 1/4 cups sugar
- 3 eggs
- 3 ounces red food coloring
- 1 1/2 teaspoons vanilla
- 1 1/4 cups buttermilk
- 2 teaspoons baking soda
- 2 1/2 teaspoons white vinegar
Instructions
Instructions
- Preheat the oven to 350°F. Line three 12-count muffin tins (36 cups total) with paper liners.
- In a medium bowl, whisk together 3 1/2 cups cake flour, 1/2 cup unsweetened cocoa (not Dutch processed), and 1 1/2 teaspoons salt. Set aside.
- In the bowl of an electric mixer, beat 2 cups canola oil and 2 1/4 cups sugar on medium speed until well blended.
- Add the 3 eggs one at a time, mixing briefly after each addition until incorporated.
- Lower the mixer speed to low. With the mixer running, carefully add 3 ounces red food coloring in a steady stream to avoid splashing, and mix until the color is even.
- Add 1 1/2 teaspoons vanilla and mix briefly to combine.
- Add the dry ingredients and 1 1/4 cups buttermilk to the batter in alternation on low speed: start with half of the flour mixture, then half of the buttermilk, then the remaining flour mixture, and finish with the remaining buttermilk. Mix only until combined—do not overmix.
- Scrape down the sides and bottom of the bowl with a spatula, then mix just briefly on low to ensure everything is evenly incorporated.
- In a small dish, combine 2 teaspoons baking soda and 2 1/2 teaspoons white vinegar (it will bubble). With the mixer running on low, add this mixture to the batter and beat for about 10 seconds to incorporate.
- Fill each cupcake liner about 2/3 full with batter. Bake for 25–30 minutes, or until a toothpick inserted into the center of a cupcake comes out clean or with a few moist crumbs. If using multiple racks, rotate pans halfway through baking for even baking.
- Remove the pans from the oven and let the cupcakes cool in the pans on a wire rack for 5–10 minutes. Then transfer the cupcakes to the wire rack and cool completely before frosting.
- Note: This recipe’s ingredient list does not include cream cheese, butter, powdered sugar, or quantities for a frosting, so frosting directions are not included.
Equipment
- Oven
- Muffin tins
- Paper liners
- Electric Mixer
- small dish
- Spatula
- Wire Rack
- toothpick