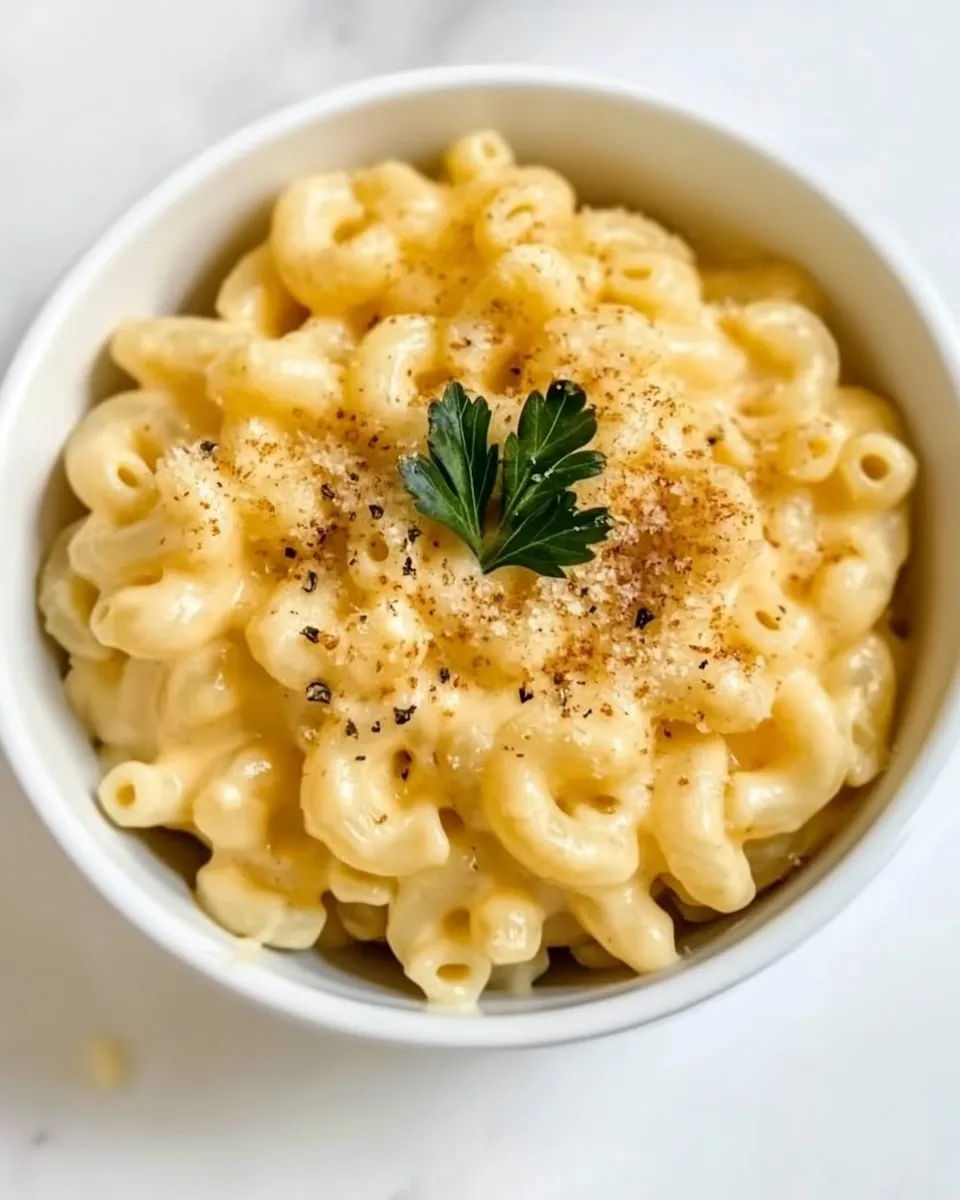
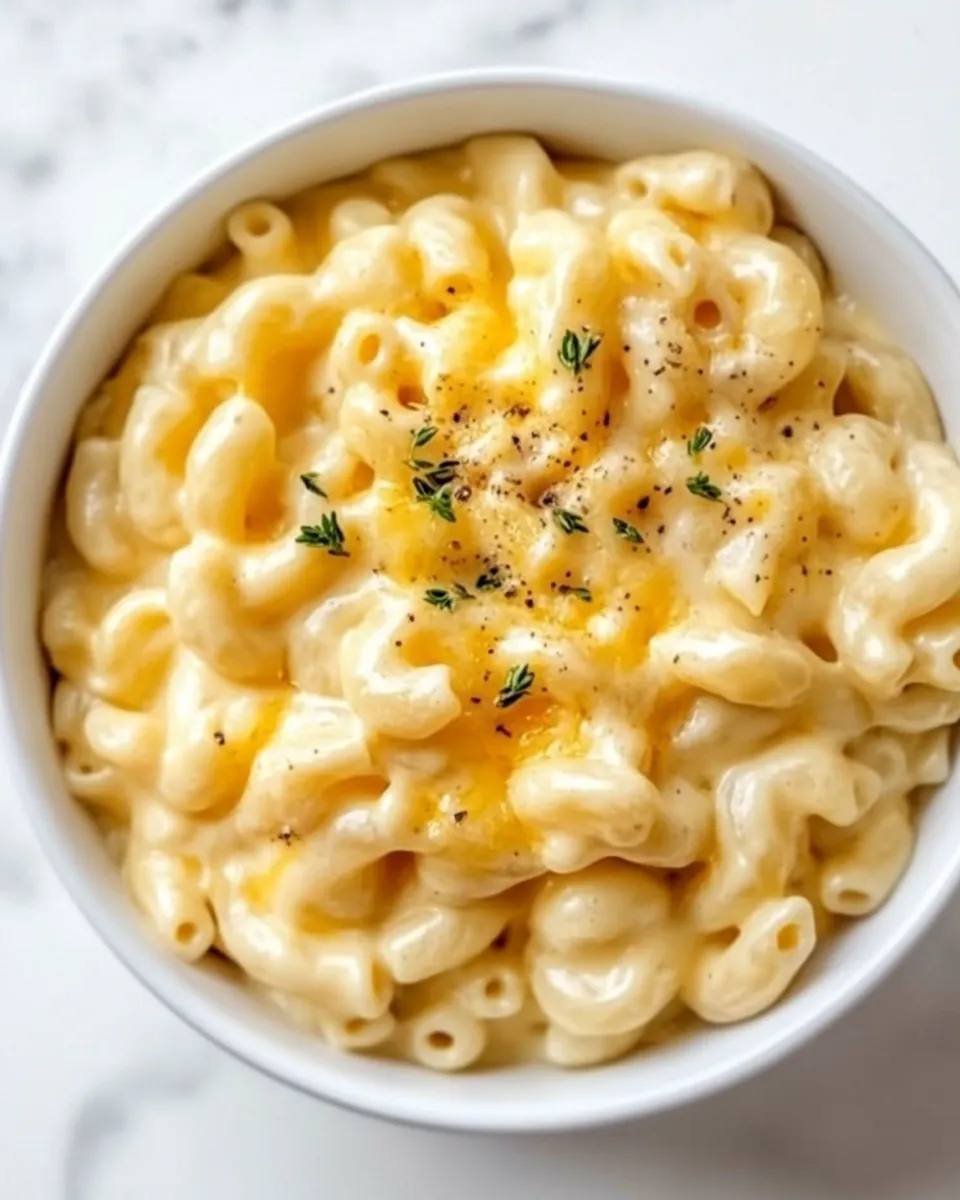
Protein Mac And Cheese
This version of mac and cheese keeps everything you love about the classic—creamy cheese, tender pasta, a crunchy top if you bake it—while adding protein-forward choices and a tangy, lighter sauce. It’s the kind of weeknight meal that feels indulgent but won’t leave you sluggish. I make it when I want comfort with purpose: family-friendly, packable for lunches, and simple enough to pull together after work.
I aim for clear steps and honest tips here: what to watch for, where you can shortcut, and where a little attention pays off. You’ll find a creamy sauce that leans on Greek yogurt for protein and tang, whole milk for silk, and shredded cheddar for familiarity. There’s an easy bake option if you want a gratin-style crust, but the stovetop finish is just as satisfying.
Follow the ingredient checklist and the step-by-step directions below. I include options and troubleshooting so you can adapt this recipe to what’s in your pantry. Let’s get cooking.
Ingredient Checklist

Ingredients
- 8oz protein pasta, or pasta of choice — protein pasta gives a boost; regular macaroni works beautifully too.
- ¾c plain Greek Yogurt* — provides creaminess, tang, and extra protein; use full-fat or low-fat depending on your texture preference.
- 1 – 1½c whole milk — thins the yogurt into a saucy base; start with 1 cup and add up to 1½ cups if needed for looseness.
- 2T unsalted butter — melts into the sauce for richness and smooth mouthfeel.
- 2½c your favorite shredded cheddar cheese, I use a combo of mild and white cheddar — sharpness level is up to you; freshly shredded melts best.
- ½c panko/breadcrumbs, gluten free if needed — optional crunchy topping for the baked version.
- ½tsp garlic powder — background savory flavor without needing fresh garlic.
- ½tsp paprika — adds warmth and color.
- ½tsp cracked pepper — coarse pepper adds bite; adjust to taste.
- ½tsp sea salt, more to taste — seasons the whole dish; taste the sauce before finishing.
- dash of crushed red pepper, optional — a little heat if you want to lift the richness.
Protein Mac and Cheese, Made Easy
- If you plan to bake, preheat oven to 375°F.
- Cook the pasta according to package directions until al dente. Drain and set aside.
- In a medium saucepan over low heat, melt the 2 tablespoons unsalted butter.
- Add 3/4 cup plain Greek yogurt and 1 cup whole milk to the melted butter, whisking until smooth. If the sauce is too thick, add up to the remaining 1/2 cup whole milk (use between 1 and 1½ cups total) to reach a creamy consistency. Keep the heat low—do not boil.
- Gradually add 2 cups of the shredded cheddar cheese to the warm yogurt mixture, stirring constantly until the cheese is fully melted and the sauce is smooth. If necessary, raise heat slightly to low–medium to help the cheese melt, but avoid boiling.
- Stir in 1/2 teaspoon garlic powder, 1/2 teaspoon paprika, 1/2 teaspoon cracked pepper, 1/2 teaspoon sea salt (and a dash of crushed red pepper if using). Taste and adjust seasoning as desired (you may add a bit more salt to taste).
- Pour the cheese sauce over the drained pasta and stir until the pasta is evenly coated.
- To serve immediately on the stovetop: transfer to plates or a serving bowl and serve.
- To bake: transfer the sauced pasta to a small baking dish (8×8, 9×9, or similar). Sprinkle the remaining 1/2 cup shredded cheddar evenly over the top, then sprinkle 1/2 cup panko/breadcrumbs over the cheese.
- Bake for 15–20 minutes, or until the top is melted and lightly browned and the pasta is bubbling. Let rest a few minutes, then serve.
Why Cooks Rave About It
This dish balances comfort and nutrition in a straightforward way. Using protein pasta and Greek yogurt elevates the mac and cheese from an indulgence to a meal that satisfies longer. The yogurt contributes a subtle tang that brightens the dairy, so the cheddar doesn’t feel cloying.
The technique is forgiving. Melting the cheese slowly into a warmed yogurt-and-milk base prevents separation and gives a velvety sauce without needing a roux. You can skip the bake and still get a perfectly sauced dish, or bake for texture contrast. That versatility is what cooks love: dependable results whether you have twenty minutes or an hour.
Smart Substitutions
- Pasta: swap protein pasta for chickpea or lentil pasta for more protein, or use regular elbow macaroni if you prefer classic texture.
- Greek yogurt: plain whole-milk yogurt works if that’s what you have; for dairy-free, try unsweetened plant-based yogurt but expect a slightly different flavor profile.
- Milk: any whole or reduced-fat milk will work; for a richer finish, use half-and-half in place of some milk (no extra amount change).
- Cheese: mix in a bit of Monterey Jack or Gruyère for a meltier, smoother texture—use the same total volume of 2½ cups.
- Panko: crushed crackers or regular breadcrumbs work in the same measure if you don’t have panko.
Essential Tools for Success
- Medium saucepan — for melting butter and building the sauce.
- Whisk — keeps the yogurt and milk smooth and prevents lumps.
- Colander — to drain the pasta quickly and stop cooking.
- 8×8 or 9×9 baking dish — if you choose to bake and crisp the top.
- Measuring cups and spoons — for accurate seasoning and dairy ratios.
Steer Clear of These
Don’t boil the sauce. High heat will cause the dairy to separate and turn grainy. Keep the pan on low to low–medium and stir steadily while melting cheese. Avoid pre-shredded cheese if you want the creamiest sauce; it contains anti-caking agents that can inhibit smooth melting.
Don’t overcrowd the baking dish. If the sauced pasta fills the dish to the brim, it will bubble over. Use a size similar to the suggestions (8×8 or 9×9) so the topping browns evenly.
Seasonal Spins
Spring: Fold in blanched asparagus tips or peas just before serving for green brightness. A sprinkle of chopped chives complements the yogurt tang.
Summer: Stir in roasted cherry tomatoes or charred corn kernels for sweetness and texture contrast. A little fresh basil on top after baking keeps it fresh.
Fall/Winter: Mix in shredded rotisserie chicken or cooked crumbled sausage for extra heft. Add a pinch of smoked paprika or a few dashes of hot sauce to warm things up.
Pro Perspective
Texture is everything. If the sauce feels too thick after adding yogurt, add milk slowly—up to the additional 1/2 cup—until you reach a glossy coat on the pasta. If it’s too thin, fold in a bit more cheese off the heat; the residual warmth will finish the melt without separating the sauce.
When baking, aim for a golden top but not too dark. If crumbs brown before the sauce bubbles, tent with foil and finish cooking until everything is hot through. Let the baked pan rest for a few minutes; the sauce will thicken as it cools, making serving easier and cleaner.
Storage Pro Tips
Refrigerate: Transfer leftovers to an airtight container and refrigerate up to 3–4 days. The sauce firms up in the fridge; that’s normal because of the yogurt and cheese.
Reheat: For single portions, microwave with a splash of milk and stir halfway through to restore creaminess. For larger portions, reheat in a saucepan over low heat with a little milk, stirring until evenly warmed. If you like the baked top again, place in an oven-safe dish and bake at 350°F until bubbly, about 10–15 minutes.
Freeze: I don’t recommend freezing Greek-yogurt–based mac and cheese often—the texture can change. If you do freeze, use within one month and thaw overnight in the fridge before reheating with added milk to revive the sauce.
Ask the Chef
- Can I use low-fat yogurt? — Yes. The flavor will be tangier and the sauce slightly less rich; add a splash more milk if it feels too thick.
- Why did my sauce break? — Usually from overheating. Bring ingredients together gently and avoid boiling. If it separates, whisk vigorously off the heat with a splash of milk to attempt to bring it back together.
- Can I add vegetables or meat directly into the sauce? — Absolutely. Pre-cook vegetables or proteins so they heat through without releasing excess moisture that could thin the sauce.
- Any tips for a gluten-free version? — Use certified gluten-free protein pasta and gluten-free breadcrumbs, keeping the same measurements.
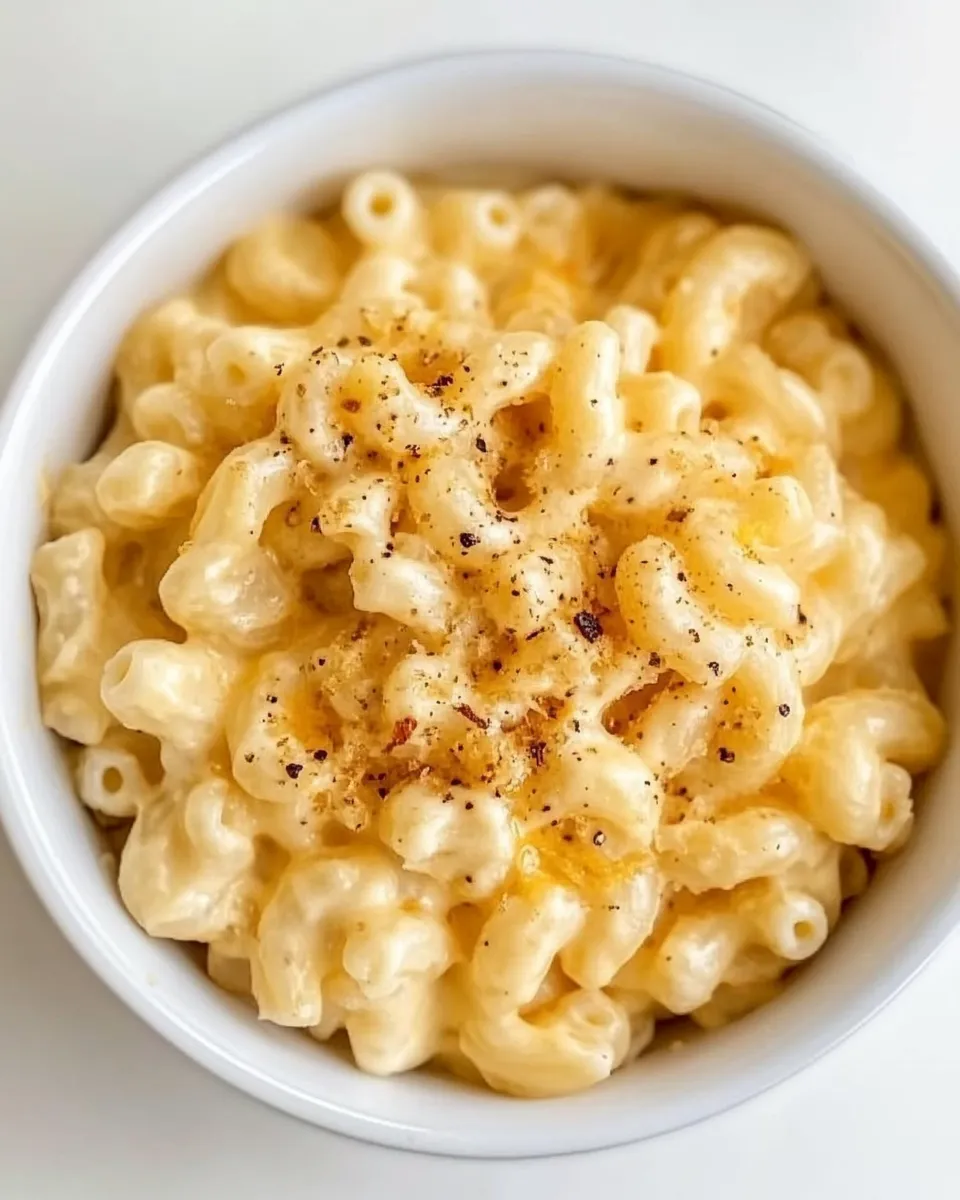
Serve & Enjoy
Serve this Protein Mac and Cheese straight from the stovetop for a saucy, comforting bowl, or bake it for a browned, crunchy finish. Pair it with a simple green salad or roasted vegetables to round out the meal. Leftovers make a great lunch—reheat gently and add a splash of milk to bring the sauce back to life.
Make it your own: tweak the cheese blend, add a protein you enjoy, or switch up the spice profile. This recipe is a reliable canvas for weeknight creativity and a satisfying, protein-conscious take on a timeless favorite. Enjoy.

Protein Mac and Cheese
Ingredients
Ingredients
- 8 oz.protein pasta or pasta of choice
- 3/4 cplain Greek Yogurt*
- 1 – 1 1/2 cwhole milk
- 2 Tunsalted butter
- 2 1/2 cyour favorite shredded cheddar cheese I use a combo of mild and white cheddar
- 1/2 cpanko/breadcrumbs gluten free if needed
- 1/2 tspgarlic powder
- 1/2 tsppaprika
- 1/2 tspcracked pepper
- 1/2 tspsea salt more to taste
- dash of crushed red pepper optional
Instructions
Instructions
- If you plan to bake, preheat oven to 375°F.
- Cook the pasta according to package directions until al dente. Drain and set aside.
- In a medium saucepan over low heat, melt the 2 tablespoons unsalted butter.
- Add 3/4 cup plain Greek yogurt and 1 cup whole milk to the melted butter, whisking until smooth. If the sauce is too thick, add up to the remaining 1/2 cup whole milk (use between 1 and 1½ cups total) to reach a creamy consistency. Keep the heat low—do not boil.
- Gradually add 2 cups of the shredded cheddar cheese to the warm yogurt mixture, stirring constantly until the cheese is fully melted and the sauce is smooth. If necessary, raise heat slightly to low–medium to help the cheese melt, but avoid boiling.
- Stir in 1/2 teaspoon garlic powder, 1/2 teaspoon paprika, 1/2 teaspoon cracked pepper, 1/2 teaspoon sea salt (and a dash of crushed red pepper if using). Taste and adjust seasoning as desired (you may add a bit more salt to taste).
- Pour the cheese sauce over the drained pasta and stir until the pasta is evenly coated.
- To serve immediately on the stovetop: transfer to plates or a serving bowl and serve.
- To bake: transfer the sauced pasta to a small baking dish (8×8, 9×9, or similar). Sprinkle the remaining 1/2 cup shredded cheddar evenly over the top, then sprinkle 1/2 cup panko/breadcrumbs over the cheese.
- Bake for 15–20 minutes, or until the top is melted and lightly browned and the pasta is bubbling. Let rest a few minutes, then serve.
Equipment
- Medium Saucepan
- Whisk
- Colander
- Baking Dish
Notes
Use freshly shredded cheese.Packaged shredded cheese is coated in cellulose and doesn’t melt quite the same as cheese right off the block.
Don’t over cook your noodles.You can drain the pasta when it is still a touch chewy especially when baking it. This will keep the pasta from becoming mushy or soggy when cooking more in the oven.
Choose pasta that allows for the most possible cheese in every bite.Shells are great because they have little cheese pockets! Any short pasta that will hold more cheese is always a great idea.
You don’t have to use chickpea pasta. There are other protein pastas as well you may prefer!