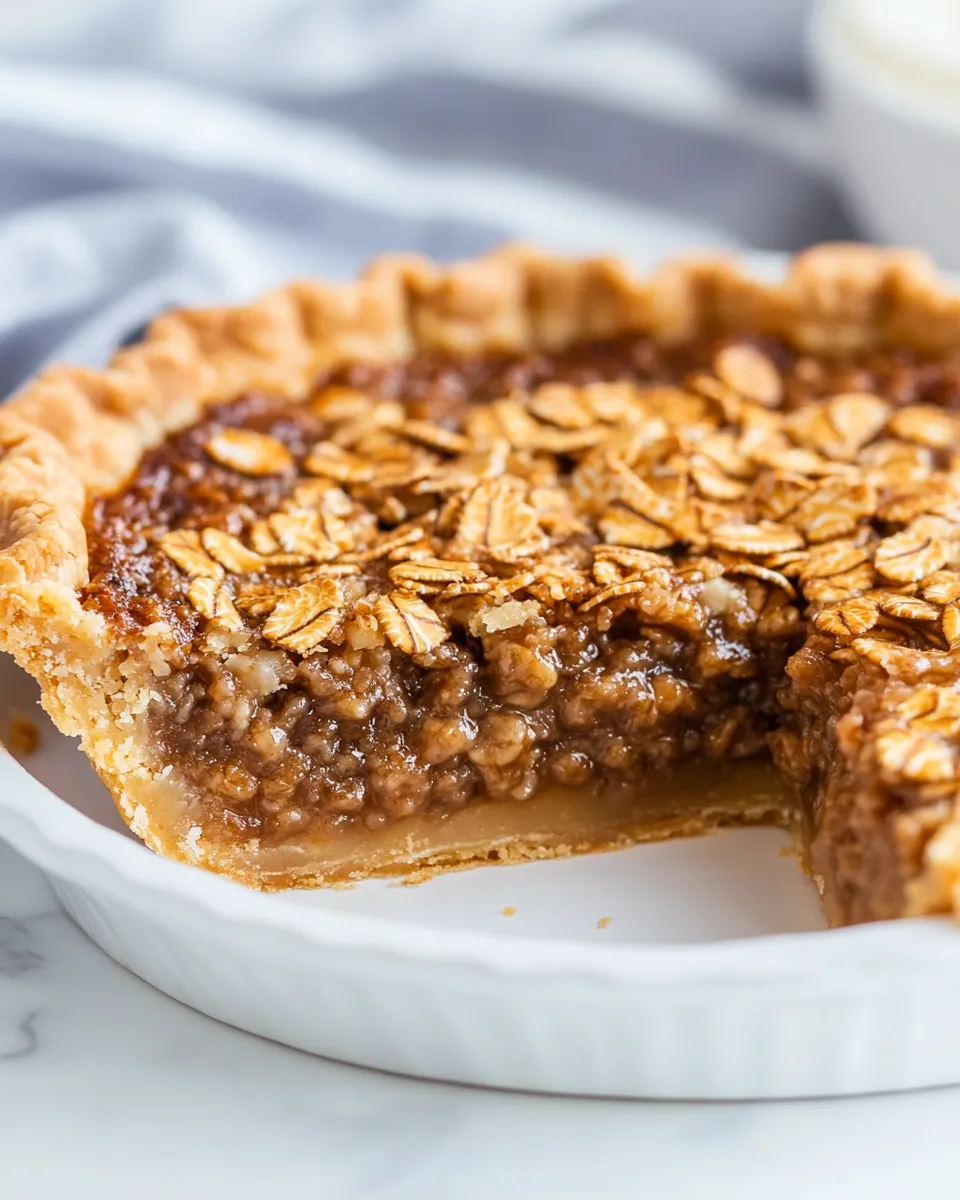
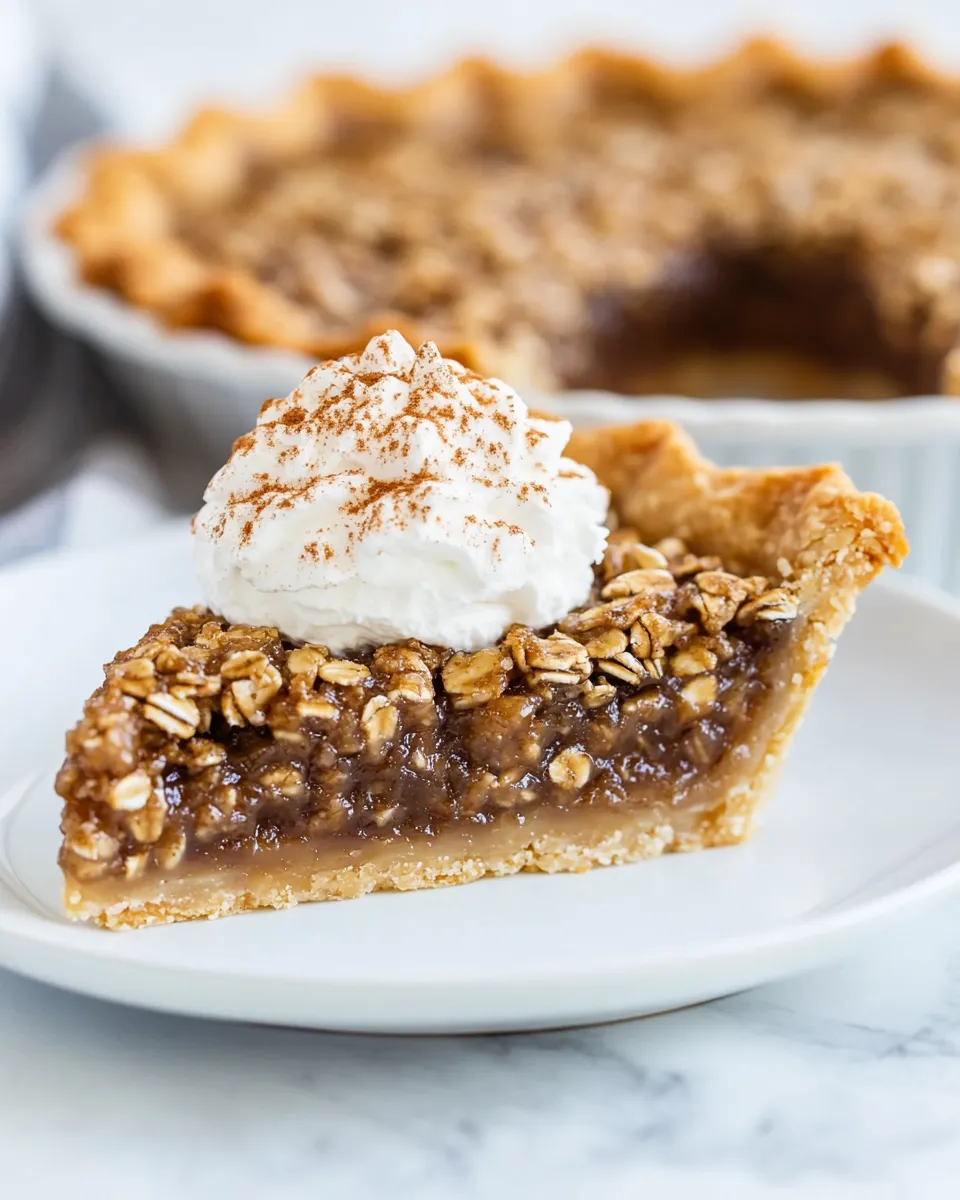
Oatmeal Pie
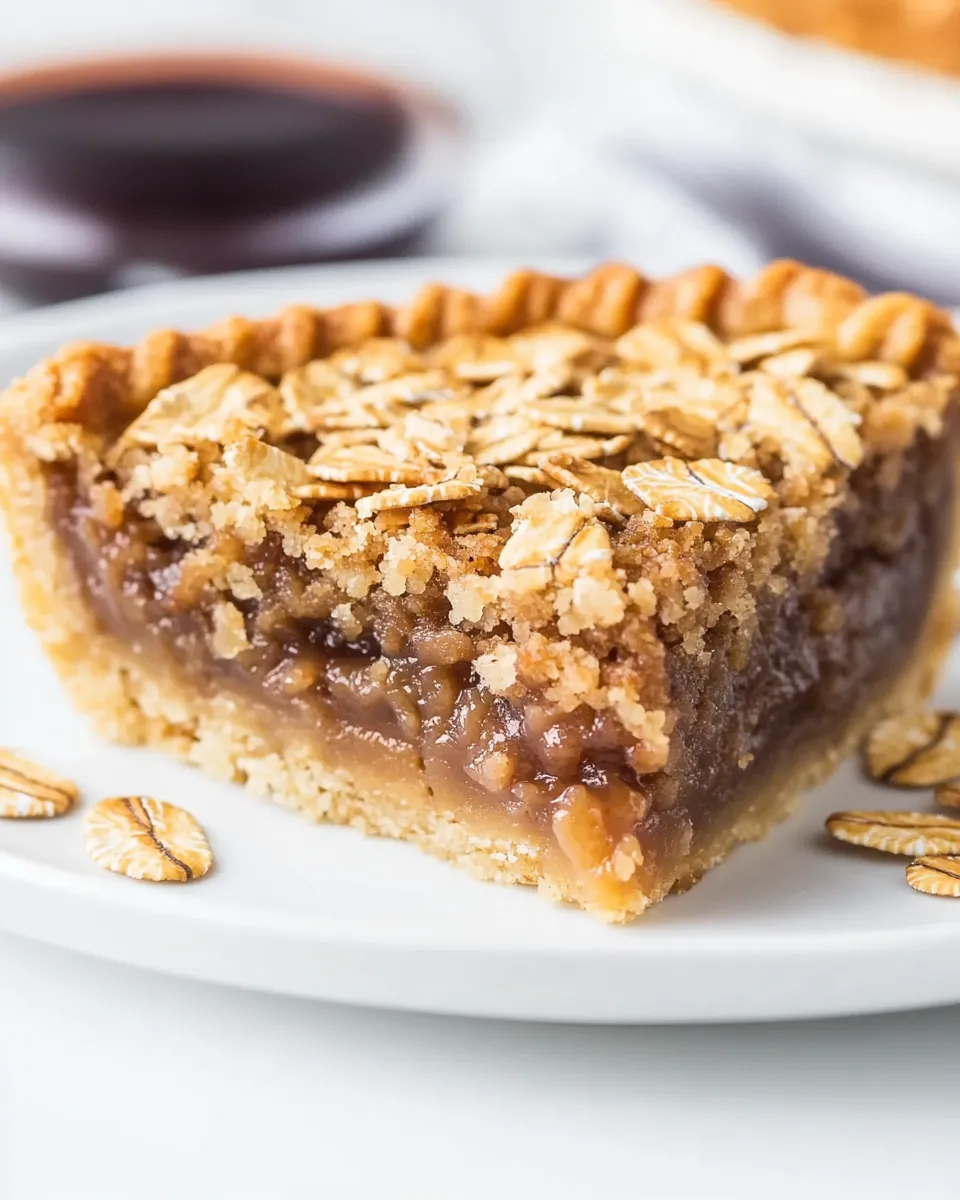
I grew up with a slice of warm pie on rainy afternoons, and this oatmeal pie is the kind that feels like a soft handshake from childhood. It’s straightforward, filling, and built on pantry staples. The filling is chewy and custardy at once, with oats giving it a comforting texture that’s different from a standard pecan or pumpkin pie.
There’s no need for fuss here. The crust holds the filling like a simple frame, and the ingredients come together in one bowl. I’ll walk you through the essentials so you get a reliably set filling with a tender edge every time.
This post covers the ingredients, the exact step-by-step build, sensible troubleshooting, and practical tips for serving and storing. If you’re pressed for time or baking for a crowd, these notes will help you bake a pie that slices cleanly and tastes like home.
Ingredient Rundown

Ingredients
- 1 single 9-inch pie crust — the shell that contains the filling; chilled and fitted to the dish for even baking.
- 1 cup light brown sugar — provides sweetness and a hint of molasses flavor that deepens during baking.
- 4 eggs — at room temperature; they set the custard and give the pie structure.
- 3 tablespoons all purpose flour — helps stabilize the filling so it slices neatly.
- 1 teaspoon ground cinnamon — warming spice; use fresh for best aroma.
- ½ teaspoon salt — balances sweetness and enhances flavor.
- 1 cup (312 g) light corn syrup — binds the filling and gives that glossy, chewy texture; Karo is a common brand.
- 2 tablespoons (28 g) melted butter — adds richness; cool slightly so it doesn’t cook the eggs when mixed.
- 2 teaspoons pure vanilla extract — rounds flavors and lifts the profile.
- 1 cup quick oats — uncooked; they absorb liquid and give an oatmeal texture without large chewy flakes.
Build Oatmeal Pie Step by Step
- Preheat the oven to 350°F (180°C).
- If your eggs are refrigerated, set them out to come to room temperature while you prepare the crust and other ingredients.
- Fit the single 9-inch pie crust into a 9-inch pie dish: unroll or place the crust in the dish, press it gently into the bottom and sides, and crimp the edges.
- Melt the 2 tablespoons (28 g) of butter (microwave briefly or melt on the stovetop) and set it aside to cool slightly.
- In a large bowl, add the light brown sugar, the eggs, the all-purpose flour, ground cinnamon, salt, light corn syrup, the melted butter, vanilla extract, and the quick oats. Whisk until the mixture is well combined and the oats are evenly distributed.
- Pour the filling into the prepared pie crust and smooth the top lightly.
- Bake on the middle oven rack for 50–60 minutes, until the filling is mostly set and only slightly jiggly in the center.
- Remove the pie from the oven and place the pie dish on a wire rack. Let the pie cool and rest for at least 2 hours before slicing so the filling fully sets.
- Serve slices plain or with a scoop of vanilla ice cream or whipped cream, if desired.
Why You’ll Love This Recipe
This oatmeal pie is forgiving and dependable. The combination of eggs, corn syrup, and flour creates a custardy matrix that traps the oats and keeps the filling cohesive. Unlike pies that rely on precise timings to avoid runny centers, this recipe’s texture is resilient: a little jiggle in the center after baking is normal and expected. After resting, it becomes sliceable without collapsing.
It’s also versatile in tone. The brown sugar and cinnamon give it warmth, while the quick oats add rustic chew without overwhelming the custard. If you want a dessert that serves a crowd and travels well to potlucks, this is a strong choice. It’s not delicate, and that’s the point—this pie is honest and comforting.
Low-Carb/Keto Alternatives
This recipe leans on sugars and oats, so it’s not inherently low-carb. To adapt its structure conceptually for lower carbohydrate eating, you would need to substitute both the syrup-based sweetener and the oats with lower-carb alternatives and replace the crust with a lower-carb base. That usually changes texture and baking times, so treat such adaptations as a different recipe rather than a minor tweak.
If you’re intent on reducing carbs while keeping the general idea, focus on two things: a sweetener substitute that behaves like syrup in binding the filling, and a binder that can mimic oats’ bulk and chew. Work in small test batches, because the filling’s set, chew, and browning behavior will change significantly when those components are swapped.
Hardware & Gadgets
A few simple tools make this pie straightforward:
- 9-inch pie dish — a standard glass or metal dish works fine; glass helps you see bottom browning.
- Mixing bowls — one large bowl for the filling and a small bowl if you need to melt butter separately.
- Whisk — for fully combining the syrup, eggs, and dry ingredients.
- Measuring cups and spoons — accuracy with the syrup and flour improves consistency.
- Wire rack — essential for cooling the pie so the bottom doesn’t steam and remain soggy.
Optional but handy: a baking sheet under the pie to catch any drips, and a sharp serrated knife for clean slicing after the pie has rested.
Steer Clear of These
A few common missteps will make the difference between a reliable pie and one that’s disappointing:
- Cold eggs: If you don’t let refrigerated eggs come to room temperature, the filling can take longer to set and may bake unevenly. Step 2 addresses this for a reason.
- Overbaking: Baking until completely firm will dry the filling. Remove when it’s mostly set and slightly jiggly in the center; it will continue to set while cooling.
- Underbaked crust: If you find your crust underdone at the end, the bottom may be soggy. Use a pre-chilled crust and avoid overfilling to help the shell crisp.
- Skipping the rest: Slicing too soon guarantees a messy center. Give it at least two hours to finish setting.
Variations by Season
Oatmeal pie is a flexible base for seasonal accents without changing the fundamental build. In cooler months, think about adding warming elements: extra cinnamon or a pinch of another warm spice to the filling. In spring or summer, a bright contrast on the side—like a tart fruit compote—keeps the richness from feeling heavy.
For holidays, this pie plays well with other desserts on the table because it slices into manageable portions. If you’re serving outdoors in warm weather, plan to keep slices chilled until serving, or offer a small scoop of ice cream that softens against the warm filling if you reheat slices briefly.
What Could Go Wrong
Most issues come down to two things: temperature and timing. If your oven runs hot or cold, the pie’s bake time will shift; invest in an inexpensive oven thermometer to verify temps. Too hot, and the filling may brown and crack; too cool, and it won’t set.
Another common problem is a soggy bottom. That happens when the crust isn’t properly crimped or the filling is exceptionally wet. Press the crust firmly into the dish and avoid overmixing wet-to-dry ratios. If you see the edges browning too quickly while the center lags, tent the crust edges with foil for the remainder of the bake.
Leftovers & Meal Prep
This pie stores well. After it cools completely, cover it loosely with plastic wrap or place it in a pie box and refrigerate for up to 4 days. Slices maintain texture in the fridge, and the resting period overnight actually improves sliceability.
To reheat, warm a slice in a low oven or a toaster oven for a few minutes—it brings back that just-baked note without melting any topping you might add. If you freeze slices, wrap them tightly and thaw overnight in the fridge before reheating; freezing can change the texture of the filling slightly but is acceptable in a pinch.
Oatmeal Pie Q&A
Q: Why does the pie need two hours to rest?
A: The filling is intentionally set while still slightly jiggly when it comes out of the oven. As it cools, the proteins in the eggs finish setting and the syrup and flour bind everything more firmly. Giving it at least two hours yields cleaner slices.
Q: Can I use old-fashioned oats instead of quick oats?
A: The recipe calls for quick oats because they absorb liquid faster and give a more uniform texture. Old-fashioned oats will produce bigger, chewier flecks and may require a different texture expectation; they won’t be incorrect, but the mouthfeel will be noticeably different.
Q: My center is runny after baking—what happened?
A: Likely underbaked or removed too early from the oven. Check that your oven is at the correct temperature and that you baked long enough for the center to be mostly set and slightly jiggly. Remember it will continue to set while cooling.
Q: Can I make the crust from scratch?
A: Yes. A homemade pie crust works fine here; just make sure it’s properly chilled and fitted to prevent shrinkage and sogginess. Blind-baking isn’t necessary for this filling, but a well-chilled crust helps.
Save & Share
Bookmark this page or save a photo of the slice you loved for reference. If you make any tweaks—especially timing changes for your particular oven—note them down so you can repeat your success next time. This oatmeal pie is a low-fuss dessert that rewards a little patience at the end, and it’s worth sharing with neighbors and friends who appreciate straightforward baking.
Oatmeal Pie
Ingredients
Ingredients
- ?1 single9-inch pie crustclick for recipe
- ?1 cuplight brown sugar
- ?4 eggsat room temperature
- ?3 tablespoonsall purpose flour
- ?1 teaspoonground cinnamon
- ?1/2 teaspoonsalt
- ?1 cup 312 glight corn syrupI use Karo
- ?2 tablespoons 28 gmelted butter
- ?2 teaspoonspure vanilla extract
- ?1 cupquick oatsuncooked
Instructions
Instructions
- Preheat the oven to 350°F (180°C).
- If your eggs are refrigerated, set them out to come to room temperature while you prepare the crust and other ingredients.
- Fit the single 9-inch pie crust into a 9-inch pie dish: unroll or place the crust in the dish, press it gently into the bottom and sides, and crimp the edges.
- Melt the 2 tablespoons (28 g) of butter (microwave briefly or melt on the stovetop) and set it aside to cool slightly.
- In a large bowl, add the light brown sugar, the eggs, the all-purpose flour, ground cinnamon, salt, light corn syrup, the melted butter, vanilla extract, and the quick oats. Whisk until the mixture is well combined and the oats are evenly distributed.
- Pour the filling into the prepared pie crust and smooth the top lightly.
- Bake on the middle oven rack for 50–60 minutes, until the filling is mostly set and only slightly jiggly in the center.
- Remove the pie from the oven and place the pie dish on a wire rack. Let the pie cool and rest for at least 2 hours before slicing so the filling fully sets.
- Serve slices plain or with a scoop of vanilla ice cream or whipped cream, if desired.
Equipment
- 9-inch Pie Dish
- Oven
- Mixing Bowl
- Whisk
- Wire Rack
Notes
Storing leftovers.Keeping the pie covered and store it in the fridge, for up to 3 days. Serve cold or warm up slices in the microwave for just a few seconds to take off the chill.