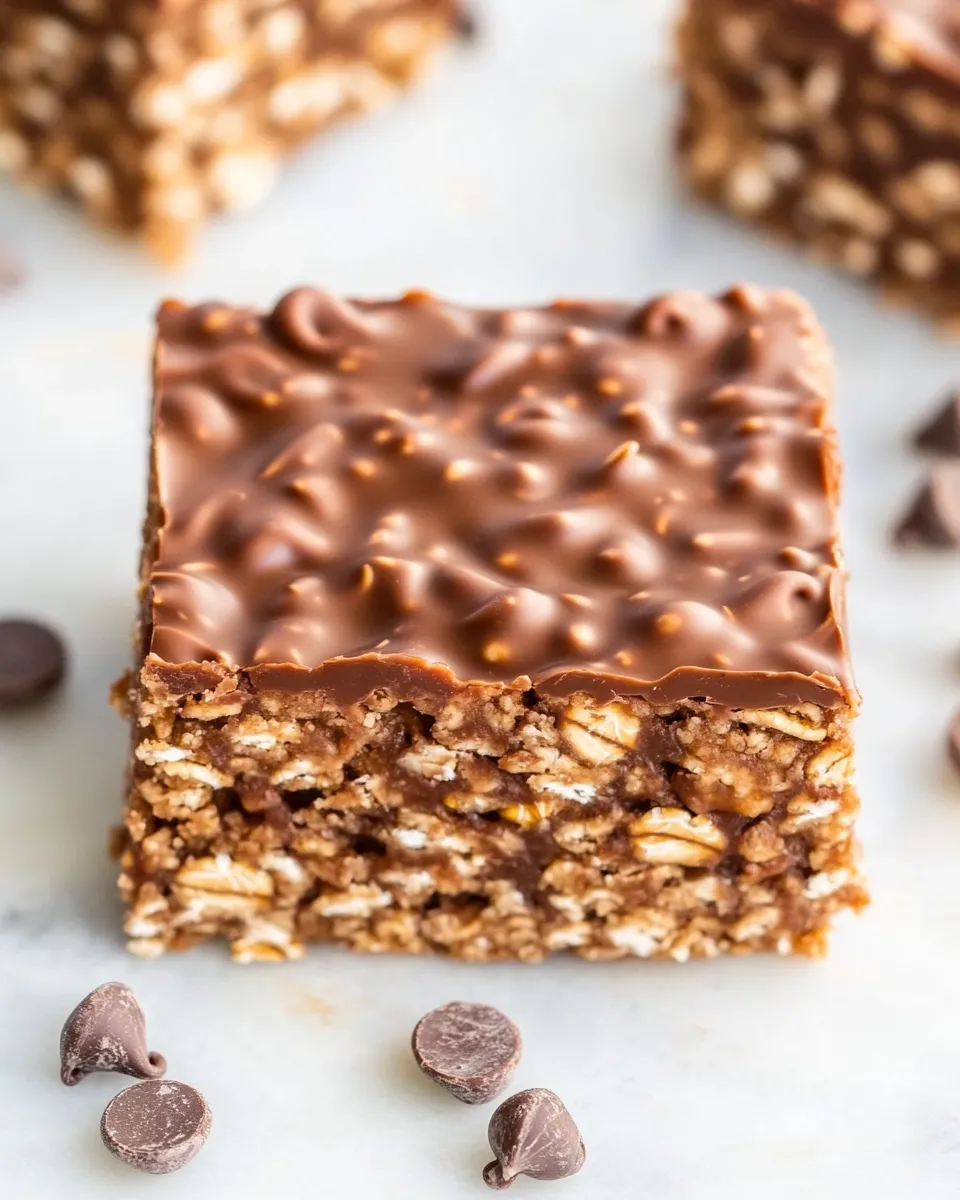
No Bake Peanut Butter Chocolate Oatmeal Bars
These bars are the kind of recipe I turn to when I need something that tastes indulgent but comes together in minutes. No baking, few ingredients, and a texture that’s both chewy and chocolatey—perfect for lunchboxes, last-minute dessert, or a quick snack with coffee. I like that technique-focused recipes like this one are forgiving; you can tweak them to match what’s in your pantry without breaking the result.
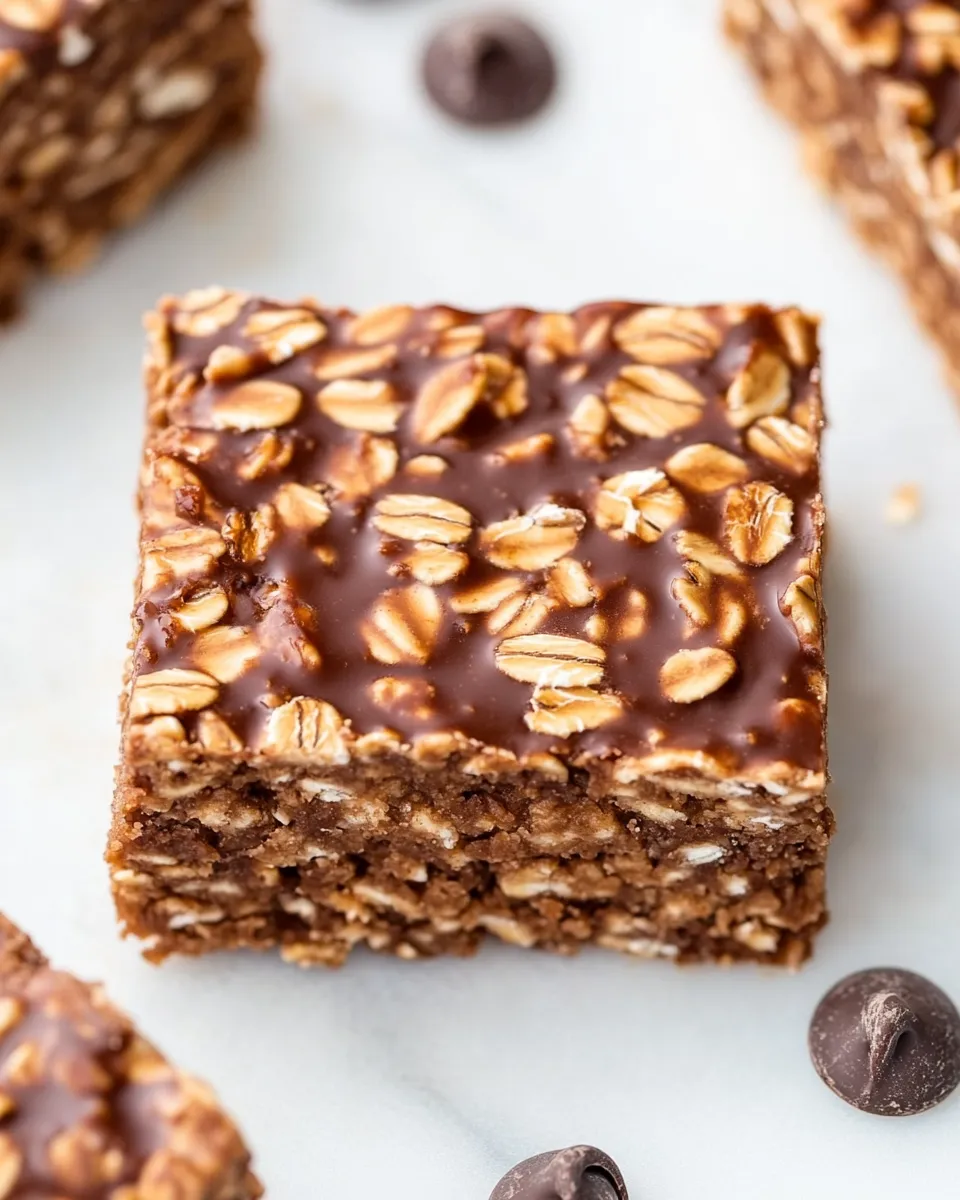
You’ll find this version leans on the classic pairing of peanut butter and dark chocolate, with rolled oats pulling it all together into a hearty bar. The recipe uses everyday pantry staples and requires only basic tools. I’ll walk you through the steps exactly, then share swaps, common pitfalls, and storage tips so your first batch comes out clean and easy.
No special skills required. Follow the steps, press firmly, chill, slice, and enjoy. Below you’ll get the ingredient notes, the exact how-to, and practical guidance for substitutions, equipment, and troubleshooting.
Ingredient Breakdown

Ingredients
- 1 c creamy peanut butter (or nut butter of choice) — the main binder and flavor backbone; creamy consistency helps the mixture stick together.
- 5 T butter — adds richness and helps the chocolate and peanut butter meld into a smooth coating.
- ⅓ c milk — loosens the mixture so it coats oats evenly; use dairy or plant milk.
- ¼ cup 100% pure maple syrup, optional — adds sweetness and slight chewiness; optional so you can reduce sugar if preferred.
- 2 tsp vanilla extract — lifts and balances the chocolate and nut flavors.
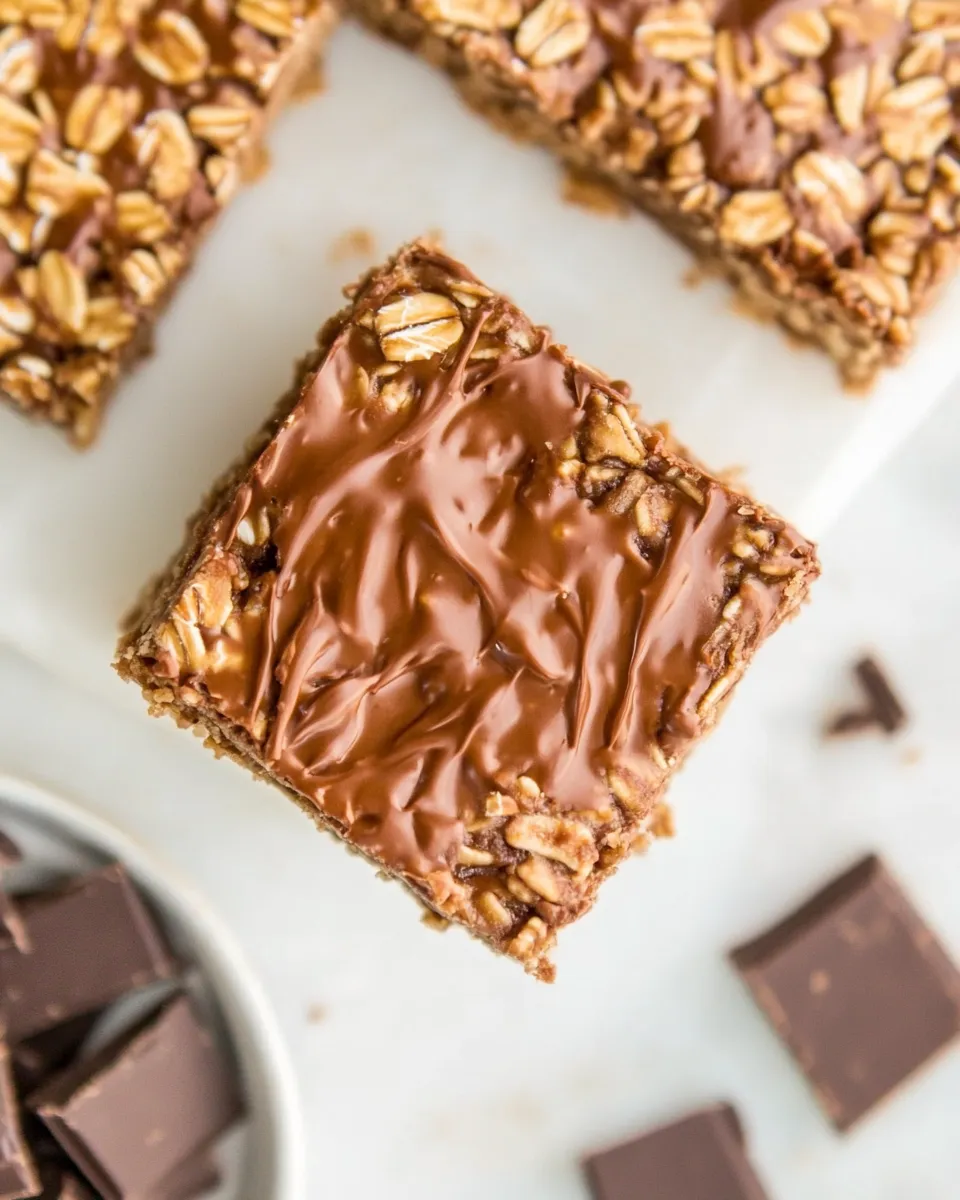
- 1½ cup dark chocolate chips — the chocolate component; melts into the peanut butter for a fudgy coating.
- pinch of sea salt — enhances sweetness and deepens flavor; especially helpful if your peanut butter is unsalted.
- 3¼ cup rolled oats, regular or gluten free — the bulk of the bars; old-fashioned rolled oats provide the best texture.
Mastering No Bake Peanut Butter Chocolate Oatmeal Bars: How-To
- Line an 8×8-inch square pan with parchment paper, leaving some overhang for lifting the bars out later.
- Put 3¼ cups rolled oats in a large mixing bowl and set aside.
- In a small saucepan, combine 1 c creamy peanut butter (or nut butter of choice), 5 T butter, ⅓ c milk, ¼ cup 100% pure maple syrup (optional), 2 tsp vanilla extract, 1½ cup dark chocolate chips, and a pinch of sea salt.
- Heat the saucepan over medium‑low, stirring frequently, until the chocolate chips are fully melted and the mixture is smooth and combined. Be careful not to let it boil or scorch.
- Remove the saucepan from the heat and immediately pour the warm chocolate–peanut butter mixture over the oats.
- Stir the oats and chocolate mixture thoroughly until all the oats are evenly coated.
- Transfer the coated oats into the prepared 8×8 pan. Press the mixture firmly and evenly into the pan (use the back of a spatula or a piece of parchment to press it flat).
- Chill the pan in the refrigerator for about 30 minutes to 1 hour, or until the bars are set. Use the parchment overhang to lift the slab from the pan and cut into bars.
Quick technique notes
- Temperature control: Melt the chocolate and peanut butter gently over medium-low and stir constantly. Too hot and the chocolate can seize or the butter can separate.
- Pressing: Press firmly and evenly into the pan to avoid crumbly edges. A flat-bottomed measuring cup or piece of parchment works well to compact the mixture.
- Chill time: These need a minimum of 30 minutes, but a full hour gives cleaner slices. If you’re short on time, pull the slab after 30 minutes and score with a sharp knife to guide cutting once fully set.
Why No Bake Peanut Butter Chocolate Oatmeal Bars is Worth Your Time
First, they’re fast. From start to fridge takes under 20 minutes of active time, and that includes lining the pan and stirring. No oven means no babysitting. Second, the ingredients are familiar—peanut butter, oats, chocolate—so they’re easy to shop for and they travel well for packed lunches or potlucks.
Third, the texture is reliable. Rolled oats give bite and chew that won’t turn mushy because we’re not soaking them. The chocolate–peanut butter layer glues the oats together into bars with a pleasing chew and just enough richness so a small piece satisfies. For weekday snack prep, these are a win: sturdy, portable, and freezer-friendly.
Allergy-Friendly Substitutes
- Peanut allergy: Use sunflower seed butter or soy nut butter exactly in place of peanut butter.
- Dairy-free: Swap the butter for coconut oil or a dairy-free spread and use a non-dairy milk like almond, soy, or oat milk.
- Nut-free chocolate: Choose certified nut-free chocolate chips if needed.
- Gluten concerns: Use certified gluten-free rolled oats; the recipe already lists that as an option.
Equipment & Tools
- 8×8-inch square pan — the recipe is sized for this; a similarly sized dish works but will change bar thickness.
- Parchment paper — for easy lifting and clean cuts.
- Small saucepan — to melt and combine the chocolate, butter, and peanut butter.
- Large mixing bowl — to hold the oats while you pour the chocolate mixture.
- Spatula or wooden spoon — for stirring and spreading.
- Measuring cups and spoons — to follow the recipe amounts accurately.
- Refrigerator — these set in the fridge; a freezer works too for faster setting.
Easy-to-Miss Gotchas
- Chocolate seizing: High heat or water droplets can make chocolate grainy. Keep the pan dry and low heat.
- Loose bars: Not pressing the mixture firmly enough will yield crumbly bars. Apply steady pressure to compress the oats.
- Too sweet or too bland: If your peanut butter is heavily salted or sweetened, taste and adjust by omitting the optional maple syrup or adding the pinch of salt as needed.
- Wrong oats: Instant oats will make a softer, denser bar. Stick with rolled (old-fashioned) oats for the intended texture.
- Skipping parchment overhang: Without overhang, lifting the slab is fiddly and you may break the edges when cutting.
Smart Substitutions
- Butter swap: For a dairy-free or lighter option, use coconut oil in the same amount; it will firm up more at fridge temps, making bars slightly firmer.
- Sweetener tuning: The ¼ cup maple syrup is optional. If you prefer a less sweet bar, omit it—your bars will be denser and less sticky but still hold together because of the peanut butter.
- Chocolate choices: Use semisweet or milk chocolate chips if you want a sweeter, creamier top layer. Dark chocolate gives a less sweet, deeper flavor.
- Mix-ins: If you want texture, fold in a small handful of chopped nuts or seeds when you mix the oats—don’t add anything too wet.
Testing Timeline
- 0–10 minutes: Line pan, measure oats into bowl, gather ingredients.
- 10–20 minutes: Melt mixture in saucepan and combine with oats. Transfer to pan and press flat.
- 30–60 minutes: Chill in refrigerator. Check at 30 minutes; if still tacky, leave up to 1 hour. For cleaner cuts, chill a full hour.
- Over 1 hour: The bars will continue to firm in the fridge; they can sit several hours without harm, and firm further in the freezer if desired.
Storing Tips & Timelines
- Room temp: Not recommended over long periods—bars soften. If your kitchen is cool, they’ll hold for a few hours.
- Refrigerator: Store in an airtight container for up to 7 days. Separate layers with parchment to prevent sticking.
- Freezer: Wrap individual bars in parchment and place in a freezer-safe container for up to 3 months. Thaw in the fridge or at room temperature for 10–20 minutes before eating.
- Cutting tips before storing: Use a sharp knife warmed under hot water and dried for cleaner slices. Wipe the blade between cuts.
Reader Questions
- Q: Can I use quick oats? A: You can, but the texture will be softer and less chewy. Rolled oats give the intended bite.
- Q: What if my mixture separates when melting? A: If the fats separate, remove from heat and whisk gently until combined. If chocolate seizes from overheating, add a teaspoon of oil or a splash of milk off heat and stir to smooth.
- Q: Can I double the recipe? A: Yes—use a larger pan (e.g., 9×13) and press to an even thickness. Chilling time may increase slightly.
- Q: How do I make these less sweet? A: Omit the optional maple syrup and choose dark chocolate with higher cacao percentage.
- Q: Why did my bars crumble? A: Likely under-pressed or too little binder. Make sure the peanut butter-chocolate mixture fully coats the oats and press firmly into the pan.
The Last Word
These No Bake Peanut Butter Chocolate Oatmeal Bars are a reliable pantry-friendly recipe that delivers comfort without fuss. They’re flexible—swap nut butters, switch the chocolate, or skip the maple syrup—yet they reward attention to simple details: gentle melting, thorough coating, and firm pressing. Make a batch for the week, stash some in the freezer, and keep a sharp knife on hand for neat slices.
When you get the hang of the technique, you’ll find this pattern of “melt, mix, press, chill” works for a lot of flavor combinations. Start with the base here, then adapt—just remember to press firmly and chill long enough. Enjoy, and keep a plate nearby for tasting while you work.
No Bake Peanut Butter Chocolate Oatmeal Bars
Ingredients
Ingredients
- 1 ccreamy peanut butter or nut butter of choice
- 5 Tbutter
- 1/3 cmilk
- 1/4 cup100% pure maple syrup optional
- 2 tspvanilla extract
- 1 1/2 cupdark chocolate chips
- pinch of sea salt
- 3 1/4 cuprolled oats regular or gluten free
Instructions
Instructions
- Line an 8x8-inch square pan with parchment paper, leaving some overhang for lifting the bars out later.
- Put 3¼ cups rolled oats in a large mixing bowl and set aside.
- In a small saucepan, combine 1 c creamy peanut butter (or nut butter of choice), 5 T butter, ⅓ c milk, ¼ cup 100% pure maple syrup (optional), 2 tsp vanilla extract, 1½ cup dark chocolate chips, and a pinch of sea salt.
- Heat the saucepan over medium‑low, stirring frequently, until the chocolate chips are fully melted and the mixture is smooth and combined. Be careful not to let it boil or scorch.
- Remove the saucepan from the heat and immediately pour the warm chocolate–peanut butter mixture over the oats.
- Stir the oats and chocolate mixture thoroughly until all the oats are evenly coated.
- Transfer the coated oats into the prepared 8x8 pan. Press the mixture firmly and evenly into the pan (use the back of a spatula or a piece of parchment to press it flat).
- Chill the pan in the refrigerator for about 30 minutes to 1 hour, or until the bars are set. Use the parchment overhang to lift the slab from the pan and cut into bars.
Equipment
- 8x8-inch Pan
- Parchment Paper
- Large Mixing Bowl
- Small Saucepan
- Spatula
- Refrigerator
Notes
All about that drizzle! These are great with a nicepeanut butterdrizzle! I think it makes them look extra fancy as well.
You can spoon these into cookies if preferred.