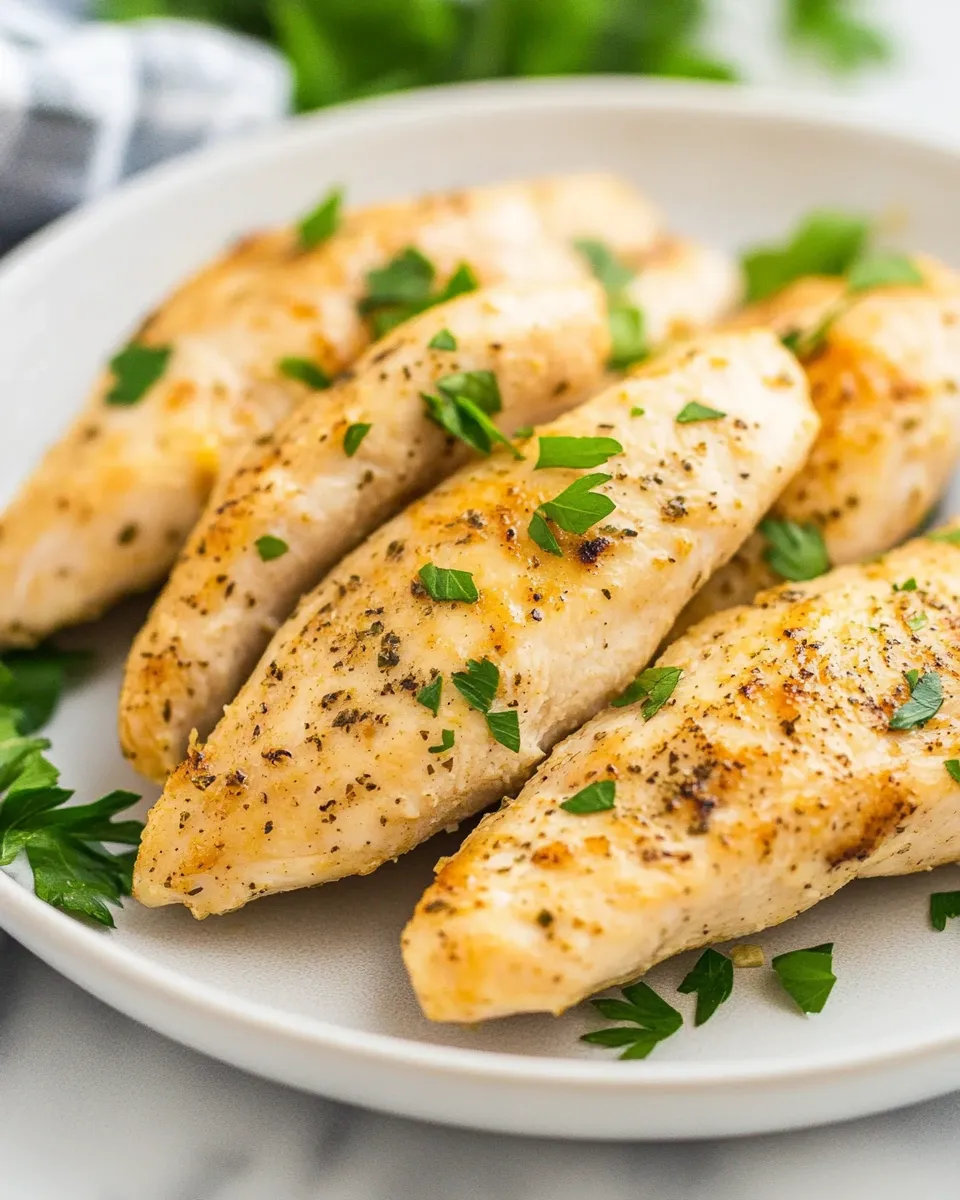
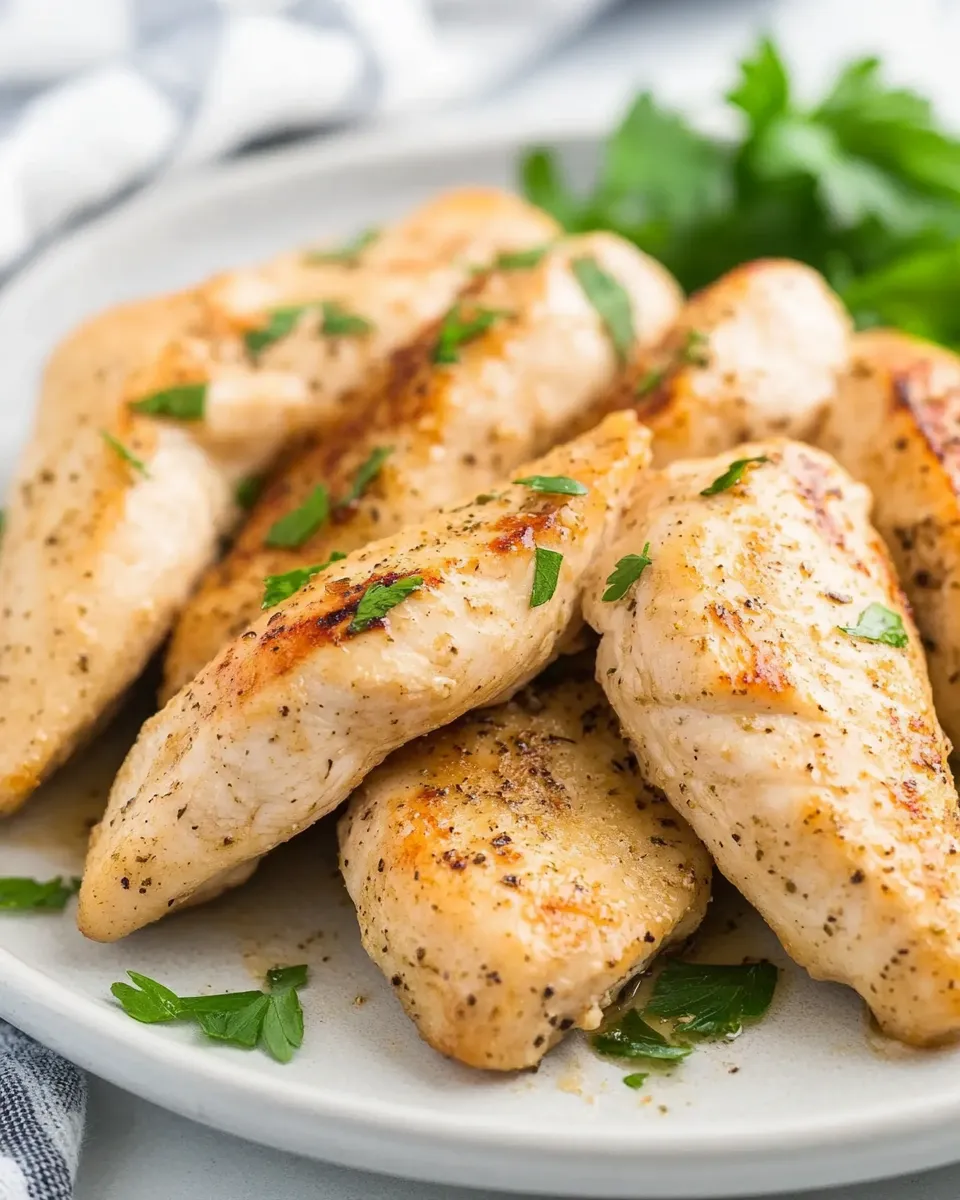
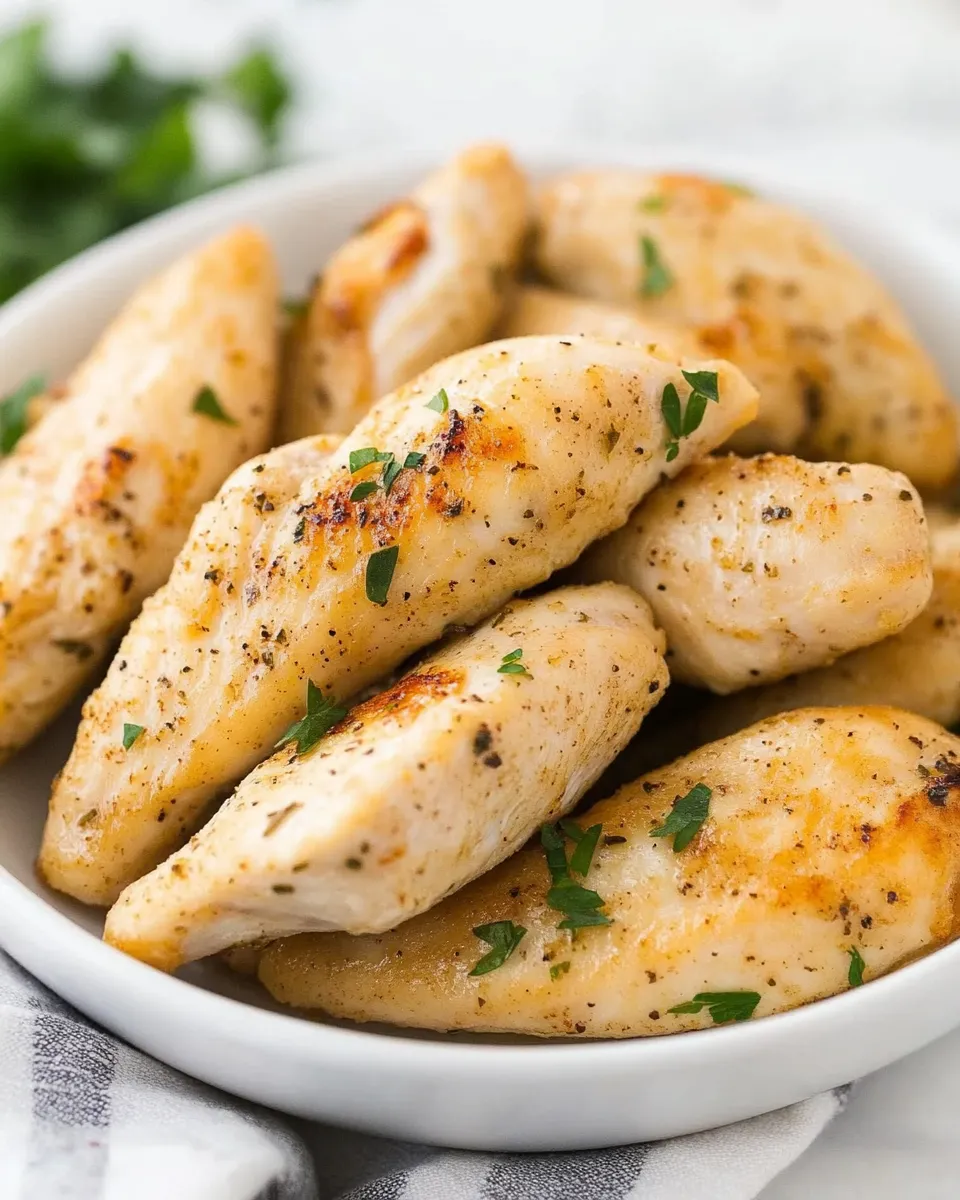
Instant Pot Chicken Tenders
I cook a lot of weeknight dinners, and these Instant Pot chicken tenders have become a cornerstone of my quick-dinner rotation. They’re straightforward, forgiving, and come out tender every time. I like that they free up the stovetop and give reliable results even when the evening runs late.
This recipe is scaled for a family-sized batch and uses pantry staples: chicken tenders, a splash of olive oil, a little seasoning, and water for the pot to build pressure. There’s an optional browning step that adds texture, but it’s not required—either way you end up with juicy, clean-flavored chicken that’s fast to finish and easy to dress up.
Below you’ll find the ingredient list, the step-by-step Instant Pot directions exactly as written, and practical notes on gear, storage, and variations. Read the short how-to, then jump into the tips that will save you time and prevent common mistakes.
Ingredients at a Glance

- 2 lbs (900 g) chicken tenders — they’re called mini chicken fillets in the UK; the main protein and quickest-cooking piece.
- 1 tablespoon olive oil — helps with optional browning and prevents sticking during sauté.
- ½ teaspoon salt — basic seasoning; adjust to taste if using brined chicken.
- ¼ teaspoon ground black pepper — for a mild pepper note.
- ½ teaspoon dried oregano — adds a warm, herbal background.
- 1 cup (250 ml) water — See Note 3; used to create steam and pressure in the Instant Pot.
Chicken Tenders: How It’s Done
- Select the SAUTE setting on Normal to preheat the Instant Pot.
- Add 1 tablespoon olive oil to the pot and heat until shimmering.
- Add the 2 lbs (900 g) chicken tenders to the pot and season both sides with ½ teaspoon salt, ¼ teaspoon ground black pepper, and ½ teaspoon dried oregano.
- Brown the chicken tenders 1–2 minutes per side using the SAUTE function for better texture (this step is optional).
- Remove the browned (or unbrowned) chicken tenders from the pot and set them aside on a plate.
- Pour 1 cup (250 ml) water into the hot pot and use a spatula to scrape any browned bits from the bottom to deglaze the pot.
- Place the trivet in the Instant Pot and arrange the chicken tenders on the trivet (or use a steamer basket if you prefer).
- Secure the lid, set the steam release valve to SEALING, select PRESSURE COOK/MANUAL on High pressure, and set the cooking time to 3 minutes. (The Instant Pot will take about 5 minutes to come to pressure.)
- When the cooking program ends, perform a Quick Release of the pressure (carefully move the valve to VENTING).
- Open the lid, remove the chicken tenders, and serve.
Why Chicken Tenders is Worth Your Time
This method gives you consistently tender chicken without babysitting a skillet or oven. Pressure cooking traps moisture, so even plain tenders stay juicy. The whole process—from preheat to plate—takes less active time than many other methods. I can get a full tray of cooked tenders ready while I steam vegetables or toss a salad.
Beyond speed, the texture is a real win. A quick sauté adds a light crust, which most folks appreciate, but skipping that step still yields excellent results. Because the base seasoning is simple, the tenders act like a canvas: you can turn them into sandwiches, slice them for salads, or dress them with sauces for family-style dinners.
Ingredient Flex Options
These options let you adapt the recipe without changing the core amounts.
- Spice swaps: Replace dried oregano with Italian seasoning or smoked paprika for a different profile.
- Salt adjustments: If your chicken is brined or pre-seasoned, reduce the ½ teaspoon salt to ¼ teaspoon or omit it entirely.
- Fat choices: Use avocado oil instead of olive oil for a higher smoke point if you plan to brown aggressively.
- Broth swap: If you want more flavor in the cooking liquid, replace the cup of water with low-sodium chicken broth—this won’t change the cook time.
What’s in the Gear List
A brief list of what I use and why.
- Instant Pot (any 6- or 8-quart model) — the recipe uses the PRESSURE COOK/MANUAL setting.
- Trivet or steamer basket — keeps the chicken elevated above the liquid so it steams instead of boiling.
- Heatproof spatula — for deglazing the pot after browning.
- Tongs or a fork — to remove tenders cleanly after cooking.
Avoid These Traps
Instant Pot cooking is straightforward, but a few common missteps will cost you time or texture. Watch for these:
- Skipping deglazing: If you skip scraping the bottom after browning, those browned bits can trigger a burn warning and stop pressure from building. Always add the cup of water and scrape the pot.
- Overcrowding when sautéing: Browning works best in a single layer. If the tenders are piled up, they’ll steam instead of brown.
- Wrong valve position: Double-check the steam release valve is set to SEALING before pressure cooking. If it’s on VENTING the Instant Pot won’t come to pressure.
- Rushing the quick release: Always use a utensil or wear an oven mitt when moving the valve to VENTING. Steam is hot; don’t put your face or hands above the valve.
Fresh Takes Through the Year
Seasonal tweaks keep this basic recipe feeling new all year.
- Spring: Brighten the cooked tenders with lemon zest and a quick gremolata (parsley, lemon, garlic) and serve with asparagus.
- Summer: Chill the cooked tenders, slice, and toss into cold pasta salad with tomatoes and basil for backyard lunches.
- Fall: Use deeper spices—swap oregano for a pinch of ground cumin and smoked paprika—and pair with roasted root vegetables.
- Winter: Simmer a simple gravy or mushroom sauce in the pot after removing the tenders; pour over warm tenders for a comforting plate.
Cook’s Notes
Short, practical notes from years of testing.
- Optional browning: The recipe lists a 1–2 minute per side sauté. I do it when I want a little color; it’s fine to skip for the fastest route.
- Doneness: Because tenders are thin, 3 minutes at high pressure plus quick release is sufficient. If you prefer a firmer texture, add 30–60 seconds, but you’ll risk drying them out.
- Resting: Let tenders rest a few minutes after removing from the pot—this helps juices redistribute and keeps them moist when you slice.
- Use a trivet: Elevating the chicken prevents it from sitting in liquid and becoming soggy; a steamer basket works well if you have one.
Prep Ahead & Store
Plan for leftovers and make-ahead meals.
- Make-ahead: Fully cooked tenders keep well in the refrigerator for 3–4 days. Cool to room temperature, then store in an airtight container.
- Freezing: Freeze cooked tenders in a single layer on a sheet pan, then transfer to a freezer bag for up to 3 months. Reheat gently from frozen in a low oven or air fryer to restore texture.
- Reheating: Reheat in a 350°F (175°C) oven for 8–12 minutes, or use an air fryer for 5–7 minutes to regain some crispness. Avoid microwaving for long stretches—microwaves can make them rubbery.
Questions People Ask
- Can I use frozen tenders? You can, but I don’t recommend it for this short cook time. Frozen tenders will need longer under pressure; follow Instant Pot guidance for frozen poultry and increase the time accordingly.
- Do I need the trivet? Yes—placing the tenders on a trivet keeps them above the liquid so they steam rather than boil. If you skip the trivet, the texture will be different.
- What if I get a burn warning? Turn off the pot, release pressure if any, remove lid, and scrape the bottom. Then add the required 1 cup (250 ml) water and try again. Browning lots of bits without enough liquid is the usual cause.
- Can I double the recipe? You can increase the amount if your Instant Pot is large enough, but avoid stacking too many tenders tightly. Arrange them so steam circulates; you may need to cook in batches to keep texture consistent.
Hungry for More?
If you liked this Instant Pot method, try using the same technique for other thin cuts: pork cutlets, turkey tenderloins, or thin fish fillets with adjusted times. The key is building steam with a cup of liquid and lifting the protein above that liquid on a trivet or basket.
For sauces and serving ideas: toss sliced tenders with buffalo sauce for wraps, slice them over a grain bowl with roasted vegetables, or shred and mix with a quick BBQ glaze for sandwiches. This recipe is a dependable foundation—fast, simple, and ready for the rest of your week.

Instant Pot Chicken Tenders
Ingredients
Ingredients
- ?2 lbs 900 gchicken tendersthey're called mini chicken fillets in the UK
- ?1 tablespoonolive oil
- ?1/2 teaspoonsalt
- ?1/4 teaspoonground black pepper
- ?1/2 teaspoondried oregano
- ?1 cup 250 mlwaterSee Note 3
Instructions
Instructions
- Select the SAUTE setting on Normal to preheat the Instant Pot.
- Add 1 tablespoon olive oil to the pot and heat until shimmering.
- Add the 2 lbs (900 g) chicken tenders to the pot and season both sides with ½ teaspoon salt, ¼ teaspoon ground black pepper, and ½ teaspoon dried oregano.
- Brown the chicken tenders 1–2 minutes per side using the SAUTE function for better texture (this step is optional).
- Remove the browned (or unbrowned) chicken tenders from the pot and set them aside on a plate.
- Pour 1 cup (250 ml) water into the hot pot and use a spatula to scrape any browned bits from the bottom to deglaze the pot.
- Place the trivet in the Instant Pot and arrange the chicken tenders on the trivet (or use a steamer basket if you prefer).
- Secure the lid, set the steam release valve to SEALING, select PRESSURE COOK/MANUAL on High pressure, and set the cooking time to 3 minutes. (The Instant Pot will take about 5 minutes to come to pressure.)
- When the cooking program ends, perform a Quick Release of the pressure (carefully move the valve to VENTING).
- Open the lid, remove the chicken tenders, and serve.
Equipment
- Instant Pot