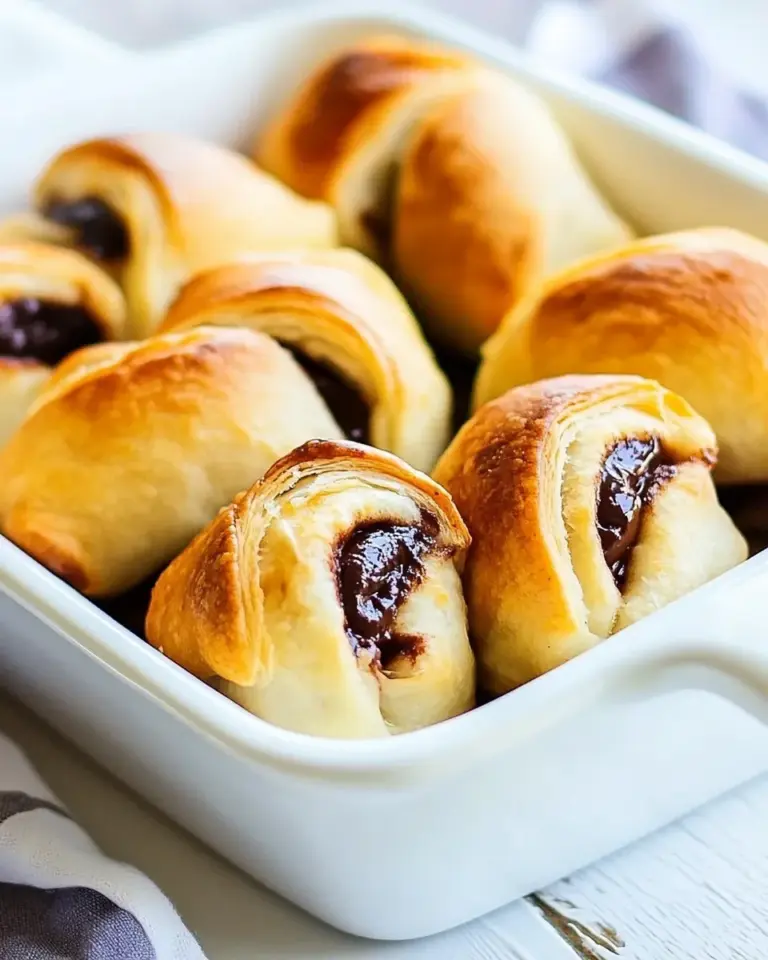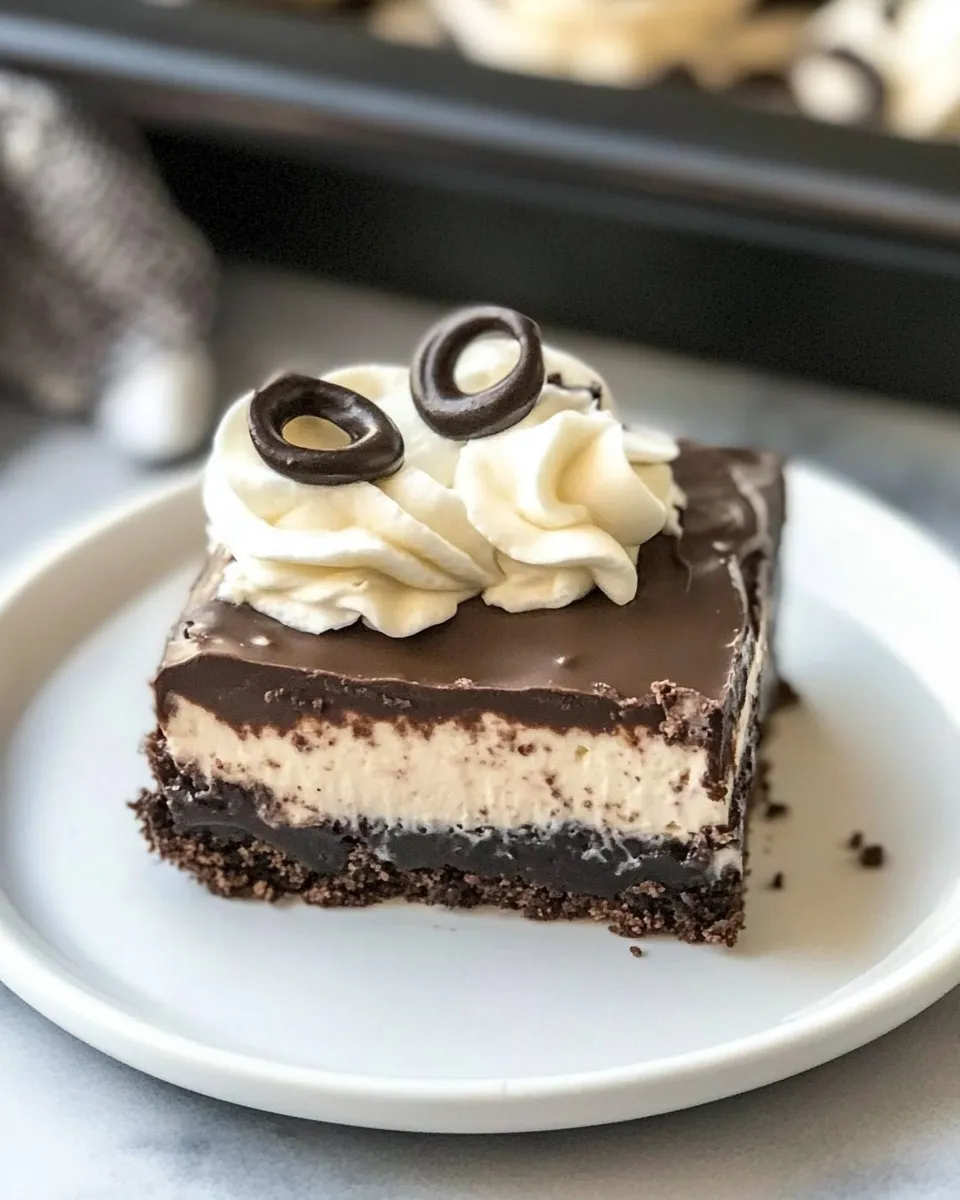
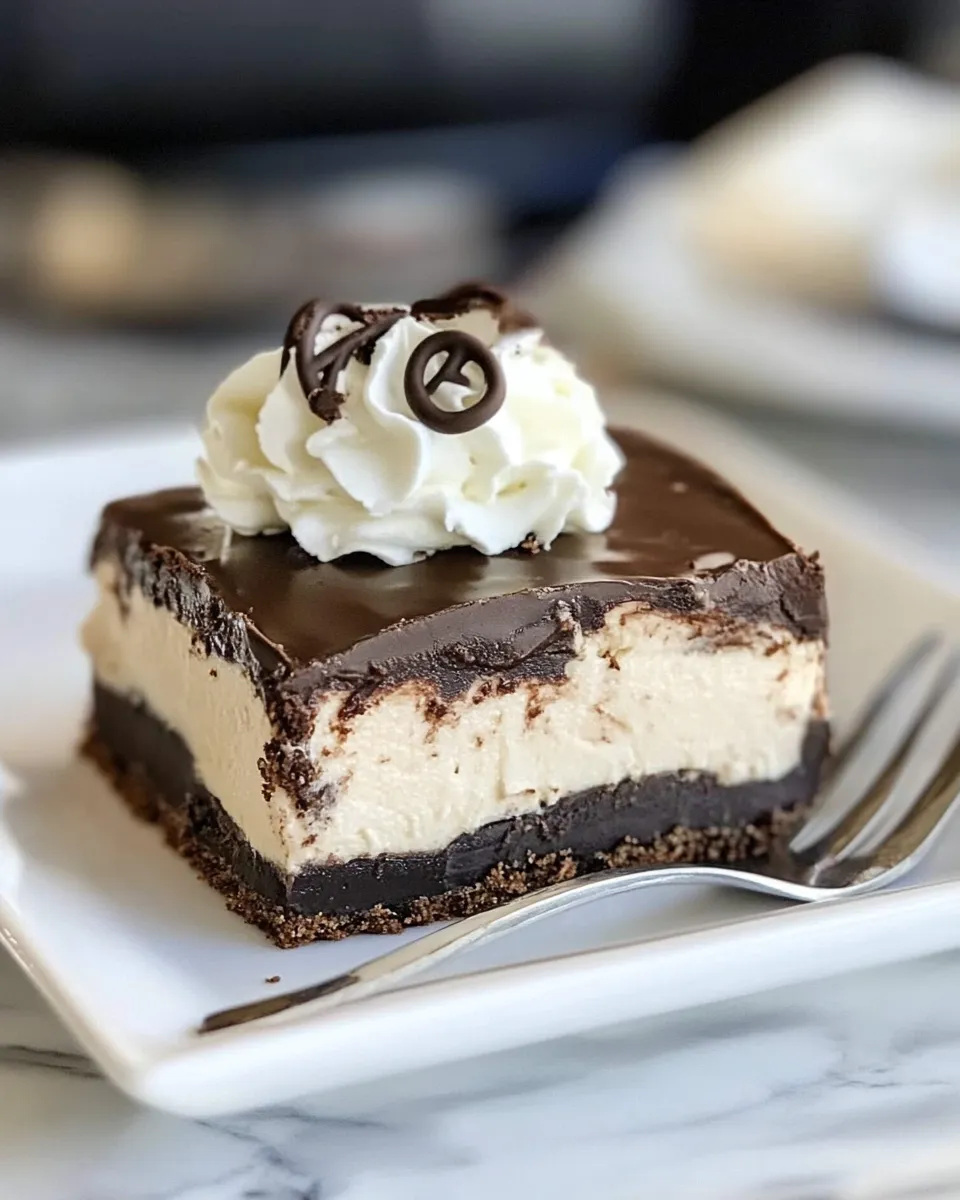
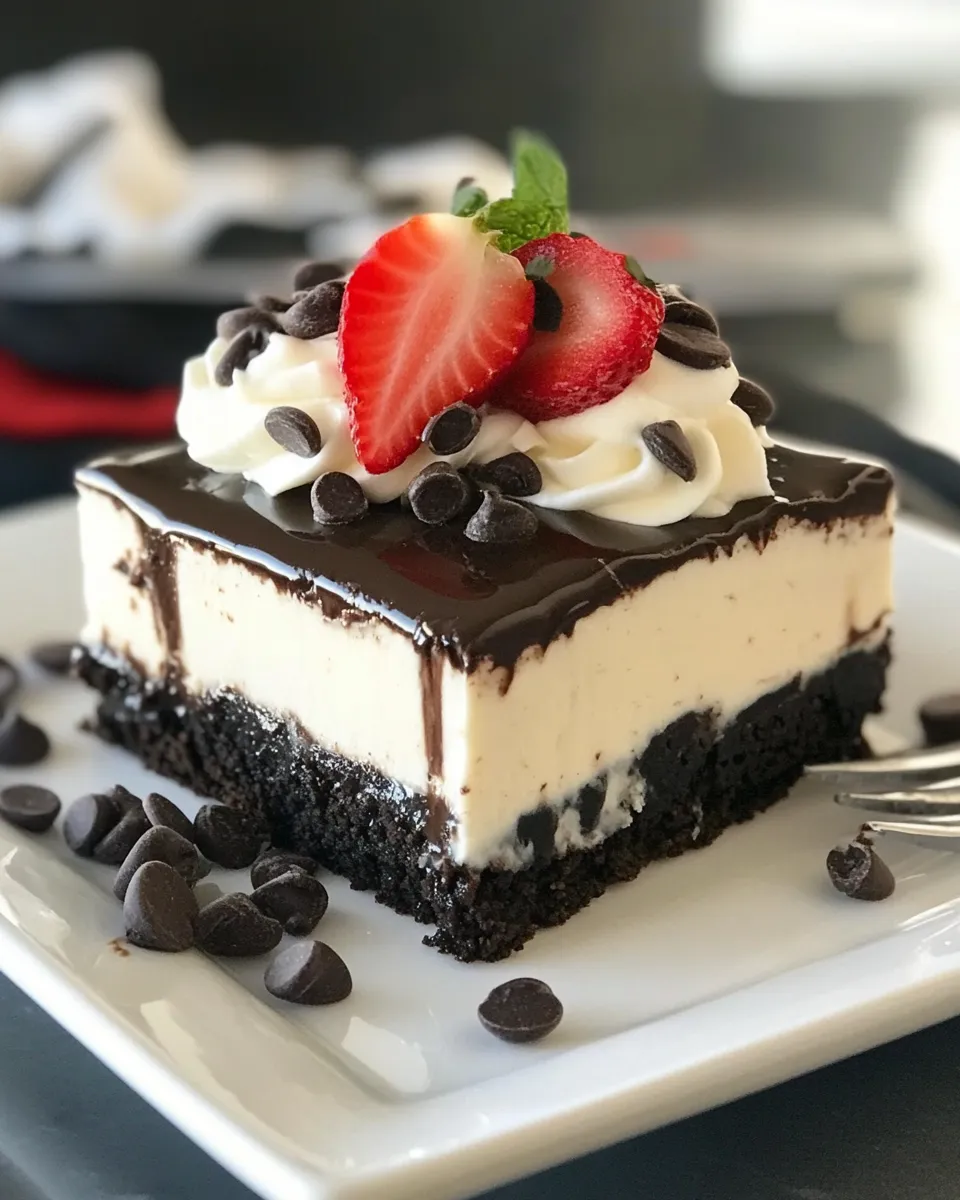
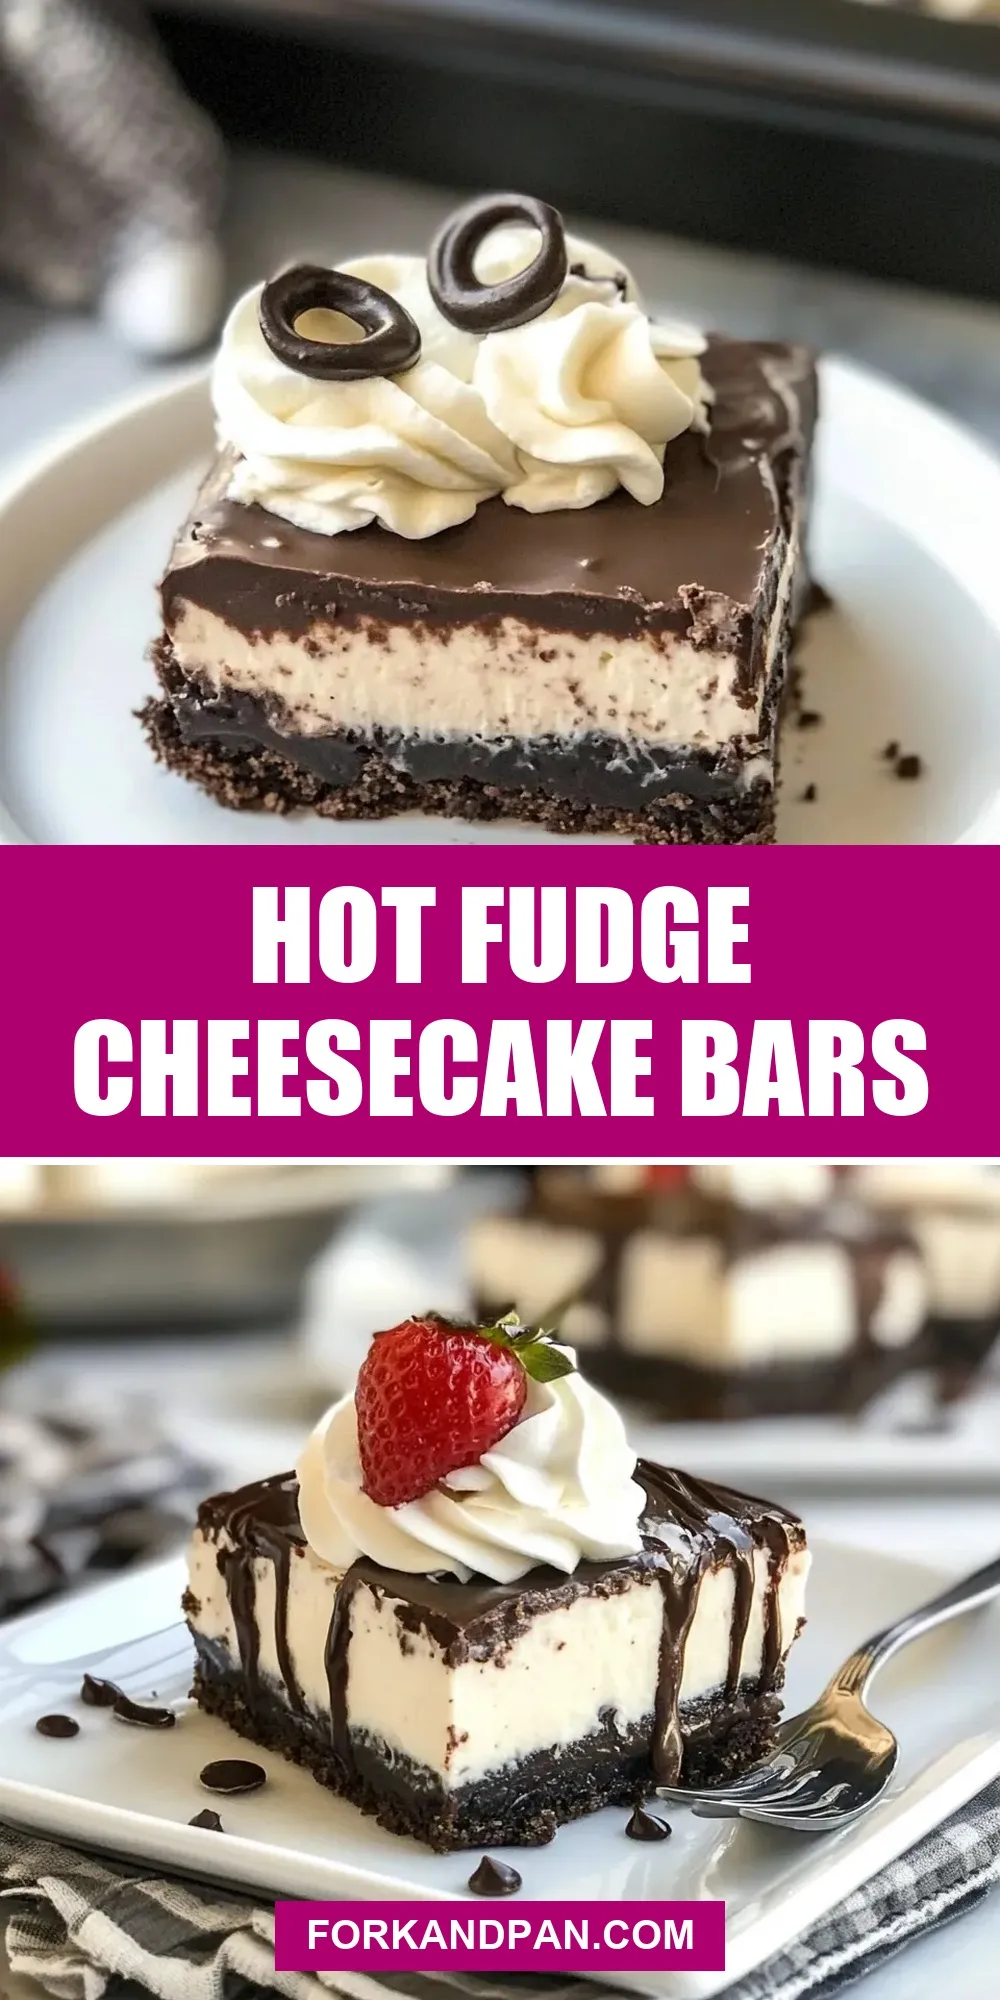
Hot Fudge Cheesecake Bars
I love desserts that feel indulgent but come together without drama. These Hot Fudge Cheesecake Bars start with a compact Oreo crust that gives you a deep chocolate foundation and a clean, easy release from the pan. The crust is the kind of workhorse base that holds up to a dense filling and can be prepped ahead so the rest of the dessert goes smoothly.
In this post I’ll walk you through the crust portion step by step, explain why each step matters, and give practical tips for substitutions, storage, and troubleshooting. I keep instructions direct and usable. No fluff, just the details that save time and prevent mistakes.
Note: the recipe directions supplied cover the Oreo crust only. I treat the crust like a finished stage—firm, baked, and chilled—ready for whatever cheesecake filling or hot fudge topping you choose to add. I’ll offer sensible guidance for the next stages without inventing filling ingredient lists or measurements.
What Goes Into Hot Fudge Cheesecake Bars

This section focuses on the crust ingredients provided and what each one does. Keep in mind the listed directions only handle the crust; I won’t add additional ingredients or quantities beyond what you already have.
Ingredients
- 24 regular Oreos, pulsed in food processor to form crumbs — Provides the chocolate cookie base and texture; pulse until fine but not powdery so crumbs bind well with fat.
- 5 tablespoons melted butter — Moistens the crumbs and causes the crust to set when chilled and baked; use fully melted butter so it mixes evenly.
How to Prepare Hot Fudge Cheesecake Bars
- Preheat the oven to 350°F (175°C). Line an 8 x 8-inch baking dish with nonstick foil, leaving an overhang on two opposite sides for easy removal.
- In a medium bowl, combine the 24 Oreo crumbs and the 5 tablespoons melted butter. Stir until the crumbs are evenly moistened and the mixture holds together when pressed.
- Transfer the crumb mixture to the prepared pan. Use the bottom of a measuring cup or a flat spatula to press the crumbs firmly and evenly into the bottom of the pan to form a compact crust.
- Bake the crust in the preheated oven for 10 minutes. Remove from the oven and place the pan on a wire rack to cool completely.
- Once cooled, chill the crust in the refrigerator for at least 30 minutes to firm it before adding any filling.
- Note: these directions cover preparation of the Oreo crust only. Additional ingredients and steps for the cheesecake filling and toppings are not included.
What Sets This Recipe Apart
This Oreo crust is intentionally compact and baked briefly to create structure without drying it out. The two-ingredient approach is straightforward: cookie crumbs for flavor and texture, butter to bind and set. A 10-minute bake firms the crust so it won’t become soggy under a wet filling, and the 30-minute chill ensures the butter re-solidifies for a clean slice.
Because the crust uses regular Oreos, you get the deep chocolate and a hint of the cookie’s filling flavor without introducing another ingredient. The overhang of nonstick foil is a small step that makes the finished slab easy to lift and slice — a practical detail that pays off when you’re serving dessert to guests or packing bars for transport.
Substitutions by Category
You can adapt the crust without changing measurements already given in the ingredients list; these suggestions focus on swaps for the two listed components.
- Cookie crumbs — Any sturdy chocolate sandwich cookie with a similar size will give comparable texture. For a milder, less sweet base, opt for plain chocolate wafers or digestive-style cookies. If you need gluten-free, use a certified gluten-free chocolate sandwich cookie ground to crumbs.
- Binding fat — Melted butter gives flavor and sets reliably. If you need a dairy-free or vegan option, use a neutral-tasting solid fat that melts and re-solidifies (for example, a vegan butter substitute). Bear in mind flavor and texture will shift slightly.
- Crunch and texture — If you want a firmer, crunchier base, increase the proportion of larger crumbs (pulse less). For a finer, denser crust, pulse the cookies more finely so the crumbs pack tightly when pressed.
Kitchen Gear Checklist
These are the tools I use and recommend for making the crust cleanly and consistently.
- 8 x 8-inch baking dish — the recipe is sized for this; a similar square pan will work but adjust handling accordingly.
- Nonstick foil or parchment with an overhang — makes lifting the slab easy and neat.
- Food processor or a sturdy sealed bag + rolling pin — to turn the Oreos into crumbs. A food processor is faster and more consistent.
- Medium mixing bowl — to combine melted butter and crumbs.
- Measuring cup or flat-bottomed tamper (spatula) — to press crumbs firmly and evenly into the pan.
- Wire rack — for cooling the pan after baking.
- Oven thermometer (optional) — useful if your oven temperature is unreliable.
Avoid These Mistakes
Simple steps can change the final texture. Here are the most common missteps and how to prevent them.
- Not pulsing the Oreos evenly: If crumbs are uneven, the crust can be patchy—some parts too dry, others greasy. Pulse to a uniform crumb size; stop before it becomes powder.
- Using warm, not melted, butter: Butter that isn’t fully melted won’t coat crumbs evenly. Fully melt it, then pour and mix quickly so crumbs absorb it uniformly.
- Skipping the press: If you don’t press the crumbs tightly, the crust will crumble when you cut the bars. Use a firm, flat-bottomed cup or spatula and press until compact.
- Not baking long enough or too long: Baking for the prescribed 10 minutes locks the crust. Less time risks a loose base; too long can dry it and make it hard to slice.
- Skipping the chill: If you don’t chill the crust after cooling, the butter may remain soft. Chill at least 30 minutes so the crust firms and the filling won’t seep in.
Customize for Your Needs
Make the crust work for different dietary needs or presentation styles without changing the given measurements.
- Make-ahead: Bake the crust, cool it, then chill. You can keep it wrapped in the fridge for a day or two before adding filling. This saves time on assembly day.
- Single-serve or mini pans: If you want smaller portions, press the same crumb mixture into muffin tins or mini square pans. The density will be similar; just watch bake time since a smaller mass may heat differently.
- Gluten-free or vegan: Use certified substitutes for the cookie and butter described earlier. Keep the mix and method identical so the structure remains predictable.
Flavor Logic
Understanding why each step exists helps you adjust confidently. The Oreos supply both chocolate flavor and a binding sugar component. Butter acts as a liquid binder that solidifies when chilled, creating a sliceable base. Baking briefly does two things: it evaporates excess moisture and helps the butter re-distribute so the crust bakes into a single, cohesive layer.
Pressing the crumbs tightly is about surface-area contact. The more contact between crumbs and butter, the stronger the bond once the fat cools. Chilling after baking finishes that process: cold butter equals a firm crust that resists sogginess when wet fillings are added.
Keep-It-Fresh Plan
Storage and thawing matter, especially when the crust will later be topped with cheesecake filling and hot fudge.
- Refrigeration: Once baked and cooled, the crust keeps well covered in the refrigerator for a couple of days. Wrap the pan tightly with plastic or store in an airtight container to protect against odors.
- Freezing: You can freeze the baked crust wrapped securely for longer storage. Thaw completely in the fridge before adding a chilled filling so condensation doesn’t soften the crust.
- Serving: If you’re adding a chilled cheesecake layer and hot fudge, assemble shortly before serving for the best contrast between cool filling and warm fudge. If you must assemble ahead, keep components separate when possible.
Top Questions & Answers
Q: Can I skip baking the crust and just chill it?
A: You can press the crumb mixture into the pan and chill until firm without baking. The texture will be softer and a bit looser under wet fillings. The 10-minute bake creates a firmer base that holds up better.
Q: My crust crumbles when I cut bars. What went wrong?
A: Most likely the crumbs weren’t pressed firmly enough, or the butter ratio was low. Make sure the crumbs are evenly moistened and press them very tightly into the pan before baking. Also chill fully before slicing.
Q: How do I lift the slab cleanly from the pan?
A: The nonstick foil overhang is key. Use the foil to lift the entire crust out in one motion, then place it on a cutting board. This keeps edges neat and simplifies portioning.
Q: Will the Oreo filling affect texture?
A: The cream inside regular Oreos is accounted for in the crumb texture. Pulse the whole cookie as directed; the small amount of extra sugar and fat from the filling helps the crumbs bind once mixed with melted butter.
Let’s Eat
Now you have a reliable Oreo crust ready for the cheesecake and hot fudge steps you prefer. Lift the chilled slab with the foil overhang, add your filling and hot fudge, and slice with a sharp knife that you wipe between cuts. Serve slightly chilled if you want clean bars, or let each slice come to a room-tender temperature for a softer bite.
These bars are great to prep in stages: crust first, filling next, and sauce just before serving. Keep the components separate until the last minute if you want the freshest texture. Practical, forgiving, and deeply chocolatey — this crust is the quiet hero of the dessert.

Hot Fudge Cheesecake Bars
Ingredients
Ingredients
- 24 regular Oreos pulsed in food processor to form crumbs
- 5 tablespoons melted butter
Instructions
Instructions
- Preheat the oven to 350°F (175°C). Line an 8 x 8-inch baking dish with nonstick foil, leaving an overhang on two opposite sides for easy removal.
- In a medium bowl, combine the 24 Oreo crumbs and the 5 tablespoons melted butter. Stir until the crumbs are evenly moistened and the mixture holds together when pressed.
- Transfer the crumb mixture to the prepared pan. Use the bottom of a measuring cup or a flat spatula to press the crumbs firmly and evenly into the bottom of the pan to form a compact crust.
- Bake the crust in the preheated oven for 10 minutes. Remove from the oven and place the pan on a wire rack to cool completely.
- Once cooled, chill the crust in the refrigerator for at least 30 minutes to firm it before adding any filling.
- Note: these directions cover preparation of the Oreo crust only. Additional ingredients and steps for the cheesecake filling and toppings are not included.
Equipment
- Oven
- 8 x 8-inch baking dish
- nonstick foil
- Food Processor
- Medium Bowl
- measuring cup or flat spatula
- Wire Rack