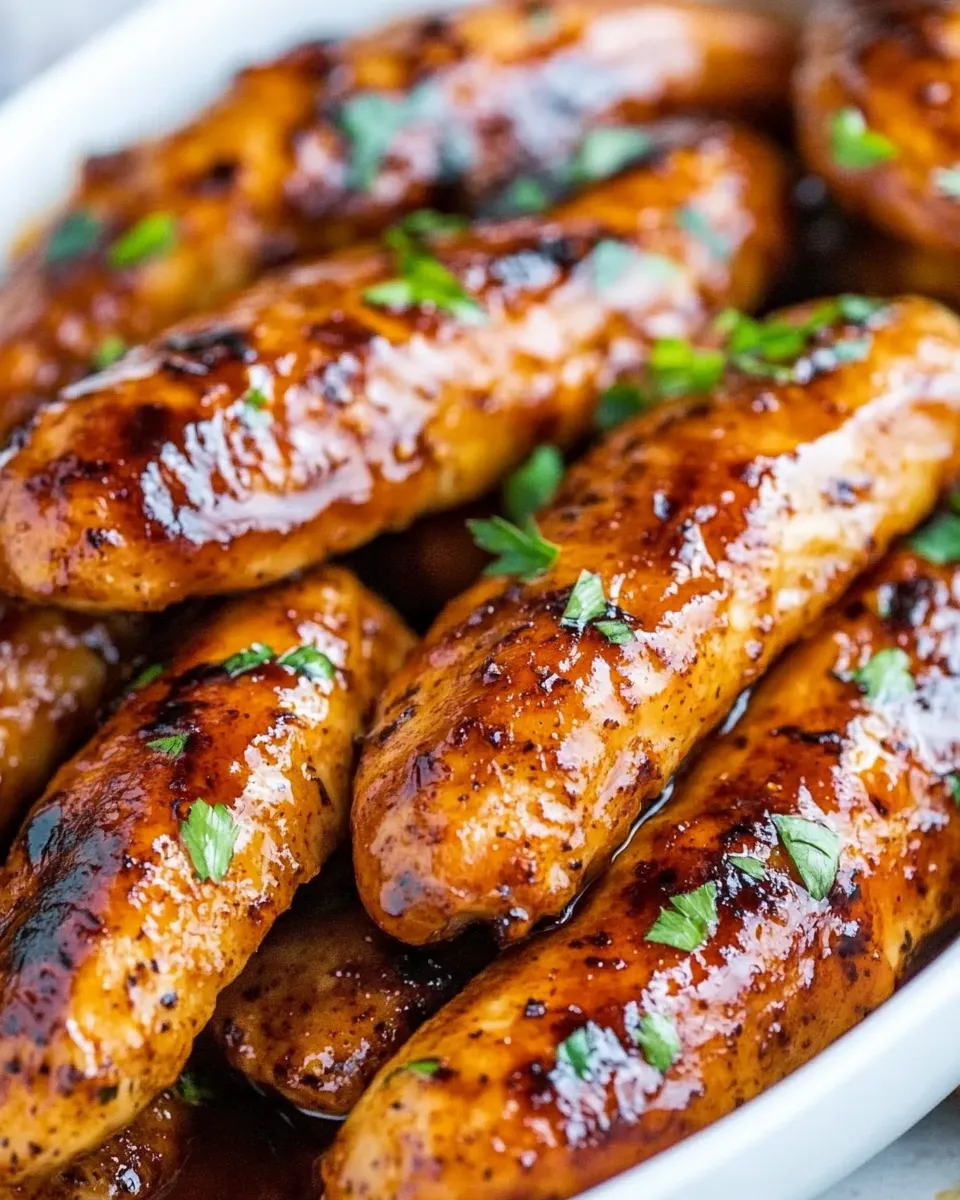
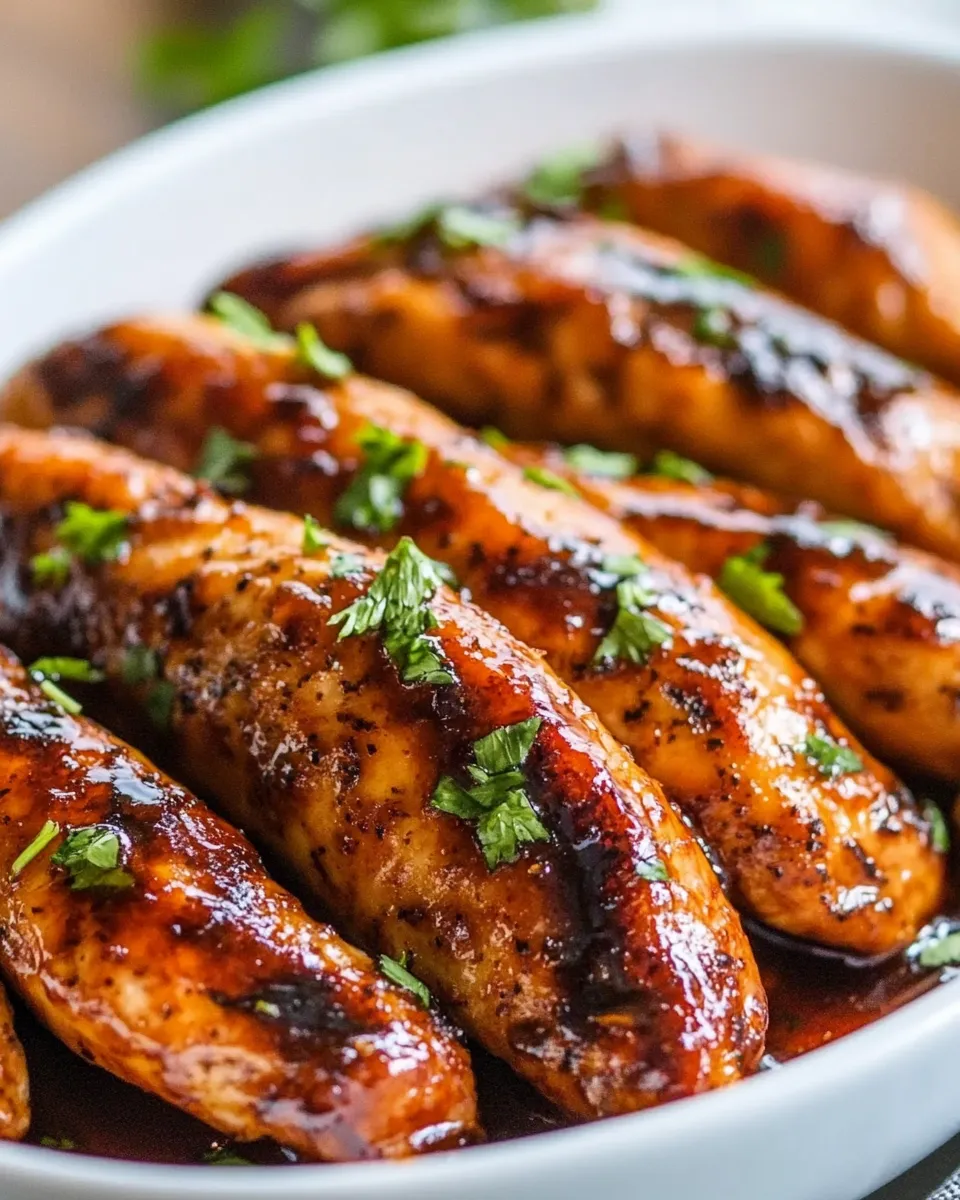
Honey Garlic Chicken Tenders
If you’re craving a dish that perfectly balances sweet and savory flavors, look no further than these Honey Garlic Chicken Tenders. This recipe is incredibly simple, uses minimal ingredients, and results in tender, juicy chicken coated in a glossy, irresistible honey garlic sauce. Whether you’re preparing a quick weeknight dinner or a casual gathering with friends and family, these chicken tenders are guaranteed to be a hit. Plus, they’re made with straightforward pantry staples and an easy step-by-step method that even beginners can follow with confidence.
Why This Recipe Is a Must-Try

Honey Garlic Chicken Tenders are a fantastic way to elevate a simple protein into something special. The combination of honey and garlic creates a luscious sauce that clings perfectly to the chicken, offering a wonderful flavor contrast that’s both rich and refreshing. These tenders cook quickly, making them ideal for busy schedules. The recipe is flexible, accommodating gluten-free flour for those with dietary restrictions, and the technique ensures crispy edges with tender insides. It’s a crowd-pleaser that pairs wonderfully with rice, steamed veggies, or a fresh salad, making it a versatile addition to your dinner rotation.
Ingredients
- ¼ cup (30g) all-purpose flour (I used gluten-free flour for a gluten-free option)
- ½ teaspoon salt
- ½ teaspoon ground black pepper
- 1 ½ pounds (650g) chicken tenderloins (known as mini chicken fillets in the UK)
- 2 tablespoons olive oil or any neutral cooking oil
- 4 cloves garlic, minced
- ⅓ cup honey
- 2 tablespoons soy sauce (use a gluten-free tamari if preferred)
- 1 tablespoon apple cider vinegar or lemon juice
- Optional garnish: chopped fresh parsley or spring onions
How To Make Honey Garlic Chicken Tenders
Step 1: Prepare the Chicken
First, rinse the chicken tenderloins and pat them dry with paper towels. This helps the coating stick better and promotes even cooking. In a shallow bowl, combine the flour, salt, and black pepper. Dredge each chicken tender in the seasoned flour mixture, shaking off any excess.
Step 2: Cook the Chicken
Heat the olive oil in a large skillet over medium heat. Once hot, add the coated chicken tenders in a single layer. Avoid overcrowding the pan; cook in batches if necessary. Fry the chicken for about 3-4 minutes on each side or until golden brown and cooked through. Remove the chicken from the skillet and set aside on a plate lined with paper towels to drain any excess oil.
Step 3: Make the Honey Garlic Sauce
In the same skillet, reduce the heat to low and add the minced garlic. Sauté for about 30 seconds until fragrant, being careful not to burn it. Stir in the honey, soy sauce, and apple cider vinegar. Let the sauce simmer gently for 2-3 minutes until it thickens slightly.
Step 4: Combine Chicken and Sauce
Return the cooked chicken tenders to the skillet, tossing them gently in the honey garlic sauce to coat evenly. Cook for an additional minute to allow the flavors to meld and the sauce to glaze the chicken beautifully.
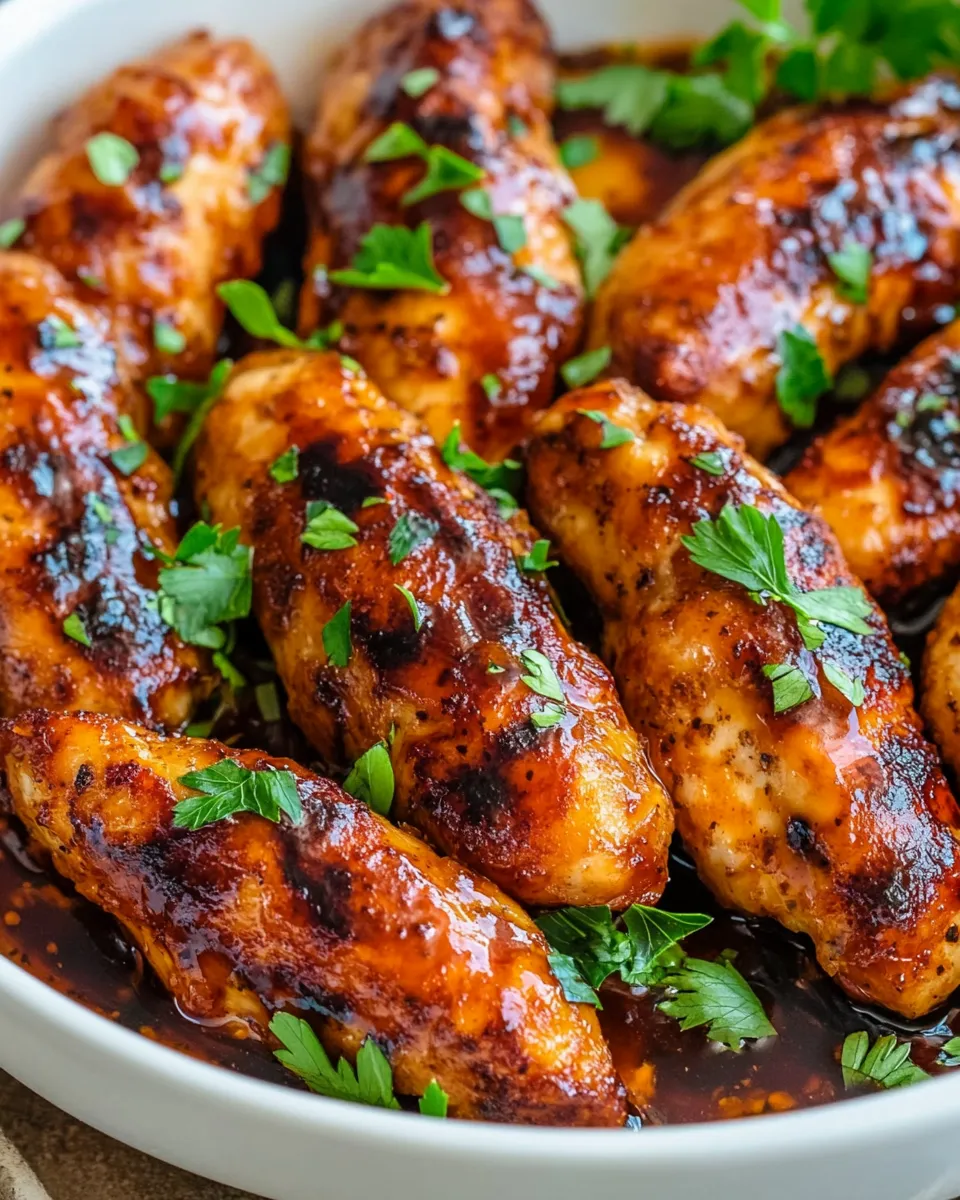
Step 5: Serve
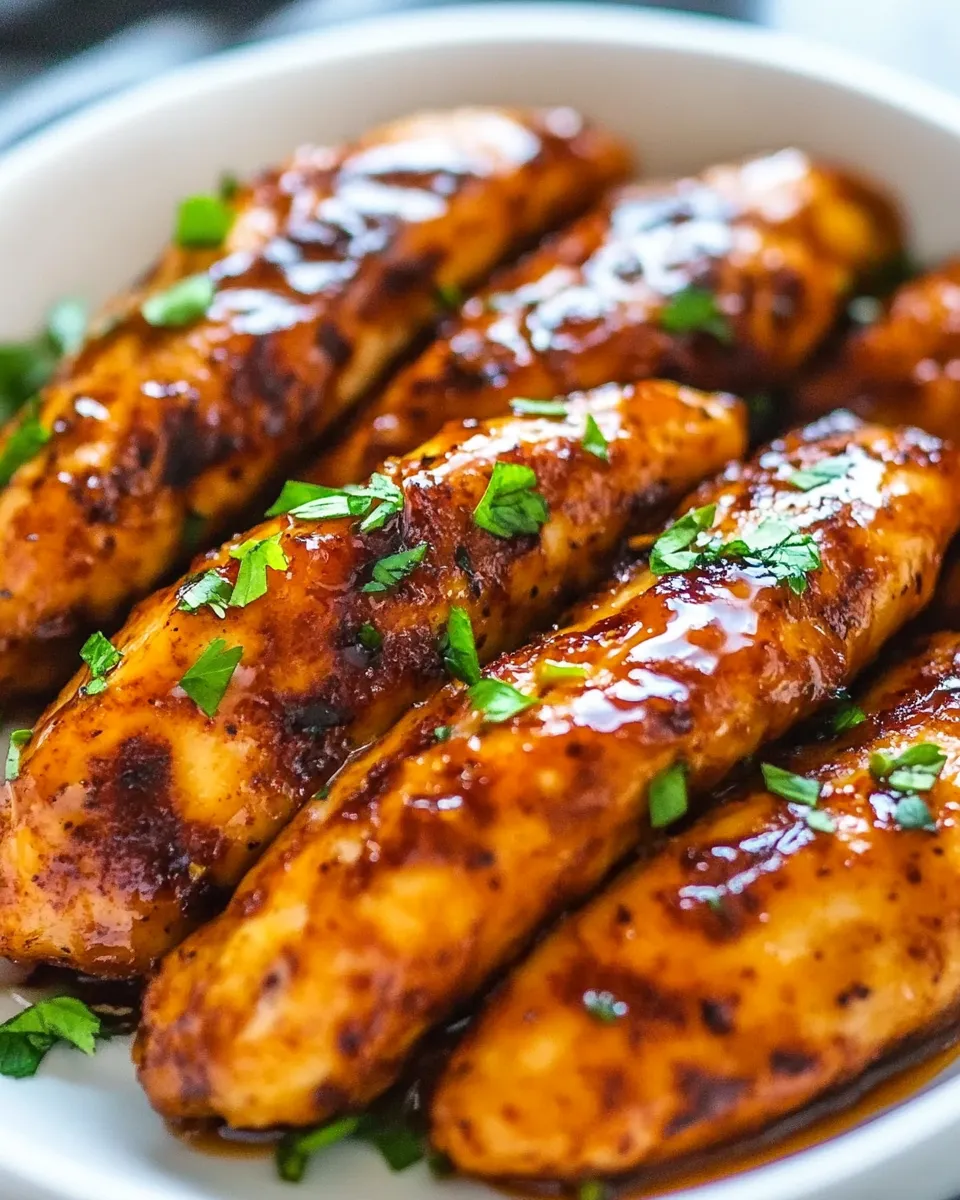
Transfer the chicken tenders to a serving dish. Garnish with chopped parsley or sliced spring onions if desired. Serve immediately with your favorite sides such as steamed rice, roasted vegetables, or a crisp green salad.
Expert Tips
- Use chicken tenderloins or mini chicken fillets for quick, even cooking and tender results.
- For extra crispiness, double-dip the chicken in flour before frying.
- Make sure the oil is hot before adding the chicken to prevent sticking and promote browning.
- Don’t burn the garlic when making the sauce — cook it on low heat and watch carefully.
- Adjust sweetness and acidity by tweaking honey and vinegar to your taste preference.
- If you prefer baked chicken tenders, place coated chicken on a greased baking sheet and bake at 400°F (200°C) for 15-20 minutes, flipping halfway through.
Variations and Customizations
- Spicy Kick: Add a pinch of red pepper flakes or a dash of hot sauce to the honey garlic sauce for some heat.
- Sesame Twist: Sprinkle toasted sesame seeds over the finished dish for a nutty flavor and texture.
- Herb Infusion: Incorporate fresh thyme or rosemary into the sauce for an aromatic boost.
- Gluten-Free Option: Use gluten-free all-purpose flour and tamari sauce instead of soy sauce.
- Oven-Baked: For a lighter version, bake the chicken tenders instead of frying and brush with the honey garlic sauce afterward.
- Vegetable Add-In: Toss in bell peppers or snap peas in the skillet while simmering the sauce for a colorful, veggie-packed meal.
How to Store Leftovers
Place any leftover chicken tenders and sauce in an airtight container and refrigerate for up to 3 days. When ready to eat, reheat gently in a skillet over low heat to preserve the sauce’s texture and prevent the chicken from drying out. Alternatively, microwave on medium power in short intervals, stirring in between. Avoid reheating multiple times to maintain freshness and quality.
FAQ
Can I use chicken breasts instead of chicken tenderloins?
Yes, you can use chicken breasts cut into strips to mimic tenderloins. Just be sure to pound them to an even thickness for uniform cooking and adjust cooking time accordingly.
Is this recipe suitable for a gluten-free diet?
Absolutely! Simply use gluten-free all-purpose flour and tamari sauce instead of regular soy sauce to keep the recipe gluten-free without sacrificing flavor.
How do I prevent the garlic from burning when making the sauce?
Cook the garlic on low heat and watch it closely. Garlic can go from fragrant to burnt quickly. Stir frequently and remove from heat as soon as it becomes golden and aromatic.
Can I make the sauce ahead of time?
Yes, you can prepare the sauce in advance and store it in the refrigerator for up to 2 days. Reheat gently and toss with freshly cooked chicken tenders just before serving for best texture.
Conclusion
Honey Garlic Chicken Tenders are a simple yet flavorful dish that combines tender chicken with a luscious sauce that’s sweet, savory, and utterly addictive. This recipe is perfect for busy weeknights or casual entertaining, offering a delightful balance of crispy coating and sticky honey garlic glaze. With easy-to-find ingredients, quick preparation, and plenty of room for customization, this dish is sure to become a favorite in your kitchen. Give it a try, and enjoy every bite of these mouthwatering tenders!

Honey Garlic Chicken Tenders
Ingredients
- 1/4 cup all-purpose flour I used gluten-free flour for a gluten-free option
- 1/2 teaspoon salt
- 1/2 teaspoon ground black pepper
- 1 1/2 pounds chicken tenderloins known as mini chicken fillets in the UK
- 2 tablespoons olive oil or any neutral cooking oil
- 4 cloves garlic minced
- 1/3 cup honey
- 2 tablespoons soy sauce use a gluten-free tamari if preferred
- 1 tablespoon apple cider vinegar or lemon juice
- Optional garnish chopped fresh parsley or spring onions
Instructions
- Rinse the chicken tenderloins and pat them dry with paper towels. In a shallow bowl, combine the flour, salt, and black pepper. Dredge each chicken tender in the seasoned flour mixture, shaking off any excess.
- Heat the olive oil in a large skillet over medium heat. Once hot, add the coated chicken tenders in a single layer. Avoid overcrowding the pan; cook in batches if necessary. Fry the chicken for about 3-4 minutes on each side or until golden brown and cooked through. Remove the chicken from the skillet and set aside on a plate lined with paper towels to drain any excess oil.
- In the same skillet, reduce the heat to low and add the minced garlic. Sauté for about 30 seconds until fragrant, being careful not to burn it. Stir in the honey, soy sauce, and apple cider vinegar. Let the sauce simmer gently for 2-3 minutes until it thickens slightly.
- Return the cooked chicken tenders to the skillet, tossing them gently in the honey garlic sauce to coat evenly. Cook for an additional minute to allow the flavors to meld and the sauce to glaze the chicken beautifully.
- Transfer the chicken tenders to a serving dish. Garnish with chopped parsley or sliced spring onions if desired. Serve immediately with your favorite sides such as steamed rice, roasted vegetables, or a crisp green salad.
Equipment
- Large Skillet
- Shallow Bowl
- Plate
- Paper Towels