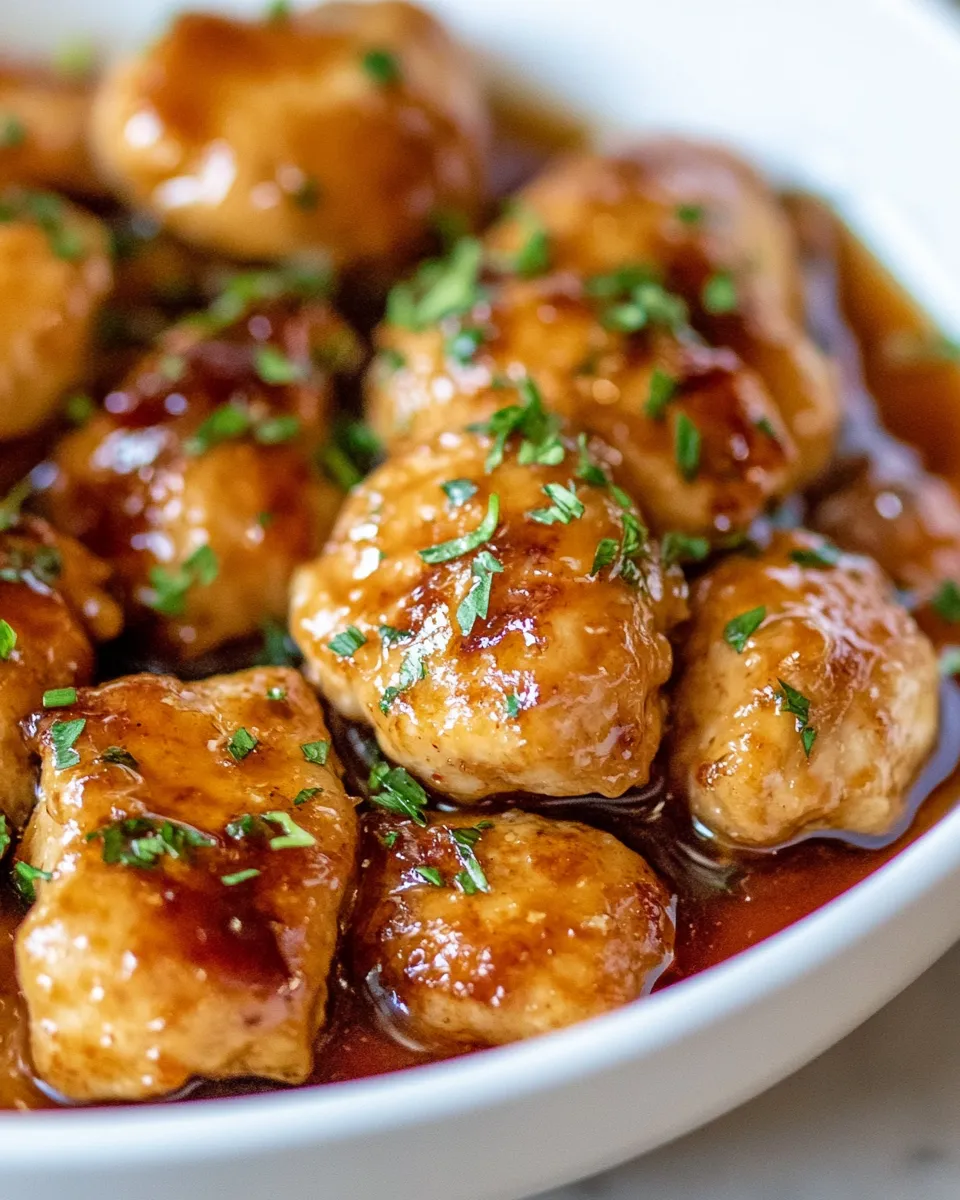
Honey Garlic Chicken
This Honey Garlic Chicken is one of those weeknight winners I reach for again and again. It comes together quickly, uses simple pantry ingredients, and gives you that sticky, shiny glaze everyone asks about. No elaborate prep, no mysterious sauces—just a straightforward sauce and golden pieces of chicken that finish with a punch of garlic and a kiss of honey.
I test this version because my kitchen needs reliable dishes that please kids and adults alike. The balance here is sweet, salty, tangy, and garlicky, and the texture is important: a light corn flour coating on the chicken helps the sauce cling, giving each bite that lovely glaze. Serve it over rice, with steamed greens, or spooned over noodles for an easy dinner that feels special.
If you like practical tips, I’ve packed this post with what to buy, how to shop smart, common mistakes I’ve learned to avoid, and small tweaks if you’re watching calories or sodium. Read the short ingredient list, follow the eight-step method, and you’ll have dinner on the table in under 30 minutes from the skillet to the plate.
Shopping List

Before you cook, make a quick run-through of your pantry and fridge. This recipe is forgiving, but fresh garlic and a good soy sauce will make a noticeable difference. Buy the freshest chicken you can get for the best texture and flavor.
Ingredients
- 800 grams Chicken breast (diced) — the main protein; diced so it cooks quickly and gets a good surface for browning.
- 2 Tablespoons corn flour — helps the sauce cling and gives a light crust when the chicken browns.
- 2 Tablespoons Olive oil — for browning the chicken; high heat stable and adds a mild flavor.
- ¼ cup honey — sweetener and base for the glaze; use runny honey so it mixes easily.
- ¼ cup soy sauce — provides saltiness and umami; regular or reduced-sodium will work depending on your preference.
- 1 Tablespoon brown sugar — deepens the sweetness and helps the glaze caramelize.
- 1 Tablespoon lemon juice — adds bright acidity to balance the sweet and salty flavors.
- 3 cloves garlic — aromatic backbone of the sauce; finely minced or crushed for maximum flavor release.
- ¼ teaspoon chilli flakes (optional) — a faint touch of heat; omit if serving to kids or if you prefer no spice.
How to Prepare Honey Garlic Chicken
- Peel and finely mince or crush the 3 garlic cloves.
- In a small bowl, whisk together the ¼ cup honey, ¼ cup soy sauce, 1 tablespoon brown sugar, 1 tablespoon lemon juice, the minced garlic, and ¼ teaspoon chilli flakes (if using) until combined.
- Place the 800 grams diced chicken in a bowl and toss with the 2 tablespoons corn flour until the pieces are evenly coated.
- Heat 2 tablespoons olive oil in a large skillet over medium-high heat. Add the coated chicken in a single layer (work in batches if the pan is crowded).
- Brown the chicken, stirring or turning occasionally, about 5–7 minutes, until the pieces are golden and mostly cooked through.
- Pour the honey-garlic sauce over the chicken and toss or stir to coat all pieces.
- Continue cooking, stirring occasionally, for about 5 minutes more, until the chicken is cooked through and the sauce has thickened into a glaze.
- Remove from heat and serve immediately.
Why You’ll Love This Recipe

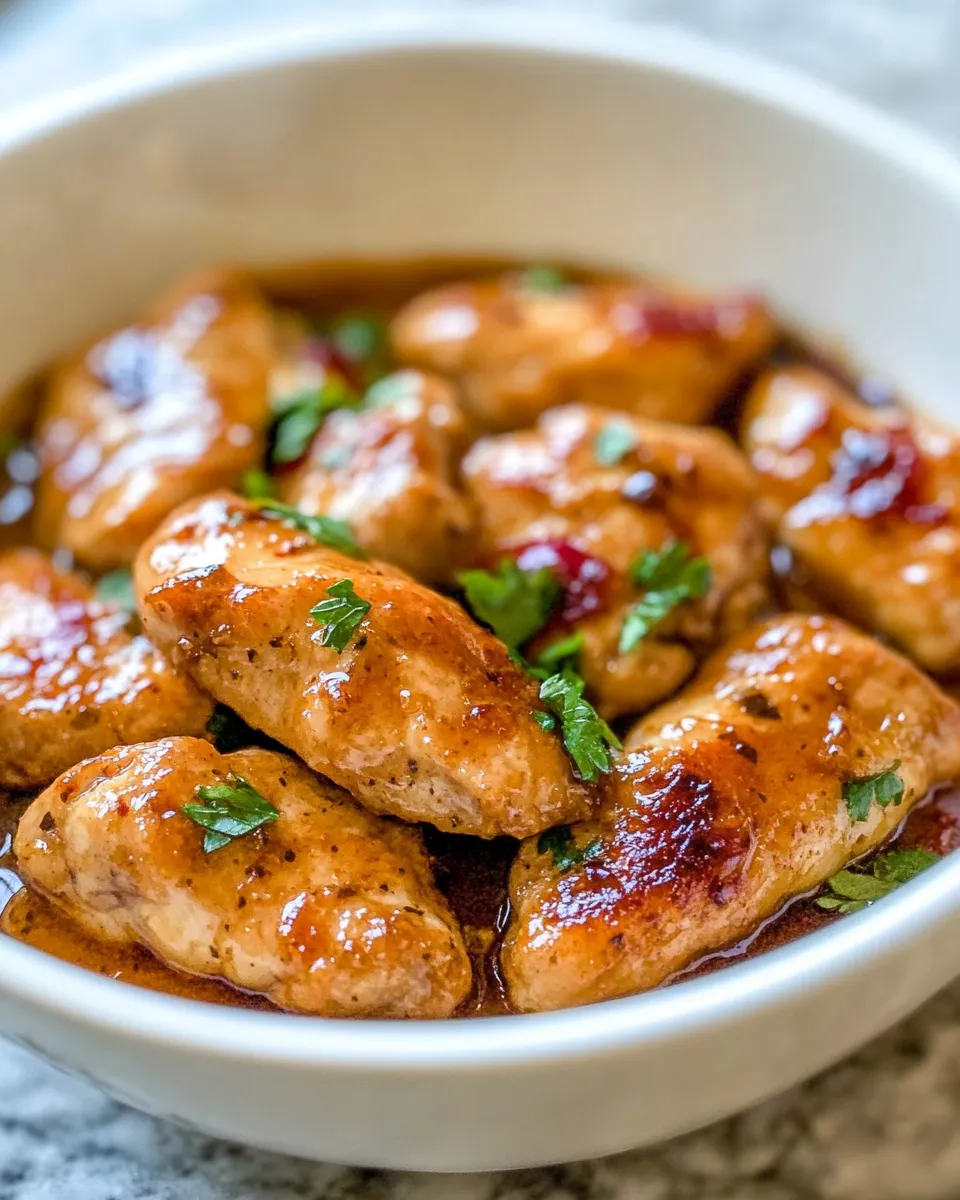
The flavor profile is universally appealing: honey mellows the garlic’s edge, soy sauce adds salt and depth, lemon brightens, and brown sugar helps the glaze reach that sticky, glossy finish. Texture-wise, the corn flour coating gives small patches of crispness while letting the sauce cling so each bite is flavorful.
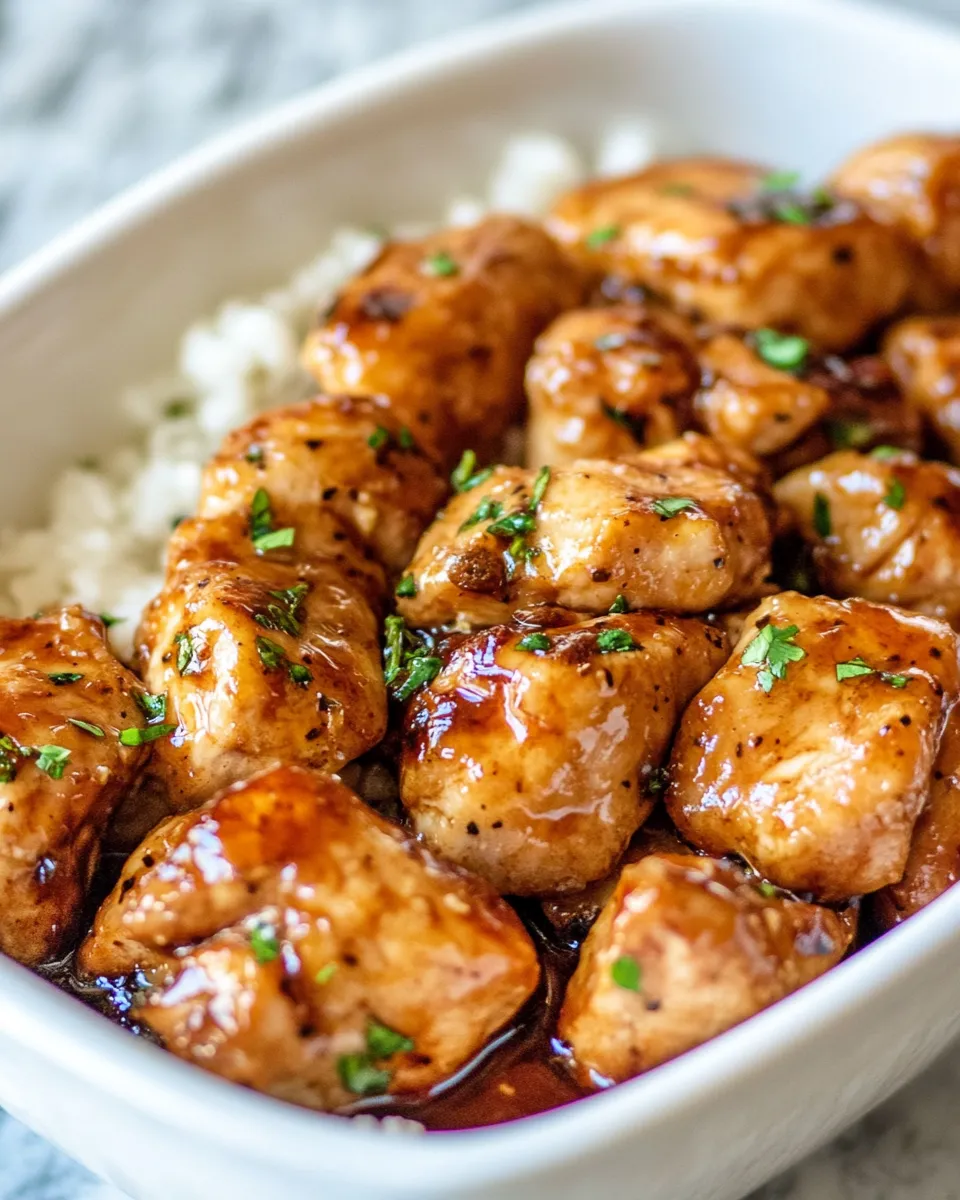
It’s fast. From non-crowded pan to plate it runs about 15–20 minutes of active cooking after simple prep. It’s also flexible—pair with steamed rice, roasted vegetables, or toss through a bed of greens for a warm salad. Finally, it’s a family-friendly crowd-pleaser: most eaters love the sweet-savory glaze, and the chilli flakes are optional so you can keep it mild for kids.
Budget & Availability Swaps
Chicken breast is specified here for lean, even pieces. If thighs are on sale or you prefer dark meat, you can substitute the same weight—thighs will be slightly more forgiving in flavor and juiciness. Keep quantities the same.
If honey or soy sauce are low in stock, here are safe swaps:
- Honey — use the same volume of maple syrup in a pinch for a different, but still excellent, flavor profile.
- Soy sauce — tamari or a low-sodium soy can substitute directly; if you need gluten-free, choose a certified gluten-free tamari.
If corn flour isn’t available, a light dusting of plain all-purpose flour will work, though the texture will be slightly different. Olive oil is easy to swap for another neutral oil with a high smoke point if needed.
Recommended Tools
No fancy equipment is required. A few good pieces make this easier and more consistent:
- Large skillet (non-stick or stainless) — gives room for the chicken to brown without overcrowding.
- Spatula or tongs — for turning pieces cleanly so each one gets an even sear.
- Small bowl and whisk — for mixing the sauce so it emulsifies and the honey blends with the soy sauce.
- Sharp knife and cutting board — to dice the chicken into even pieces for uniform cooking.
Optional but helpful
- Instant-read thermometer — to confirm chicken hits 74°C/165°F if you like absolute certainty.
- Microplane or fine grater — for grating garlic if you prefer a finer texture to minced cloves.
Frequent Missteps to Avoid
Two mistakes come up repeatedly in my kitchen trials: overcrowding the pan, and adding the sauce too early.
Overcrowding lowers the pan temperature and causes steaming instead of browning. Work in batches so each piece gets good contact with the skillet and a golden crust. If the pan is crowded, the sauce won’t caramelize properly and the texture will be limp.
Adding the sauce before the chicken is mostly cooked creates soggy pieces and a thinner glaze. Follow the step order: brown first, then add the sauce. The residual cooking and evaporation are what turn the sauce into that glossy, sticky finish.
Nutrition-Minded Tweaks
If you’re watching calories or sugar, there are sensible swaps that keep most of the flavor:
- Reduce honey to 2 tablespoons and add an extra tablespoon of lemon juice or a splash of water to keep volume—this lowers sugar but keeps balance.
- Use reduced-sodium soy sauce to cut sodium, or dilute with a small amount of water and boost with a touch more lemon for brightness.
- For lower fat, trim any visible fat from the chicken breast and use a non-stick skillet to reduce oil to 1 tablespoon; the corn flour will still help the sauce adhere.
For a higher-protein option, serve over a base of quinoa or double up on the vegetables and reduce rice portions. These swaps keep the meal balanced while delivering the flavors you expect.
Testing Timeline
I cook and tweak this dish repeatedly to lock in timing. Here’s a realistic timeline from start to table if you multi-task:
- 0–5 minutes: Mince garlic, measure honey, soy, sugar, lemon, and chilli flakes; whisk the sauce.
- 5–10 minutes: Dice chicken and toss with corn flour.
- 10–20 minutes: Heat the skillet, brown the chicken in batches (5–7 minutes per batch), then reduce heat to medium-high to combine with sauce and glaze for about 5 minutes.
- 20–25 minutes: Remove from heat and serve.
Plan for 25–30 minutes total from start to finish if you include prep and cleanup. If you’re prepping sides at the same time (steaming rice, for instance) start them before you brown the chicken.
Storing, Freezing & Reheating
Leftovers store well. Place cooled chicken and glaze in an airtight container and refrigerate up to 3 days. The sauce will thicken more in the fridge; that’s normal.
To reheat: gently warm in a skillet over low-medium heat with a splash of water or a teaspoon of oil to loosen the glaze. Stir frequently so the chicken heats through without drying out. Microwaving works in a pinch—use short bursts and stir between them to heat evenly.
Freezing is possible but not ideal because the sauce and texture can change. If you must freeze, cool completely, transfer to a freezer-safe container, and freeze up to 2 months. Thaw overnight in the fridge, then reheat as described, adding a little liquid if the sauce is too thick.
Frequently Asked Questions
Q: Can I use frozen chicken? A: You can, but thaw it completely and pat very dry before tossing with corn flour. Excess moisture prevents proper browning.
Q: My sauce is too thin—how do I thicken it? A: Continue cooking over medium heat and stir frequently; the sauce will reduce and thicken. If you’re short on time, mix a small pinch of corn flour with cold water and stir it in off the heat until it reaches your desired consistency, then briefly return to heat to integrate.
Q: Is corn flour necessary? A: It helps the sauce cling and gives light crust. If unavailable, plain flour can work, or you can skip it—just note the sauce will coat rather than glaze in the same way.
Q: How do I make it less sweet? A: Reduce honey to 2 tablespoons and increase lemon juice slightly for brightness, or add a splash more soy sauce for balance.
The Last Word
Honey Garlic Chicken is the kind of recipe I keep in rotation because it’s fast, forgiving, and reliably loved. Follow the steps—brown the chicken first, then let the honey and garlic transform into a glossy glaze—and you’ll have a dinner that tastes much more elaborate than the prep requires.
Make a double batch if you like leftovers, pair with simple sides, and remember the small swaps: less honey for lower sugar, reduced-sodium soy if you’re cutting salt, or thighs if you want juicier meat. Cook once, learn the little adjustments that match your palate, and this recipe will be one of your go-tos for busy nights and casual guests alike.
Honey Garlic Chicken
Ingredients
Ingredients
- ?800 gramsChicken breast diced
- ?2 Tablespoonscorn flour flour
- ?2 TablespoonsOlive oil
- ?1/4 cuphoney
- ?1/4 cupsoy sauce
- ?1 Tablespoonbrown sugar
- ?1 Tablespoonlemon juice
- ?3 clovesgarlic
- ?1/4 teaspoonchilli flakes optional
Instructions
Instructions
- Peel and finely mince or crush the 3 garlic cloves.
- In a small bowl, whisk together the ¼ cup honey, ¼ cup soy sauce, 1 tablespoon brown sugar, 1 tablespoon lemon juice, the minced garlic, and ¼ teaspoon chilli flakes (if using) until combined.
- Place the 800 grams diced chicken in a bowl and toss with the 2 tablespoons corn flour until the pieces are evenly coated.
- Heat 2 tablespoons olive oil in a large skillet over medium-high heat. Add the coated chicken in a single layer (work in batches if the pan is crowded).
- Brown the chicken, stirring or turning occasionally, about 5–7 minutes, until the pieces are golden and mostly cooked through.
- Pour the honey-garlic sauce over the chicken and toss or stir to coat all pieces.
- Continue cooking, stirring occasionally, for about 5 minutes more, until the chicken is cooked through and the sauce has thickened into a glaze.
- Remove from heat and serve immediately.
Equipment
- Skillet
- Small Bowl
- Whisk
Notes
Some soy sauces are very strong in flavour, if you find the sauce is too salty or strong, you can add a little water.
If you want more sauce, you can add extra sauce ingredients in the same ratio of 50:50 honey to soy sauce.
Serve with steamed brown rice, and veggies (broccoli, bok choy, green beans) a sprinkling of sesame seeds can also be nice.
Store any leftover honey garlic chicken in an airtight container in the refrigerator for up to 3 days.
Chicken breast: The chicken breast can be substituted for chicken tenderloins or boneless skinless chicken thighs/
Rice flour: This can be substituted for cornflour/cornstarch or arrowroot. You can also use plain four, however, I find the other options are lighter and give a more glossy sauce.
Soy sauce:To make this recipe gluten-free choose GF soy sauce or tamari.
Chilli flakes: The chilli flakes are optional, add more or less depending on your love of spice.