Homemade Pizookie Recipe
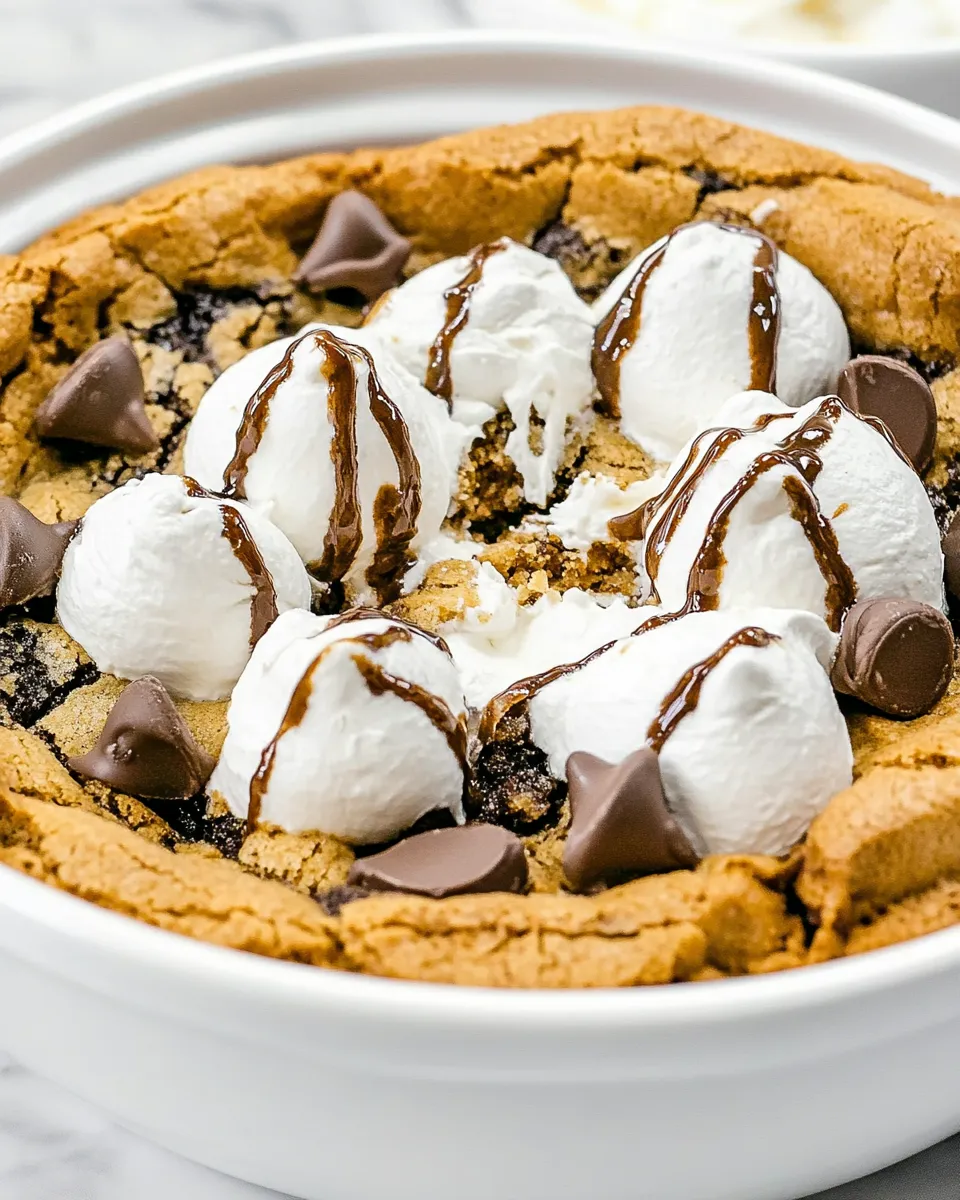
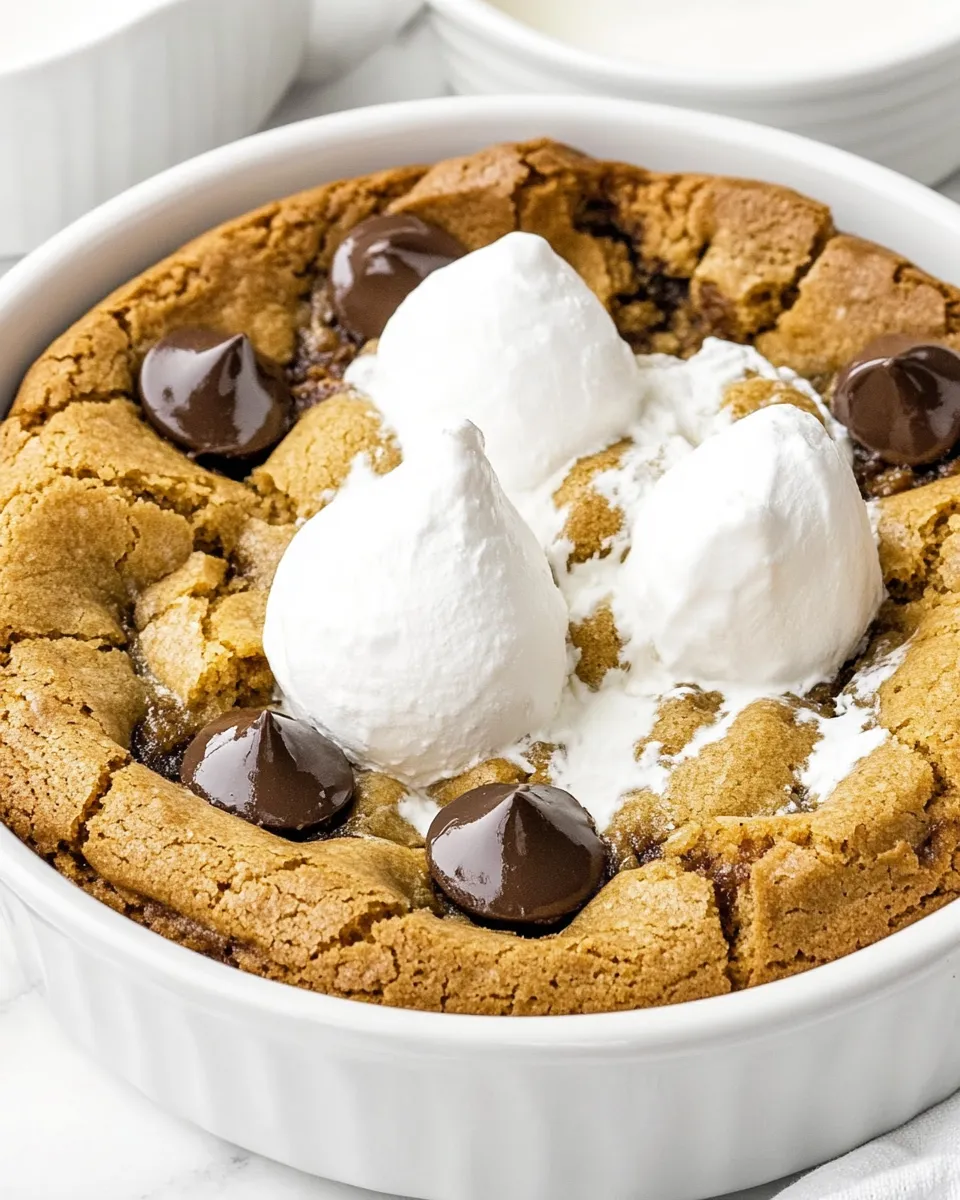
Warm, gooey, and built for scooping—this homemade pizookie is exactly the kind of dessert I reach for when I want something impressive but not fussy. It takes the spirit of a chocolate chip cookie, scales it up, and finishes it straight from a skillet so the edges crisp and the center stays soft. You can bake it for a small dinner party or keep it all to yourself; either way, it vanishes fast.
I tested this version until the balance of butter, brown sugar, and chocolate chips felt right: rich but not greasy, chewy at the center, with browned, slightly crisp edges. The recipe is straightforward, follows classic cookie technique, and mostly relies on good timing in the oven. The payoff is immediate—serve it warm with a big scoop of ice cream and let the melting begin.
This post walks you through the ingredients and every step, plus practical tips for swaps, storage, and what trips people usually make. No fluff—just clear, tested guidance so you get reliably great results from your first bake.
Ingredients at a Glance

- 1 cup butter, softened — provides richness, moisture, and structure; soften to room temperature so it creams smoothly with sugar.
- ½ cup granulated sugar — adds sweetness and helps with a tender crumb and slight crisping at the edges.
- 1 cup light brown sugar, packed — contributes deep, caramel flavor and chewiness because of its molasses content.
- 2 large eggs — bind the dough and add lift; use room-temperature eggs for better incorporation.
- 2 teaspoon vanilla extract — flavor enhancer; brings balance and warmth to the cookie dough.
- 2 ½ cup all-purpose flour — the primary structure-builder; measure by spooning into the cup and leveling for accuracy.
- 1 teaspoon cornstarch — helps create a tender, soft center and prevents an overly dense crumb.
- 1 teaspoon baking soda — the leavener that gives the pizookie a slightly domed rise and a soft interior.
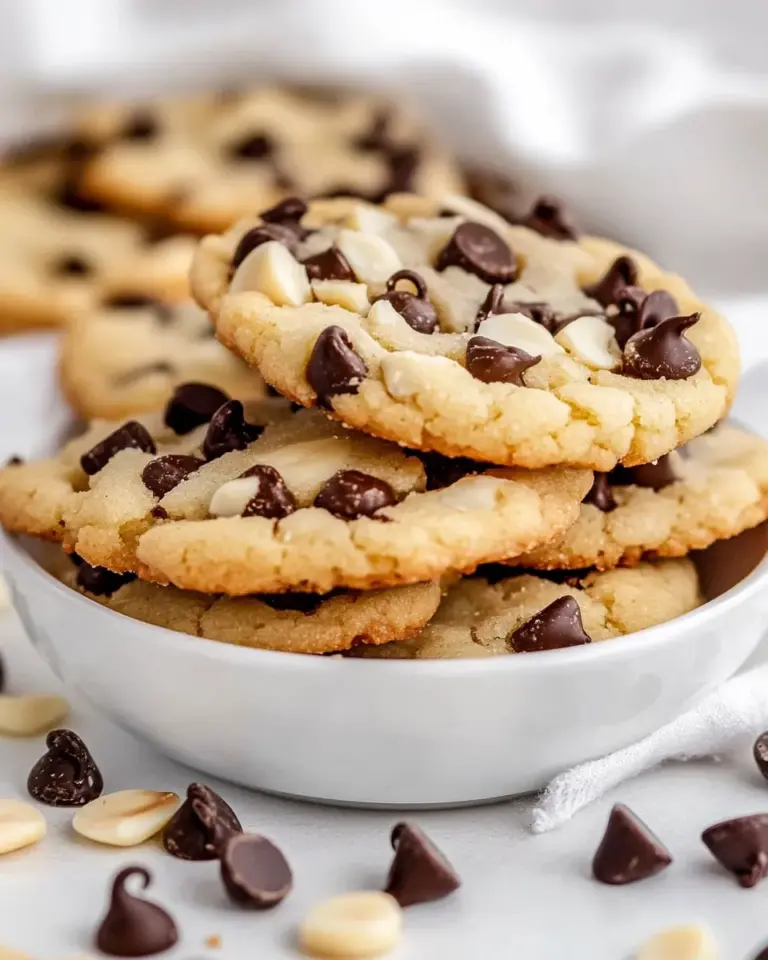
- 1 ¾ cup semi-sweet chocolate chips — the star mix-in; melts into pockets of chocolate throughout the pizookie.
- Ice cream and chocolate syrup, optional — finishing touches that elevate the pizookie to straight-up indulgence when served warm.
From Start to Finish: Pizookie
- Preheat oven to 325°F (163°C). Lightly grease an oven-safe skillet (a 10-inch cast-iron skillet is recommended).
- In a large bowl or the bowl of a stand mixer, beat 1 cup softened butter on medium speed for about 1 minute, until smooth and creamy.
- Add ½ cup granulated sugar and 1 cup packed light brown sugar. Beat on medium-high speed until the mixture is light and fluffy, about 2–3 minutes. Scrape down the bowl as needed.
- Add 2 large eggs and 2 teaspoons vanilla extract. Beat on medium speed until fully combined, scraping the sides and bottom of the bowl once or twice.
- In a separate medium bowl, whisk together 2 ½ cups all-purpose flour, 1 teaspoon cornstarch, and 1 teaspoon baking soda until evenly combined.
- With the mixer on low, gradually add the dry ingredients to the wet ingredients and mix just until incorporated. Do not overmix.
- Stir in 1 ¾ cups semi-sweet chocolate chips until evenly distributed throughout the dough.
- Transfer the dough to the prepared skillet and spread it into an even layer.
- Bake in the preheated oven for 35 minutes, or until the edges are browned and the top is lightly browned and the center is set (not jiggly).
- Remove the skillet from the oven and let the pizookie cool for 5–10 minutes before serving.
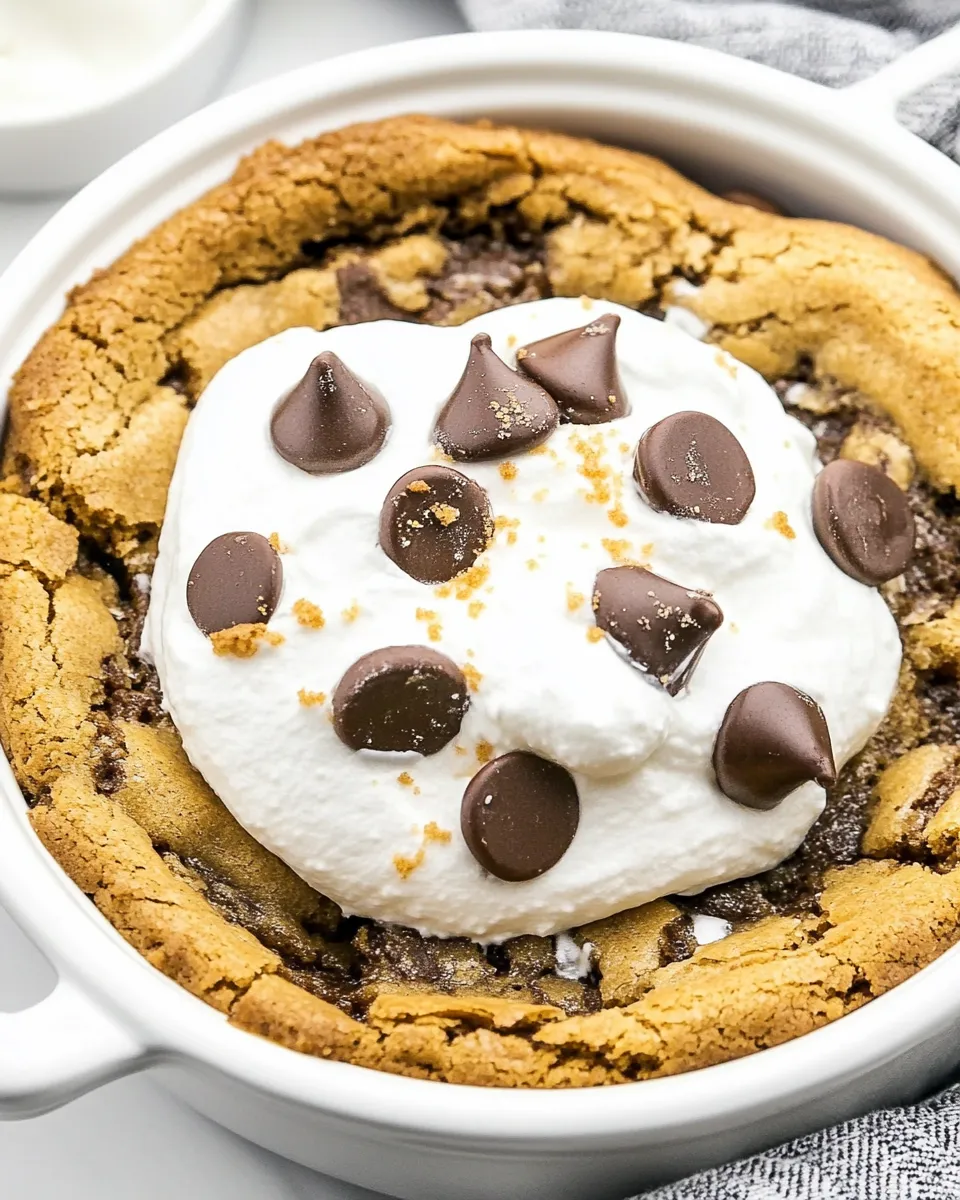
- Serve warm, optionally topped with ice cream and chocolate syrup.
Why This Recipe Belongs in Your Rotation
This pizookie hits a few practical sweet-spot criteria: it’s fast to assemble, uses common pantry ingredients, and feeds several people without fussy plating. The method borrows familiar cookie techniques (creaming butter and sugar, careful mixing of dry and wet ingredients) and scales them into a single-skillet bake. That means less cleanup and a dessert that looks homey and generous right out of the oven.
Texture is the biggest win here. The cornstarch keeps the center soft while the edges brown nicely; the brown sugar keeps things moist and chewy. And because you bake it in an oven-safe skillet, you get that appealing contrast between crisp rim and molten middle—perfect for spooning under melting ice cream.
It’s also versatile: keep it simple with chocolate chips, or switch up the mix-ins (see the substitutions section) depending on what you have. For casual dinners, celebrations, or a cozy night in, this pizookie is an easy, satisfying dessert to rely on.
If You’re Out Of…
Running out of one thing shouldn’t stop you from getting this into the oven. Here are practical, no-nonsense fixes and options.
- If you don’t have light brown sugar: packed brown sugar gives the pizookie its chew. If you only have dark brown sugar, use it—it’ll be slightly more molasses-forward. If you truly have only granulated sugar, the pizookie will still bake but will be less chewy and more crisp.
- If you lack cornstarch: cornstarch adds tenderness. If you’re out, the texture will be a touch firmer but still delicious; consider reducing mixing time to keep it tender.
- If you’re out of semi-sweet chocolate chips: chop a chocolate bar into chunks or use milk or dark chocolate as available. The chocolate type changes sweetness and depth but not the technique.
- If you don’t have an oven-safe skillet: transfer the dough to a greased 9- or 10-inch round cake pan or pie dish. Baking time may vary by 5–10 minutes—watch for the edges to brown and the center to set.
Before You Start: Equipment
Use what you have on hand, but a few tools make the process easier and more consistent:
- 10-inch cast-iron skillet (recommended): builds even heat and gives a golden, crisp edge.
- Stand mixer or hand mixer: speeds up creaming and gives the right texture; you can also beat by hand with effort.
- Mixing bowls: at least one large for wet and one medium for dry.
- Measuring cups and spoons: accurate measuring of flour and baking soda matters for texture.
- Rubber spatula: for scraping the bowl and spreading the dough evenly in the skillet.
Avoid These Traps
Several small mistakes can take this from irresistible to underwhelming. Watch for these common issues:
- Overmixing after adding flour: once the dry ingredients hit the wet, mix just until combined. Overworking the dough develops gluten and yields a tougher, less tender center.
- Using cold butter: if the butter is too cold it won’t cream properly with the sugars, leaving a dense, uneven dough. Aim for soft, not melted.
- Skipping the brief cool-down: serving the pizookie right out of the oven is tempting, but letting it rest 5–10 minutes lets the center settle so scoops hold better and you avoid a molten, runny mess.
- Incorrect oven temperature: an oven that’s too hot will brown the edges before the center sets; too cool and you’ll lose the desirable edge crisp. Use an oven thermometer if your oven has hotspots or inconsistent temps.
Nutrition-Minded Tweaks
Being mindful of nutrition doesn’t mean giving up on dessert. Here are a few adjustments to slightly lighten the pizookie while keeping the key textures intact. Note: these tweaks change flavor and texture to varying degrees.
- Reduce the chocolate chips by up to half to cut sugar and calories without changing the method.
- Swap half the all-purpose flour for whole-wheat pastry flour for a small fiber boost; the result will be a touch denser but still tender if you don’t overmix.
- Portion control: instead of serving family-style with oversized scoops of ice cream, serve smaller portions with thinner dollops of frozen yogurt or a single small scoop of ice cream on the side.
What I Learned Testing
When I first adapted a cookie recipe into this skillet format, I underestimated how small changes in sugar ratios affect browning and chew. That’s why I settled on the combination of granulated sugar and packed light brown sugar: it gives both structure and chew without making the pizookie greasy.
I also learned to trust the cornstarch. It’s a tiny ingredient but crucial for the tender interior—without it, the pizookie felt more like a dense cake. And baking at 325°F has been forgiving: it allows the edges to mature and the center to set slowly so you don’t end up with an undercooked middle and overbrowned rim.
Finally, the skillet. If you haven’t used cast iron for baking, try it. It produces a nicer edge and keeps warmth longer, which helps if you want to serve slices that stay warm for a while at the table.
Keep It Fresh: Storage Guide
How you store a pizookie depends on whether it’s whole or already served. Here’s the practical approach:
- Room temperature (short term): cover the cooled pizookie loosely with foil or plastic wrap and keep at room temperature for up to 24 hours. The top may soften slightly, but it will still be great warmed.
- Refrigerator: store covered for up to 3 days. Rewarm gently in a 300°F oven for 8–10 minutes or a few minutes in a hot skillet to regain edge crispness. Microwave reheating works in a pinch—use short bursts to avoid a rubbery texture.
- Freezing: you can wrap cooled slices individually in plastic wrap and then foil, and freeze for up to 1 month. Reheat from frozen in a 325°F oven until warmed through.
Pizookie FAQs
Q: Can I halve the recipe?
A: Yes. The formula scales down, but adjust baking time—start checking around 25 minutes. The center should be set, not jiggly.
Q: My center was still jiggly after 35 minutes—what happened?
A: Ovens vary. If the edges are browned but the center is too soft, return it to the oven for 3–5 minute increments. If you used a deeper pan, the center will need more time.
Q: Can I make the dough ahead of time?
A: You can chill the assembled dough for up to 24 hours. Bring it back to room temperature briefly before spreading in the skillet so it bakes evenly; cold dough will extend bake time and can lead to uneven baking.
Q: Is the 10-inch cast-iron skillet essential?
A: It’s recommended because it produces the best edge-to-center ratio, but a 9- or 10-inch round cake pan or pie dish will work. Expect small differences in texture and possibly baking time.
Save & Share
If this pizookie becomes one of your go-to desserts, pin the recipe, jot a note about your favorite mix-in, and share a photo with friends. It’s the kind of dessert that makes people smile—slice, scoop, and savor. If you try any of the substitutions or tweaks from this post, tell me how it went; I love hearing about small adjustments that work well in different kitchens.
Happy baking—and don’t forget the ice cream.
Homemade Pizookie Recipe
Ingredients
Ingredients
- 1 cupbuttersoftened
- 1/2 cupgranulated sugar
- 1 cuplight brown sugarpacked
- 2 large eggs
- 2 teaspoonvanilla extract
- 2 1/2 cupall-purpose flour
- 1 teaspooncornstarch
- 1 teaspoonbaking soda
- 1 3/4 cupsemi-sweet chocolate chips
- Ice cream and chocolate syrupoptional
Instructions
Instructions
- Preheat oven to 325°F (163°C). Lightly grease an oven-safe skillet (a 10-inch cast-iron skillet is recommended).
- In a large bowl or the bowl of a stand mixer, beat 1 cup softened butter on medium speed for about 1 minute, until smooth and creamy.
- Add ½ cup granulated sugar and 1 cup packed light brown sugar. Beat on medium-high speed until the mixture is light and fluffy, about 2–3 minutes. Scrape down the bowl as needed.
- Add 2 large eggs and 2 teaspoons vanilla extract. Beat on medium speed until fully combined, scraping the sides and bottom of the bowl once or twice.
- In a separate medium bowl, whisk together 2 ½ cups all-purpose flour, 1 teaspoon cornstarch, and 1 teaspoon baking soda until evenly combined.
- With the mixer on low, gradually add the dry ingredients to the wet ingredients and mix just until incorporated. Do not overmix.
- Stir in 1 ¾ cups semi-sweet chocolate chips until evenly distributed throughout the dough.
- Transfer the dough to the prepared skillet and spread it into an even layer.
- Bake in the preheated oven for 35 minutes, or until the edges are browned and the top is lightly browned and the center is set (not jiggly).
- Remove the skillet from the oven and let the pizookie cool for 5–10 minutes before serving.
- Serve warm, optionally topped with ice cream and chocolate syrup.
Equipment
- Oven
- 10-inch cast-iron skillet (oven-safe skillet)
- stand mixer or electric mixer
- Mixing Bowls
- Spatula
Notes
Move any leftover Pizookie to an airtight container and store it at room temperature for 1-2 days. If you added ice cream or whipped cream directly to the cookie, store it in the same way in the fridge for 1-2 days.
You have to try air-frying a slice of the Pizookie. Place it in your air fryer at 300°F for 2-3 minutes, and it’ll taste just as delicious as when it first came out of the oven. If you don’t have an air fryer, you can microwave leftover Pizookie for 15 seconds to reheat it.