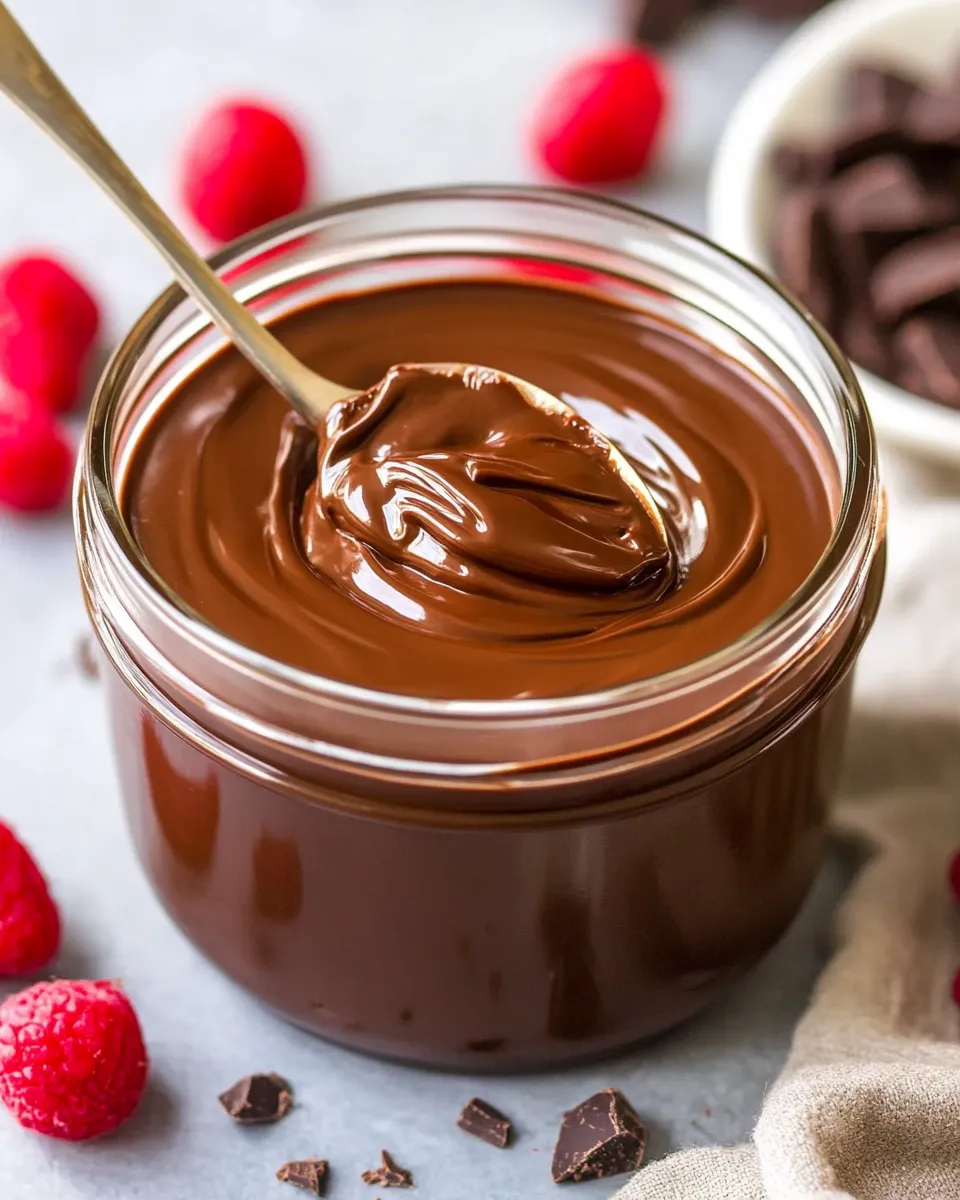
Homemade Nutella
There’s something quietly satisfying about stirring a spoon into a jar of chocolate-hazelnut spread you made yourself. You control the sweetness, the roast of the nuts, and the texture. This recipe makes a spread that’s chocolatey without being cloying and has a clean, toasty hazelnut backbone that store-bought jars can’t match.
I write this from a small kitchen where I test everything for flavor and usability. This Homemade Nutella is practical to make: simple steps, minimal equipment, and flexible enough to tweak once you’re comfortable with the base. You’ll roast hazelnuts, process them into butter, and fold in powdered sugar, cocoa, and a touch of coconut oil so it pours and spreads beautifully.
Below you’ll find a straightforward shopping guide, the exact recipe steps, notes on swaps and storage, and common reader questions. Follow the step-by-step directions for consistent results, and use the tips to adapt the spread for your breakfasts, baking, or midnight toast runs.
Your Shopping Guide

Shop for good-quality hazelnuts and unsweetened cocoa — the spread’s flavor hangs mostly on those two. Choose blanched hazelnuts if you want a smoother, less bitter result; raw or already-roasted nuts both work but adjust oven time accordingly. Powdered sugar gives the spread a fine-grain sweetness that dissolves into the butter more cleanly than granulated sugar.
If you prefer a milder coconut note, use refined coconut oil (less coconut flavor) instead of unrefined. Measure the salt and vanilla carefully — they’re small amounts but they lift the whole thing. Finally, a sturdy food processor will save time and frustration; a blender can work but expect more scraping and pauses.
Homemade Nutella, Made Easy
- Preheat the oven to 350°F (180°C); use 160°C for a fan oven.
- Spread the 1½ cups (225 g) hazelnuts in a single layer on a baking sheet and roast for 10–12 minutes, until fragrant and lightly toasted.
- Let the hazelnuts cool for a few minutes so they are warm but not hot, then transfer them to a food processor.
- Process the hazelnuts until they turn into a smooth butter, stopping to scrape down the sides as needed. This typically takes about 90–120 seconds but may vary by processor.
- Add the ½ cup + 2 tablespoons powdered sugar and the cocoa powder (as listed in the ingredients). Process for about 90 seconds, scraping the sides once or twice so the mixture is evenly combined.
- Add the 2 tablespoons coconut oil, 1 teaspoon vanilla extract, and ½ teaspoon sea salt. Blend until the spread is smooth and pourable but not too thin. Total processing time from the beginning is usually around 5–6 minutes; continue blending as needed to reach the desired consistency.
- Transfer the Nutella to a clean glass jar. The mixture will firm up as it cools.
- Store the spread in the refrigerator or at room temperature for up to 2 weeks.
Ingredients
- 1½ cups (225 grams) raw or roasted unsalted blanched hazelnuts — the core flavor: roast them for deeper nuttiness; blanched gives a smoother color and mouthfeel.
- 2 tablespoons coconut oil — loosens the butter so it’s spreadable; choose refined for neutral flavor or unrefined for subtle coconut notes.
- ½ cup + 2 tablespoons powdered sugar — fine sweetener that dissolves smoothly into the nut butter; adjust slightly to taste after blending.
- ?? cup cocoa powder — provides chocolate intensity; use unsweetened cocoa. (Amount listed as in source of truth.)
- ½ teaspoon sea salt — balances sweetness and brightens chocolate and hazelnut flavors.
- 1 teaspoon pure vanilla extract — rounds and deepens flavor; use good-quality vanilla for best results.
Why It Deserves a Spot
This spread is worth the twenty minutes it takes to make. Store-bought versions can be overly sweet, overly processed, and often use emulsifiers and palm oil. Homemade lets you skip those additives and dial in the taste for your household. The texture is creamier, and the hazelnut flavor is forward — not perfume-like, but warm and toasty.
Use it like you would jarred chocolate spread: on toast, stirred into yogurt, swirled through oatmeal, pushed between pancakes, or as a quick frosting for cupcakes. It’s also excellent warmed slightly and drizzled over ice cream or folded into hot milk for a luxurious chocolate drink.
Dairy-Free/Gluten-Free Swaps
This recipe is naturally gluten-free and dairy-free as written. If you’d like to make it even more allergen-friendly:
- To maintain dairy-free: Keep the coconut oil and avoid adding butter or cream. Use refined coconut oil if you want to remove coconut flavor.
- Gluten-free: No swap needed; just verify your cocoa powder is certified gluten-free if cross-contamination is a concern.
Gear Checklist
- Food processor — the best tool for turning roasted hazelnuts into butter; aim for a model with a strong motor.
- Baking sheet — for roasting the hazelnuts evenly in one layer.
- Spatula — for scraping the bowl between processing cycles.
- Glass jar(s) with lid — for storage; choose clean, dry jars to avoid contamination.
Steer Clear of These
Several common mistakes easily sabotage the outcome. Don’t over-roast the hazelnuts — they can become bitter quickly. Avoid adding too much oil; it’ll make the spread thin and greasy. Conversely, under-processing the nuts leaves a grainy texture. If you use a weak food processor and try to speed things up with extra oil, the flavor and texture will suffer.
Also, don’t substitute granulated sugar for powdered sugar without pulsing it to powder first. Granulated sugar won’t dissolve fully in the short processing time and will leave a gritty mouthfeel.
In-Season Flavor Ideas
Hazelnuts have a fall and winter peak where they taste richest. When they’re at their best, keep the recipe as written to really showcase that flavor. Small seasonal twists:
- Autumn: add a pinch of ground cinnamon (start with 1/8 teaspoon) after blending for warm spice notes.
- Winter holiday: stir in a tiny pinch of ground cloves or cardamom for complexity — use sparingly.
- Spring/Summer: use lighter-roast hazelnuts and add a touch more vanilla for a brighter finish.
Testing Timeline
Timing matters for texture and flavor.
Quick checklist while making it
- Roast: 10–12 minutes — watch closely from minute 8 onward; scent and color are your cues.
- Cool briefly: a few minutes so they’re warm but not hot before processing.
- Turn to butter: expect 90–120 seconds of initial processing to break down the nuts into a paste, with more time to smooth.
- Final texture: total processor time roughly 5–6 minutes from the start, including the sugar and cocoa additions.
After the jar is filled, let it cool to room temperature before sealing and storing to prevent condensation. The spread firms as it cools; if you want a thinner consistency, let it warm slightly before use or add a tiny extra half teaspoon of coconut oil and re-blend.
Storage Pro Tips
Store in a clean glass jar with a tight lid. The recipe notes storage at room temperature or refrigerated for up to two weeks. If you keep it at room temperature, store it away from direct sunlight and heat — room-temp keeps it softer for spreading. Refrigeration firms the spread; let it sit at room temperature for 10–20 minutes before spreading.
Always use a clean, dry spoon to remove spread from the jar to prevent mold or bacterial growth. If you notice any off smell, visible mold, or separation with an off aroma, discard the jar. For longer storage, some people freeze small portions in airtight containers for up to 2 months — thaw overnight in the fridge and bring to room temperature before serving.
Reader Q&A
Q: Can I use pre-roasted hazelnuts?
A: Yes. If they’re already roasted, skip extra time in the oven or roast briefly to refresh the oils. Adjust timing to avoid over-roasting.
Q: My processor is struggling — what then?
A: Pause and scrape, then pulse again. If the motor is faint, process in short bursts to avoid overheating. A stronger machine saves time and yields a silkier result.
Q: The spread is too thick or grainy after processing — help.
A: Continue processing longer, scraping often. If it still seems too thick, add a small extra amount of coconut oil, ¼ teaspoon at a time, and blend until you reach your preferred consistency.
Q: Why are there question marks next to the cocoa amount?
A: The ingredient list reflects the source details. Use the cocoa amount listed and adjust to taste — if you prefer a richer chocolate flavor, add slightly more cocoa powder, remembering that cocoa is dry and can thicken the spread if increased substantially.
Next Steps
Once you’ve made your first batch, taste and tweak: a touch more powdered sugar for sweeter spreads, a tiny extra salt to lift flavors, or a slightly greater roast on the hazelnuts for more depth. Keep notes so you can reproduce the exact balance you love.
If you enjoyed this Homemade Nutella, try it in recipes: swirl it into brownies before baking, fold it into whipped cream for a quick frosting, or use it as a filling for crepes. Share a jar with friends — it makes a thoughtful, homemade gift that tastes even better than it sounds.

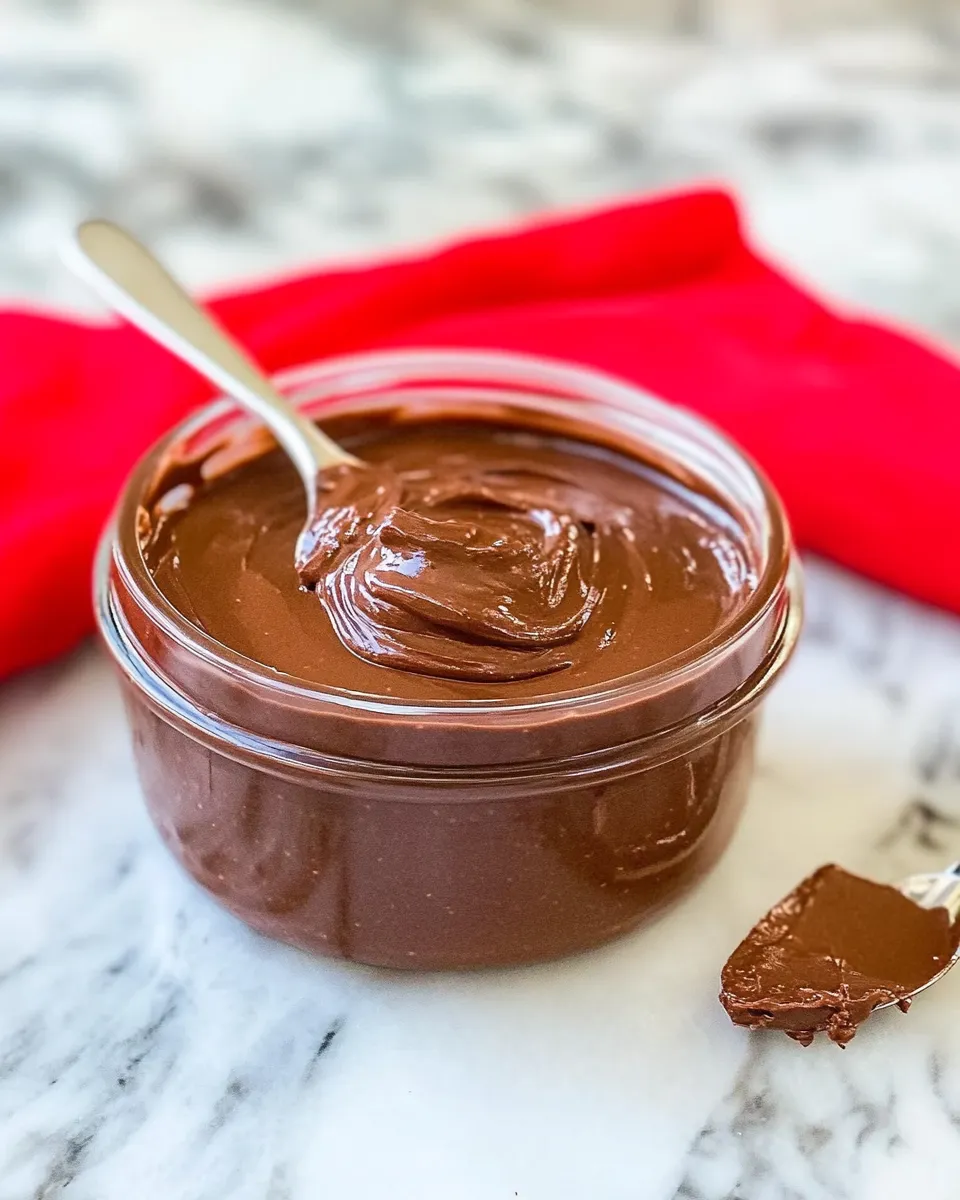
Homemade Nutella
Ingredients
Ingredients
- ?1 1/2 cups 225 gramsraw or roasted unsalted blanched hazelnuts
- ?2 tablespoonscoconut oil
- ?1/2 cup+ 2 tablespoonspowdered sugar
- ??cupcocoa powder
- ?1/2 teaspoonsea salt
- ?1 teaspoonpure vanilla extract
Instructions
Instructions
- Preheat the oven to 350°F (180°C); use 160°C for a fan oven.
- Spread the 1½ cups (225 g) hazelnuts in a single layer on a baking sheet and roast for 10–12 minutes, until fragrant and lightly toasted.
- Let the hazelnuts cool for a few minutes so they are warm but not hot, then transfer them to a food processor.
- Process the hazelnuts until they turn into a smooth butter, stopping to scrape down the sides as needed. This typically takes about 90–120 seconds but may vary by processor.
- Add the ½ cup + 2 tablespoons powdered sugar and the cocoa powder (as listed in the ingredients). Process for about 90 seconds, scraping the sides once or twice so the mixture is evenly combined.
- Add the 2 tablespoons coconut oil, 1 teaspoon vanilla extract, and ½ teaspoon sea salt. Blend until the spread is smooth and pourable but not too thin. Total processing time from the beginning is usually around 5–6 minutes; continue blending as needed to reach the desired consistency.
- Transfer the Nutella to a clean glass jar. The mixture will firm up as it cools.
- Store the spread in the refrigerator or at room temperature for up to 2 weeks.
Equipment
- Food Processor
Notes
This homemade Nutella is vegan, dairy-free, and gluten-free.
This recipe can be easily doubled or tripled but don’t halve it.
If using unblanched hazelnuts, when you take them out of the oven, let them cool down until they’re cool to the touch then transfer to a clean kitchen towel and rub them. The skins will easily come off.
The more sweetener/powdered sugar you add, the thicker your spread will be.
If your Nutella is too thick, just add a little bit of water and blend again.
High-quality melted chocolate can be added – I don’t find it necessary so I don’t add it but if you prefer a more chocolatey flavor then go for it.