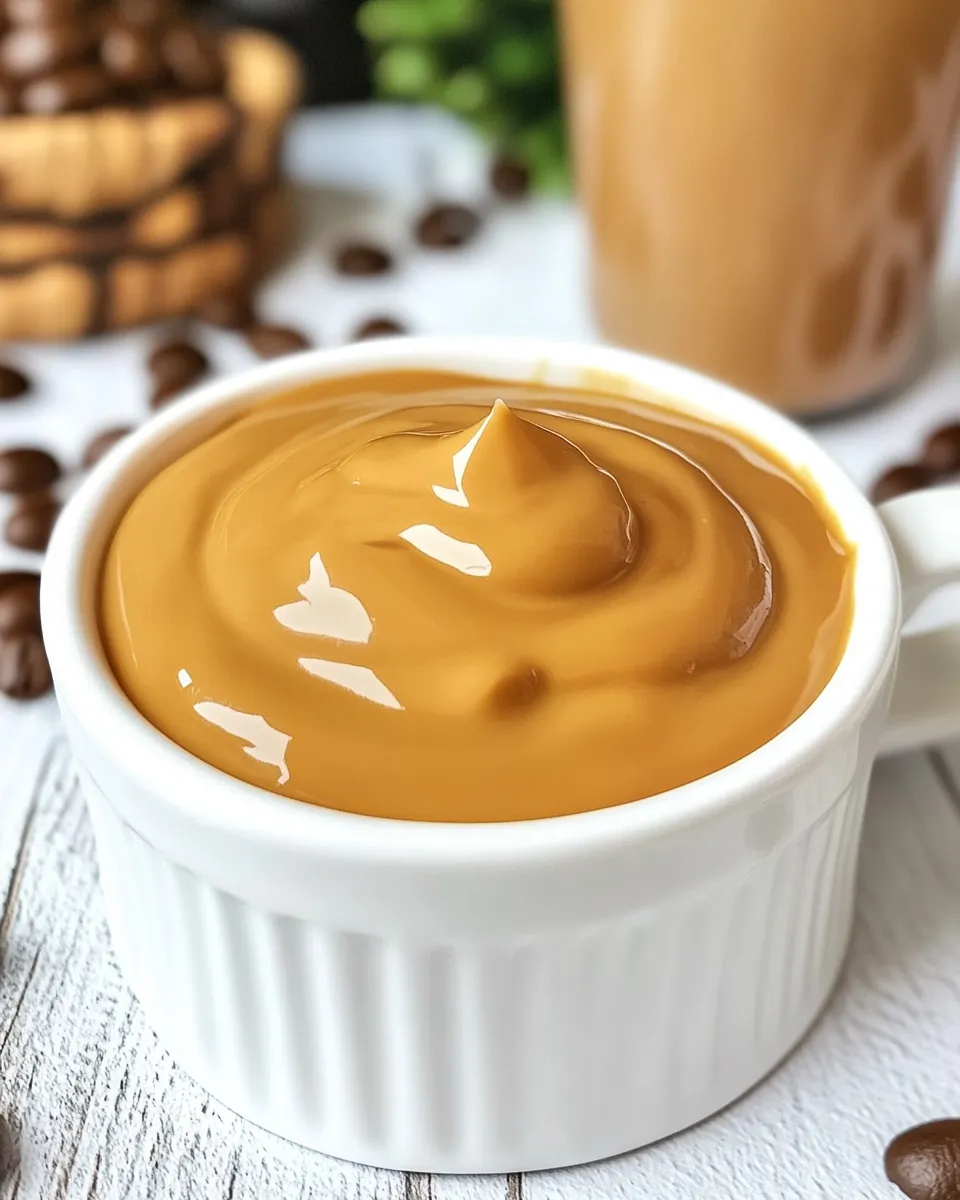
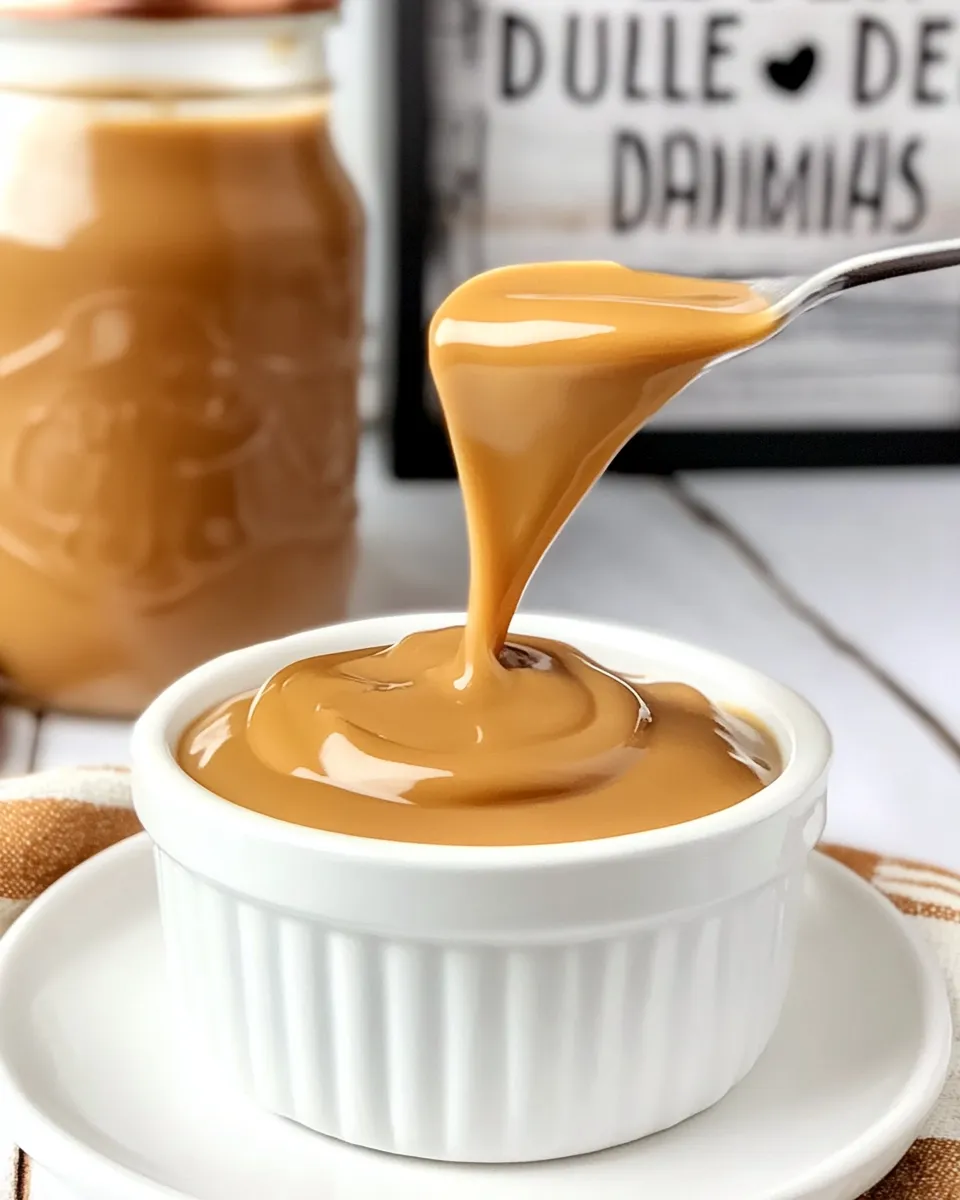
Homemade Dulce de Leche Coffee Creamer
I make this dulce de leche coffee creamer on mornings when I want something richer than plain milk but not a full dessert in my cup. It takes a handful of minutes, a whisk, and two ingredients you probably already have or can keep on hand. The result is a smooth, caramel-sweet creamer that dresses up both hot and iced coffee without any mystery additives.
There’s a reason this simple creamer becomes a weekday favorite fast: it’s reliable, forgiving, and easy to scale. You control the sweetness and richness by choosing the milk and how much you stir in. It stores well, so you can prepare a jar on Sunday and enjoy elevated coffee all week.
Below I lay out exactly what I use, the step-by-step instructions, storage notes, troubleshooting, and tweaks so you can make it without guessing. Practical tips only—no fluff.
What We’re Using

This creamer is intentionally minimal: dulce de leche for flavor and milk for texture and pourability. Keep the proportions the same if you want the same sweetness and body. If you prefer slightly thinner or thicker results, I note options later.
Ingredients
- ¾ cup dulce de leche — the caramel backbone and main sweetener; it provides flavor, color, and body.
- 1 cup milk (nonfat, 2%, or regular) — dilutes the dulce de leche into a pourable creamer; choose the fat level for desired richness.
Step-by-Step: Homemade Dulce de Leche Coffee Creamer
- Place 3/4 cup dulce de leche and 1 cup milk (nonfat, 2%, or regular) in a small saucepan.
- Heat the mixture over medium–low heat, whisking frequently to dissolve the dulce de leche into the milk and prevent scorching.
- Continue heating and whisking until the mixture is smooth, uniform in color and texture, and hot but not boiling (about 3–5 minutes).
- Remove the saucepan from the heat and pour the creamer into a clean jar or container.
- Let the creamer cool to room temperature before covering, then refrigerate.
- Stir or shake well before using and add to hot or iced coffee as desired.
Why It’s Crowd-Pleasing
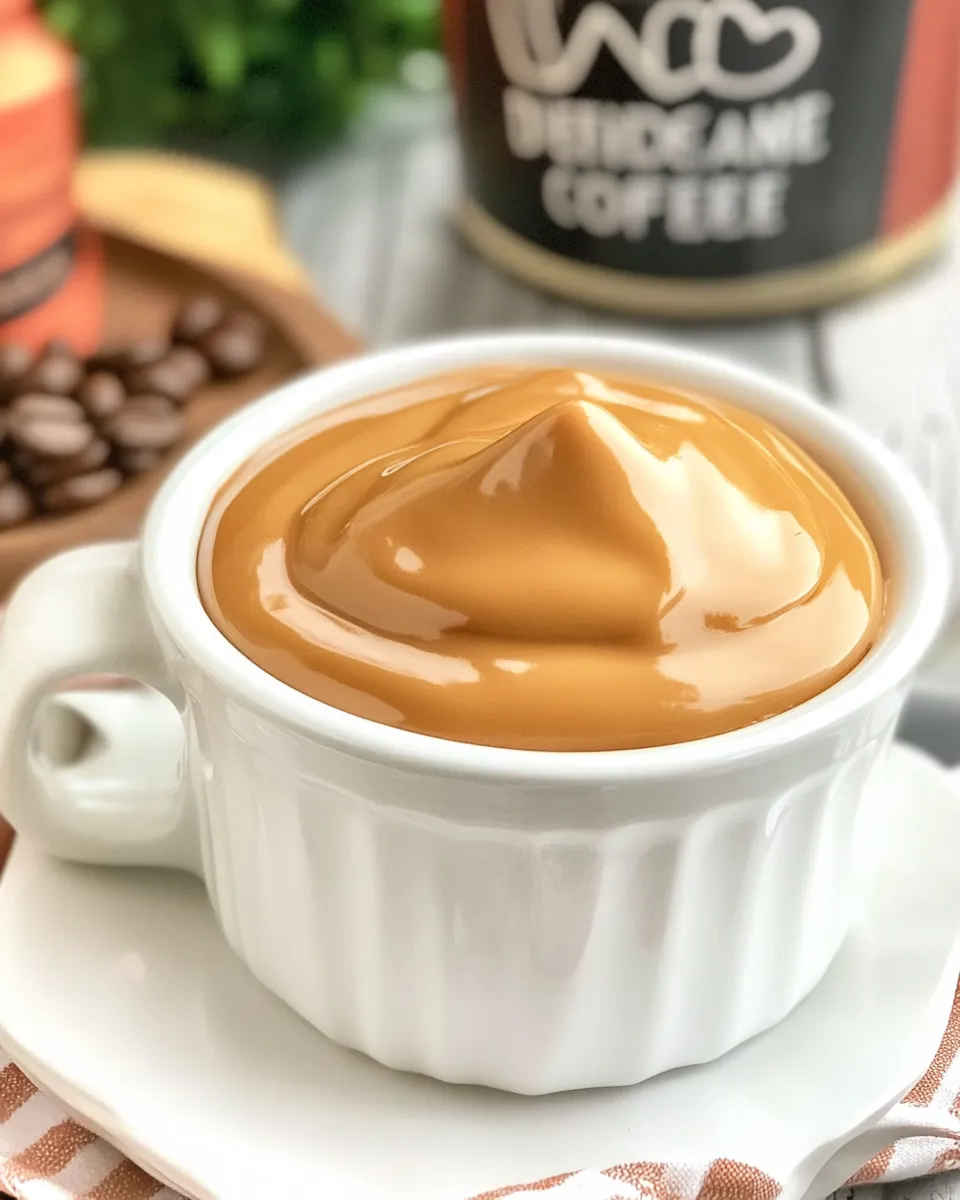
The flavor is familiar: caramel without the waxy aftertaste of some commercial creamers. Dulce de leche gives a genuine cooked-sugar depth you don’t get from artificial flavoring. The texture is silky enough to mix into coffee quickly but still substantial—the milk keeps it from being cloyingly thick.
Guests notice the color and first sip before they realize it’s homemade. It’s a small upgrade that feels indulgent without being complicated. That’s the win: big taste with minimal effort.
No-Store Runs Needed
If you already keep dulce de leche in your pantry and a carton of milk in the fridge, you’re set. No special extracts, stabilizers, or flavorings are necessary. The two-ingredient approach means fewer trips to the store and less countertop clutter.
If you don’t have dulce de leche but you do have sweetened condensed milk, there are ways to convert it—but that requires an extra step and time. For this recipe, use ready-made dulce de leche to keep the prep short and predictable.
Must-Have Equipment
- Small saucepan — wide enough to whisk comfortably and shallow enough to heat quickly.
- Whisk — a small balloon or handheld whisk to dissolve dulce de leche and remove lumps.
- Heatproof jar or container with a lid — for cooling and storing the creamer in the fridge.
- Measuring cup or kitchen scale — to measure the milk and dulce de leche accurately.
Troubles You Can Avoid
Scorching or grainy texture
Heat over medium–low and whisk frequently. Dulce de leche can stick and brown if left unattended. If you see darker specks on the pan, you’re getting hot spots; lower the heat and keep moving the mixture.
Too thick or too sweet
If the creamer feels too thick straight from the jar, stir in a tablespoon or two of milk before using. For future batches, use a slightly higher proportion of milk. If it’s too sweet for your taste, use less creamer per cup of coffee rather than changing this formula—this batch is intentionally balanced 3/4 cup to 1 cup, which makes a pleasantly sweet creamer.
Separation after refrigeration
If the creamer separates or firms up in the fridge, a vigorous shake or stir will re-emulsify it. Keep it in a jar that’s easy to shake.
Make It Diet-Friendly
Small swaps make a noticeable difference in calories. Using nonfat milk will reduce fat and calories while keeping the dulce de leche flavor intact—expect a thinner mouthfeel. Choosing 2% or whole milk increases richness. Portion control is also effective: use less creamer in your cup or dilute your coffee slightly more.
If you’re watching sugar, note that dulce de leche is concentrated sugar; cutting back the amount of creamer added to coffee is the simplest way to reduce sugar intake without changing the recipe itself.
What I Learned Testing
I tested this over several mornings with different milk types and temperatures. Whole milk gives the most satisfying mouthfeel, but 2% is a close second and works well for everyday drinking. Heating just long enough to dissolve the dulce de leche is key—overcooking changes the flavor and can thicken the mixture too much.
Also: letting the creamer cool fully before lidded storage prevents condensation from diluting or altering texture. Shaking before each use keeps the experience consistent cup to cup.
Refrigerate, Freeze, Reheat
Refrigerate in a sealed jar for up to one week. Because this creamer is simple milk plus dulce de leche, treat it like a flavored milk product—freshness matters. If you see off smells or mold, discard immediately.
Freezing is possible but not ideal: the texture can change and separate upon thawing. If you must freeze, use a freezer-safe container with headspace, thaw in the fridge overnight, and shake vigorously before use.
Reheat gently in a small saucepan over low heat or microwave in short bursts, stirring between intervals, until just warm. Avoid boiling; the creamer is already cooked and only needs warming to blend into coffee smoothly.
Your Questions, Answered
How much creamer per cup? Start with 1-2 tablespoons and adjust. Because this creamer is sweeter than plain milk, your ideal amount may be less than you expect.
Can I use this in tea or hot chocolate? Yes. It works in any warm beverage that benefits from a caramel note. Taste and adjust the quantity to keep flavors balanced.
What if my dulce de leche is very thick? Heat gently and whisk longer; the cooking step is designed to dissolve and loosen it. If you want a thinner result immediately, add an extra tablespoon of milk while heating.
Is this shelf-stable? No. Because it contains milk, keep it refrigerated and use within about a week. Store-bought commercial creamers often contain stabilizers that extend shelf life—this homemade version does not.
In Closing
This Homemade Dulce de Leche Coffee Creamer is a small, practical upgrade to daily coffee that rewards minimal effort. Two ingredients, a few minutes, and a jar in the fridge give you several cups of caramel-sweetened coffee without mystery additives. Follow the simple heating and cooling steps, keep it chilled, and shake before use. You’ll find yourself reaching for this jar instead of the usual creamer before long.
Make a batch, taste it with your morning coffee, and tweak the milk choice to match how rich you like your cup. It’s straightforward, forgiving, and exactly the kind of easy, reliable recipe I keep returning to.
Homemade Dulce de Leche Coffee Creamer
Ingredients
Ingredients
- 3/4 cupdulce de leche
- 1 cupmilknonfat 2%, or regular
Instructions
Instructions
- Place 3/4 cup dulce de leche and 1 cup milk (nonfat, 2%, or regular) in a small saucepan.
- Heat the mixture over medium–low heat, whisking frequently to dissolve the dulce de leche into the milk and prevent scorching.
- Continue heating and whisking until the mixture is smooth, uniform in color and texture, and hot but not boiling (about 3–5 minutes).
- Remove the saucepan from the heat and pour the creamer into a clean jar or container.
- Let the creamer cool to room temperature before covering, then refrigerate.
- Stir or shake well before using and add to hot or iced coffee as desired.
Equipment
- Small Saucepan
- Whisk
- Jar or container