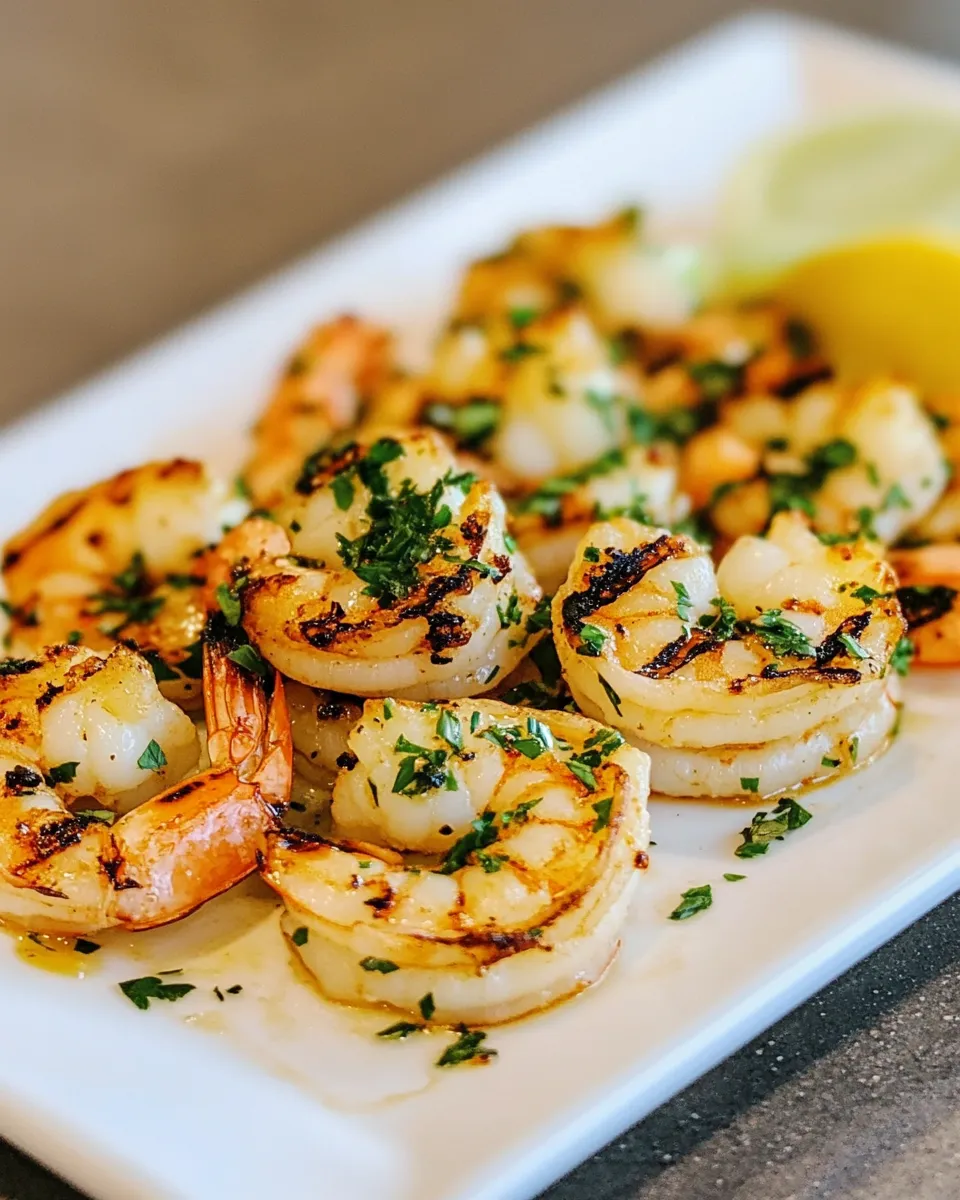
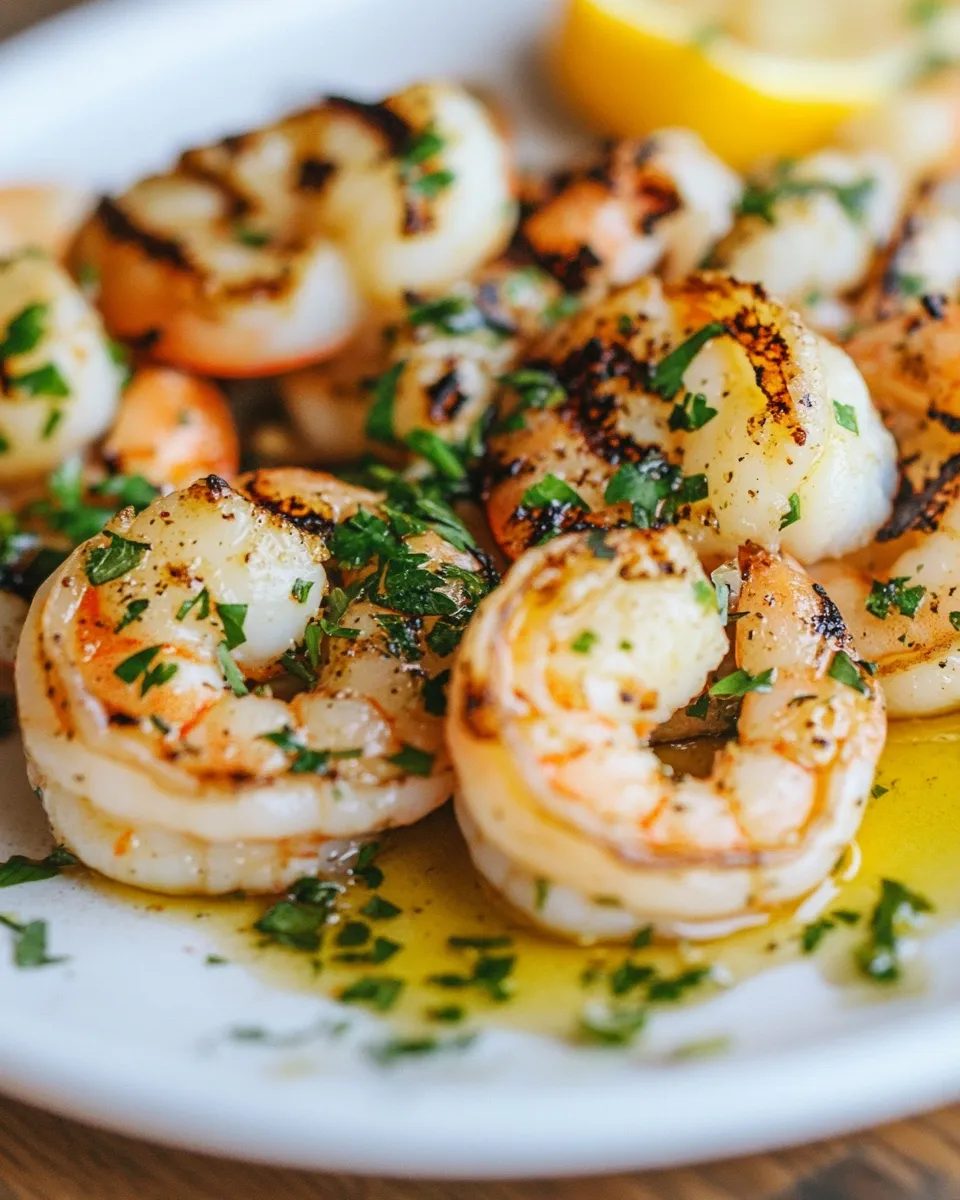
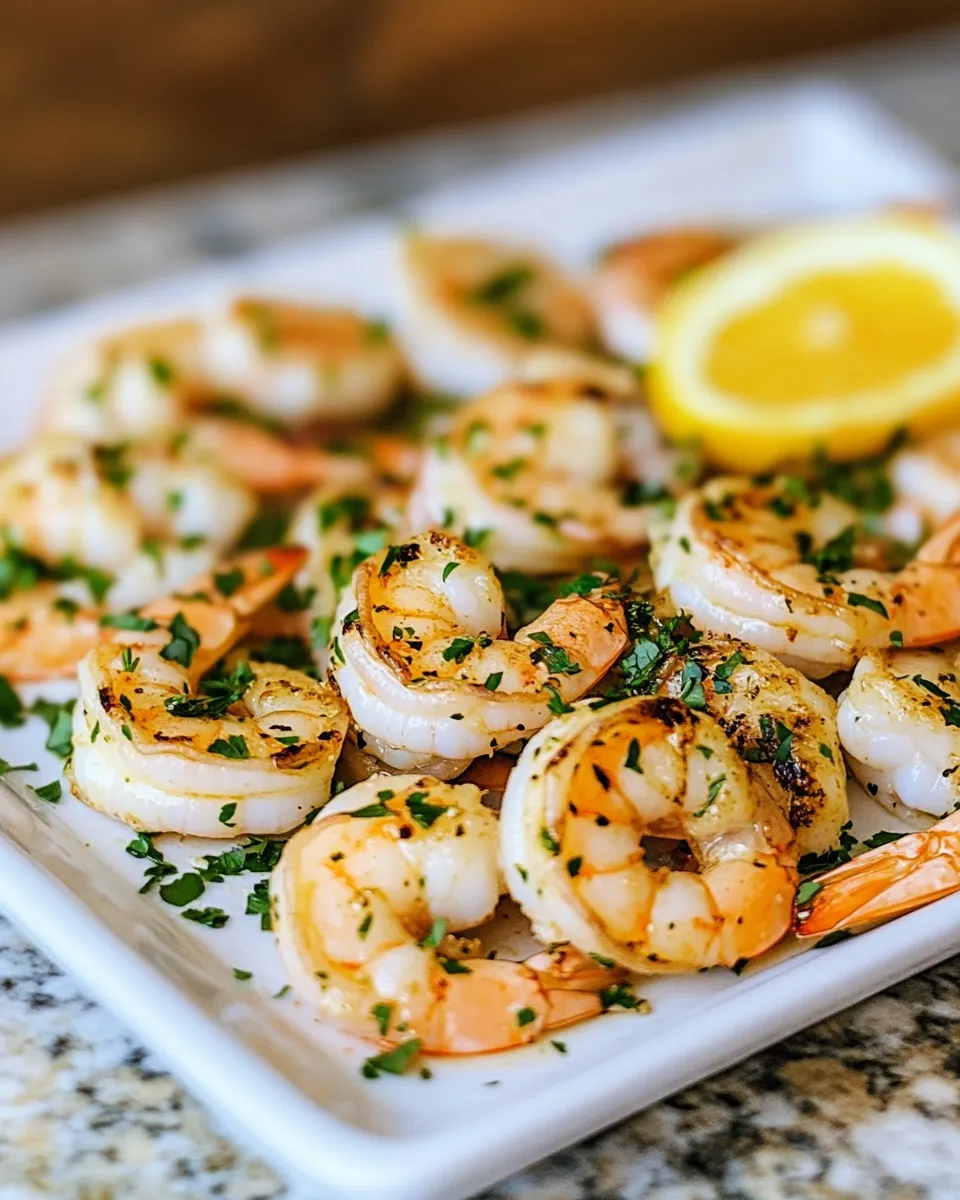
Garlic Grilled Shrimp
This is the kind of recipe I reach for when I want something that feels special but comes together in under an hour. Clean flavors, quick prep, and grill marks that make people pause—Garlic Grilled Shrimp hits all of those boxes. It’s bright from lemon, savory from garlic, and finishes with a little fresh parsley for lift.
I keep the technique simple on purpose. Large shrimp cook in minutes and a short marinade gives them enough flavor without becoming soggy. If you’re new to grilling shrimp, the timing and temperature tips below will help you avoid overcooking and make every skewer pop.
Serve these as a weeknight main with a simple salad, as an appetizer for friends, or sliced over warmed grains for a casual dinner. The recipe scales well and travels—bring the cooked shrimp to a picnic and they’ll still taste great warm or at room temperature.
What Goes In

- 1 ½ pounds raw jumbo shrimp (thawed, peeled and deveined leaving tails on) — the recipe relies on large shrimp for quick, even cooking and a satisfying bite.
- ¼ cup olive oil — coats the shrimp and carries the flavors; helps prevent sticking on the grill.
- 2 tablespoons lemon juice — brightens the dish and balances the oil and garlic.
- ½ teaspoon salt — seasons the shrimp; adjust to taste if you use a salted side dish.
- ¼ teaspoon ground black pepper — adds mild heat and depth.
- 2 tablespoons chopped fresh parsley — a fresh herb finish that keeps the shrimp tasting lively.
- 3 cloves garlic (minced) — the aromatic backbone; minced garlic disperses evenly through the marinade.
Make Garlic Grilled Shrimp: A Simple Method
- Place 1 ½ pounds raw jumbo shrimp (thawed, peeled and deveined leaving tails on) in a medium bowl. Add ¼ cup olive oil, 2 tablespoons lemon juice, ½ teaspoon salt, ¼ teaspoon ground black pepper, 2 tablespoons chopped fresh parsley, and 3 cloves garlic (minced). Stir until the shrimp are evenly coated.
- Cover the bowl and refrigerate to marinate for 15–20 minutes.
- Remove the shrimp from the marinade and discard any remaining marinade.
- Thread the shrimp onto skewers, fitting about 3–6 shrimp per skewer depending on skewer size.
- Preheat the grill to medium-high heat. Clean and oil the grates to prevent sticking.
- Place the shrimp skewers on the grill and cook 2–3 minutes per side, turning once, until the shrimp are opaque and white/pink and firm to the touch.
- Remove the shrimp from the grill and serve warm.
Why It’s My Go-To
I keep this recipe in heavy rotation because it delivers reliable results with minimal fuss. The whole process—from marinating to plating—takes about 30 minutes. That’s a huge win on busy nights.
The flavors are straightforward and widely liked: garlic and lemon are universal partners for seafood, and the olive oil helps the shrimp develop a little color on the grill without drying out. Because the marinade time is short, the shrimp retain their texture and never get mushy.
It’s also flexible. You can double the batch for a crowd, finish with a squeeze of lemon at the table, or offer a few dipping sauces if you’re hosting. But even served plain, the simplicity shows off good shrimp.
Low-Carb/Keto Alternatives
- Serve the shrimp over leafy greens or a bed of lightly dressed arugula instead of grains to keep the plate low-carb.
- Use extra olive oil sparingly or replace part of it with an oil spray when grilling if you want to reduce fats slightly without changing flavor much.
- Pair with roasted or grilled low-carb vegetables—zucchini ribbons, asparagus, or cauliflower florets work well as sides.
Before You Start: Equipment
- Medium mixing bowl — to combine shrimp and marinade and refrigerate them safely.
- Measuring spoons and ¼ cup measure — to get the oil, lemon juice, salt, and pepper right.
- Skewers (metal or soaked wooden) — make threading and flipping much easier; choose a size that fits your grill.
- Grill (charcoal or gas) — preheat to medium-high; a hot grill gives quick sear without overcooking.
- Grill brush and tongs — to clean and oil grates, and to flip skewers confidently.
- Paper towels or a plate — for resting the cooked shrimp briefly before serving.
Troubleshooting Tips
- Shrimp stuck to the grill: Make sure the grates are clean and well-oiled before cooking. Let the grill come fully up to medium-high heat; placing food on properly heated grates reduces sticking.
- Shrimp overcooked and rubbery: Shrimp finish quickly. Cook 2–3 minutes per side and watch for the flesh to turn opaque and firm. Remove from heat as soon as they’re no longer translucent.
- Marinade causes steaming instead of searing: Don’t overcrowd the grill. Give each skewer a little space so heat circulates and you get a quick sear.
- Garlic flavor too mild or pungent: Minced fresh garlic is bright and assertive. If you want a milder garlic note, use finely grated garlic or reduce to 2 cloves; for more intensity, add a small minced clove at the end when serving.
- Shrimp falling through the grill: Use skewers and thread shrimp closely together so they’re easy to flip and don’t slip between grates.
Nutrition-Minded Tweaks
- Cut the olive oil slightly if you want lower calories; a quick spray of oil on the grill combined with a reduced amount in the marinade will still give good results.
- Keep salt minimal if you’re watching sodium—fill the plate with fresh lemon wedges and herbs to compensate with brightness rather than extra salt.
- Add fiber by serving over a salad of mixed greens or shredded cabbage to make the meal more filling without many extra carbs.
- For added micronutrients, finish with extra fresh herbs like parsley or cilantro at service; they add negligible calories and a boost of vitamins.
Chef’s Rationale
I choose jumbo shrimp and leave the tails on for two reasons: texture and presentation. The tail gives you something to hold when eating, and larger shrimp stand up to the high heat of the grill without overcooking in seconds.
The marinade is intentionally simple—olive oil to distribute flavors and protect the shrimp from direct heat, lemon to cut through richness, garlic for aroma, and parsley for freshness. There’s no thick sugary glaze here because sugar accelerates browning and can mask the clean seafood flavor.
Short marination time (15–20 minutes) is deliberate. Shrimp are delicate; a long acid-based marinade will start to “cook” them and change the texture. This brief hit of flavor keeps them sweet and firm.
Meal Prep & Storage Notes
- Make-ahead (marinated): You can marinate the shrimp for up to 20 minutes as directed. Avoid marinating for much longer—the lemon juice will begin to alter the texture.
- Cooked shrimp storage: Store cooked shrimp in an airtight container in the refrigerator for up to 3 days. Keep them chilled and reheat briefly if desired.
- Freezing: If you need to freeze, flash-freeze cooked shrimp on a tray, then transfer to a sealed bag. Use within 1 month for best quality. Thaw in the refrigerator before reheating.
- Reheating: Reheat gently—briefly on a hot grill or in a hot skillet for 1–2 minutes per side to avoid drying them out. Alternatively, serve cold in salads or shrimp cocktails.
Top Questions & Answers
- Can I use smaller shrimp? Yes. Smaller shrimp will cook faster, so reduce grill time and watch closely to prevent overcooking.
- Do I have to thread the shrimp on skewers? Skewers make flipping easier and prevent shrimp from falling through the grates. If you prefer, use a grill basket or a hot, oiled skillet instead.
- Can I prepare this indoors? Absolutely. Cook the shrimp in a hot skillet or under a broiler for similar results. Aim for quick, high heat to get color without overcooking.
- Is it okay to reuse the marinade as a sauce? Not without cooking it first. Because the marinade contacted raw shrimp, you should bring it to a boil if you intend to use it as a sauce to ensure it’s safe.
- How can I add a smoky flavor? Use a charcoal grill or add a small piece of soaked wood to a gas grill. Another quick trick is to use smoked paprika in the marinade for a hint of smoke without changing technique.
Wrap-Up
Garlic Grilled Shrimp is quick, dependable, and crowd-pleasing. The method is forgiving as long as you keep an eye on timing and keep the grill hot. A short marinade gives plenty of flavor, and the skewers make for easy flipping and attractive presentation.
Give it a try this week—pair with a simple salad or your favorite low-carb side, and don’t forget a lemon wedge for the table. It’s a small, bright meal that feels like more than the time it takes to make.
Garlic Grilled Shrimp
Ingredients
Ingredients
- ?1 1/2 poundsraw jumbo shrimpthawed peeled and deveined leaving tails on
- ?1/4 cupolive oil
- ?2 tablespoonslemon juice
- ?1/2 teaspoonsalt
- ?1/4 teaspoonground black pepper
- ?2 tablespoonschopped fresh parsley
- ?3 clovesgarlicminced
Instructions
Instructions
- Place 1 ½ pounds raw jumbo shrimp (thawed, peeled and deveined leaving tails on) in a medium bowl. Add ¼ cup olive oil, 2 tablespoons lemon juice, ½ teaspoon salt, ¼ teaspoon ground black pepper, 2 tablespoons chopped fresh parsley, and 3 cloves garlic (minced). Stir until the shrimp are evenly coated.
- Cover the bowl and refrigerate to marinate for 15–20 minutes.
- Remove the shrimp from the marinade and discard any remaining marinade.
- Thread the shrimp onto skewers, fitting about 3–6 shrimp per skewer depending on skewer size.
- Preheat the grill to medium-high heat. Clean and oil the grates to prevent sticking.
- Place the shrimp skewers on the grill and cook 2–3 minutes per side, turning once, until the shrimp are opaque and white/pink and firm to the touch.
- Remove the shrimp from the grill and serve warm.
Equipment
- Bowl
- Skewers
- Grill
Notes
Don’t marinate too long.The acid from the lemon juice in this shrimp marinade will start to cook the shrimp if you leave it in there for too long. Plan ahead so that the shrimp only sits in the marinade for 15 to 20 minutes.
Don’t overcook the shrimp.Shrimp really only need a few minutes on a hot grill to cook, and they will continue to cook for a minute after you remove them from the grill as well. Pull them off just as soon as the color of the shrimp changes from translucent to opaque for best results.
Grill the lemon.Juice half of a lemon and add the juice to the marinade, and save the other half to add on to the grill. Warming the lemon will release more juice that you can then squeeze over the shrimp once they’re cooked.
Feel free to add some crushed red pepper to the marinade to kick up the flavor a bit. Or try other herbs like basil or cilantro in place of the parsley.