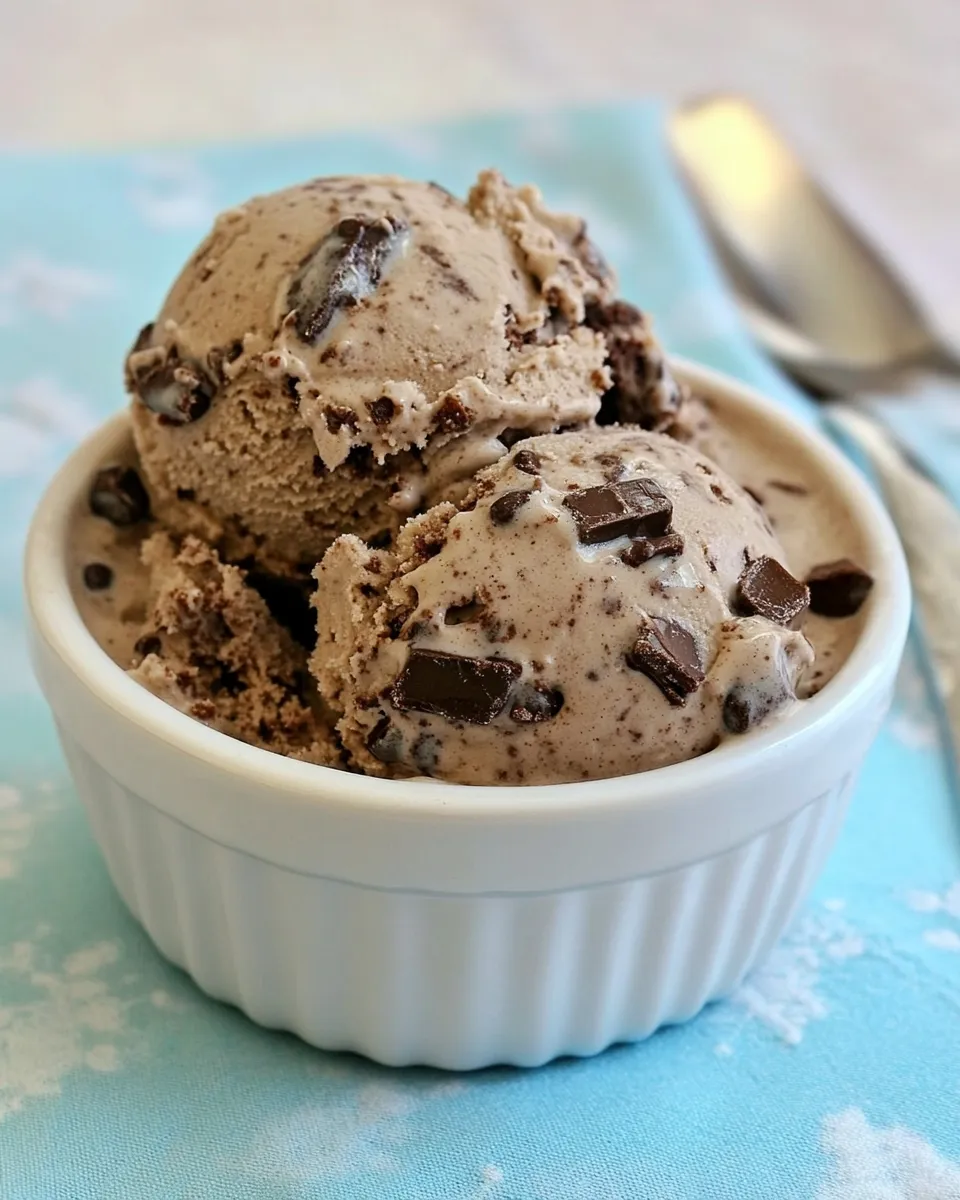
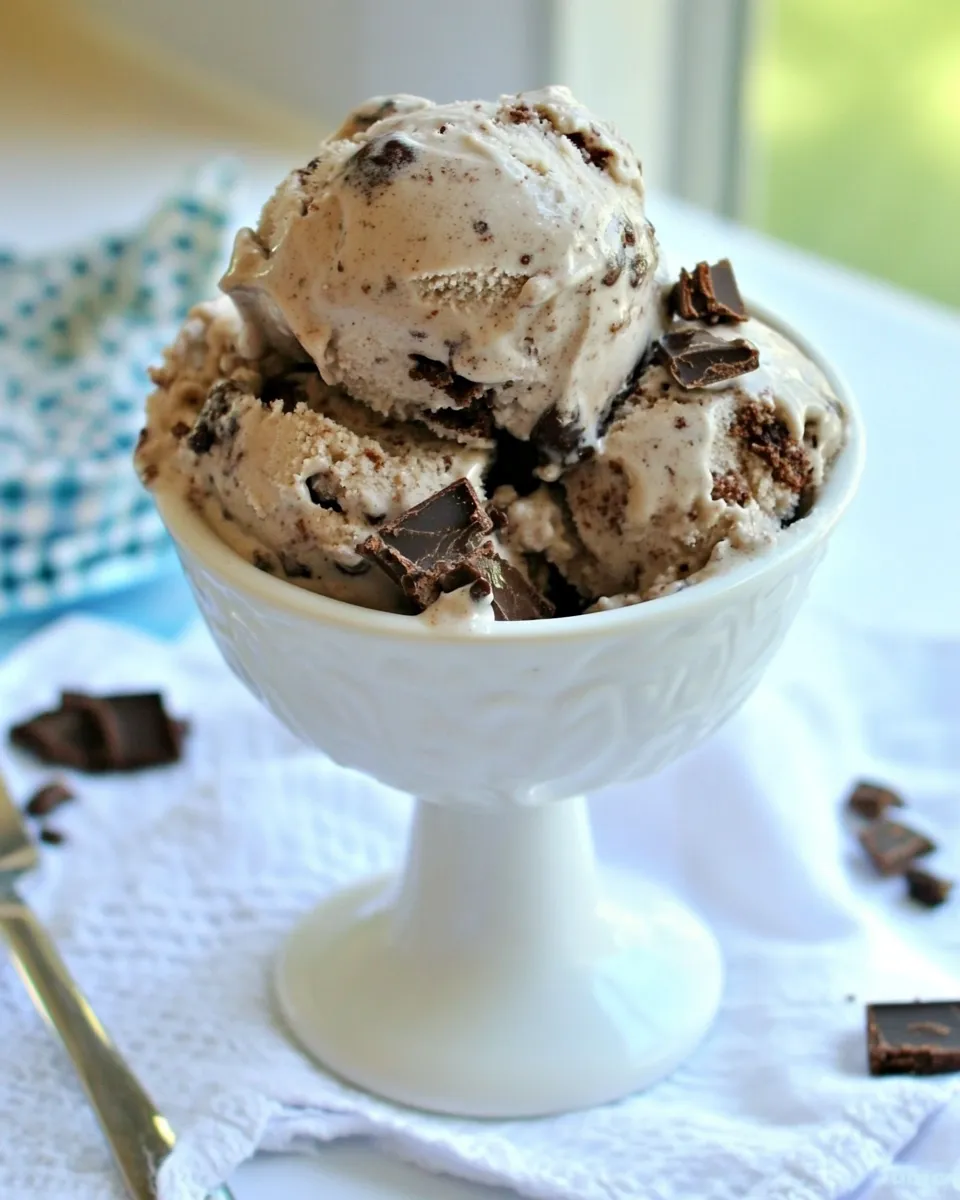
Fudge Brownie Ice Cream no machine
If you’ve ever craved rich, fudgy brownies and creamy ice cream at the same time, then you are in for a treat! This Fudge Brownie Ice Cream no machine recipe combines the best of both worlds without the need for an ice cream maker. With just a few simple ingredients and minimal effort, you can whip up this indulgent dessert that is perfect for any occasion. Whether it’s a hot summer day or a cozy night in, this delightful treat is sure to satisfy your sweet tooth and impress your family and friends. Let’s dive into the details of making this delightful dessert that will keep you coming back for more!
Why It Works Every Time

The magic behind this Fudge Brownie Ice Cream no machine lies in the combination of rich brownie chunks and a creamy ice cream base. By folding in the brownie pieces into the ice cream mixture, you create a delightful contrast in texture and flavor. The ice cream base is made using simple ingredients that whip up beautifully, resulting in a creamy and luscious texture that rivals any store-bought version. Plus, since we’re not using a machine, you can easily make this at home without any special equipment!
What We’re Using
To create this delectable Fudge Brownie Ice Cream no machine, you will need the following ingredients:
- 2 cups heavy cream
- 1 cup sweetened condensed milk
- 1 teaspoon vanilla extract
- 1 cup brownie chunks (homemade or store-bought)
- 1/2 cup chocolate chips (optional)
- Pinch of salt
These simple ingredients come together to create a rich and creamy ice cream that is loaded with fudgy brownie goodness. The heavy cream provides the luscious texture, while the sweetened condensed milk adds sweetness and creaminess. The addition of brownie chunks brings in that fudgy texture that everyone loves!
Essential Tools for Success
Before you get started, make sure you have the following tools on hand:
- Mixing bowls – for combining ingredients.
- Whisk – to whip the cream and mix the ingredients.
- Spatula – for folding in the brownie chunks.
- Freezer-safe container – to store the ice cream while it freezes.
- Measuring cups and spoons – for accurate measurements.
Having the right tools makes the process much smoother and ensures that your Fudge Brownie Ice Cream no machine turns out perfectly!
Fudge Brownie Ice Cream no machine — Do This Next
Step 1: Whip the Cream
Start by pouring the heavy cream into a mixing bowl. Using a whisk, beat the cream until it forms stiff peaks. This step is crucial for achieving that light and fluffy texture in your ice cream.
Step 2: Combine the Ingredients
In another bowl, mix the sweetened condensed milk, vanilla extract, and a pinch of salt. Stir until well combined. This mixture will serve as the base of your ice cream.
Step 3: Fold in the Cream
Gently fold the whipped cream into the sweetened condensed milk mixture. Be careful not to deflate the whipped cream; you want to maintain that airy texture.
Step 4: Add the Brownie Chunks
Next, fold in the brownie chunks and optional chocolate chips until they are evenly distributed throughout the ice cream base. This is where the magic happens, as the fudgy brownie pieces will create a delightful surprise in every scoop.
Step 5: Freeze the Ice Cream
Transfer the mixture to a freezer-safe container and smooth the top with a spatula. Cover the container tightly with a lid or plastic wrap and place it in the freezer for at least 4 hours, or until firm.
Step 6: Serve and Enjoy
Once the ice cream has frozen solid, scoop it into bowls or cones and enjoy your homemade Fudge Brownie Ice Cream no machine! Feel free to top it with whipped cream, chocolate sauce, or extra brownie bites for an indulgent treat.
Adaptations for Special Diets
If you are looking to make this recipe suitable for different dietary needs, consider the following adaptations:
- For a dairy-free option: Use coconut cream in place of heavy cream and a dairy-free sweetened condensed milk alternative.
- For a gluten-free brownie option: Use gluten-free brownies or make your own using gluten-free flour.
- For a reduced sugar version: Substitute sweetened condensed milk with a sugar-free alternative or use less sweetened condensed milk.
- For a vegan version: Use coconut cream and plant-based sweetened condensed milk.
These adaptations will ensure that everyone can enjoy this delicious Fudge Brownie Ice Cream no machine!
Cook’s Commentary
Creating this Fudge Brownie Ice Cream no machine is not only easy but also a fun way to experiment with flavors and textures. The beauty of this recipe is its versatility. You can customize it by adding your favorite mix-ins, such as nuts, caramel swirls, or even different flavored brownie chunks. The possibilities are endless! You can also try different extracts, like almond or peppermint, to give the ice cream a unique twist. This recipe also makes a fantastic base for other desserts, so don’t hesitate to get creative!
How to Store & Reheat
To store your Fudge Brownie Ice Cream no machine, simply keep it in an airtight container in the freezer. It will stay fresh for up to two weeks, though it’s unlikely to last that long because it’s so delicious! If the ice cream becomes too hard to scoop, let it sit at room temperature for a few minutes before serving. This will make it easier to scoop and enjoy without losing any of that creamy goodness!
Common Qs About Fudge Brownie Ice Cream no machine
Can I use store-bought brownies for this recipe?
Absolutely! Store-bought brownies can save you time and still provide that delicious fudgy texture you want in your ice cream. Just chop them into bite-sized pieces before folding them into the ice cream base.
How long does it take for the ice cream to freeze?
It usually takes about 4 hours for the ice cream to freeze solid. However, if you want it to be extra firm, you can leave it in the freezer overnight.
Can I make this ice cream without sweetened condensed milk?
While sweetened condensed milk adds sweetness and creaminess, you can substitute it with a homemade version using milk and sugar. Just make sure to cook it down until thickened to achieve a similar consistency.
How can I make this ice cream even more chocolaty?
If you’re a chocolate lover, consider adding cocoa powder to the sweetened condensed milk mixture or using chocolate syrup in place of some of the sweetened condensed milk. You can also sprinkle chocolate shavings on top for extra chocolatey goodness!
Save & Share
If you loved this Fudge Brownie Ice Cream no machine recipe, don’t forget to save and share it with your friends and family! This indulgent treat is perfect for gatherings, celebrations, or just a sweet night in. You can spread the love by sharing the recipe on social media or sending the link to your loved ones who appreciate a good dessert.
There you have it! A delicious Fudge Brownie Ice Cream no machine that is easy to make and absolutely irresistible. With its fudgy brownie chunks and creamy ice cream base, this dessert is bound to be a hit. So, gather your ingredients, follow the steps, and treat yourself to this delightful homemade ice cream. You’ll never want store-bought again!
Fudge Brownie Ice Cream no machine
Ingredients
- 2 cups heavy cream
- 1 cup sweetened condensed milk
- 1 teaspoon vanilla extract
- 1 cup brownie chunks (homemade or store-bought)
- 1/2 cup chocolate chips (optional)
- pinch of salt
Instructions
- Pour the heavy cream into a mixing bowl and whisk until stiff peaks form.
- In another bowl, mix the sweetened condensed milk, vanilla extract, and a pinch of salt until well combined.
- Gently fold the whipped cream into the sweetened condensed milk mixture, maintaining the airy texture.
- Fold in the brownie chunks and optional chocolate chips evenly throughout the ice cream base.
- Transfer the mixture to a freezer-safe container, smooth the top with a spatula, cover tightly, and freeze for at least 4 hours until firm.
- Scoop the frozen ice cream into bowls or cones and enjoy. Optionally top with whipped cream, chocolate sauce, or extra brownie bites.
Equipment
- Mixing Bowls
- Whisk
- Spatula
- Freezer-Safe Container
- Measuring Cups and Spoons
Notes
- Store the ice cream in an airtight container in the freezer for up to two weeks.
- Let the ice cream sit at room temperature for a few minutes before scooping if it is too hard.
- For dairy-free, use coconut cream and dairy-free sweetened condensed milk alternatives.
- Use gluten-free brownies for a gluten-free version.
- Add cocoa powder or chocolate syrup to enhance chocolate flavor.