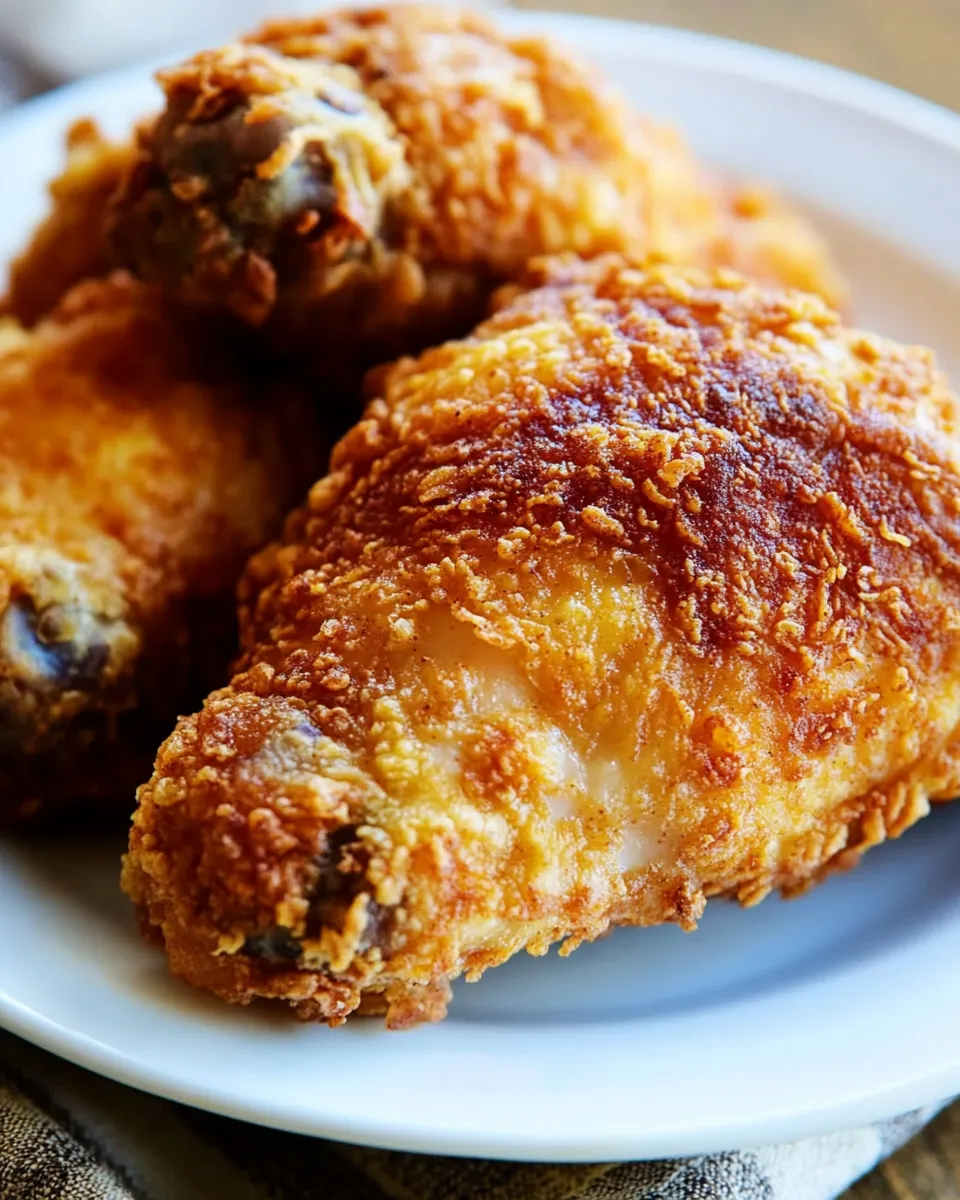
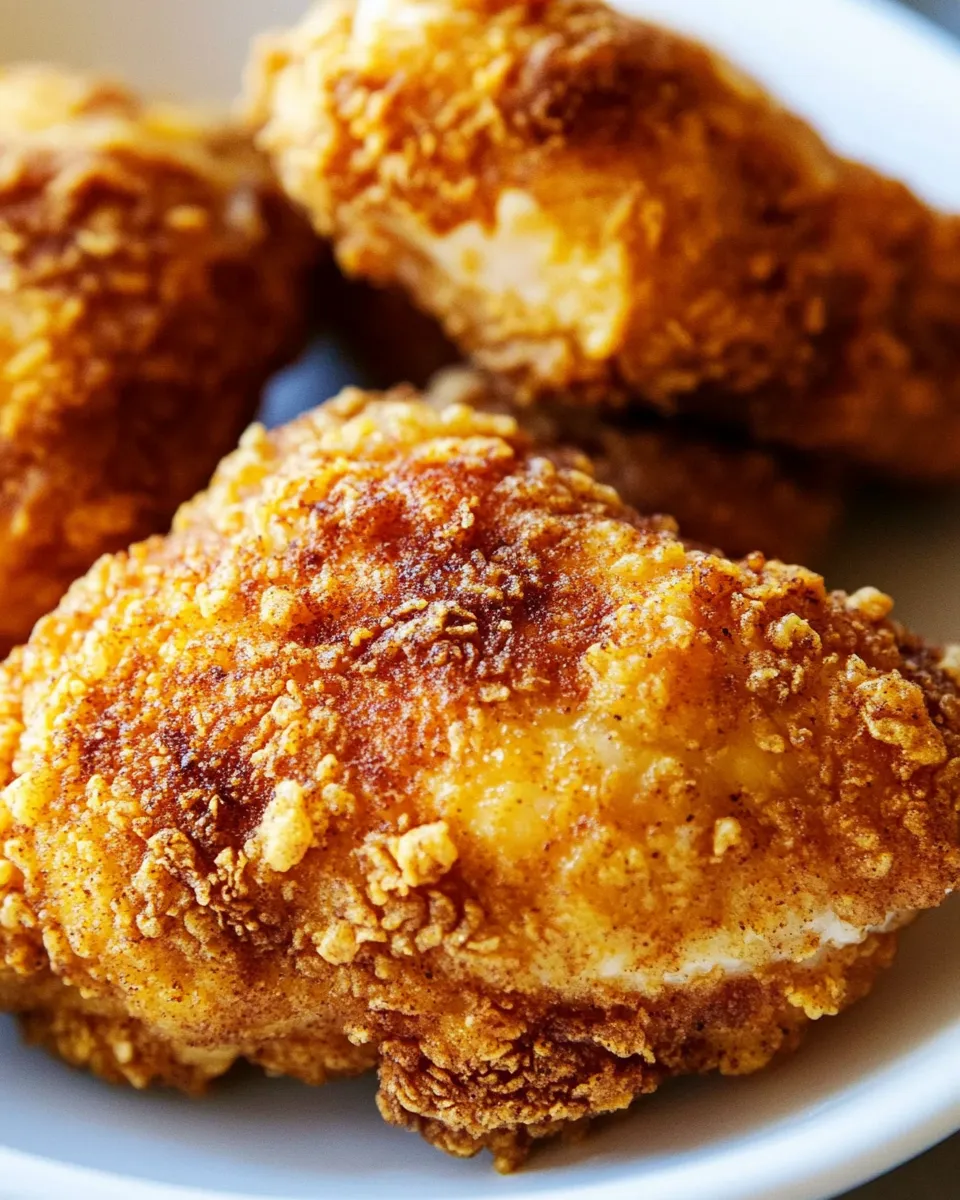
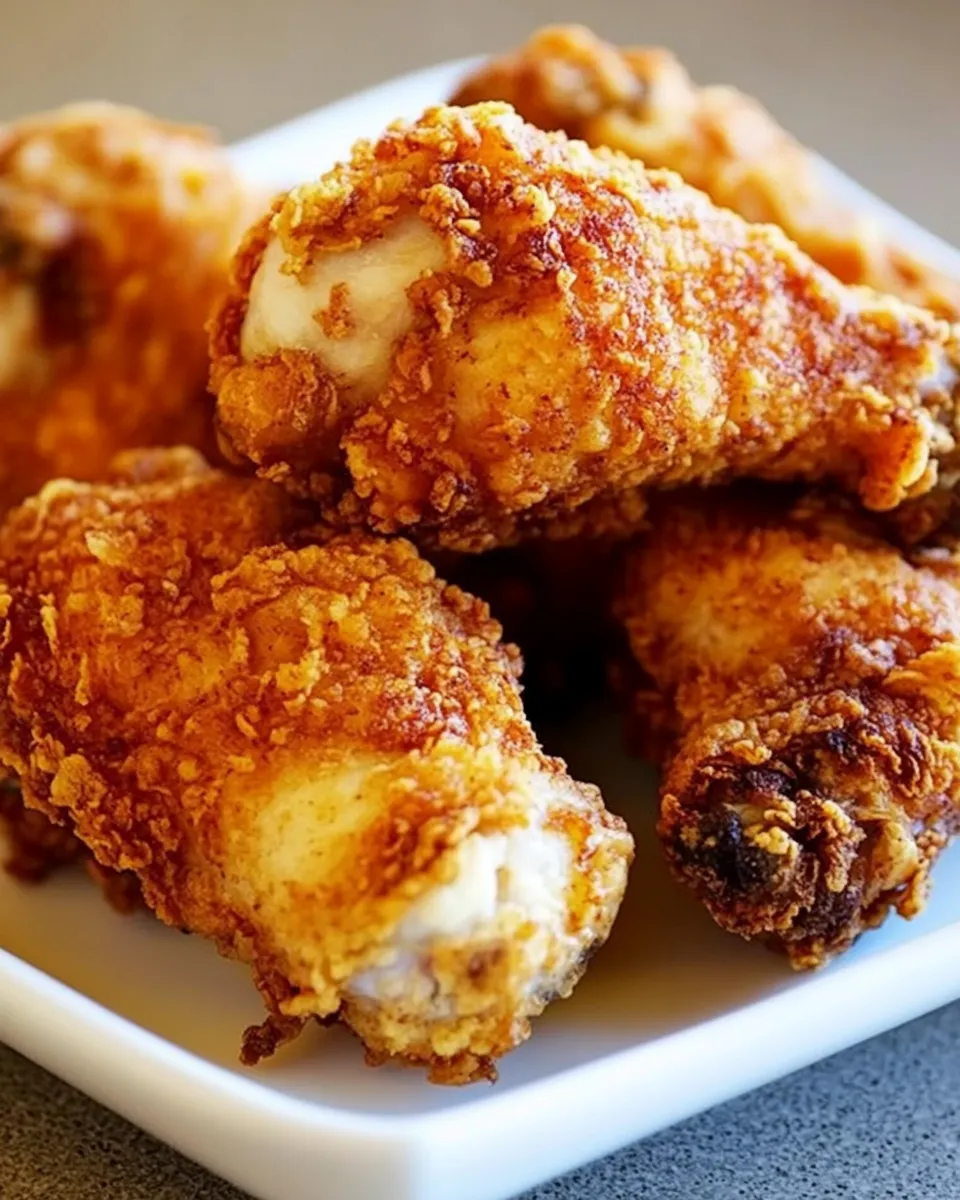
Fried Chicken
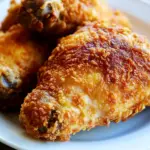
There are few comforts as universally beloved as a golden, crispy piece of Fried Chicken. Whether you grew up with it as a weekend treat or are discovering it for the first time, the crackle of seasoned crust and the juicy meat inside have a way of turning an ordinary meal into something memorable. Today’s version uses simple pantry ingredients and a quick, straightforward technique that delivers reliably crisp skin and tender dark meat every time.
This recipe centers on bone-in medium chicken thighs with skin, dredged in a seasoned flour mixture and pan-fried until deeply golden. The method is forgiving, the flavors balanced, and the process is easy to follow even for cooks who are new to frying. Below you’ll find the full ingredient list, an ingredients checklist for prep, and clear, step-by-step instructions that stick to the quantities listed. There are also tips for serving and make-ahead notes to help you plan your meal.
Ingredients

- 8 medium chicken thighs with skin
- 3 cups all purpose flour
- 1 tablespoon black pepper
- 1 tablespoon smoked paprika
- ½ tablespoon salt
- Vegetable or canola oil for the frying pan
Why this recipe works
Dark meat thighs stay juicy during frying and the skin crisps up beautifully when cooked in hot oil. Using a simple seasoned flour keeps the coating light but flavorful; smoked paprika adds a warm, slightly smoky note, and black pepper provides brightness. The measurements are intentionally straightforward so you can reproduce the results without fuss. If you’re looking for a crowd-pleasing Fried Chicken recipe with minimal fuss and maximum payoff, this one has you covered.
Prep checklist
- Pat the thighs dry with paper towels to remove excess moisture — this helps the flour stick and produces a crisp crust.
- Set up a dredging station: one wide bowl or shallow pan for the flour mixture and a plate for the floured thighs.
- Have a heavy frying pan or cast-iron skillet ready, and measure out enough oil to come about ¼ to ½ inch up the side of the pan.
- Use a thermometer if you have one: maintain oil temperature around 325–350°F for even cooking.
Rewritten step-by-step instructions
Follow these steps in order to make the Fried Chicken using the exact ingredient amounts listed above.
- Prepare the chicken: Rinse the 8 medium chicken thighs with cold water and pat them thoroughly dry using paper towels. Removing surface moisture will help the flour adhere and result in a crispier crust.
- Make the seasoned flour: In a large shallow bowl or wide pan, combine 3 cups all purpose flour, 1 tablespoon black pepper, 1 tablespoon smoked paprika, and ½ tablespoon salt. Whisk the mixture thoroughly until the spices are distributed evenly and the flour looks uniform in color.
- Dredge the chicken: Working one piece at a time, press each chicken thigh into the seasoned flour, coating all sides. Shake off any excess flour and set the floured thighs on a plate or tray in a single layer. If you want an extra-thick crust, press the chicken into the flour mixture a second time and tap off the excess.
- Heat the oil: Pour vegetable or canola oil into a large frying pan so the oil depth is approximately ¼ to ½ inch, depending on the pan size. Place the pan over medium heat and warm the oil until it is hot but not smoking. If you have an instant-read thermometer, aim for a temperature between 325°F and 350°F. To test without a thermometer, drop a small pinch of flour into the oil — it should sizzle steadily and float up slowly.
- Fry the chicken in batches: Carefully add the floured chicken thighs to the hot oil in a single layer, leaving space between pieces to avoid crowding. Crowding drops the oil temperature and leads to oily, unevenly cooked crust. Fry the thighs for about 6–8 minutes per side, turning once with tongs, until the crust is deep golden brown and the internal temperature reads 165°F when measured at the thickest part without touching bone. Adjust the heat as needed to maintain an even fry temperature in the 325–350°F range.
- Drain and rest: Once cooked through and deeply golden, transfer the chicken to a wire rack set over a baking sheet or to a plate lined with paper towels to drain any excess oil. Let the chicken rest for 5 minutes before serving; this short rest time allows juices to settle and keeps the meat tender.
- Repeat until all thighs are cooked: Continue frying remaining pieces in batches, making sure the oil returns to the correct frying temperature between batches. If the oil darkens or has debris from the flour, skim it or strain and refresh with a small amount of fresh oil as needed.
Serving suggestions
This Fried Chicken shines with simple, classic sides. Here are a few ideas to round out your plate:
- Creamy mashed potatoes and a bright green salad for a comforting meal.
- Buttery corn on the cob and coleslaw for a picnic-style dinner.
- Warm biscuits and honey for a Southern-inspired spread.
- Serve with lemon wedges or a vinegar-based dipping sauce to cut through the richness.
Troubleshooting and tips
- For the crispiest skin, make sure the thighs are as dry as possible before dredging.
- Maintain a steady oil temperature: too cool and the coating absorbs oil; too hot and the crust will burn before the meat cooks through. Adjust the heat to keep the oil between 325–350°F.
- Use a heavy-bottomed skillet or cast iron for even heat distribution.
- If you prefer a spicier crust, add ½ to 1 teaspoon cayenne or a pinch more black pepper to the flour mixture. Keep the original amounts intact if you want the recipe exactly as written.
Make-ahead and storage
You can prepare the chicken up to the end of step 3 (dredged and resting on a plate) and refrigerate it for up to 24 hours before frying. Bring the coated chicken back to near room temperature before frying to promote even cooking. Leftover Fried Chicken stores well: keep it in an airtight container in the refrigerator for up to 3 days. Reheat in a 350°F oven on a wire rack over a baking sheet for 10–15 minutes until warmed through and the crust re-crisped.
Notes on ingredients
This recipe intentionally uses straightforward pantry staples: all purpose flour for a dependable crust, smoked paprika for warm, smoky flavor, and black pepper for a bright finish. The listed salt amount is moderate; taste your finished plate and add a sprinkle more if you desire. Vegetable or canola oil work well because they have high smoke points and neutral flavor, allowing the seasoned crust to shine.
Final thoughts
Good Fried Chicken is about the balance of textures and flavors: a crunchy, well-seasoned exterior surrounding juicy, tender meat. This recipe gives you that satisfying contrast with few ingredients and minimal fuss. Keep the steps simple, respect the oil temperature, and you’ll end up with a panful of golden thighs that disappear fast at the table.
Whether you serve it for a family dinner, a casual gathering, or as a special weekend treat, this Fried Chicken delivers classic flavor and texture with every bite. Enjoy the crispness, savor the spices, and take pride in a home-cooked skillet meal that tastes like a timeless favorite.
Fried Chicken
Ingredients
- 8 medium chicken thighs with skin
- 3 cups all-purpose flour
- 1 tablespoon black pepper
- 1 tablespoon smoked paprika
- 1/2 tablespoon salt
- vegetable or canola oil for frying (enough to reach about 1/4 inch in skillet)
Instructions
- Place the chicken thighs into a large gallon-size zip-top bag.
- Add the all-purpose flour, black pepper, smoked paprika, and salt to the bag, seal, and shake until each piece is evenly coated.
- Pour enough vegetable or canola oil into a large deep skillet to reach about 1/4 inch depth and heat over medium-high until shimmering.
- Carefully add the coated chicken to the hot oil and cook, turning as needed, until the pieces are light brown on all sides, about 10 minutes.
- Reduce heat to low, cover the skillet, and simmer the chicken 35 to 40 minutes, turning once or twice so it cooks evenly.
- During the last 5 minutes, remove the lid to allow the skin to crisp.
- Cook until the juices run clear and an instant-read thermometer inserted into the thickest part reads 165°F (74°C).
- Transfer the chicken to a paper towel–lined plate to drain before serving.
Equipment
- Large, deep skillet
- gallon-size zip-top bag
- Tongs
- Paper Towels
- Meat Thermometer
Notes
- If the pan cannot be sealed well, carefully add 1 to 2 tablespoons of water to the oil before covering.
- You can dredge the chicken in the flour mixture in a bowl instead of using a bag.
- The zip-top bag method is quicker and less messy for coating.