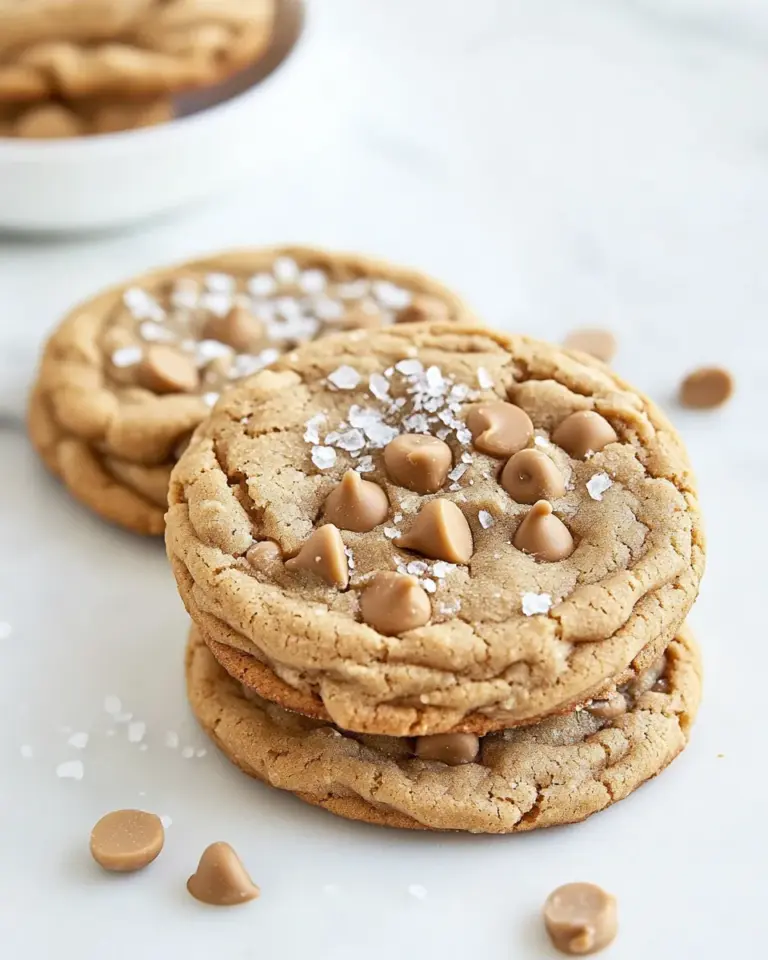
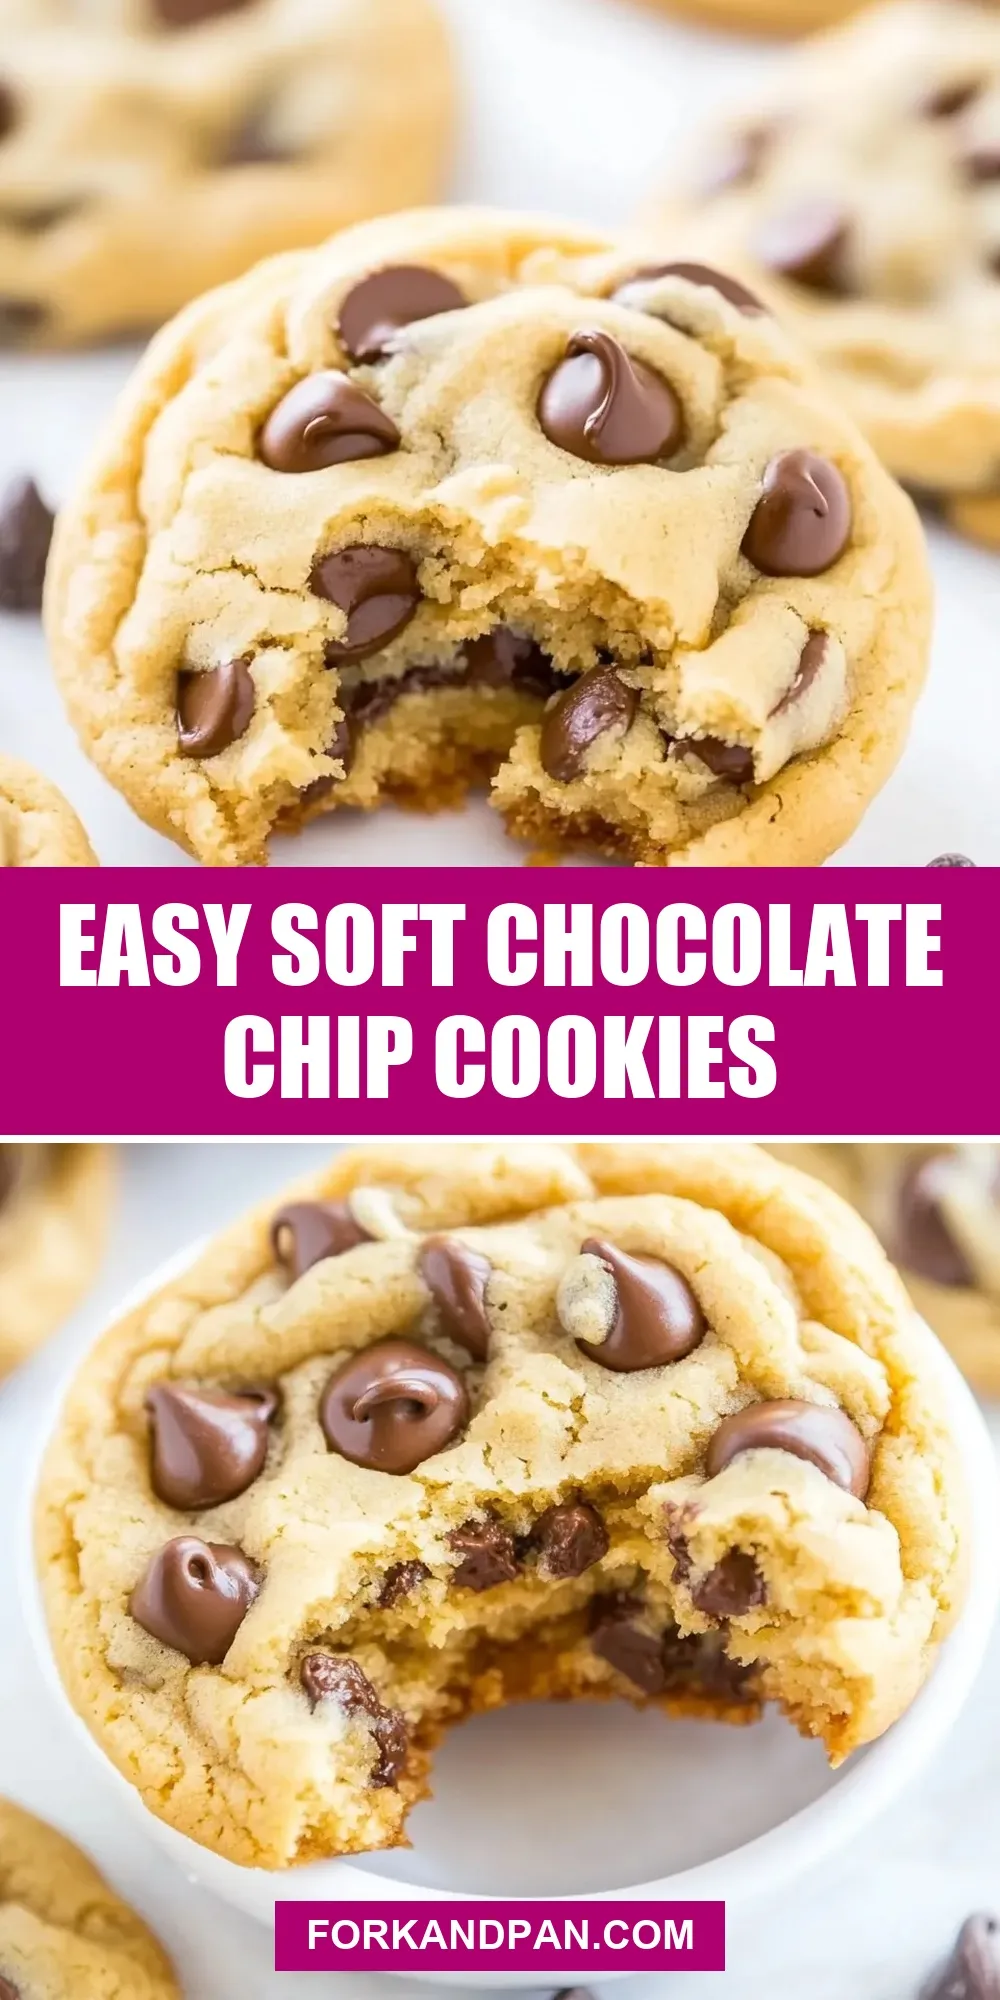
Easy Soft Chocolate Chip Cookies
These cookies are the kind I make when I want something reliably tender, lightly chewy, and chocolate-studded without fuss. They come together with a small handful of pantry staples, and the trick to the texture is simple: melt the butter and chill the dough. You don’t need fancy tools or a lot of time active in the kitchen; most of the work is hands-off while the dough rests.
I love that the dough can be portioned and chilled in advance—make it in the morning and bake fresh in the evening, or keep it ready in the fridge for several days. They hold up well and stay soft after baking if you follow the timing and the cooling step. If you’re baking for family, friends, or to take to a gathering, these cookies are the sort of dependable crowd-pleasers that disappear fast.
No complicated techniques here—just straightforward steps, a couple of small tips on chilling, and the exact bake times to aim for. I’ll walk you through what to gather, the precise recipe steps, common pitfalls, swaps for dietary needs, and answers to the questions I always get about keeping these soft and perfectly shaped.
What You’ll Gather

Ingredients
- ½ cup unsalted butter — melted to provide a soft, tender crumb and richer flavor; let cool slightly before mixing.
- 1 large egg — binds the dough and adds moisture for softness.
- ¾ cup light brown sugar, packed — the moisture and molasses in brown sugar help keep cookies soft and add depth.
- ¼ cup granulated sugar — balances sweetness and helps with a slight crisp at the edges.
- 2 teaspoons vanilla extract — key for warm, rounded flavor; use pure vanilla if you can.
- 1 ⅔ cups all-purpose flour — the structure for the cookies; measure by spooning into the cup and leveling for best results.
- 2 teaspoons cornstarch — a small addition that improves tenderness and gives a soft, slightly cakey center.
- 1 teaspoon baking soda — leavening that helps the cookies spread and rise properly.
- ½ teaspoon salt, or to taste — enhances all the flavors; reduce slightly only if using salted butter and preferring less salt.
- 1 cup semi-sweet chocolate chips, plus more for sprinkling — the chocolate pockets; adding a few on top before baking gives a bakery-style look.
Cook Soft Chocolate Chip Cookies Like This
- Place ½ cup unsalted butter in a large, microwave-safe bowl and microwave on high about 1 minute, until melted. Let the melted butter cool 1–2 minutes so it is warm but not hot.
- Add 1 large egg, ¾ cup packed light brown sugar, ¼ cup granulated sugar, and 2 teaspoons vanilla extract to the bowl with the butter. Whisk until smooth and combined.
- Add 1 ⅔ cups all-purpose flour, 2 teaspoons cornstarch, 1 teaspoon baking soda, and ½ teaspoon salt to the wet mixture. Stir with a spoon or spatula until the dry ingredients are just incorporated; the dough may seem crumbly and a bit oily—that is normal.
- Fold in 1 cup semi-sweet chocolate chips until distributed through the dough.
- Using a large cookie scoop, a 1/4-cup measure, or your hands, portion the dough into approximately 11 equal mounds. Roll each mound into a ball and gently flatten each ball to about half its height.
- Press a few additional chocolate chips onto the top of each dough mound for a nice appearance, if desired (you have “plus more for sprinkling” in the ingredients).
- Arrange the dough mounds on a large plate or tray so they do not touch. Cover the tray tightly with plastic wrap.
- Refrigerate the covered dough for at least 4 hours and up to 5 days. Do not bake the cookies with unchilled dough, or they will spread too much.
- When ready to bake, preheat the oven to 350°F. Line a baking sheet with a silicone baking mat or parchment paper, or lightly grease the sheet with cooking spray.
- Place the chilled dough mounds on the prepared baking sheet, spacing them at least 2 inches apart (one half-sheet pan fits about 8 cookies per sheet). Bake for about 12–14 minutes, or until the edges are set and the tops are just set—still slightly pale and glossy in the center. If your cookies are smaller than the 1/4-cup size, reduce the baking time.
- Remove the baking sheet from the oven and allow the cookies to cool on the baking sheet for about 10 minutes before serving. The cookies will firm up as they cool.
Why You’ll Love This Recipe
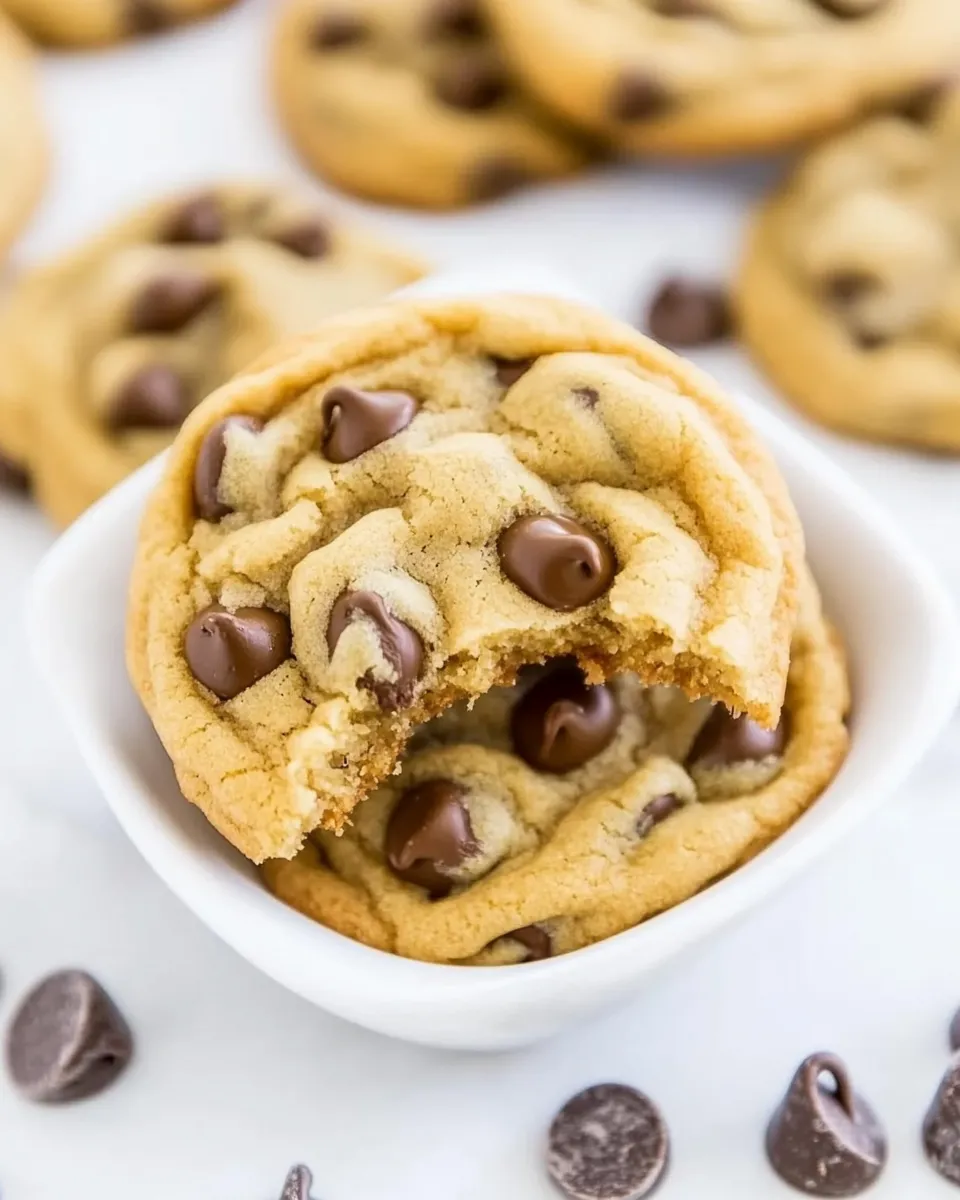
These cookies hit the sweet spot: a tender, soft center with slightly set edges, a glossy top when they come out of the oven, and pockets of melty chocolate. The method is forgiving—melting the butter simplifies mixing and chilling the dough controls spread. That combination means you get consistent results even if you’re not an expert baker.
The dough holds in the fridge for several days, which makes these perfect for planning ahead. Portion once and bake as needed so every batch is fresh. Finally, the ingredient list is short and pantry-friendly, so they’re a great go-to for last-minute baking when expectations are high and time is not.
Dairy-Free/Gluten-Free Swaps
- For dairy-free: use a 1:1 dairy-free butter substitute that’s solid at room temperature and melt it the same way; brands labeled for baking work best.
- For gluten-free: swap the all-purpose flour for a cup-for-cup gluten-free baking blend that contains xanthan gum; check the blend’s instructions if it requires adjustments.
- Chocolate chips: use dairy-free or certified gluten-free chocolate chips as needed—look for high-quality chips for best flavor.
- Note: baking time may vary slightly with swaps—watch for the edges to set and the centers to remain slightly glossy.
Kitchen Gear Checklist
- Large microwave-safe bowl (or small saucepan if you prefer to melt butter on the stove)
- Whisk and spatula or sturdy spoon
- Measuring cups and spoons (accurate dry measuring cups are helpful)
- Large cookie scoop or 1/4-cup measure for portioning
- Baking sheets and silicone baking mat or parchment paper
- Plastic wrap or an airtight container for chilling
- Cooling rack (helpful but not required—cookies can cool on the sheet)
Frequent Missteps to Avoid
- Skipping the chill: unchilled dough will spread too much and you’ll lose the soft center. Give the dough at least 4 hours in the fridge.
- Overbaking: take cookies out when the edges are set and the centers are still slightly pale and glossy; they firm up while cooling.
- Using hot melted butter: let the melted butter cool 1–2 minutes so it’s warm, not hot—too hot can cook the egg.
- Incorrect flour measurement: scoop and level or spoon into the cup instead of packing flour down, which can lead to dry, dense cookies.
Health-Conscious Tweaks
- Reduce sugar: you can cut the granulated sugar slightly (try 2–3 tablespoons less) without drastically changing texture; brown sugar is doing most of the moisture work.
- Smaller portions: use a smaller scoop and bake 8–10 minutes less to get a smaller cookie with fewer calories per piece.
- Dark chocolate: swap semi-sweet chips for 60–70% dark chocolate chips to reduce sugar and add antioxidants.
- Add-ins: fold in a few tablespoons of chopped nuts for protein and texture, but note this changes the cookie profile from the original.
If You’re Curious
Why cornstarch?
Cornstarch is a small but purposeful addition. It tenderizes the crumb and helps create that soft, slightly cakey interior that contrasts nicely with set edges.
Why chill the dough?
Chilling solidifies the fats and hydrates the flour. Solid fats spread less during baking, and the resting time allows the flour to absorb moisture, which keeps the center soft instead of thin and crisp.
Appearance tips
Pressing a few extra chips on top of each dough mound just before baking makes the cookies look bakery-made. If you like glossy tops, don’t overbake—remove while centers look a little shiny.
Prep Ahead & Store
Make the dough, portion it into mounds, and chill tightly covered for at least 4 hours and up to 5 days. This is perfect for weekday planning—bake a few fresh cookies each night without going back to the mixing bowl.
Freezing: portion the dough onto a tray, freeze until solid, then transfer dough balls to a freezer-safe bag for up to 3 months. Bake from frozen—add 1–2 minutes to the bake time and maybe a minute or two more depending on size.
Storing baked cookies: keep cooled cookies in an airtight container at room temperature for up to 4 days. For longer storage, freeze baked cookies between layers of parchment.
Soft Chocolate Chip Cookies Q&A
Can I use browned butter?
Yes—brown the butter first if you want a nutty, caramel-like note. Let it cool enough so it’s warm but not hot before mixing with the egg. The texture will be similar, though the flavor will be deeper.
My cookies came out flat—what happened?
Most likely the dough wasn’t chilled long enough or the butter was too hot when mixed with the egg. Make sure to chill the dough at least 4 hours and let melted butter cool 1–2 minutes before mixing.
How do I keep them soft longer?
Store cookies with a slice of bread or a piece of apple in the airtight container—these give up moisture and help keep cookies soft (replace daily as needed). Avoid airtight storage immediately while cookies are still warm, which can create steam and change texture.
Can I halve the recipe?
Yes—these amounts scale down neatly. Follow the same steps and chilling time; smaller batches may chill slightly faster but still benefit from at least 4 hours.
Ready to Cook?
You’ve got everything you need: a small list of pantry staples, a short chilling window, and clear bake timing. The two non-negotiable parts are chilling the dough and removing the cookies while the centers are still slightly glossy. Follow those, and you’ll have soft, irresistible chocolate chip cookies every time.
Make a batch this week. Portion the dough, stash it in the fridge, and bake fresh cookies whenever the craving hits. If you try any swaps or tricks, I’d love to hear what worked for you—there’s always one small tweak that makes a recipe even better for your kitchen.

Easy Soft Chocolate Chip Cookies
Ingredients
Ingredients
- 1/2 cupunsalted butter
- 1 large egg
- 3/4 cuplight brown sugar packed
- 1/4 cupgranulated sugar
- 2 teaspoonsvanilla extract
- 1 2/3 cupsall-purpose flour
- 2 teaspoonscornstarch
- 1 teaspoonbaking soda
- 1/2 teaspoonsalt or to taste
- 1 cupsemi-sweet chocolate chips plus more for sprinkling
Instructions
Instructions
- Place ½ cup unsalted butter in a large, microwave-safe bowl and microwave on high about 1 minute, until melted. Let the melted butter cool 1–2 minutes so it is warm but not hot.
- Add 1 large egg, ¾ cup packed light brown sugar, ¼ cup granulated sugar, and 2 teaspoons vanilla extract to the bowl with the butter. Whisk until smooth and combined.
- Add 1 ⅔ cups all-purpose flour, 2 teaspoons cornstarch, 1 teaspoon baking soda, and ½ teaspoon salt to the wet mixture. Stir with a spoon or spatula until the dry ingredients are just incorporated; the dough may seem crumbly and a bit oily—that is normal.
- Fold in 1 cup semi-sweet chocolate chips until distributed through the dough.
- Using a large cookie scoop, a 1/4-cup measure, or your hands, portion the dough into approximately 11 equal mounds. Roll each mound into a ball and gently flatten each ball to about half its height.
- Press a few additional chocolate chips onto the top of each dough mound for a nice appearance, if desired (you have “plus more for sprinkling” in the ingredients).
- Arrange the dough mounds on a large plate or tray so they do not touch. Cover the tray tightly with plastic wrap.
- Refrigerate the covered dough for at least 4 hours and up to 5 days. Do not bake the cookies with unchilled dough, or they will spread too much.
- When ready to bake, preheat the oven to 350°F. Line a baking sheet with a silicone baking mat or parchment paper, or lightly grease the sheet with cooking spray.
- Place the chilled dough mounds on the prepared baking sheet, spacing them at least 2 inches apart (one half-sheet pan fits about 8 cookies per sheet). Bake for about 12–14 minutes, or until the edges are set and the tops are just set—still slightly pale and glossy in the center. If your cookies are smaller than the 1/4-cup size, reduce the baking time.
- Remove the baking sheet from the oven and allow the cookies to cool on the baking sheet for about 10 minutes before serving. The cookies will firm up as they cool.
Equipment
- Microwave-safe bowl
- Whisk
- Spoon or Spatula
- Large Bowl
- cookie scoop or 1/4-cup measure
- Baking Sheet
- silicone baking mat or parchment paper
- Plastic Wrap
- Refrigerator
- Oven
Notes
Cookies will keep airtight at room temperature for up to 1 week or in the freezer for up to 6 months. Alternatively, unbaked cookie dough can be stored in an airtight container in the refrigerator for up to 5 days, or in the freezer for up to 4 months, so consider baking only as many cookies as desired and save the remaining dough to be baked in the future when desired. If baking straight from freezer with frozen dough, you don’t have to thaw it. Bake straight from freezer, possibly adding 1 to 2 minutes to baking time if necessary.