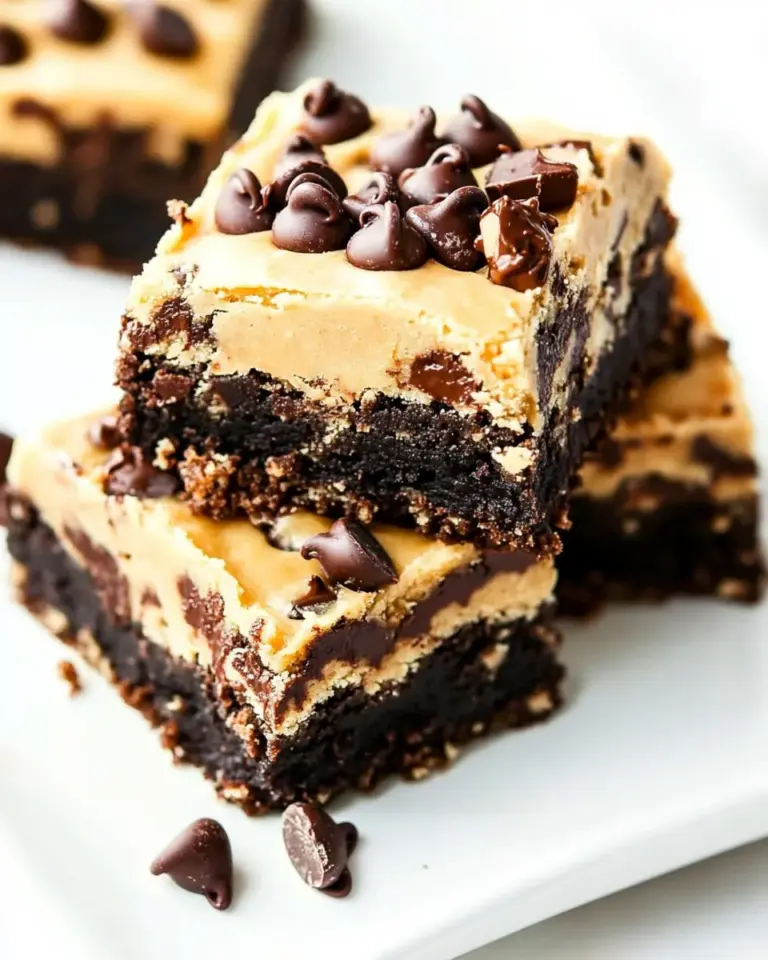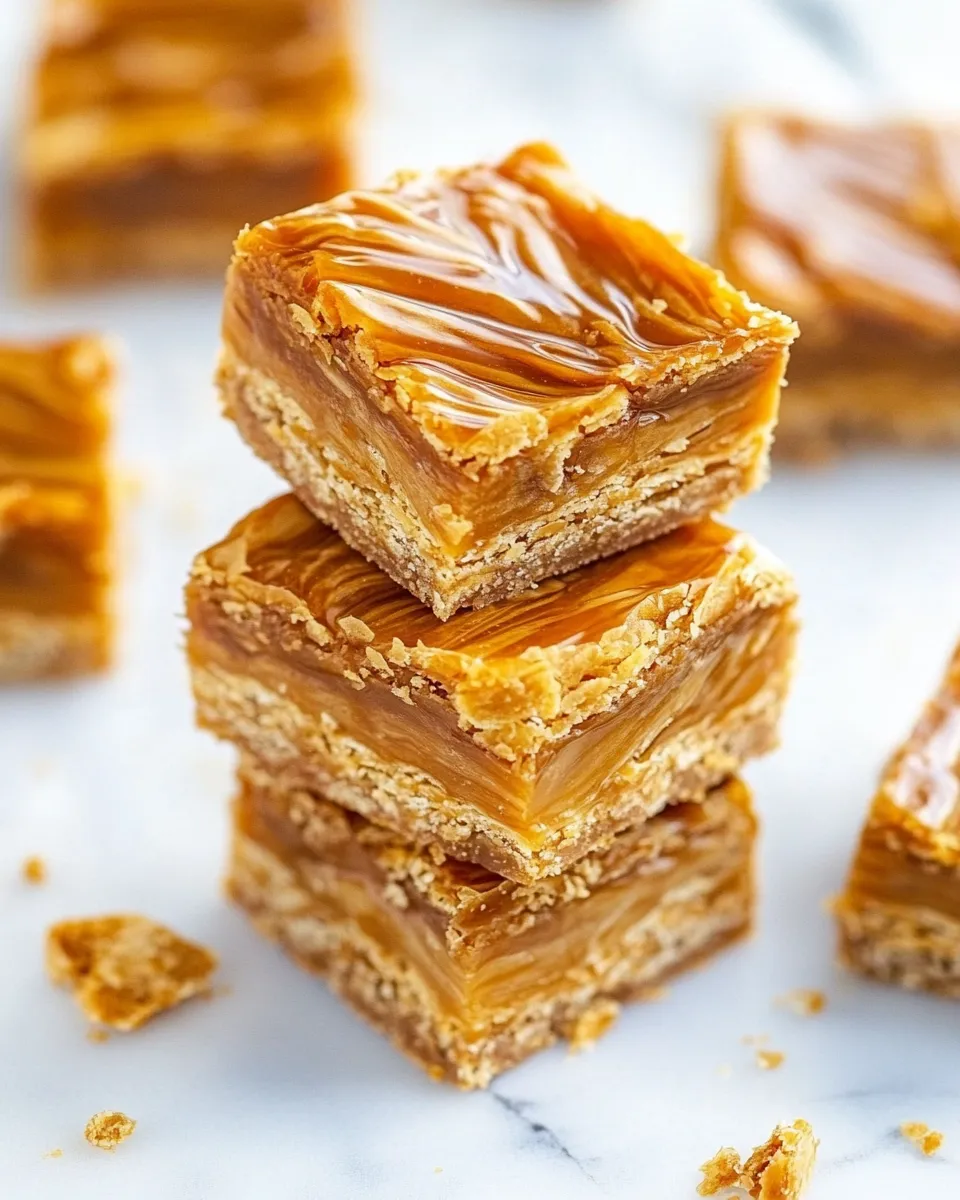
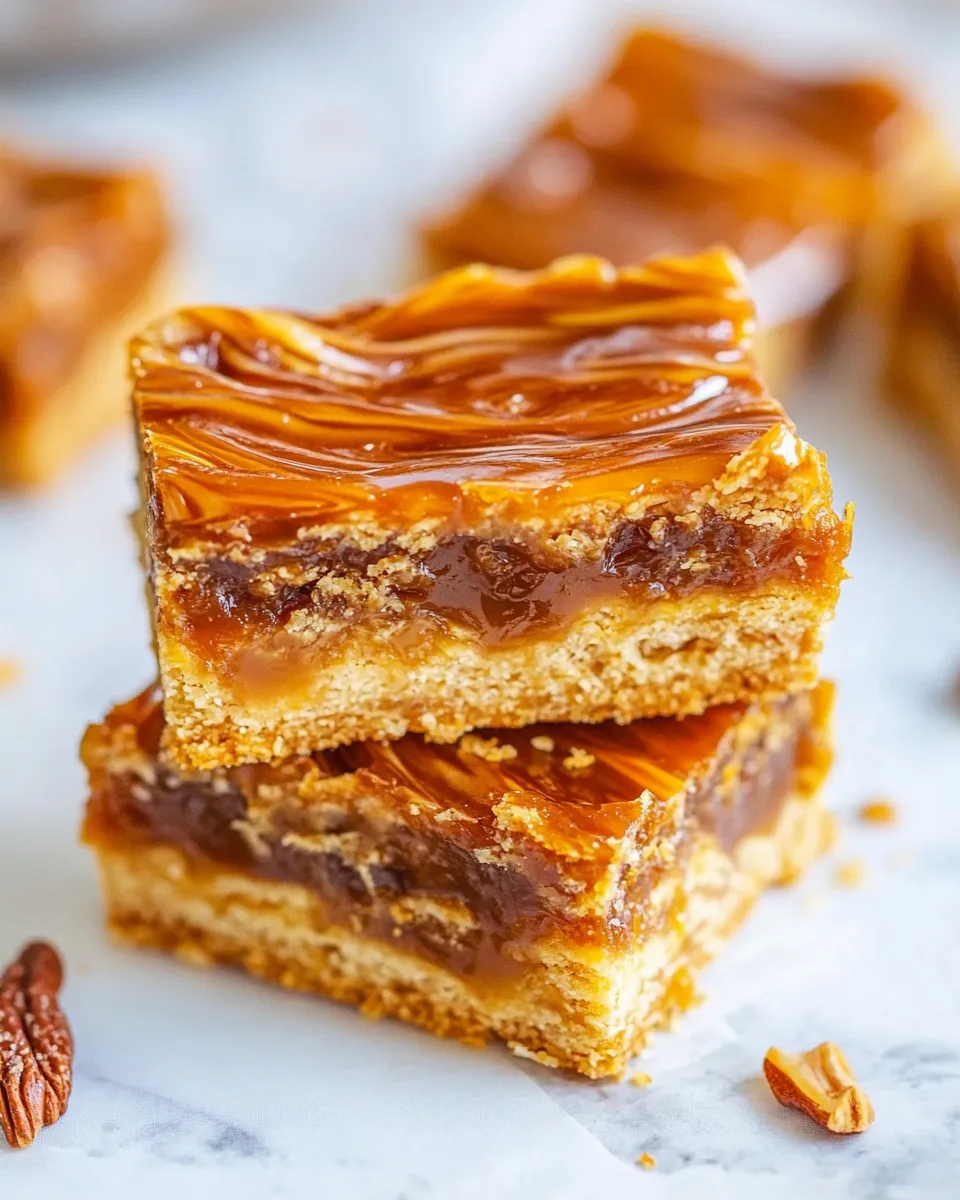
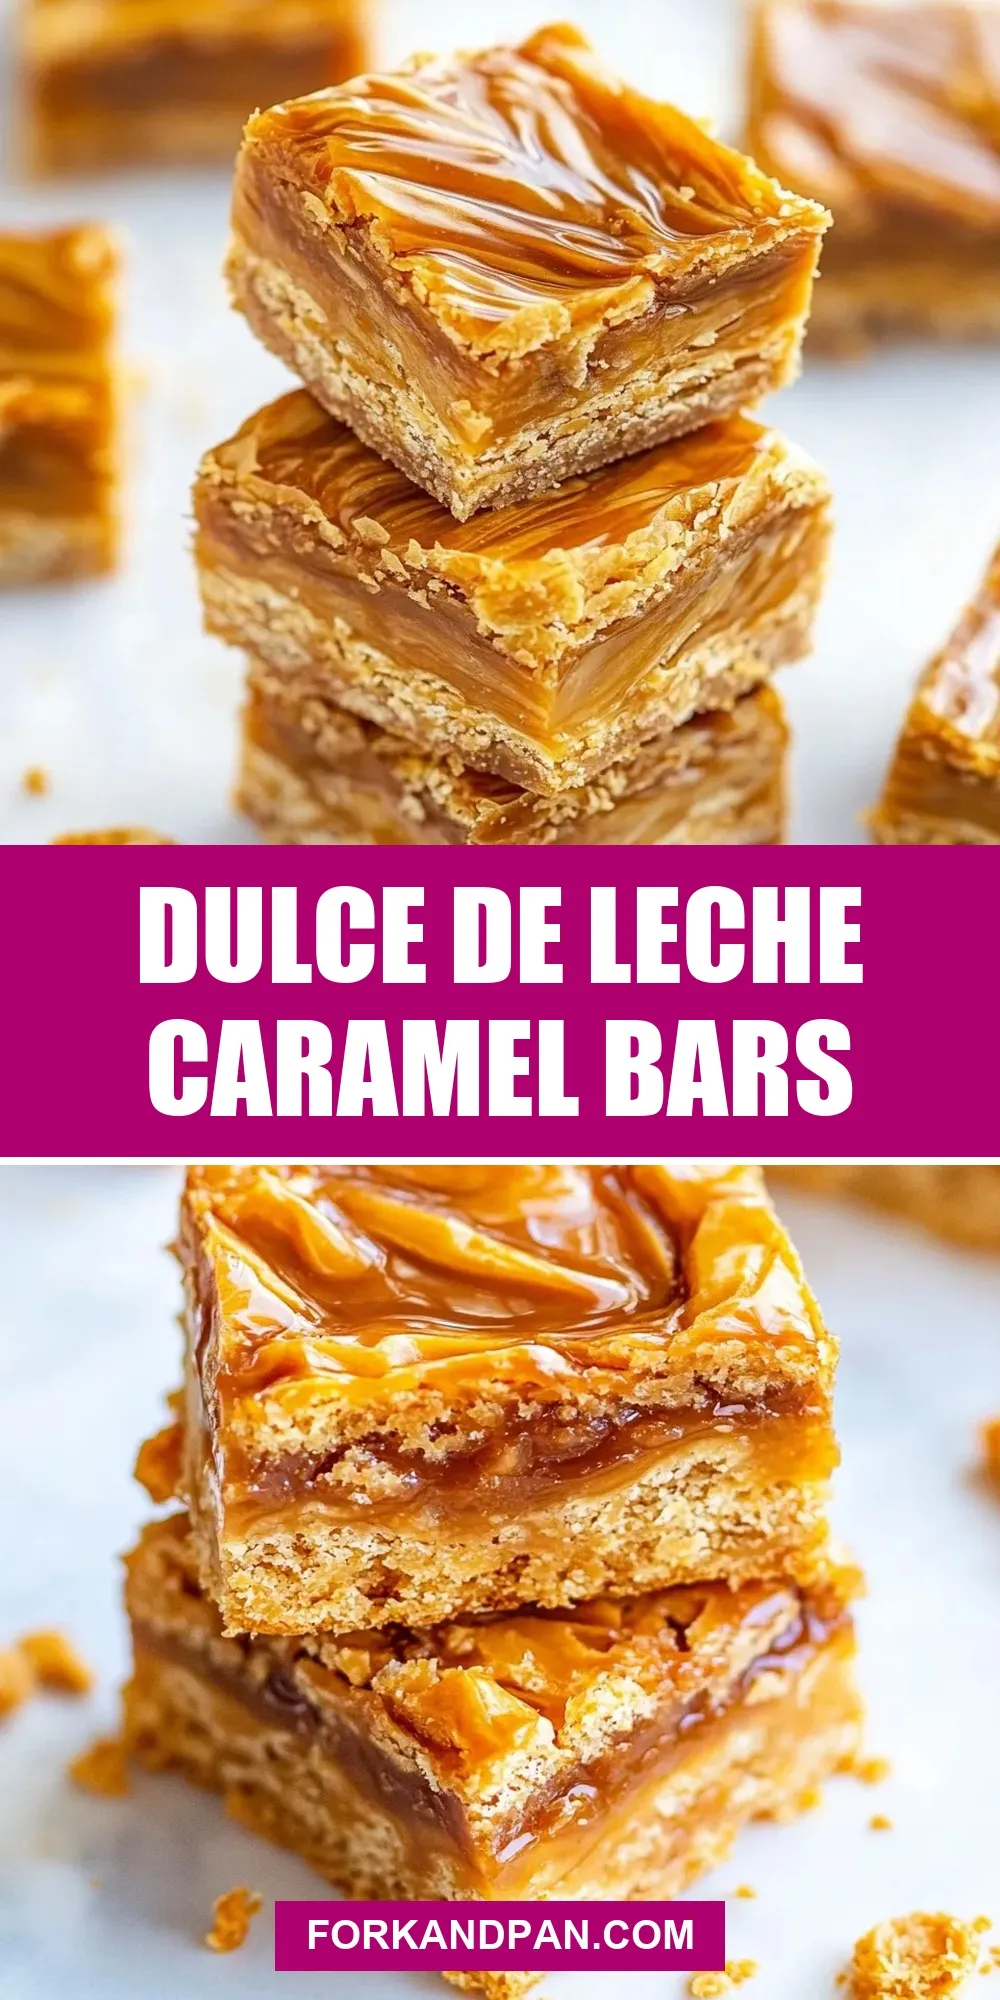
Dulce de Leche Caramel Bars
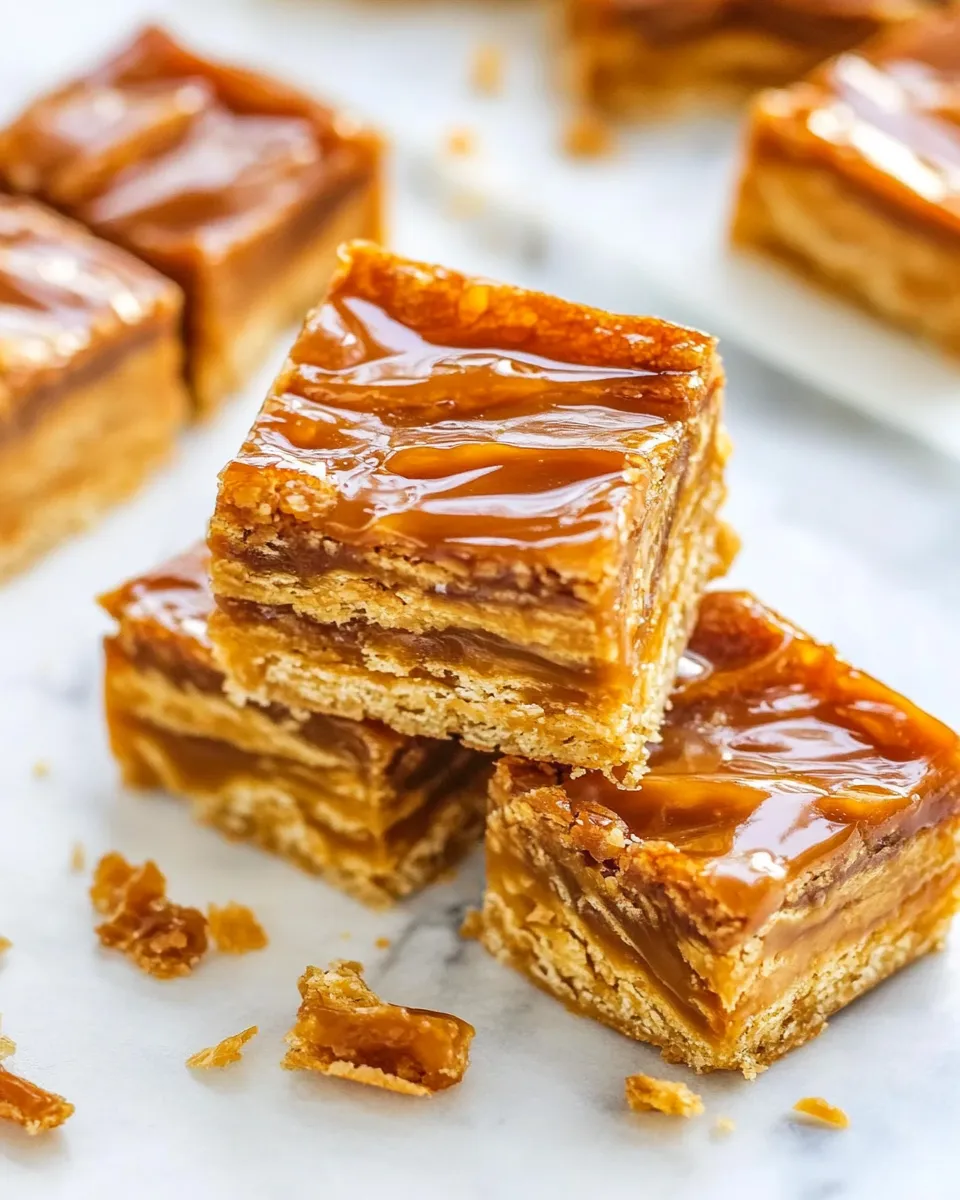
These bars are exactly what you reach for when you want something sturdy, sweet, and impossibly chewy—without a fuss. A dense, buttery base studded with halved Rolo candies and threaded with dollops of dulce de leche becomes a marbled, caramel-forward slab that slices into generous, crowd-pleasing bars. They feel special, but they’re straightforward to make.
I’ve written this recipe for people who want dependable results. Measure, mix, and bake; the trickiest parts are unwrapping candies and waiting for the slab to cool. The payoff is worth every minute: warm, caramel pockets in a tender, cake-like bar.
Below you’ll find a clear ingredients list, step-by-step instructions straight from the recipe, shopping and tool tips, troubleshooting advice, and a few serving ideas. Read the notes, follow the steps, and you’ll have dessert everyone asks for again.
Ingredients

- 1 cup unsalted butter (2 sticks), softened — provides fat and tenderness; use softened, not melted, for proper creaming.
- 2 large eggs — bind and add structure; bring to room temperature for even mixing.
- 2 cups light brown sugar, packed — adds sweetness and moisture; packing keeps measurements consistent.
- 1 tablespoon vanilla extract — rounds the flavor and complements the caramel.
- 2 cups all-purpose flour — the base structure for the bars; spoon and level for accuracy.
- 1 teaspoon baking powder — a small lift so the bars aren’t flat; measure carefully.
- ½ teaspoon salt, or to taste — balances sweetness; use less if using salted butter.
- 30 Rolo candies, unwrapped and halved — little pockets of chocolate-covered caramel; unwrapping is the slow part but essential.
- half of one 13.4-ounce can dulce de leche — the caramel swirl; dolloped and lightly swirled into the batter for marbling.
Your Shopping Guide
Buy the dulce de leche in a 13.4-ounce can and plan to use half. Many grocery stores carry it in the international aisle, near Latin foods, or in the baking section. If you can’t find canned dulce de leche, check the caramel sauces aisle—though texture and concentration can vary.
Rolo candies are the sweet little anchors in this recipe. Buy a small extra bag to account for breakage when unwrapping and halving. Choose light brown sugar (not dark) to keep the topping and batter flavor balanced as written.
For butter, pick unsalted and bring it to room temperature before starting. Buying real butter (not spreads) improves both flavor and texture. If you don’t own a stand mixer, a sturdy hand mixer works fine; the recipe accommodates either.
How to Prepare Dulce de Leche Caramel Bars
- Preheat the oven to 350°F. Line a 9×13-inch baking pan with aluminum foil, spray the foil with cooking spray, and set the pan aside.
- In the bowl of a stand mixer fitted with the paddle attachment (or in a large mixing bowl using a hand mixer), add the softened butter. Beat on medium-high until light and creamy, about 90 seconds, scraping down the bowl once.
- Add the eggs, packed light brown sugar, and vanilla extract to the butter. Beat until the mixture is smooth and well combined, stopping to scrape the sides and bottom of the bowl as needed.
- Add the all-purpose flour, baking powder, and salt. Mix on low speed (or stir with a spatula) just until the dry ingredients are incorporated and no large streaks of flour remain. Do not overmix.
- Ensure the 30 Rolo candies are unwrapped and halved (as listed). Gently fold the halved Rolos into the batter with a spatula until they are evenly distributed.
- Turn the thick batter into the prepared pan and smooth the top as best you can with an offset spatula or the back of a spoon. The batter will be dense and may resist spreading.
- Spoon half of the can of dulce de leche into ping-pong-ball-sized dollops evenly across the surface of the batter.
- Use the back of a spoon to lightly swirl the dulce de leche into the batter in a back-and-forth or figure-eight pattern to create a marbled top. Do not over-swirl.
- Bake in the preheated oven for about 30 minutes, or until a toothpick inserted into the center comes out with a few moist crumbs but no raw batter.
- Remove the pan from the oven and cool on a wire rack until the bars are set, about 2 hours. Use the foil to lift the slab from the pan, then slice into bars and serve.
Reasons to Love Dulce de Leche Caramel Bars
- Effort-to-result ratio: minimal technique, maximum reward. Cream the butter, fold, swirl, bake—no tempering or complicated steps.
- Textural contrast: a tender, slightly dense base with molten caramel pockets and the occasional chocolate chew from the Rolos.
- Make-ahead friendly: they hold up well for slicing and serving at gatherings and transport easily to potlucks.
- Comforting, familiar flavors: buttery cake, brown sugar depth, milk chocolate, and rich caramel combine into a universally appealing bar.
Ingredient Swaps & Substitutions
If you need to adapt, here are practical options that won’t derail the recipe’s structure:
- Butter: If you only have salted butter, reduce the added salt or omit it entirely. The recipe calls for unsalted to control seasoning.
- Rolos: If you can’t find Rolos, use any milk-chocolate-covered caramel candy of similar size. Halve the candies so they integrate into the batter more evenly.
- Dulce de leche: If canned dulce de leche isn’t available, a thick caramel sauce can work in a pinch, but the flavor will be less caramelized and possibly thinner; reduce swirl quantity if it’s runny.
- Flour: Stick to all-purpose flour for structure. This recipe is balanced for AP; swapping in whole wheat or gluten-free blends will change texture and may require adjustments not listed here.
Toolbox for This Recipe
- Stand mixer with paddle attachment (preferred) or a hand mixer and a large bowl
- 9×13-inch baking pan lined with aluminum foil
- Cooking spray
- Offset spatula or sturdy spoon for smoothing
- Wire rack for cooling
- Sharp knife and cutting board for slicing
- Toothpick or cake tester to check doneness
Watch Outs & How to Fix
- Too dense or gummy center: underbaking is the usual culprit. If the toothpick comes out with wet batter, bake an additional 3–5 minutes and recheck. Remember ovens vary—start checking at 25 minutes.
- Rolos sink to the bottom: halving the Rolos helps distribute them, but if they still sink, gently press them into the batter after smoothing to counteract sinking before baking.
- Swirl looks messy or blends in completely: use gentle, shallow figure-eights with the back of a spoon. Over-swirl and the marble effect disappears—aim for visible ribbons.
- Dulce de leche runs too much: if your dulce de leche is very loose, chill it briefly to thicken before dolloping. Less swirl also keeps it from puddling.
- Bars crumble when cut: make sure the slab has cooled and set fully—about 2 hours on a wire rack—before lifting and slicing. Warm bars will be unstable.
Seasonal Spins
These bars adapt nicely to holidays and seasonal flavors without changing the core method. Add a sprinkle of flaky sea salt on top for contrast during winter gatherings. For fall, fold a teaspoon of ground cinnamon and a quarter teaspoon of nutmeg into the dry ingredients for a subtle spice note. In summer, serve bars at room temperature with small scoops of vanilla ice cream for a simple, bright dessert.
Author’s Commentary
I keep a sleeve of Rolos in the pantry just for recipes like this—small, dependable, and they melt into delightful caramel islands. My family appreciates desserts that travel well, and these bars do exactly that. They’re portable, forgiving to slice ahead of time, and they taste richer the next day as the flavors settle.
One practical note: unwrapping the Rolos is tedious but oddly satisfying. Use a small bowl for unwrapped halves, and enlist a helper if you’re making a big batch. Also, when I’m short on time, I’ll unwrap the Rolos while the butter softens—two small tasks that overlap the prep and make the process feel faster.
Shelf Life & Storage
- Room temperature: If your kitchen is cool (under 70°F), store bars in an airtight container for up to 24–48 hours. Warm kitchens can soften the dulce de leche and chocolate.
- Refrigerator: Store in an airtight container for up to 5 days. Chilled bars slice neater but let them come to room temperature for a few minutes before serving for the best flavor.
- Freezer: Wrap the slab tightly in plastic wrap and foil or store slices in a freezer-safe container for up to 2 months. Thaw overnight in the refrigerator, then bring to room temperature before serving.
Dulce de Leche Caramel Bars Q&A
- Q: Can I make these in advance? A: Yes. Bake, cool completely, then wrap or store in the fridge. They actually slice cleaner after chilling.
- Q: Can I halve the recipe? A: You can, but you’ll need a smaller pan and shorter bake time—watch closely and use the toothpick test.
- Q: What if my dulce de leche is too thick? A: If it’s very stiff, warm it briefly (in a warm water bath with the can unopened is safest until you open it) so you can dollop it easily.
- Q: Can children help? A: Absolutely. Kids can unwrap and halve Rolos and scoop the dulce de leche dollops while adults handle the oven work.
Bring It to the Table
Cut into generous bars and arrange on a simple platter for casual gatherings. A light dusting of powdered sugar adds a pretty finish, but these bars are showy on their own thanks to the visible caramel ribbons and chocolate bits. Pair with coffee or a robust tea—both complement the brown-sugar and caramel notes.
For a dessert plate, serve a warm bar with a small scoop of vanilla ice cream and a drizzle of extra dulce de leche or a few flakes of sea salt. The contrast of temperature and texture makes the bars feel elevated with very little extra effort.
Dulce de Leche Caramel Bars
Ingredients
Ingredients
- 1 cupunsalted butter 2 sticks, softened
- 2 large eggs
- 2 cupslight brown sugar packed
- 1 tablespoonvanilla extract
- 2 cupsall-purpose flour
- 1 teaspoonbaking powder
- 1/2 teaspoonsalt or to taste
- 30 Rolo candies unwrapped and halved
- half of one 13.4-ounce can dulce de leche
Instructions
Instructions
- Preheat the oven to 350°F. Line a 9x13-inch baking pan with aluminum foil, spray the foil with cooking spray, and set the pan aside.
- In the bowl of a stand mixer fitted with the paddle attachment (or in a large mixing bowl using a hand mixer), add the softened butter. Beat on medium-high until light and creamy, about 90 seconds, scraping down the bowl once.
- Add the eggs, packed light brown sugar, and vanilla extract to the butter. Beat until the mixture is smooth and well combined, stopping to scrape the sides and bottom of the bowl as needed.
- Add the all-purpose flour, baking powder, and salt. Mix on low speed (or stir with a spatula) just until the dry ingredients are incorporated and no large streaks of flour remain. Do not overmix.
- Ensure the 30 Rolo candies are unwrapped and halved (as listed). Gently fold the halved Rolos into the batter with a spatula until they are evenly distributed.
- Turn the thick batter into the prepared pan and smooth the top as best you can with an offset spatula or the back of a spoon. The batter will be dense and may resist spreading.
- Spoon half of the can of dulce de leche into ping-pong-ball-sized dollops evenly across the surface of the batter.
- Use the back of a spoon to lightly swirl the dulce de leche into the batter in a back-and-forth or figure-eight pattern to create a marbled top. Do not over-swirl.
- Bake in the preheated oven for about 30 minutes, or until a toothpick inserted into the center comes out with a few moist crumbs but no raw batter.
- Remove the pan from the oven and cool on a wire rack until the bars are set, about 2 hours. Use the foil to lift the slab from the pan, then slice into bars and serve.
Equipment
- 9x13 inch baking pan
- Aluminum Foil
- Cooking Spray
- Stand mixer or hand mixer
- Paddle Attachment
- Mixing Bowl
- Spatula
- Offset Spatula
- Wire Rack
- toothpick
Notes
Storage:
Bars will keep airtight at room temp for up to 1 week.