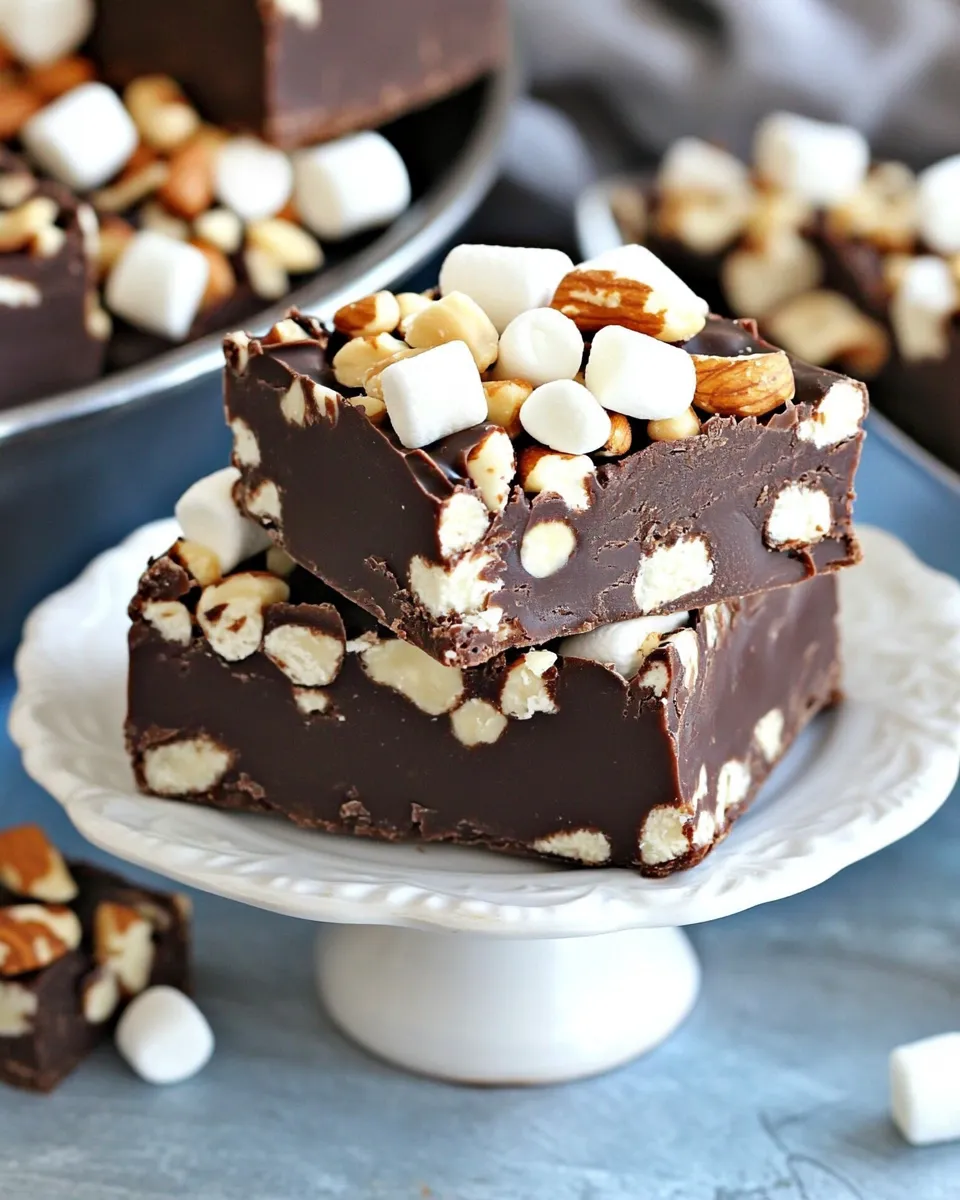
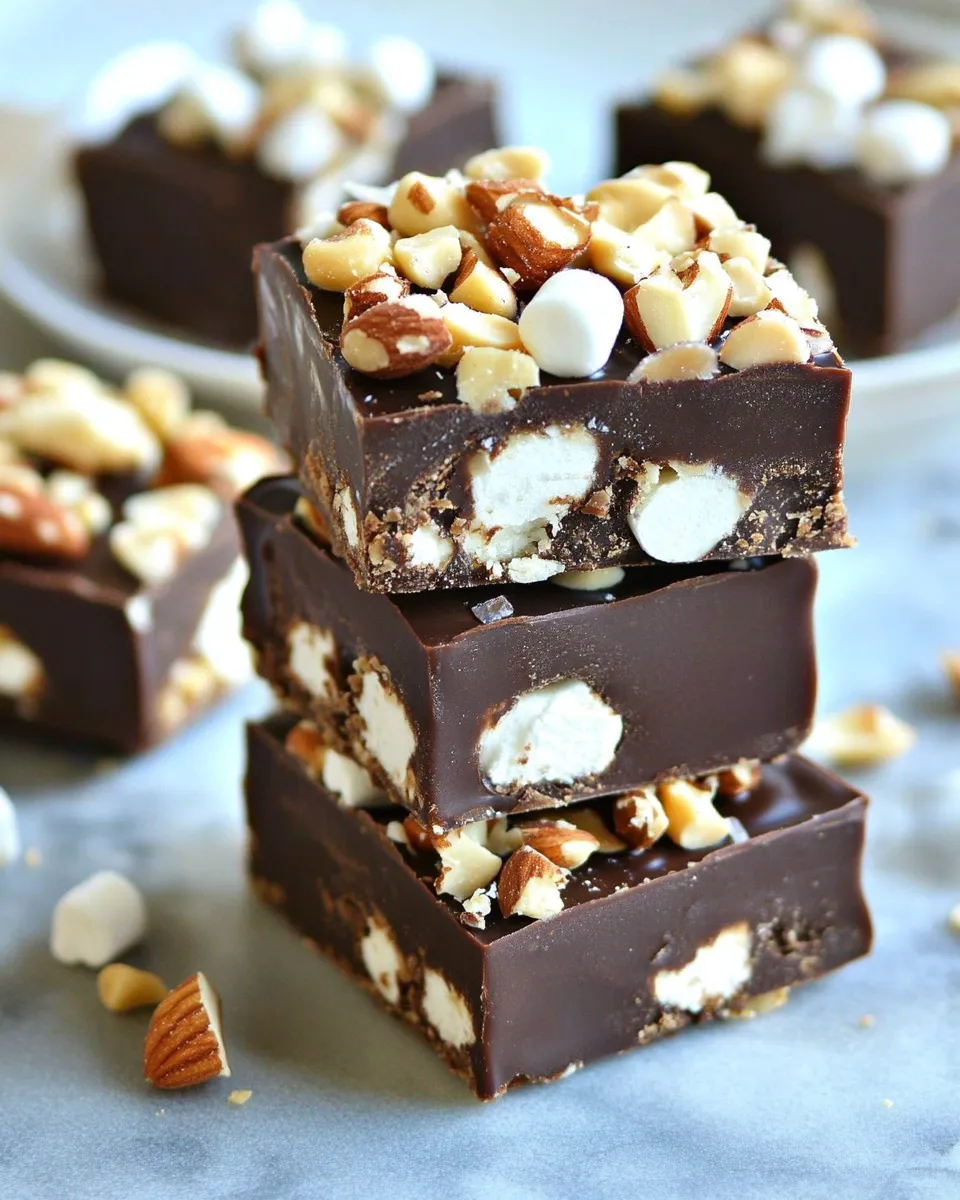
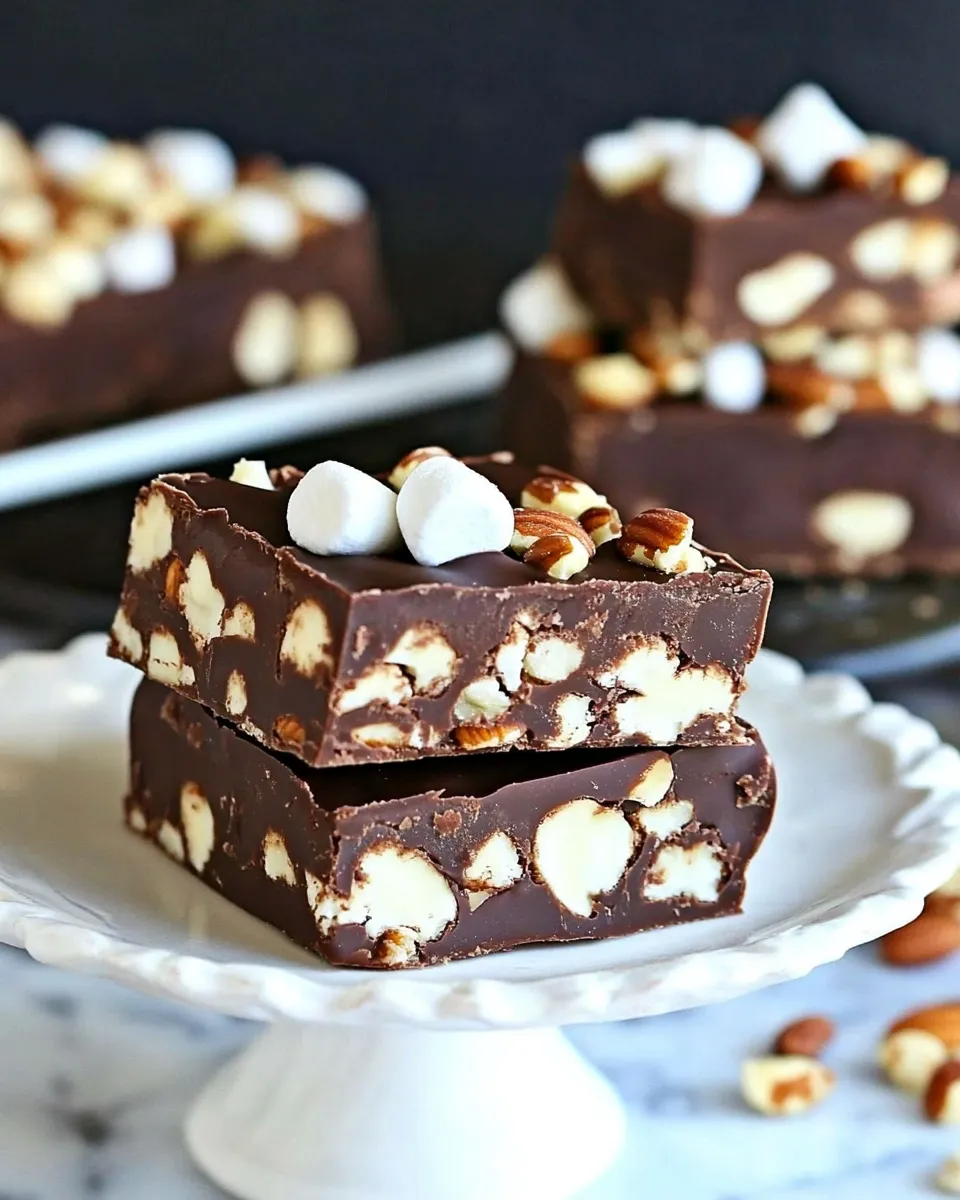
Dark Chocolate Marshmallow Nut Fudge Bars
These Dark Chocolate Marshmallow Nut Fudge Bars are a no-bake, textural delight: a crisp base of vanilla wafer crumbs and crispy rice, studded with peanut butter chips and pecans, wrapped in a glossy layer of melted dark chocolate and little marshmallow pockets. They’re the kind of treat you can make in an afternoon, chill, slice, and hand around at a gathering without fuss.
I like them because they balance deep chocolate with playful marshmallow and crunchy nuts. The recipe is straightforward, the technique forgiving, and the panful keeps well in the fridge for easy snacking. Read through the ingredients and the directions once, then work steadily—the steps are short, and the results are worth the small effort.
What Goes Into Dark Chocolate Marshmallow Nut Fudge Bars

Ingredients
- 1 cup bittersweet chips or dark chocolate chips — the main melted chocolate that binds and tops the bars; bittersweet gives a richer, less sweet finish.
- 1/2 cup evaporated milk — added to the chocolate when melting to create a smooth, spreadable ganache-like texture.
- 20 vanilla wafers, crushed — provides the cookie crumb base and a mild vanilla crunch.
- 1/2 cup crispy rice cereal — adds light, airy crunch for texture contrast.
- 3 tbsp powdered sugar — helps bind the dry mix and adds a touch of sweetness to balance the dark chocolate.
- 3/4 cup miniature marshmallows — little pockets of chew and sweetness inside the bars; they soften slightly but keep shape.
- 1/2 cup peanut butter chips — peanut butter chips for pockets of nutty-sweet flavor (can replace with chocolate, butterscotch, etc.).
- 1/3 cup pecans, chopped — toasted or raw chopped pecans for crunch and richness (or walnuts or almonds or any nut you like).
Directions: Dark Chocolate Marshmallow Nut Fudge Bars
- Line an 8-inch square pan with parchment paper, leaving an overhang on two sides for easy removal; set aside.
- Put 1 cup bittersweet (or dark) chocolate chips and 1/2 cup evaporated milk in a microwave-safe bowl. Heat in the microwave in 15-second increments, stirring after each increment, until the mixture is smooth.
- In a medium bowl combine 20 crushed vanilla wafers, 1/2 cup crispy rice cereal, 3 tablespoons powdered sugar, 3/4 cup miniature marshmallows, 1/2 cup peanut butter chips, and 1/3 cup chopped pecans.
- Pour about half of the melted chocolate mixture into the bowl with the dry ingredients and stir until everything is evenly coated. Reserve the remaining melted chocolate.
- Transfer the coated mixture into the prepared pan and press it firmly and evenly into an even layer.
- Pour the reserved melted chocolate over the top of the pressed mixture and use an offset spatula or the back of a spoon to smooth it into an even top layer.
- Refrigerate the pan until the chocolate is fully set, about 1 to 2 hours.
- Use the parchment overhang to lift the fudge slab from the pan, place on a cutting board, cut into squares, and serve.
The Upside of Dark Chocolate Marshmallow Nut Fudge Bars
These bars are no-bake and mostly assembly—no stovetop tempering or long baking times. That means you can make a pan in under 30 minutes of active time and let the fridge do the rest. The balance of textures is the real win: creamy dark chocolate top, crunchy cookie and rice base, chew from marshmallows, and little nutty pops from pecans and peanut butter chips.
They’re also very portable. Once set, they cut cleanly and travel well in a tin or container. Serve them sliced at parties, pack them as a sweet treat for picnics, or keep a box in the fridge for a simple dessert with coffee.
What to Use Instead
- Peanut butter chips — can replace with chocolate chips or butterscotch chips (these swaps are suggested in the ingredient list).
- Pecans — swap for walnuts or almonds if you prefer those textures and flavors (both options are noted in the ingredient list).
- Bittersweet/dark chocolate — stick to the darker end for structure; if you want a milder finish, choose a darker chocolate with slightly higher cocoa content rather than inventing entirely new ingredients.
- Vanilla wafers — if you need gluten-free options, opt for certified gluten-free vanilla wafers made to the same size/crumb consistency.
Gear Checklist
- 8-inch square pan
- Parchment paper (with overhang for lifting)
- Microwave-safe bowl for melting chocolate
- Medium mixing bowl
- Measuring cups and spoons
- Offset spatula or the back of a spoon for smoothing
- Plastic wrap or airtight container for storage
- Refrigerator space for chilling 1–2 hours
Learn from These Mistakes
- Overheating the chocolate: Heat in short bursts and stir between intervals. Overheated chocolate can seize and become grainy.
- Skipping the parchment overhang: Without it you’ll struggle to lift and cut neat squares; the overhang saves you time and frustration.
- Pressing the base unevenly: Press firmly and evenly so the top layer sits flat—otherwise the chocolate top will puddle in low spots.
- Not reserving melted chocolate: You need some for coating; if you pour all of it into the mix you won’t have enough to top the pan.
- Cutting too soon: Let the chocolate fully set in the fridge for the cleanest cuts—patience yields neat squares.
Variations for Dietary Needs
Most dietary swaps work if you select like-for-like replacements rather than inventing brand-new components. A few practical approaches:
- Gluten-free: Use certified gluten-free vanilla wafers in place of the regular vanilla wafers. The rest of the recipe remains the same.
- Dairy-free: Choose dairy-free dark chocolate chips and a dairy-free evaporated milk substitute (brands vary), then follow the same melting method.
- Nut-free: Omit the pecans or replace them with a seed alternative of your choice (check labels for cross-contamination) or simply increase the crispy rice and vanilla wafer ratio to keep texture.
- Swapping chips: The recipe explicitly allows swapping the peanut butter chips for chocolate or butterscotch chips, so use whichever chip suits dietary preferences.
Cook’s Notes
Measure and prep everything before you start melting the chocolate. Have the crushed vanilla wafers and cereal measured and marshmallows ready—this is an assembly-forward recipe and working quickly helps the melted chocolate coat evenly.
When melting chocolate and evaporated milk, stir constantly between 15-second bursts. Even if it seems underdone at first, continued stirring distributes heat and encourages a glossy finish. If the mixture looks slightly grainy after melting, give it a few more stirs off heat; residual warmth will smooth it out.
Press the base firmly into the pan—use the bottom of a measuring cup or a small clean jar to compact the mixture into an even layer. A well-compressed base reduces crumbs and creates a denser bite like fudge.
Keep-It-Fresh Plan
Storage is simple. Once the bars are fully set, transfer them to an airtight container. Keep them refrigerated for up to 1 week—this preserves texture and prevents the marshmallows from becoming too gooey. If you need longer storage, wrap the cut squares individually and freeze for up to 1 month; thaw in the refrigerator before serving to avoid sweating chocolate.
A note on room temperature: these bars are easiest to cut and handle when cool. If you leave them at room temperature for a long time in a warm kitchen, the chocolate can soften and become sticky.
Helpful Q&A
Q: Can I use milk chocolate instead of bittersweet/dark?
A: You can, but milk chocolate will be sweeter and softer when chilled. If you use milk chocolate, expect slightly different texture and sweetness levels.
Q: My chocolate seized while melting—what now?
A: If the chocolate becomes grainy, you may have overheated it or introduced moisture. Try adding a small splash of warm evaporated milk and stir vigorously; sometimes that helps smooth it. If it’s fully seized, start a new batch of chocolate and be gentler with heat.
Q: How do I get tidy square cuts?
A: Use the parchment overhang to lift the slab onto a cutting board. Chill until fully set. Use a sharp knife warmed under hot water and dried between cuts for clean edges.
Q: Can I double the recipe?
A: Yes, double the ingredients and use a larger pan (or two standard pans). Keep proportions the same and adjust chilling space/time as needed.
The Last Word
These Dark Chocolate Marshmallow Nut Fudge Bars are reliable, crowd-pleasing, and easy to adapt. They’re a great make-ahead dessert for holidays, a practical choice for potlucks, and an excellent way to stretch a few pantry staples into something special. Follow the steps, respect the chilling time, and you’ll have glossy, crunchy, chewy bars that disappear fast. Enjoy—slice small, share generously, and keep a few squares in the fridge for those moments when you want a chocolate fix without fuss.

Dark Chocolate Marshmallow Nut Fudge Bars
Ingredients
Ingredients
- 1 cupbittersweet chipsor dark chocolate chips
- 1/2 cupevaporated milk
- 20 vanilla waferscrushed
- 1/2 cupcrispy rice cereal
- 3 tbsppowdered sugar
- 3/4 cupminiature marshmallows
- 1/2 cuppeanut butter chipscan replace with chocolate butterscotch, etc.
- 1/3 cuppecanschopped or walnuts or almonds or any nut you like 🙂
Instructions
Instructions
- Line an 8-inch square pan with parchment paper, leaving an overhang on two sides for easy removal; set aside.
- Put 1 cup bittersweet (or dark) chocolate chips and 1/2 cup evaporated milk in a microwave-safe bowl. Heat in the microwave in 15-second increments, stirring after each increment, until the mixture is smooth.
- In a medium bowl combine 20 crushed vanilla wafers, 1/2 cup crispy rice cereal, 3 tablespoons powdered sugar, 3/4 cup miniature marshmallows, 1/2 cup peanut butter chips, and 1/3 cup chopped pecans.
- Pour about half of the melted chocolate mixture into the bowl with the dry ingredients and stir until everything is evenly coated. Reserve the remaining melted chocolate.
- Transfer the coated mixture into the prepared pan and press it firmly and evenly into an even layer.
- Pour the reserved melted chocolate over the top of the pressed mixture and use an offset spatula or the back of a spoon to smooth it into an even top layer.
- Refrigerate the pan until the chocolate is fully set, about 1 to 2 hours.
- Use the parchment overhang to lift the fudge slab from the pan, place on a cutting board, cut into squares, and serve.
Equipment
- 8-inch square pan
- Parchment Paper
- Microwave-safe bowl
- Microwave
- Mixing Bowl
- Spoon or Spatula
- offset spatula (optional)
- Cutting Board
Notes
Use walnuts or almonds instead of pecans if desired.