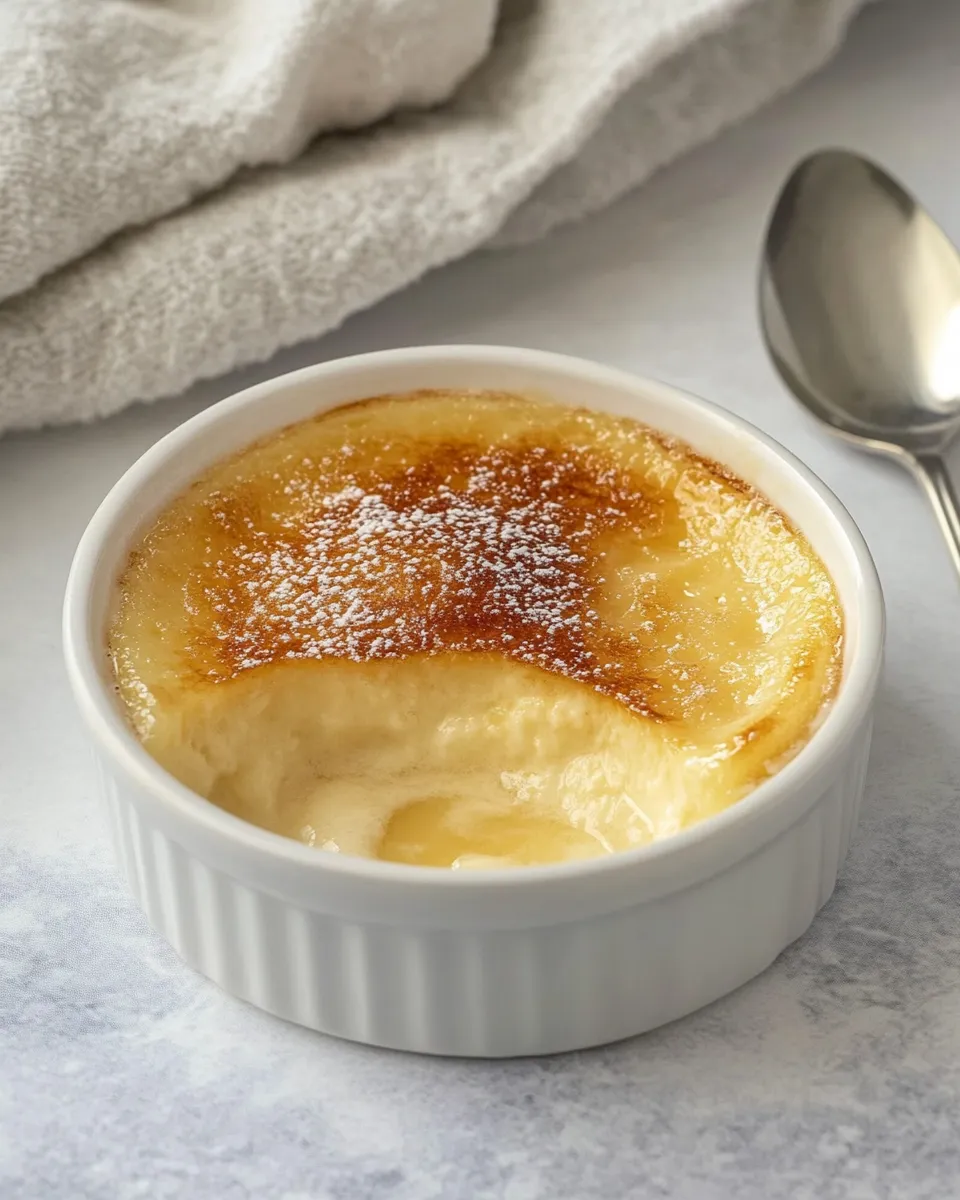
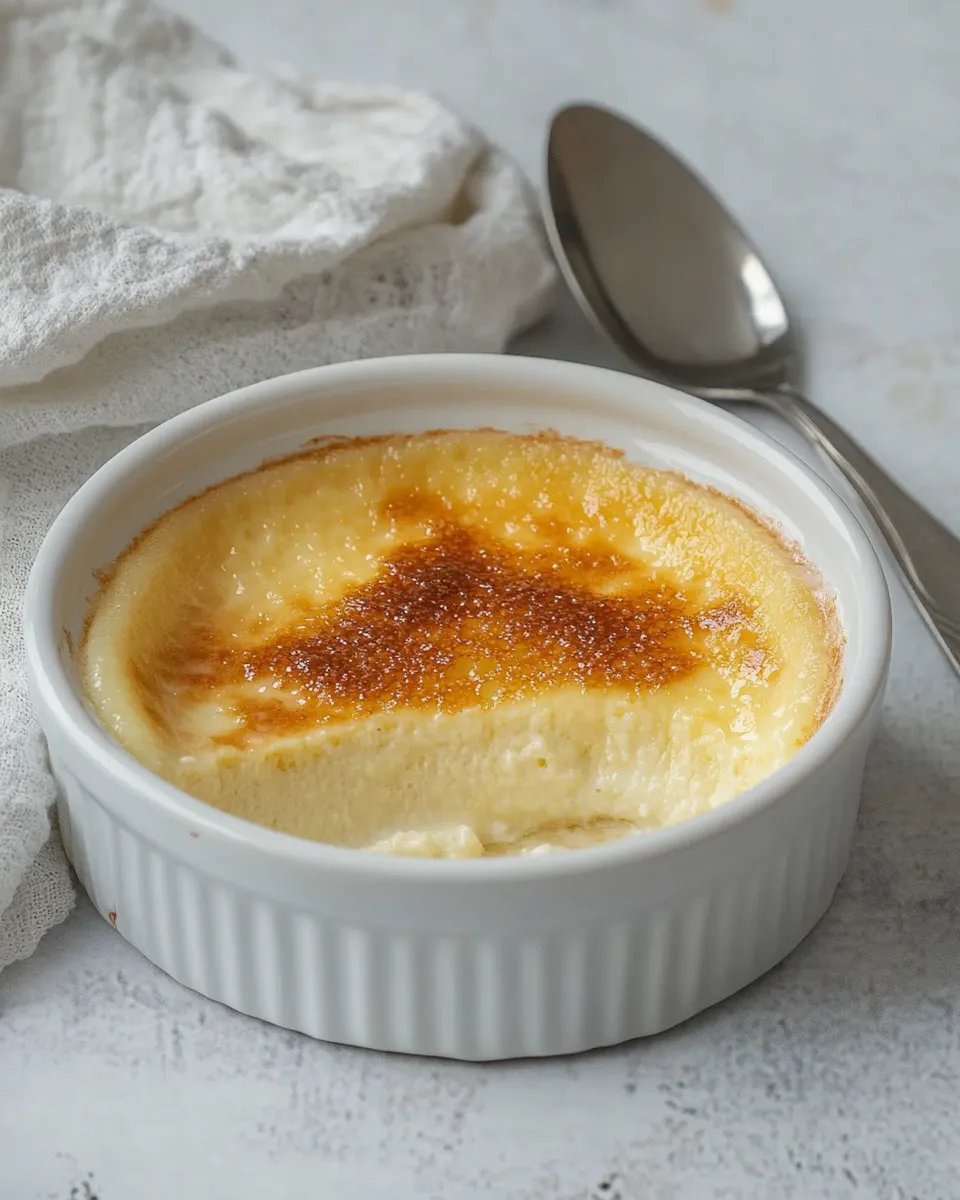
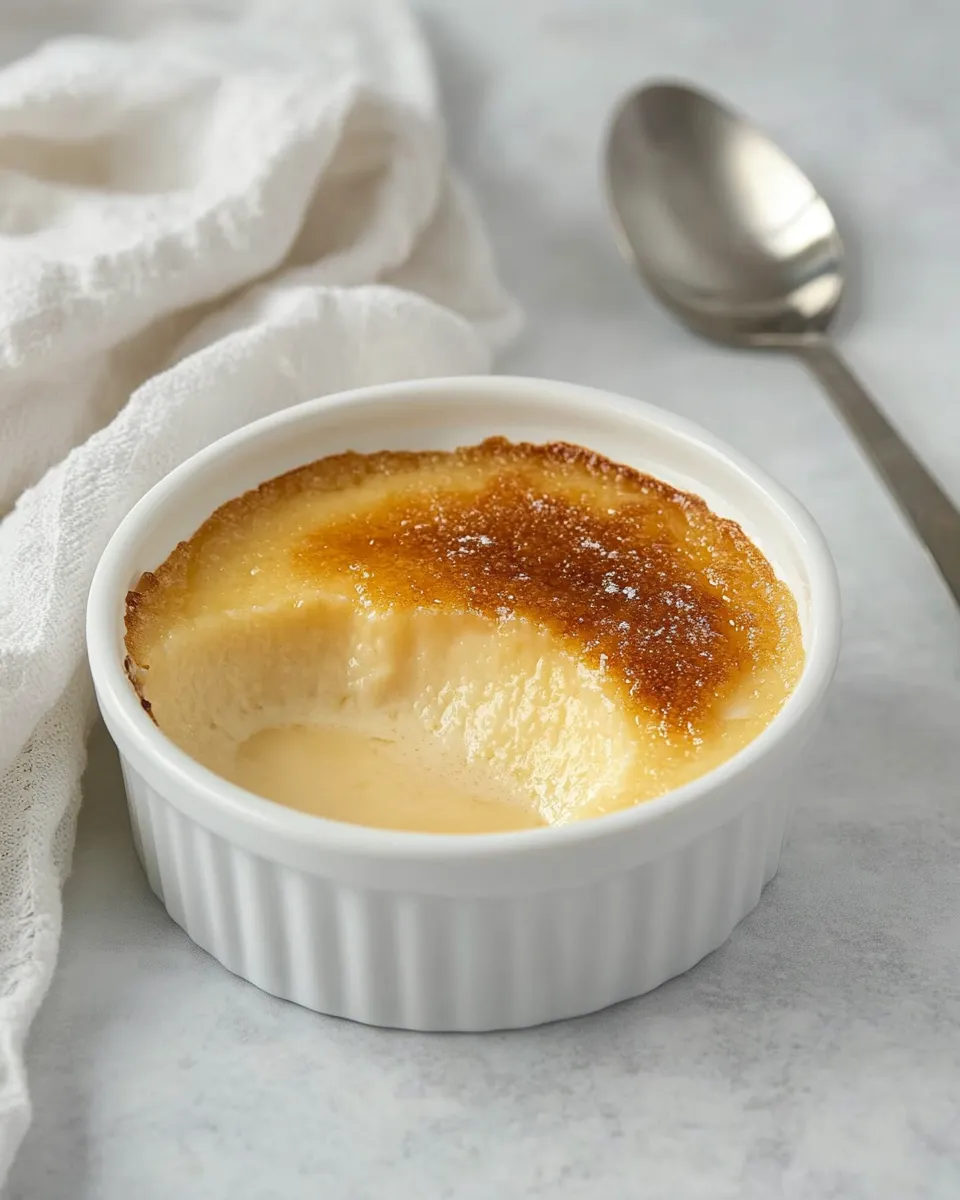
Dairy-Free Crme Brle
Crème brûlée is a classic French dessert that’s rich, creamy, and incredibly indulgent. However, if you’re avoiding dairy, you might think this delightful treat is off the table. Fear not! With just a few simple substitutions, you can create a luscious Dairy-Free Crème Brûlée that’s just as satisfying as the traditional version. Using full-fat coconut milk, this recipe is not only creamy but also packed with flavor. So, roll up your sleeves and let’s dive into making this exquisite dessert that will impress your family and friends!
The Upside of Dairy-Free Crme Brle

The beauty of Dairy-Free Crème Brûlée is that it provides all the richness and flavor of the classic dessert without the use of dairy. Coconut milk serves as the perfect alternative, bringing a tropical twist to the dish. This recipe is not only suitable for those who are lactose intolerant or vegan but also a great way to experiment with new flavors. The creamy texture, combined with the crispy caramelized sugar topping, makes for a dessert that is both impressive and approachable. Plus, it’s easy to make, allowing you to enjoy a gourmet dessert in the comfort of your home.
Shopping List
- 1 can (13.5 ounces) full-fat coconut milk
- 3/4 teaspoon vanilla extract
- 4 large egg yolks
- 4 tablespoons granulated sugar
- 4 teaspoons granulated sugar for topping
Equipment Breakdown
- Ramekins: Small dishes ideal for baking and serving crème brûlée.
- Mixing bowl: For combining the ingredients smoothly.
- Whisk: To beat the egg yolks and mix ingredients thoroughly.
- Shallow baking dish: To create a water bath for even cooking.
- Kitchen torch: For caramelizing the sugar topping, though an oven broiler can also work.
Dairy-Free Crme Brle in Steps
Step 1: Preheat the Oven
Preheat your oven to 325°F (160°C). This ensures that your crème brûlée bakes evenly.
Step 2: Prepare the Coconut Milk Mixture
In a medium saucepan, pour in the full-fat coconut milk and add the vanilla extract. Heat the mixture over medium heat until it’s warm but not boiling, stirring occasionally.
Step 3: Whisk the Egg Yolks and Sugar
In a separate mixing bowl, whisk together the egg yolks and granulated sugar until the mixture is pale and well combined. This should take about 2-3 minutes.
Step 4: Combine the Mixtures
Slowly pour the warm coconut milk mixture into the egg yolk mixture, whisking continuously. This helps to temper the eggs, preventing them from curdling. Make sure everything is well combined.
Step 5: Strain the Mixture
For a silky texture, strain the mixture through a fine-mesh sieve into another bowl or measuring cup. This step removes any lumps or cooked egg bits.
Step 6: Fill the Ramekins
Divide the custard mixture evenly among the ramekins, filling them about 3/4 full. Place the ramekins in a shallow baking dish.
Step 7: Create a Water Bath
Carefully pour hot water into the baking dish around the ramekins, making sure it reaches about halfway up the sides. This water bath helps to cook the crème brûlée gently and evenly.
Step 8: Bake
Bake in the preheated oven for 25-30 minutes, or until the edges are set but the centers are still slightly jiggly. Remove from the oven and let them cool at room temperature for about 30 minutes before refrigerating.
Step 9: Chill
Once cooled, cover the ramekins with plastic wrap and refrigerate for at least 4 hours, or overnight. This allows the flavors to meld and the custard to firm up.
Step 10: Caramelize the Sugar
When ready to serve, sprinkle about 1 teaspoon of granulated sugar on top of each custard. Using a kitchen torch, caramelize the sugar until it melts and forms a crispy layer. If you don’t have a torch, you can place the ramekins under the broiler in your oven for a minute or two, watching closely to avoid burning.
Year-Round Variations
- Chocolate Coconut Crème Brûlée: Add 2 tablespoons of cocoa powder to the coconut milk mixture for a rich chocolate flavor.
- Matcha Green Tea Crème Brûlée: Whisk in 1-2 teaspoons of matcha powder with the egg yolks for a vibrant and earthy twist.
- Citrus Zest Crème Brûlée: Incorporate zest from oranges or lemons into the coconut milk for a refreshing citrus note.
- Spiced Pumpkin Crème Brûlée: Stir in 1/4 cup of pumpkin puree and a pinch of pumpkin spice for a seasonal treat.
Easy-to-Miss Gotchas
- Don’t skip the straining step! It’s essential for achieving that smooth, creamy texture.
- Watch the baking time closely; overbaking will lead to a rubbery texture.
- Make sure to let the crème brûlée cool completely before refrigerating to avoid excess condensation on the surface.
- When caramelizing the sugar, keep the torch moving to ensure even melting and prevent burning.
Storing, Freezing & Reheating
Store any leftover Dairy-Free Crème Brûlée in the refrigerator, covered with plastic wrap, for up to 3 days. The sugar topping can lose its crunch, so it’s best to caramelize the sugar just before serving. Freezing is not recommended, as it can affect the texture of the custard. If you do freeze it, allow it to thaw in the refrigerator before serving, and re-crème brûlée the sugar topping as needed.
Reader Questions
Can I use a different type of non-dairy milk?
While full-fat coconut milk is preferred for its creaminess, you can experiment with other non-dairy milks. Just note that almond, soy, or oat milk may result in a thinner custard.
Is there a vegan substitute for the egg yolks?
For a vegan version, you can use silken tofu blended until smooth or a commercial egg replacer designed for baking. Keep in mind that texture and flavor may vary slightly.
How do I know when the crème brûlée is done baking?
The edges should be set, while the center should still jiggle slightly. It will firm up as it cools in the fridge.
Can I make this dessert ahead of time?
Absolutely! Dairy-Free Crème Brûlée can be made up to 2 days in advance. Just caramelize the sugar topping just before serving for the best texture.
The Last Word
Creating a Dairy-Free Crème Brûlée is not only a delicious endeavor but also a wonderful way to showcase the versatility of coconut milk. This dessert is a delightful combination of creamy custard and crunchy caramel that will leave your taste buds singing. Whether you’re hosting a dinner party or simply treating yourself, this recipe will surely impress. Don’t forget to explore the variations and make it your own. Happy baking!

Dairy-Free Crme Brle
Ingredients
- 1 can full-fat coconut milk 13.5 ounces
- 3/4 teaspoon vanilla extract
- 4 large egg yolks
- 4 tablespoons granulated sugar
- 4 teaspoons granulated sugar for topping
Instructions
- Preheat your oven to 325°F (160°C). This ensures that your crème brûlée bakes evenly.
- In a medium saucepan, pour in the full-fat coconut milk and add the vanilla extract. Heat the mixture over medium heat until it’s warm but not boiling, stirring occasionally.
- In a separate mixing bowl, whisk together the egg yolks and granulated sugar until the mixture is pale and well combined. This should take about 2-3 minutes.
- Slowly pour the warm coconut milk mixture into the egg yolk mixture, whisking continuously to temper the eggs and prevent curdling. Make sure everything is well combined.
- Strain the mixture through a fine-mesh sieve into another bowl or measuring cup for a silky texture. This removes any lumps or cooked egg bits.
- Divide the custard mixture evenly among the ramekins, filling them about 3/4 full. Place the ramekins in a shallow baking dish.
- Carefully pour hot water into the baking dish around the ramekins, making sure it reaches about halfway up the sides to create a water bath for gentle, even cooking.
- Bake in the preheated oven for 25-30 minutes, or until the edges are set but the centers are still slightly jiggly. Remove from the oven and let them cool at room temperature for about 30 minutes before refrigerating.
- Once cooled, cover the ramekins with plastic wrap and refrigerate for at least 4 hours, or overnight to allow the custard to firm up.
- When ready to serve, sprinkle about 1 teaspoon of granulated sugar on top of each custard. Using a kitchen torch, caramelize the sugar until it melts and forms a crispy layer. Alternatively, place under the oven broiler for 1-2 minutes, watching closely to avoid burning.
Equipment
- Ramekins
- Mixing Bowl
- Whisk
- Shallow baking dish
- Kitchen torch
Notes
- Don’t skip straining the custard mixture for a silky smooth texture.
- Watch the baking time carefully to avoid a rubbery texture from overbaking.
- Caramelize the sugar topping just before serving to maintain its crispness.
- Try variations like adding cocoa powder, matcha, citrus zest, or pumpkin puree for fun twists.
- Store leftovers covered in the refrigerator for up to 3 days; freezing is not recommended.